So… how’re you doing?
Really… how are you? Like, really-really?
Most of what I’m reading about these days is news to stay current on all that is going down everywhere, and articles about stress. On repeat. I also read a lot about the kinds of things people experience no matter what’s going on in the political sense. Issues like grief, trauma, racism, chronic illness & pain, depression, anxiety, poverty… these themes are all part of our greater human story. And they all cause stress.
Stress is distracting at the very least. Stress can also lead to total shutdown of the nervous system when it pushes past a person’s management threshold. Stress impacts health physically and mentally, as well as relationships and productivity.
Often, the first things to go when stress climbs are those very pursuits that help us the most: exercise, rest, eating well, and creative efforts.
In this month’s Summoning Creativity post, I want to share some thinking I’ve been doing about creating while stressed. Why? Because I’ve been wrestling with this myself. And, I truly believe creativity is one of those things that nudges us humans along in the evolutionary story. If we let go of our creativity, we let go of the spark in us that can imagine something different, better, more generative…
My thinking has taken me to these places…
Let’s start with some facts. Creativity is good for us. Here’s some research supporting this:
- 45 minutes of creative activity significantly lowers cortisol, the body’s main stress hormone (Kaimal et al. 2016).
- regular participation in a creative practice boosts mood and reduces likelihood of depression (Fancourt & Steptoe, 2020).
- engaging in creativite pursuits can build connection and significantly reduce loneliness. “Art engages, inspires, empowers, and connects us. As Dr. Nobel stated, ‘it provides a kind of intimacy with life in a way that sometimes cognition or rational analysis simply does not.'” (from interview with Dr. Jeremy Noble in Creativity, Connection, Happiness, and Health, online article, 2024).
What I’ve noticed in myself…
- I feel freed up when my creative practice is fluid; I have several projects going that each call to me at different times depending on time, mood, how my hands feel (I have arthritis that holds me back sometimes).
- Sometimes I like creating with other people. Sometimes I need alone time and take it when I have the chance. Both are important to me.
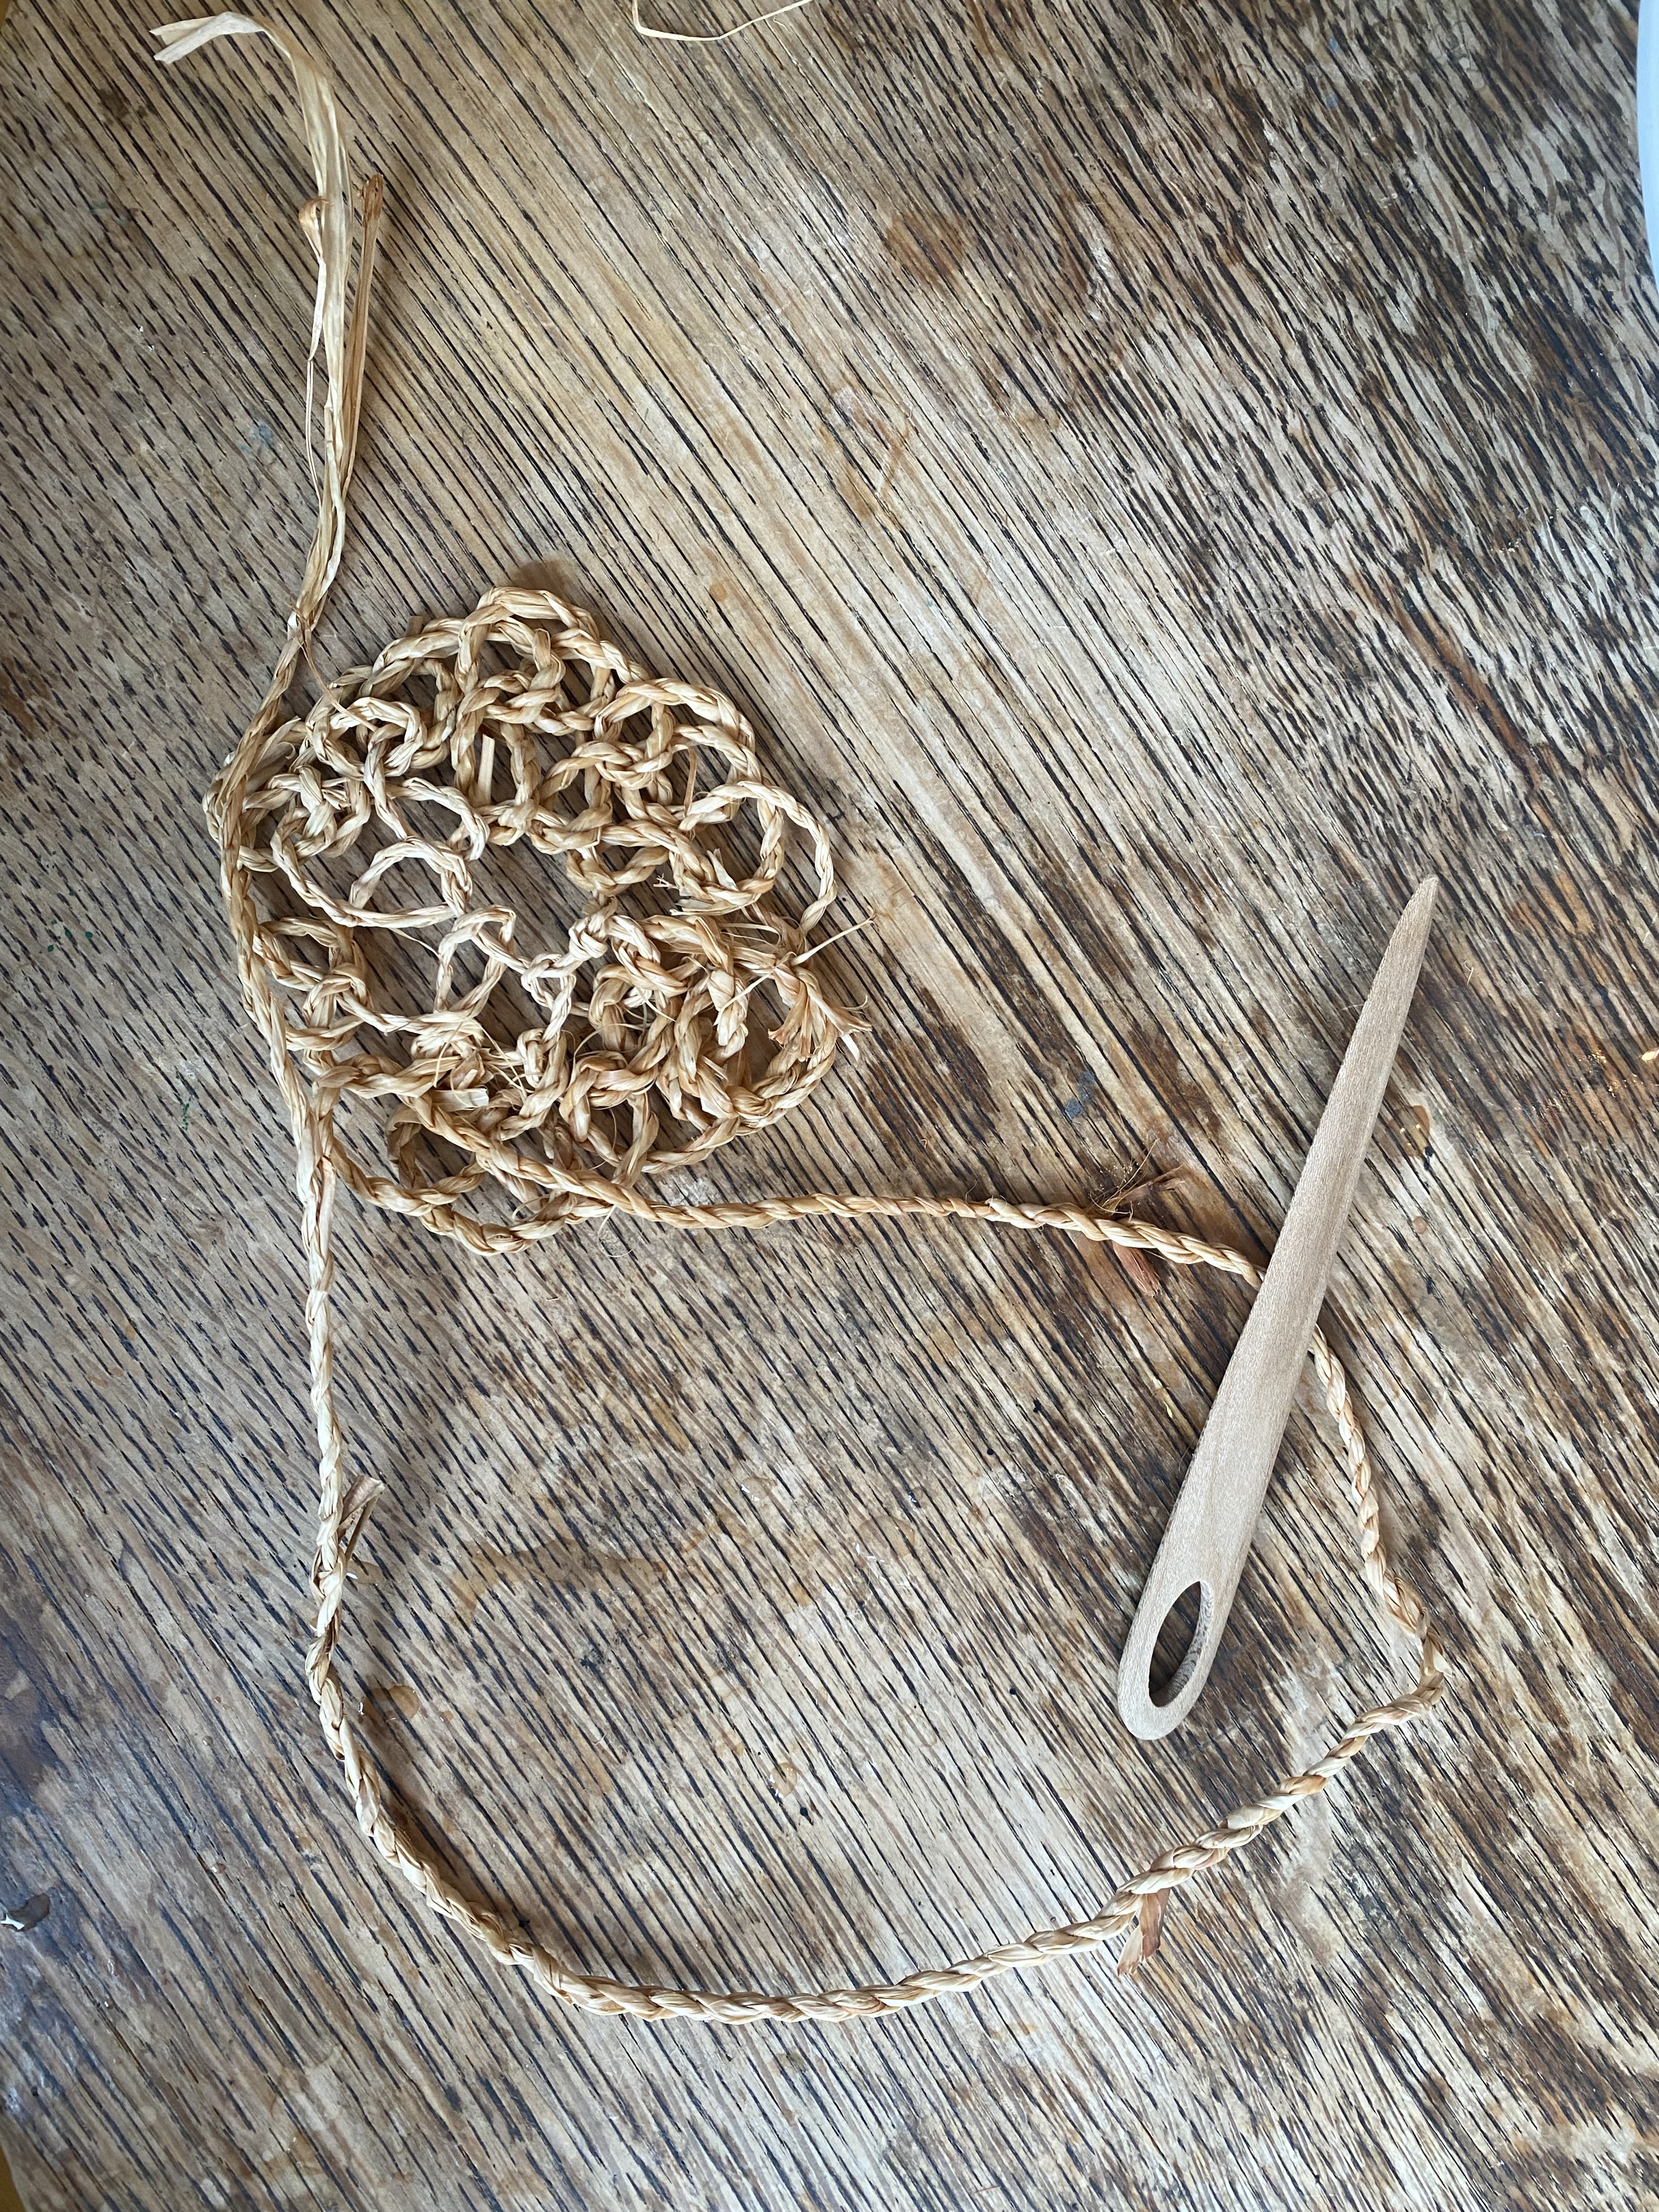
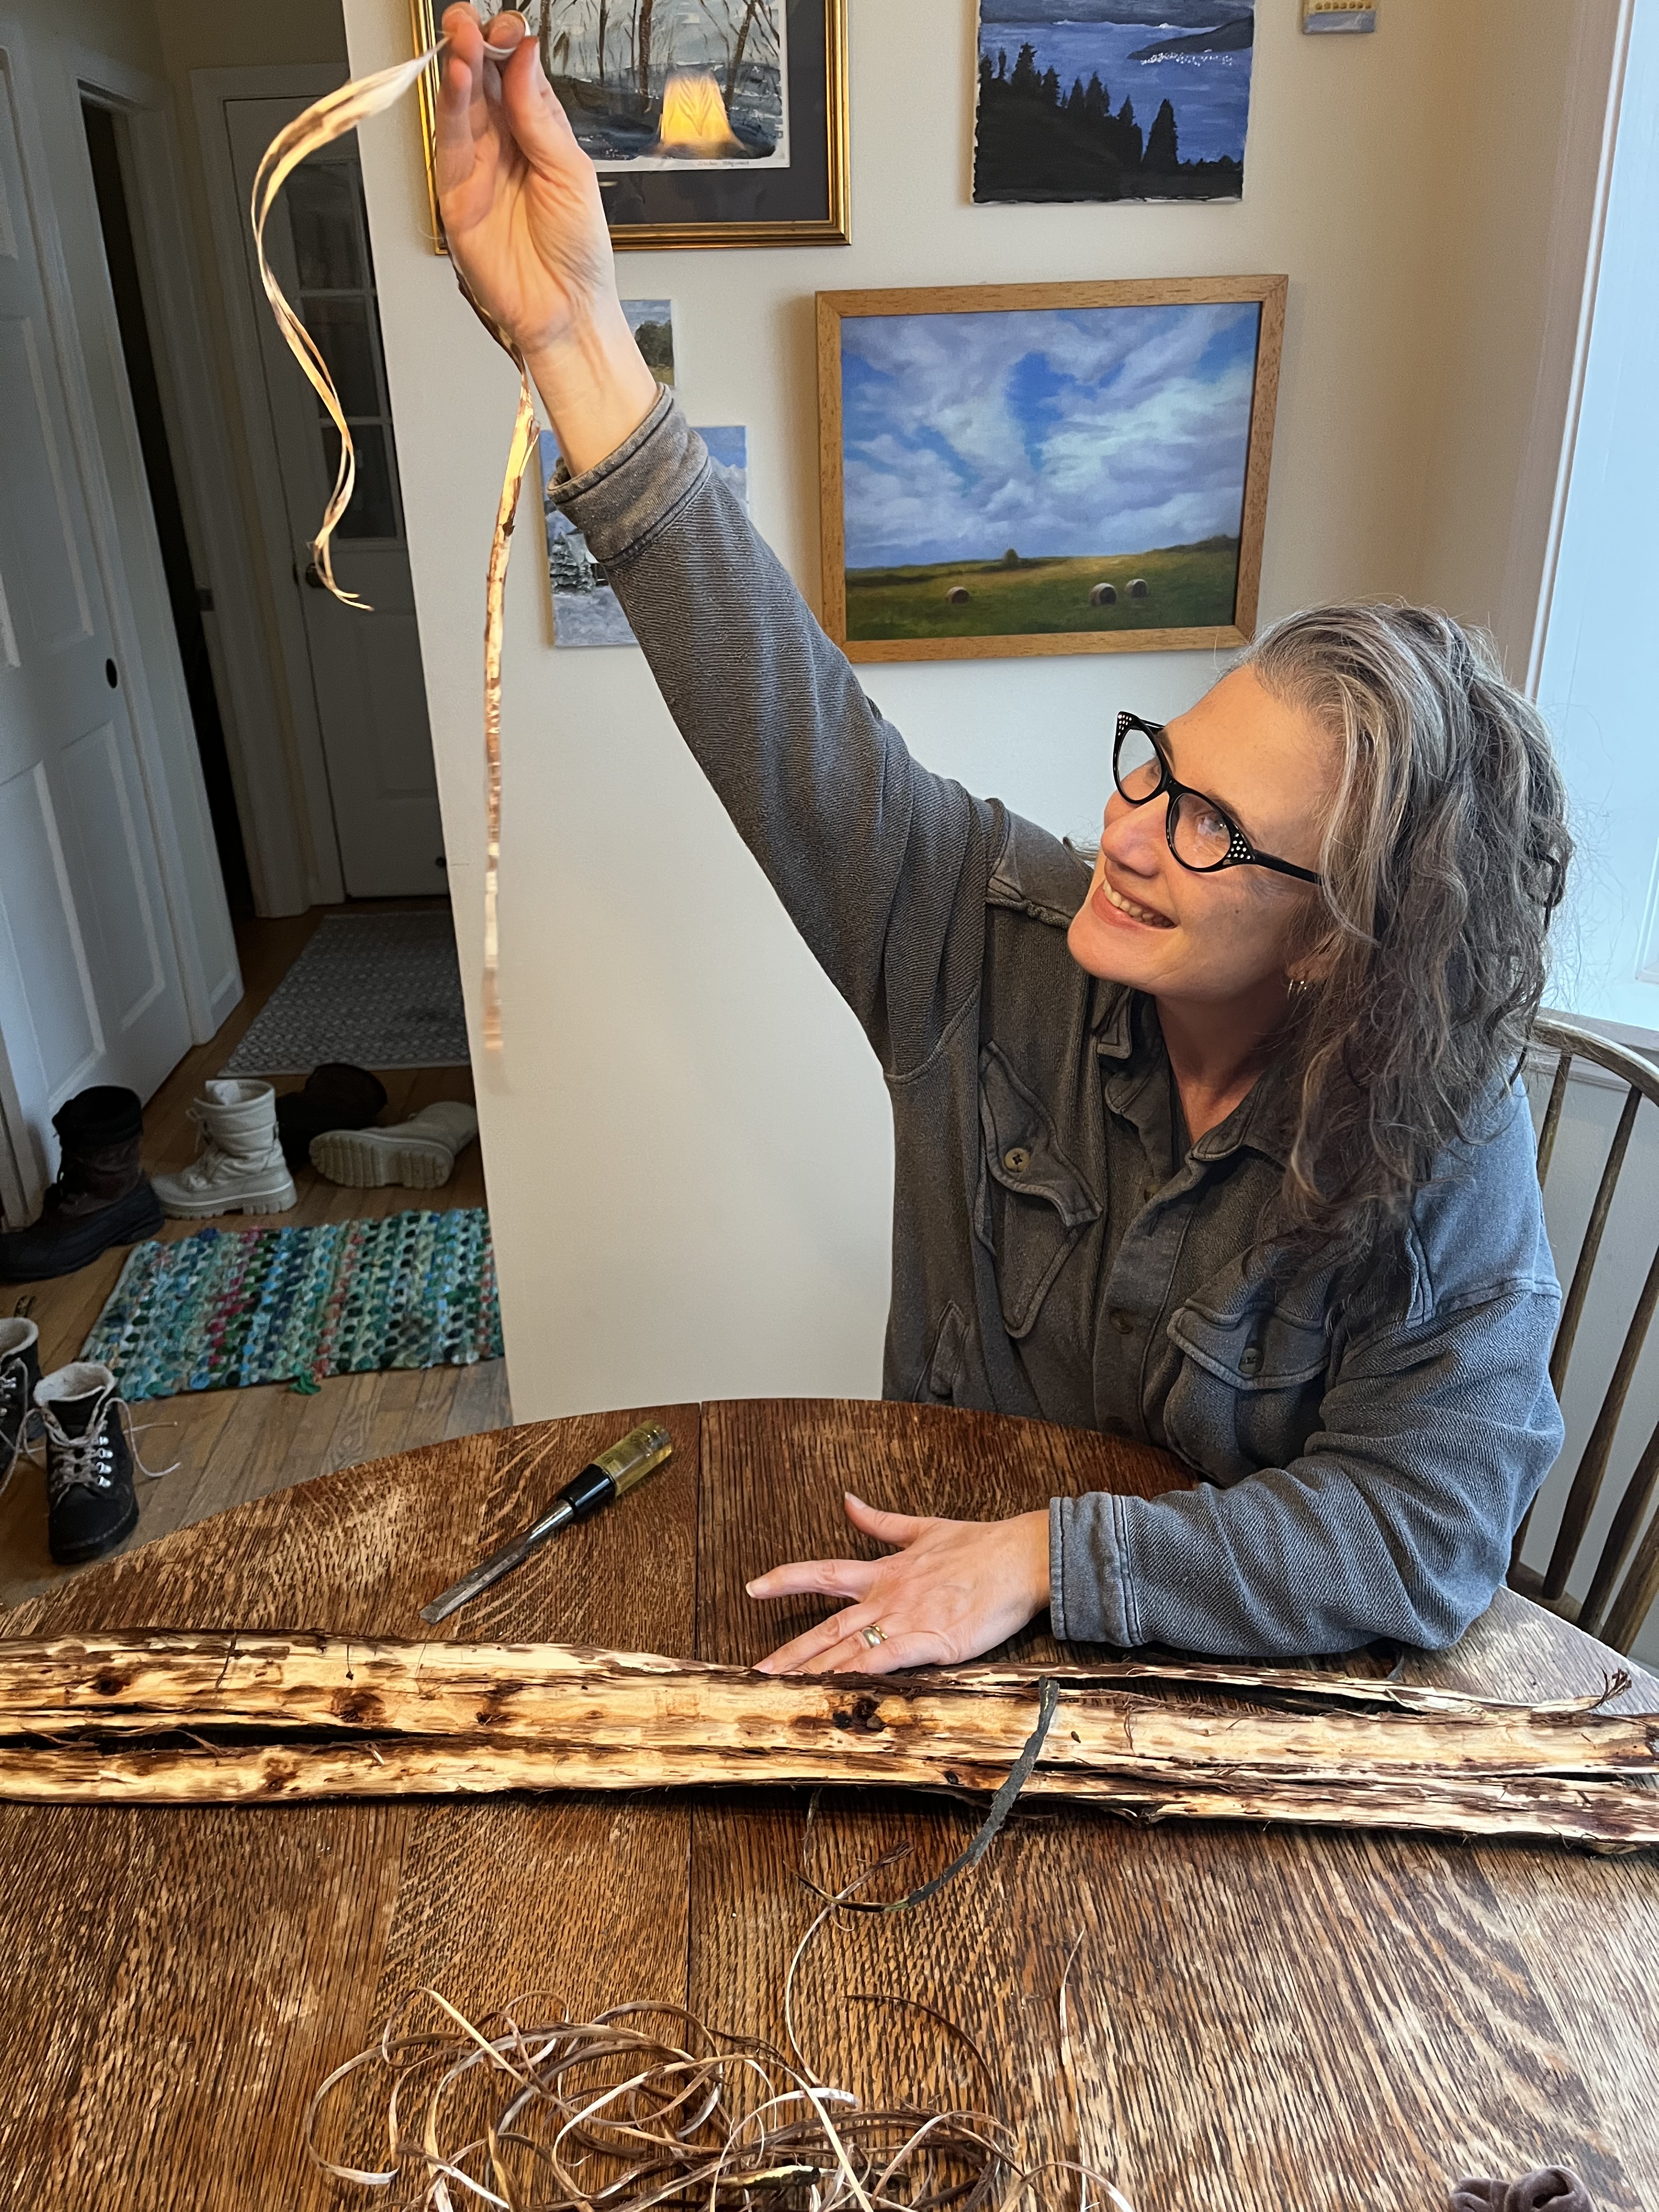
- Keeping my art “ingredients” visible helps me to stay connected to my ideas. Having a space where I can keep works-in-process out helps a lot. Yes, sometimes my family has to walk around my projects. It’s ok.
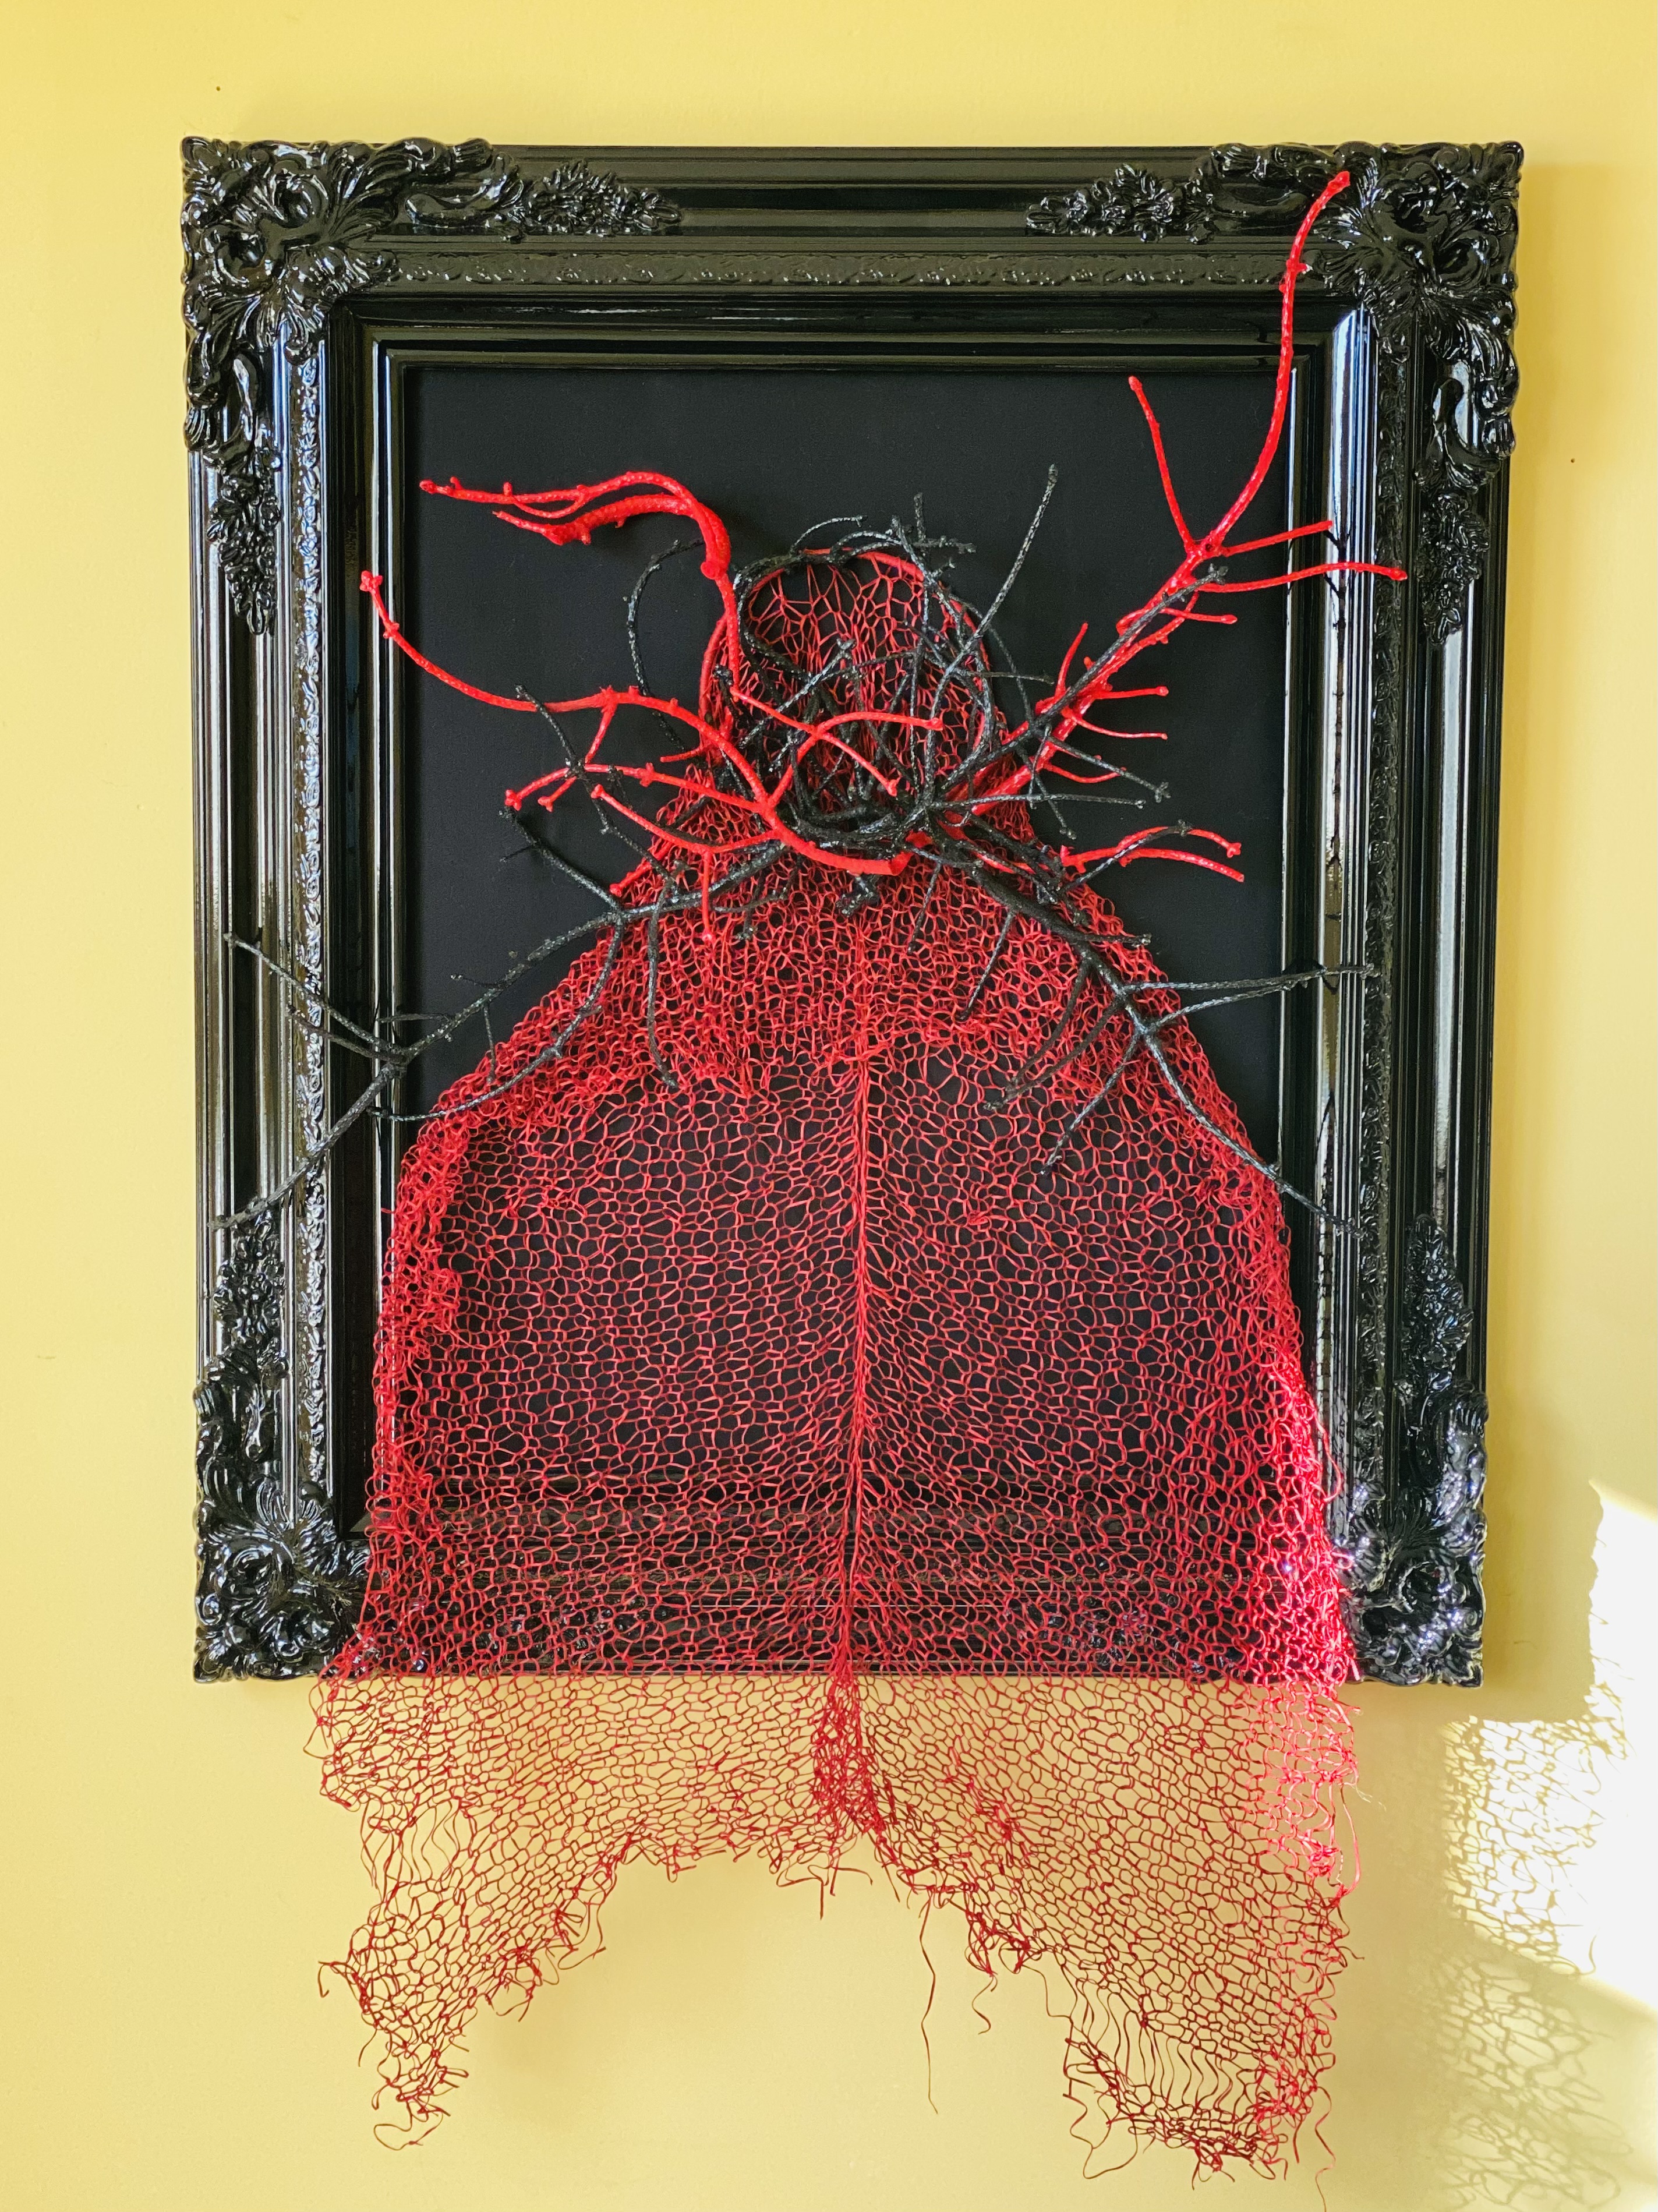
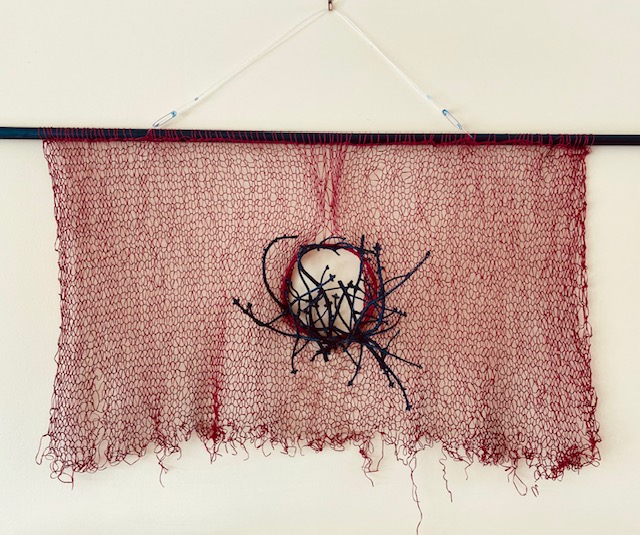
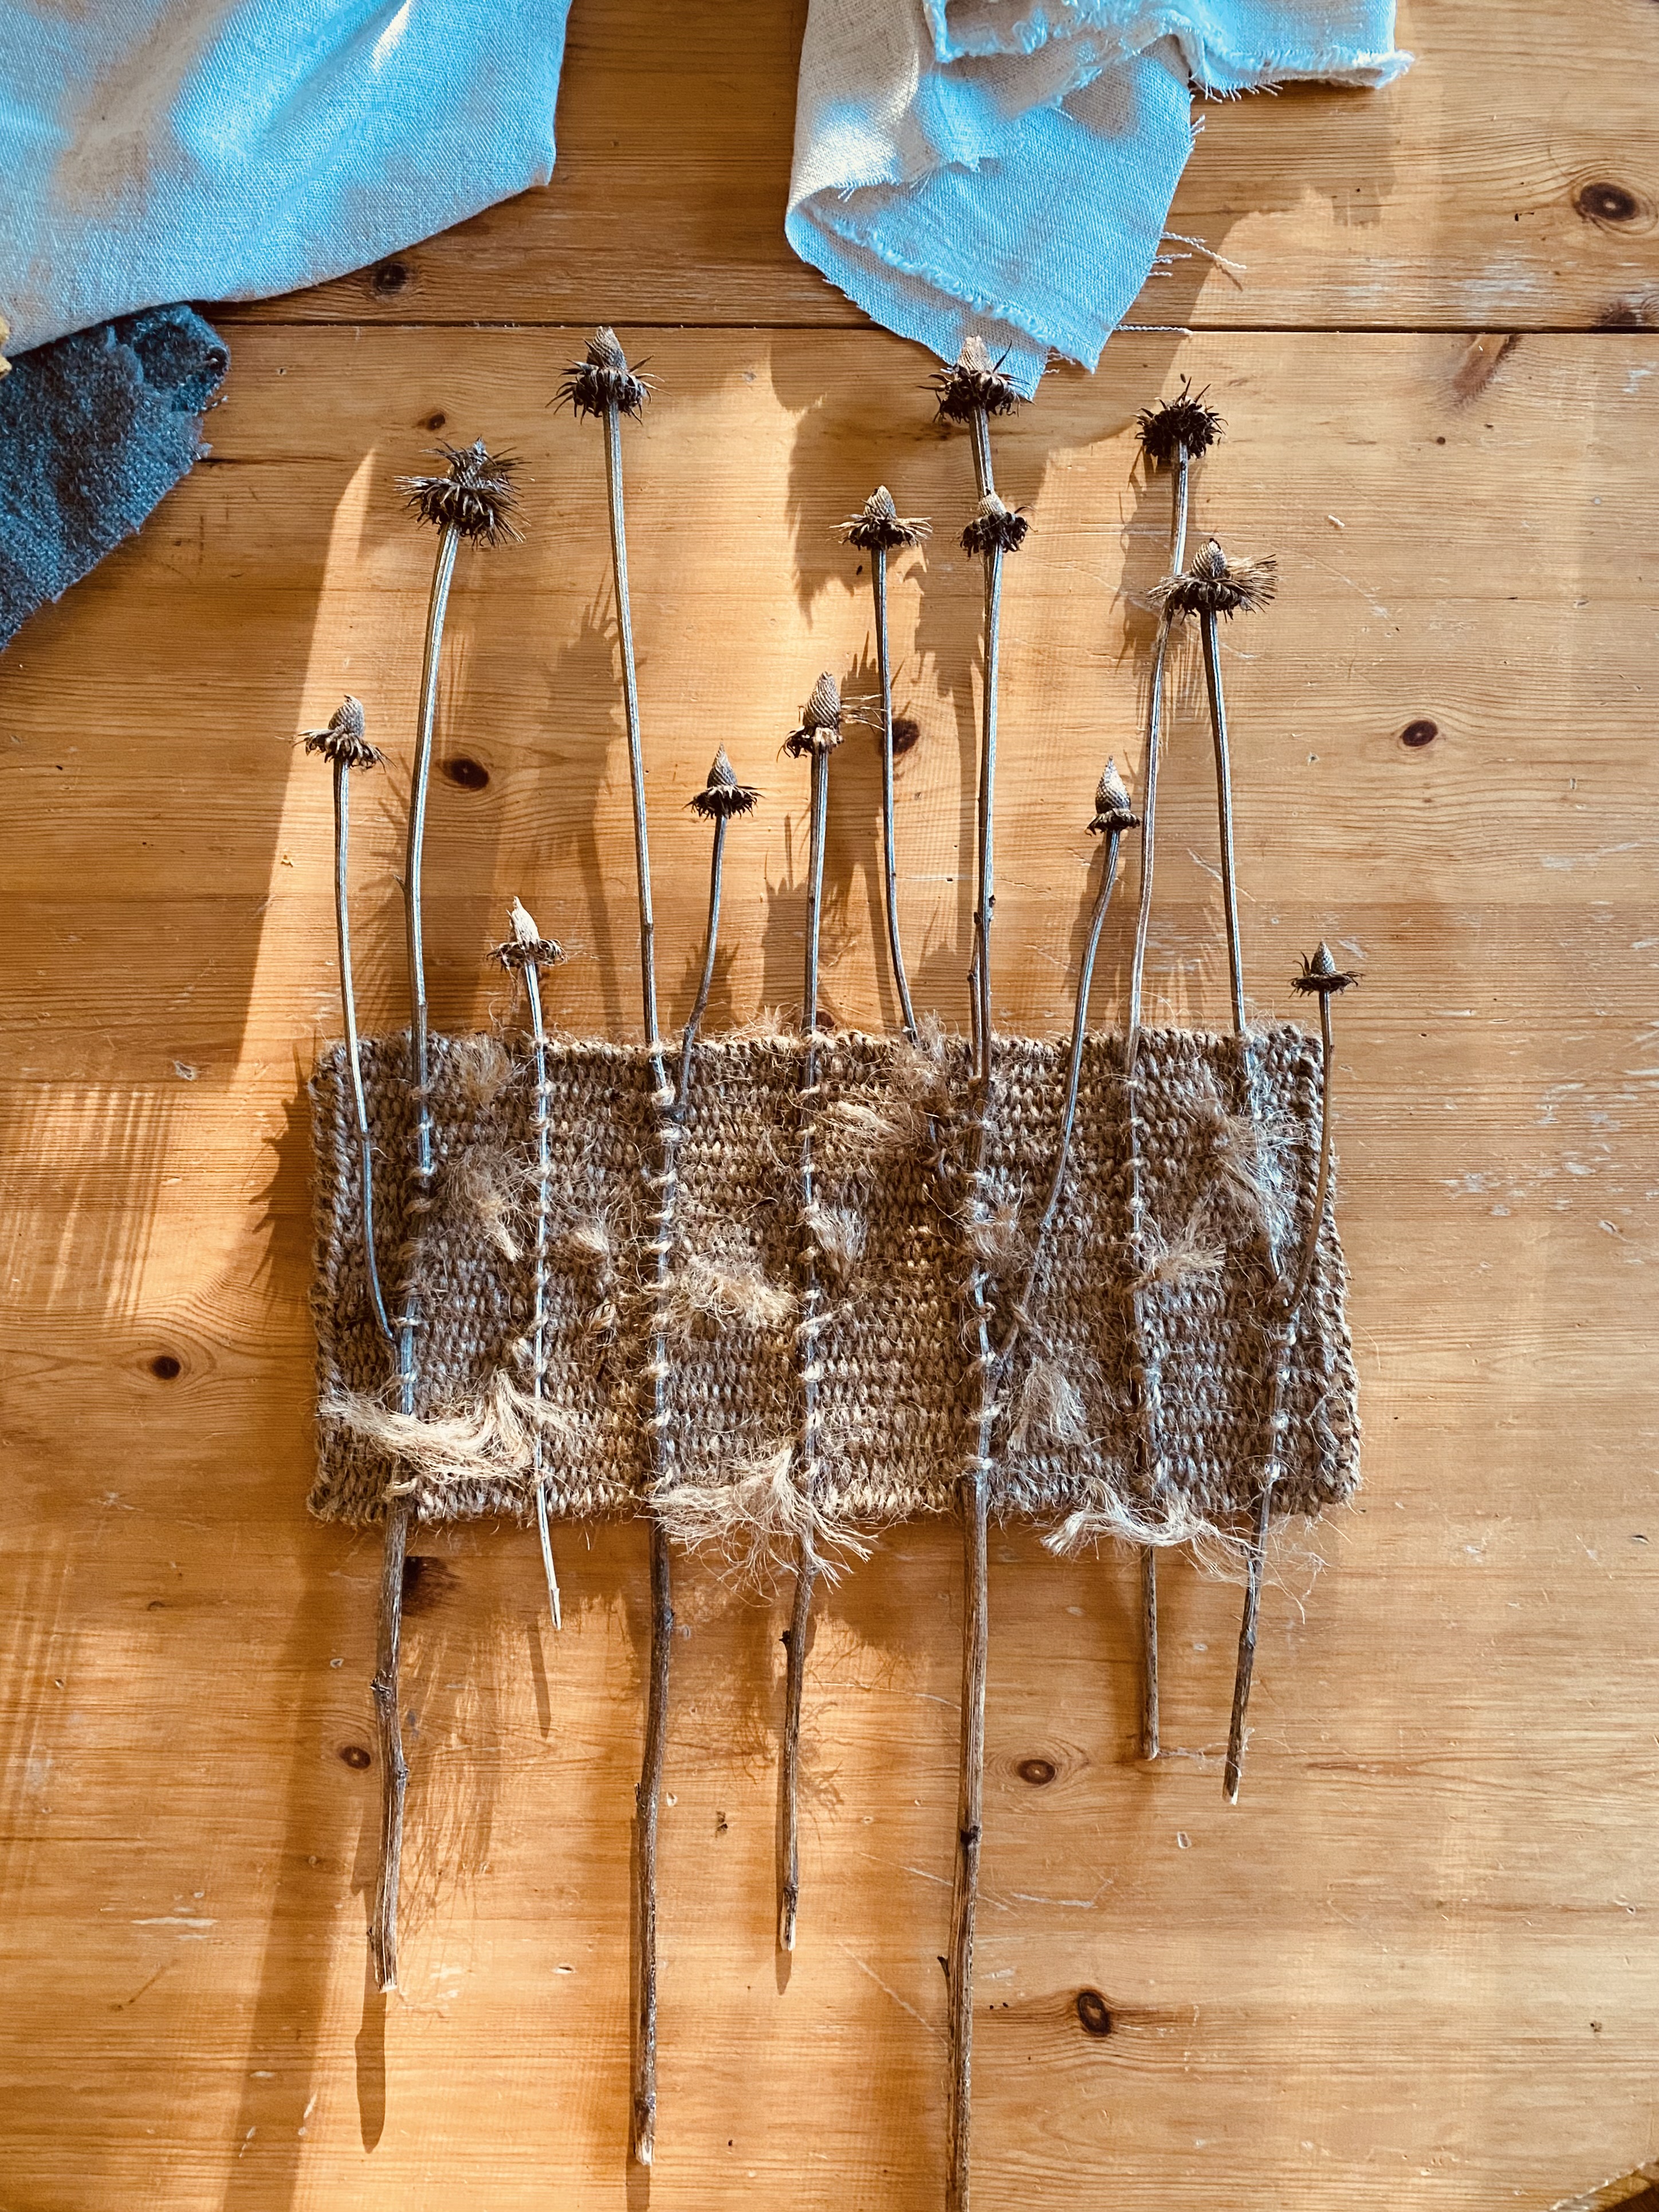
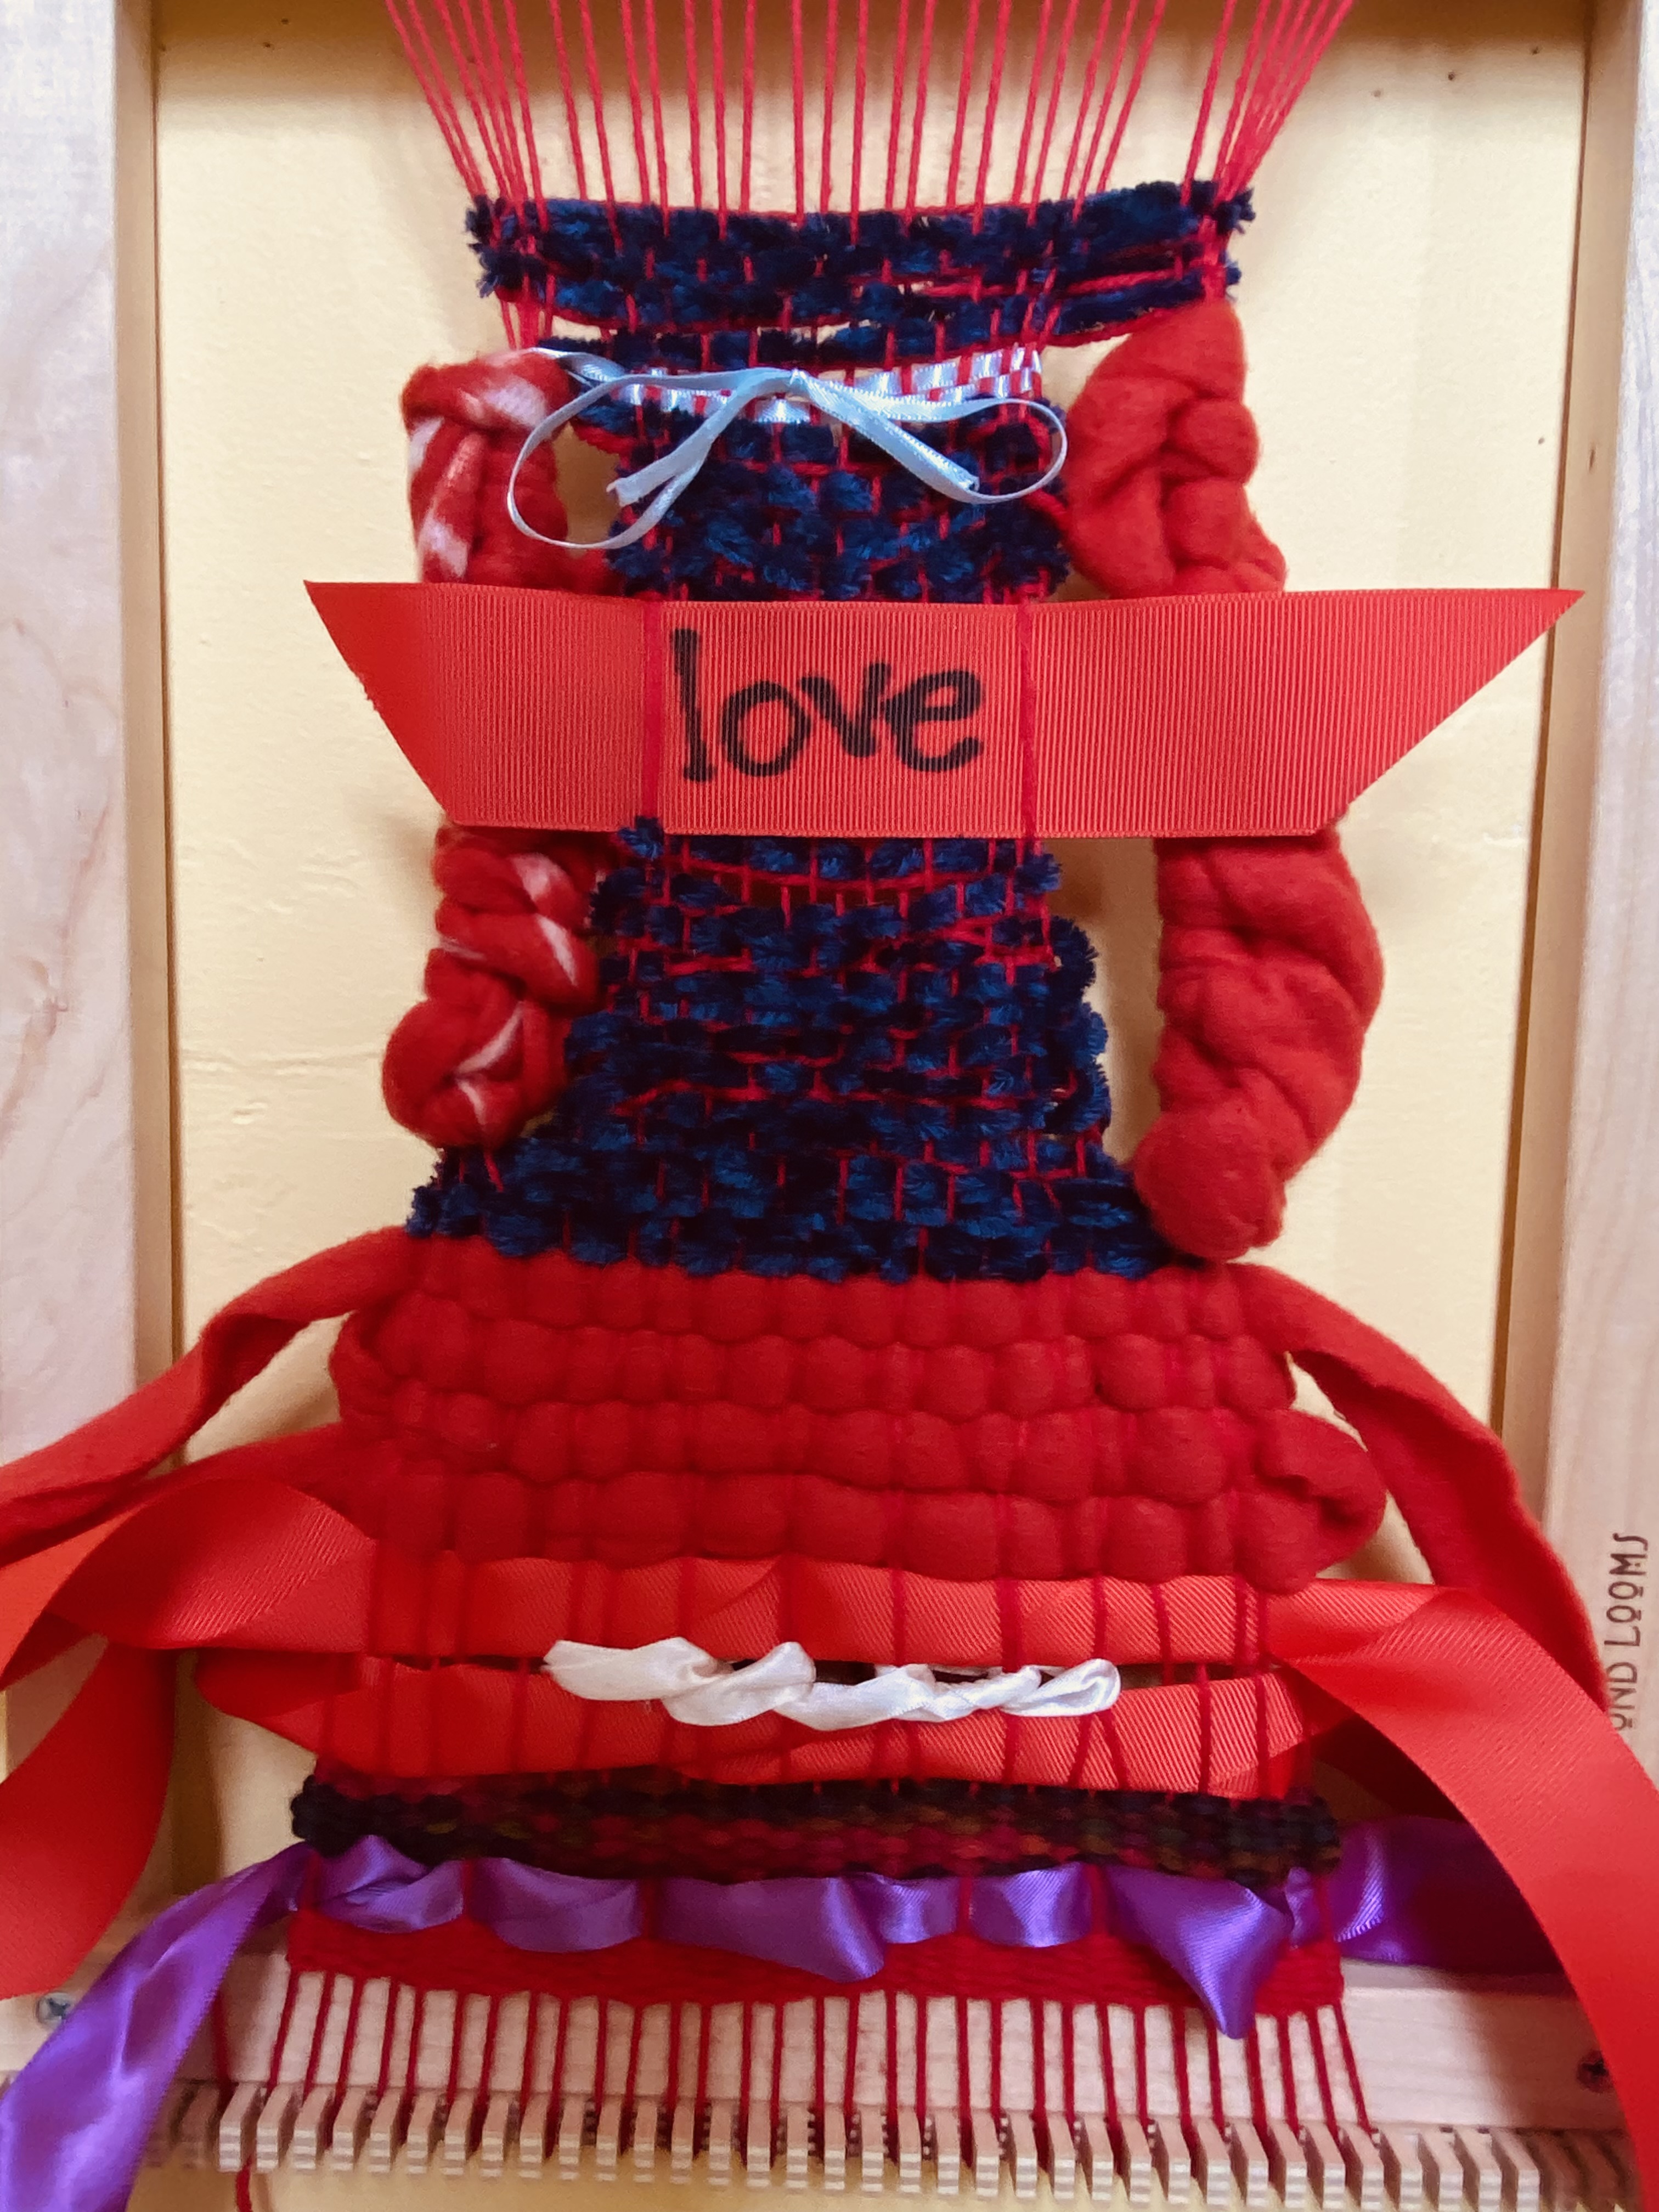
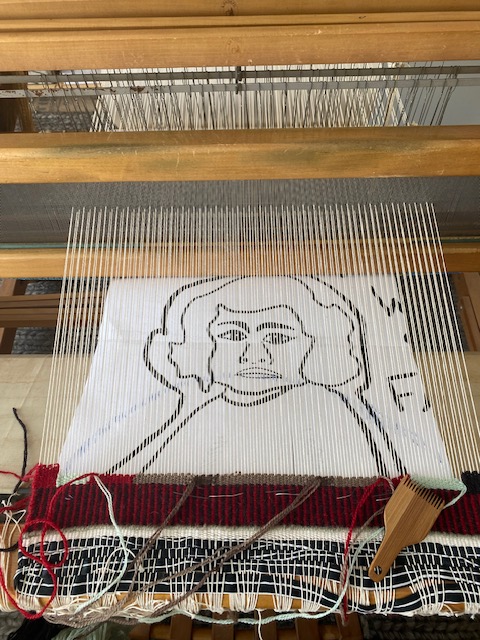
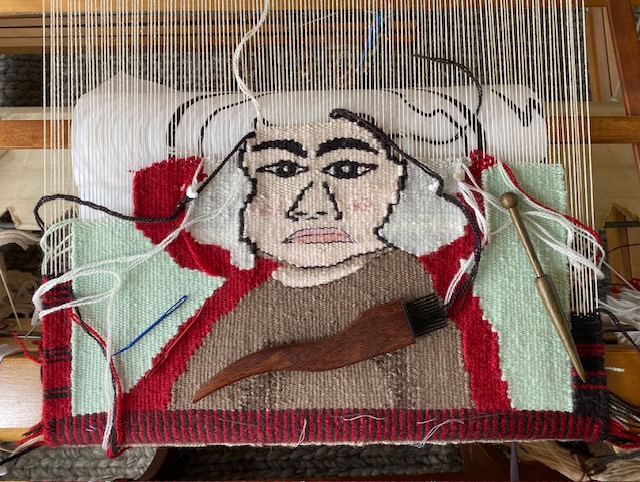
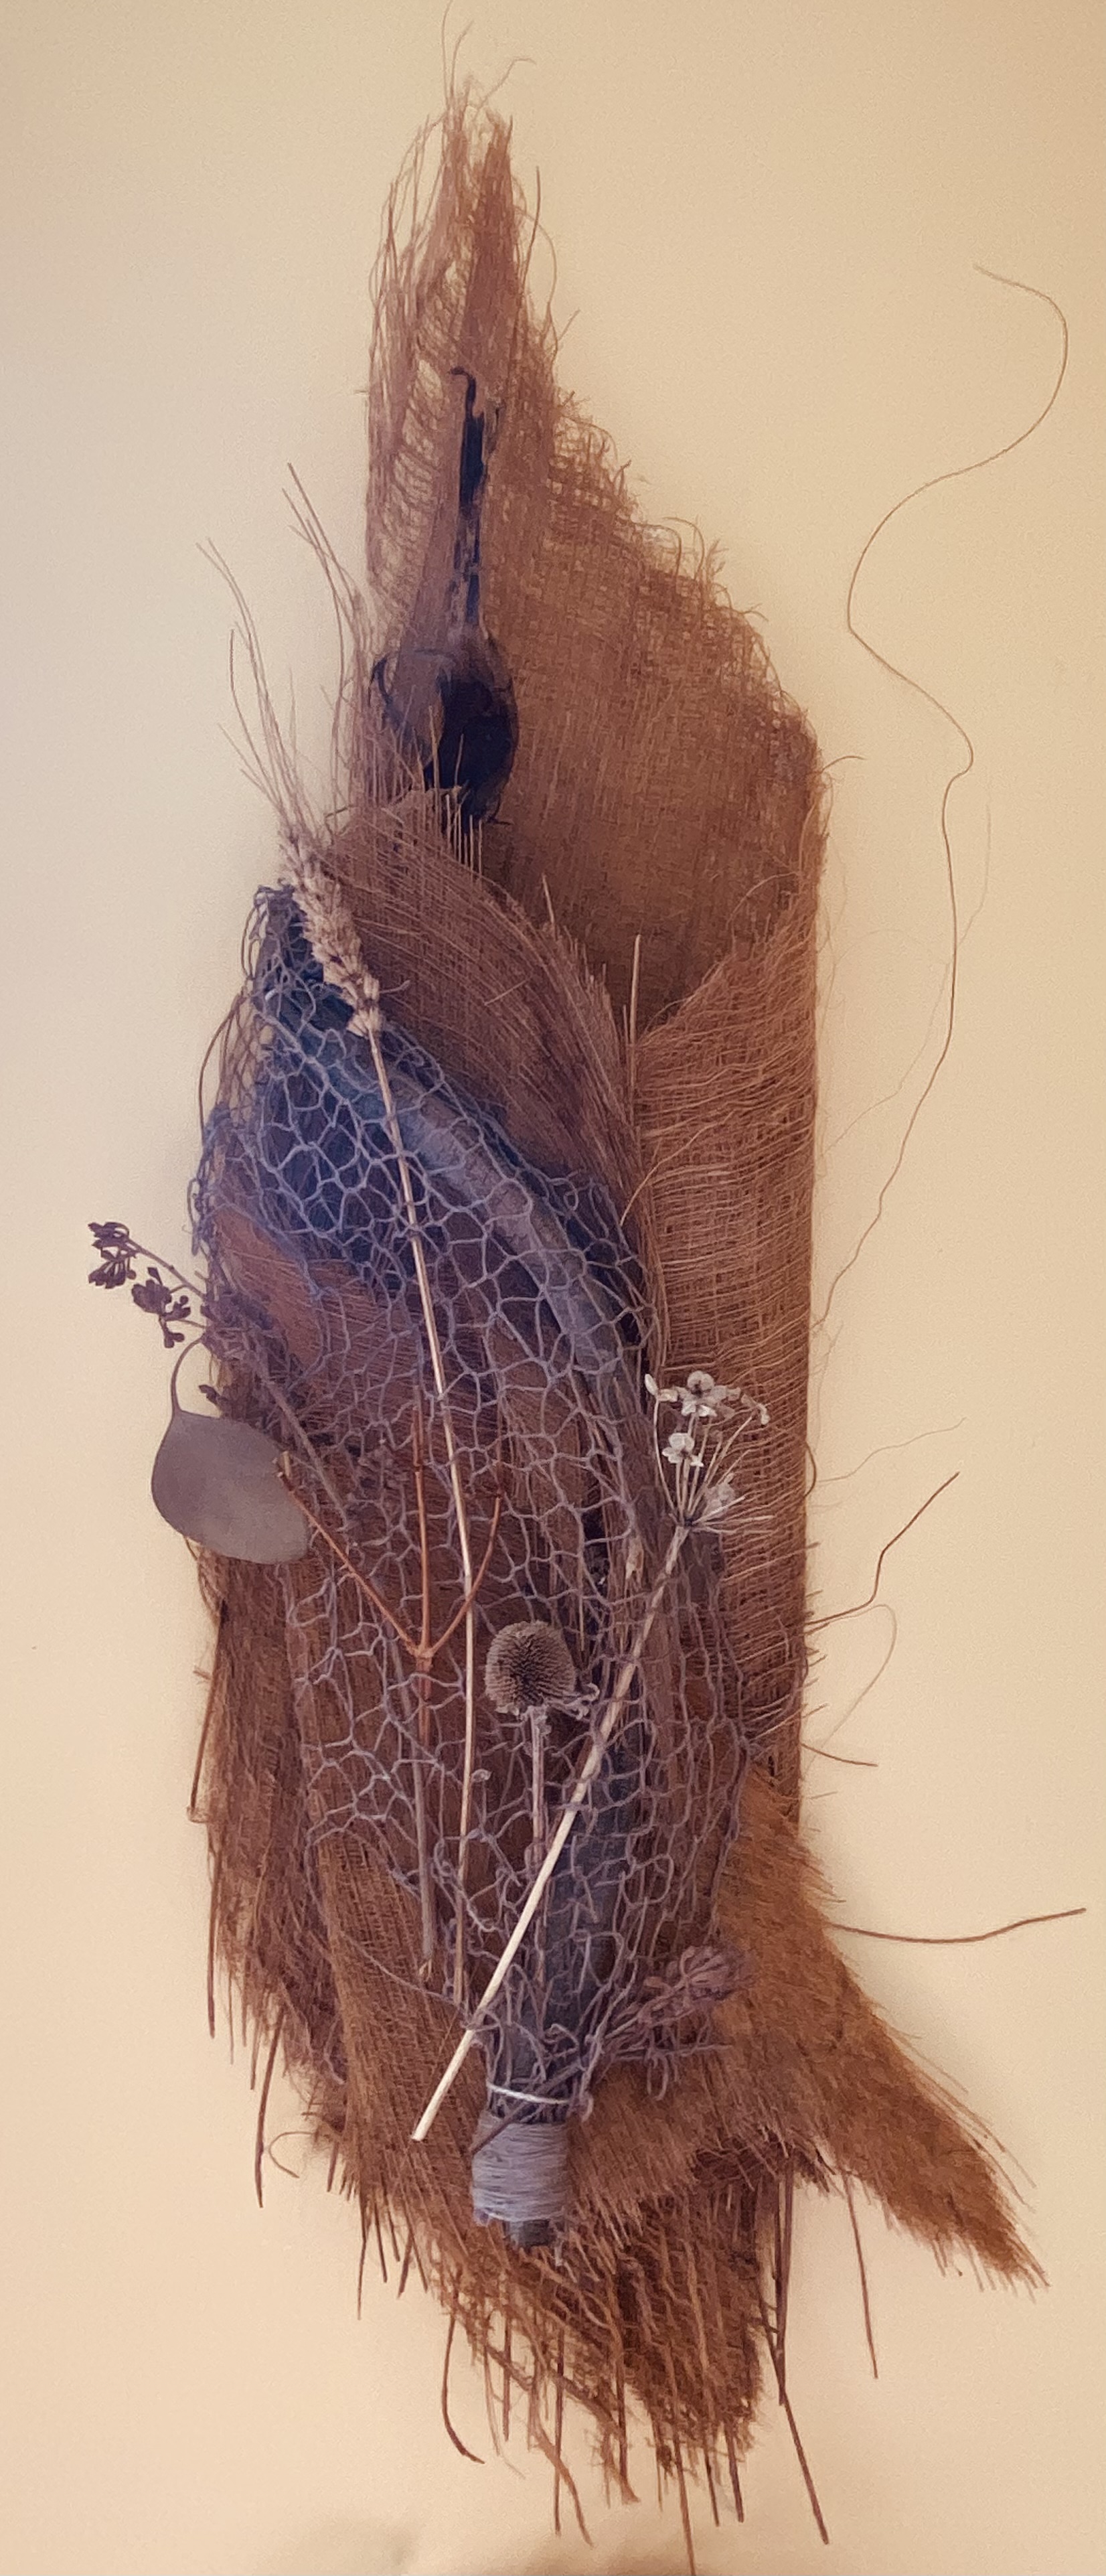
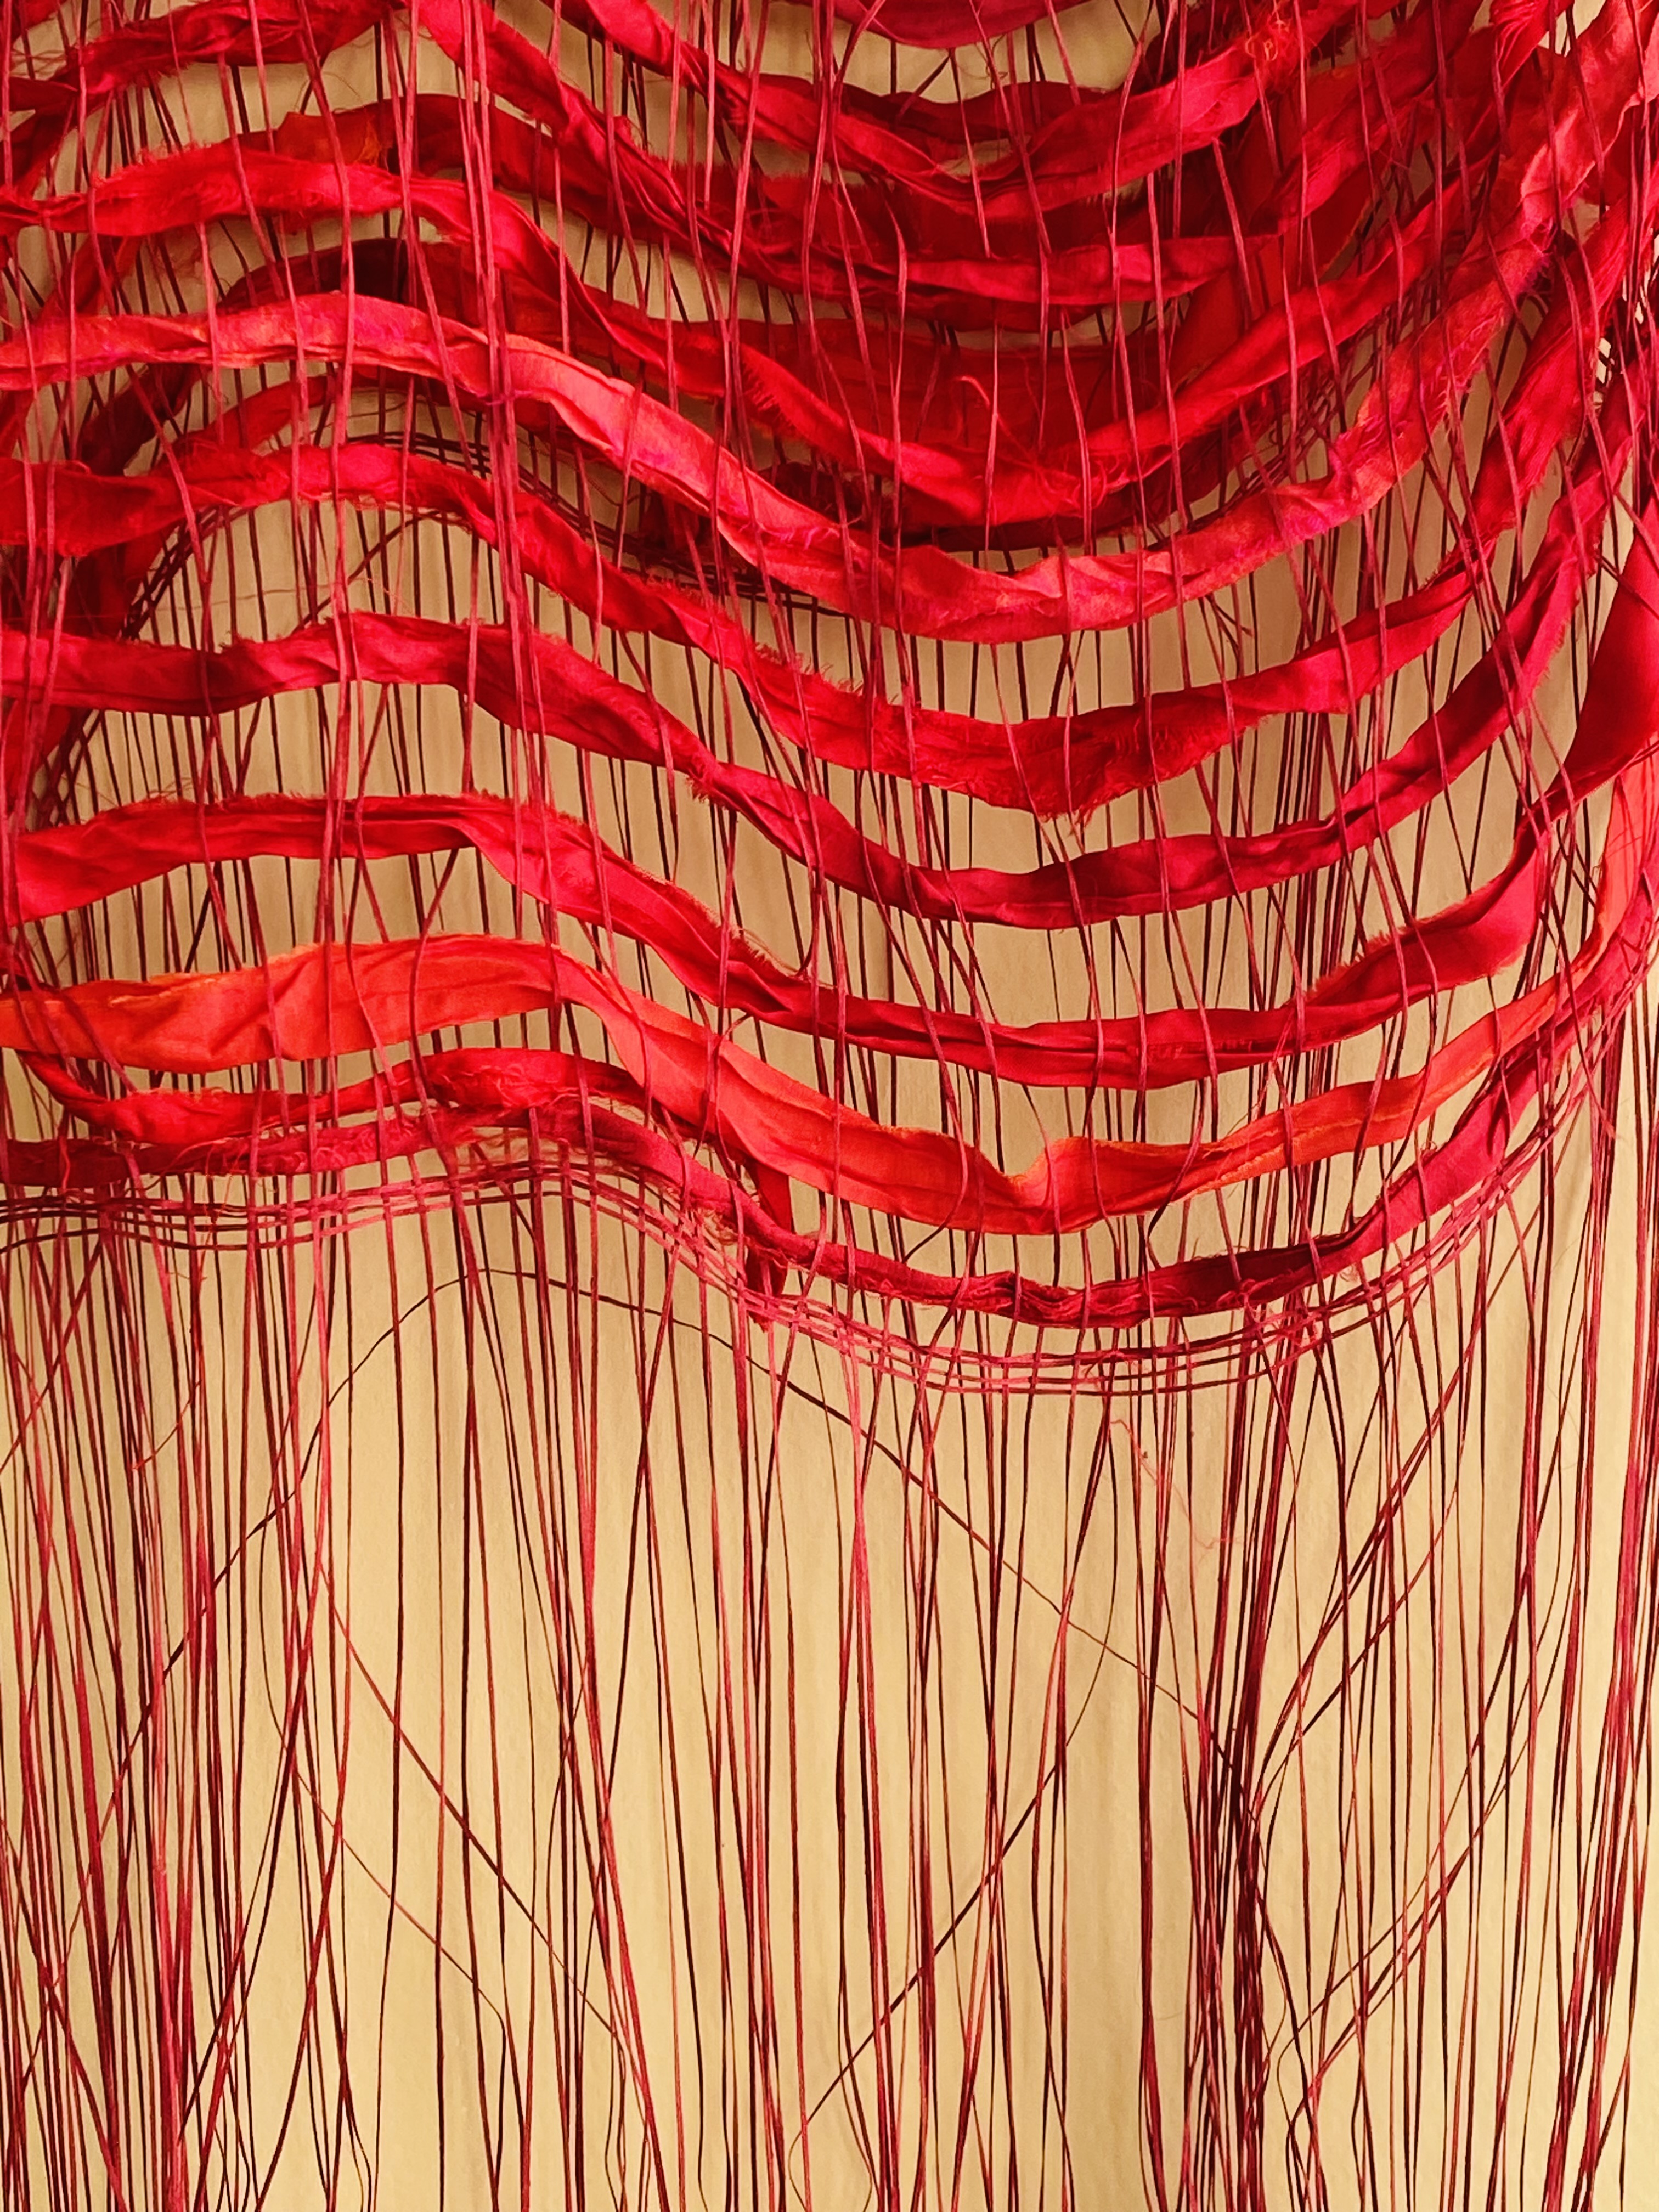
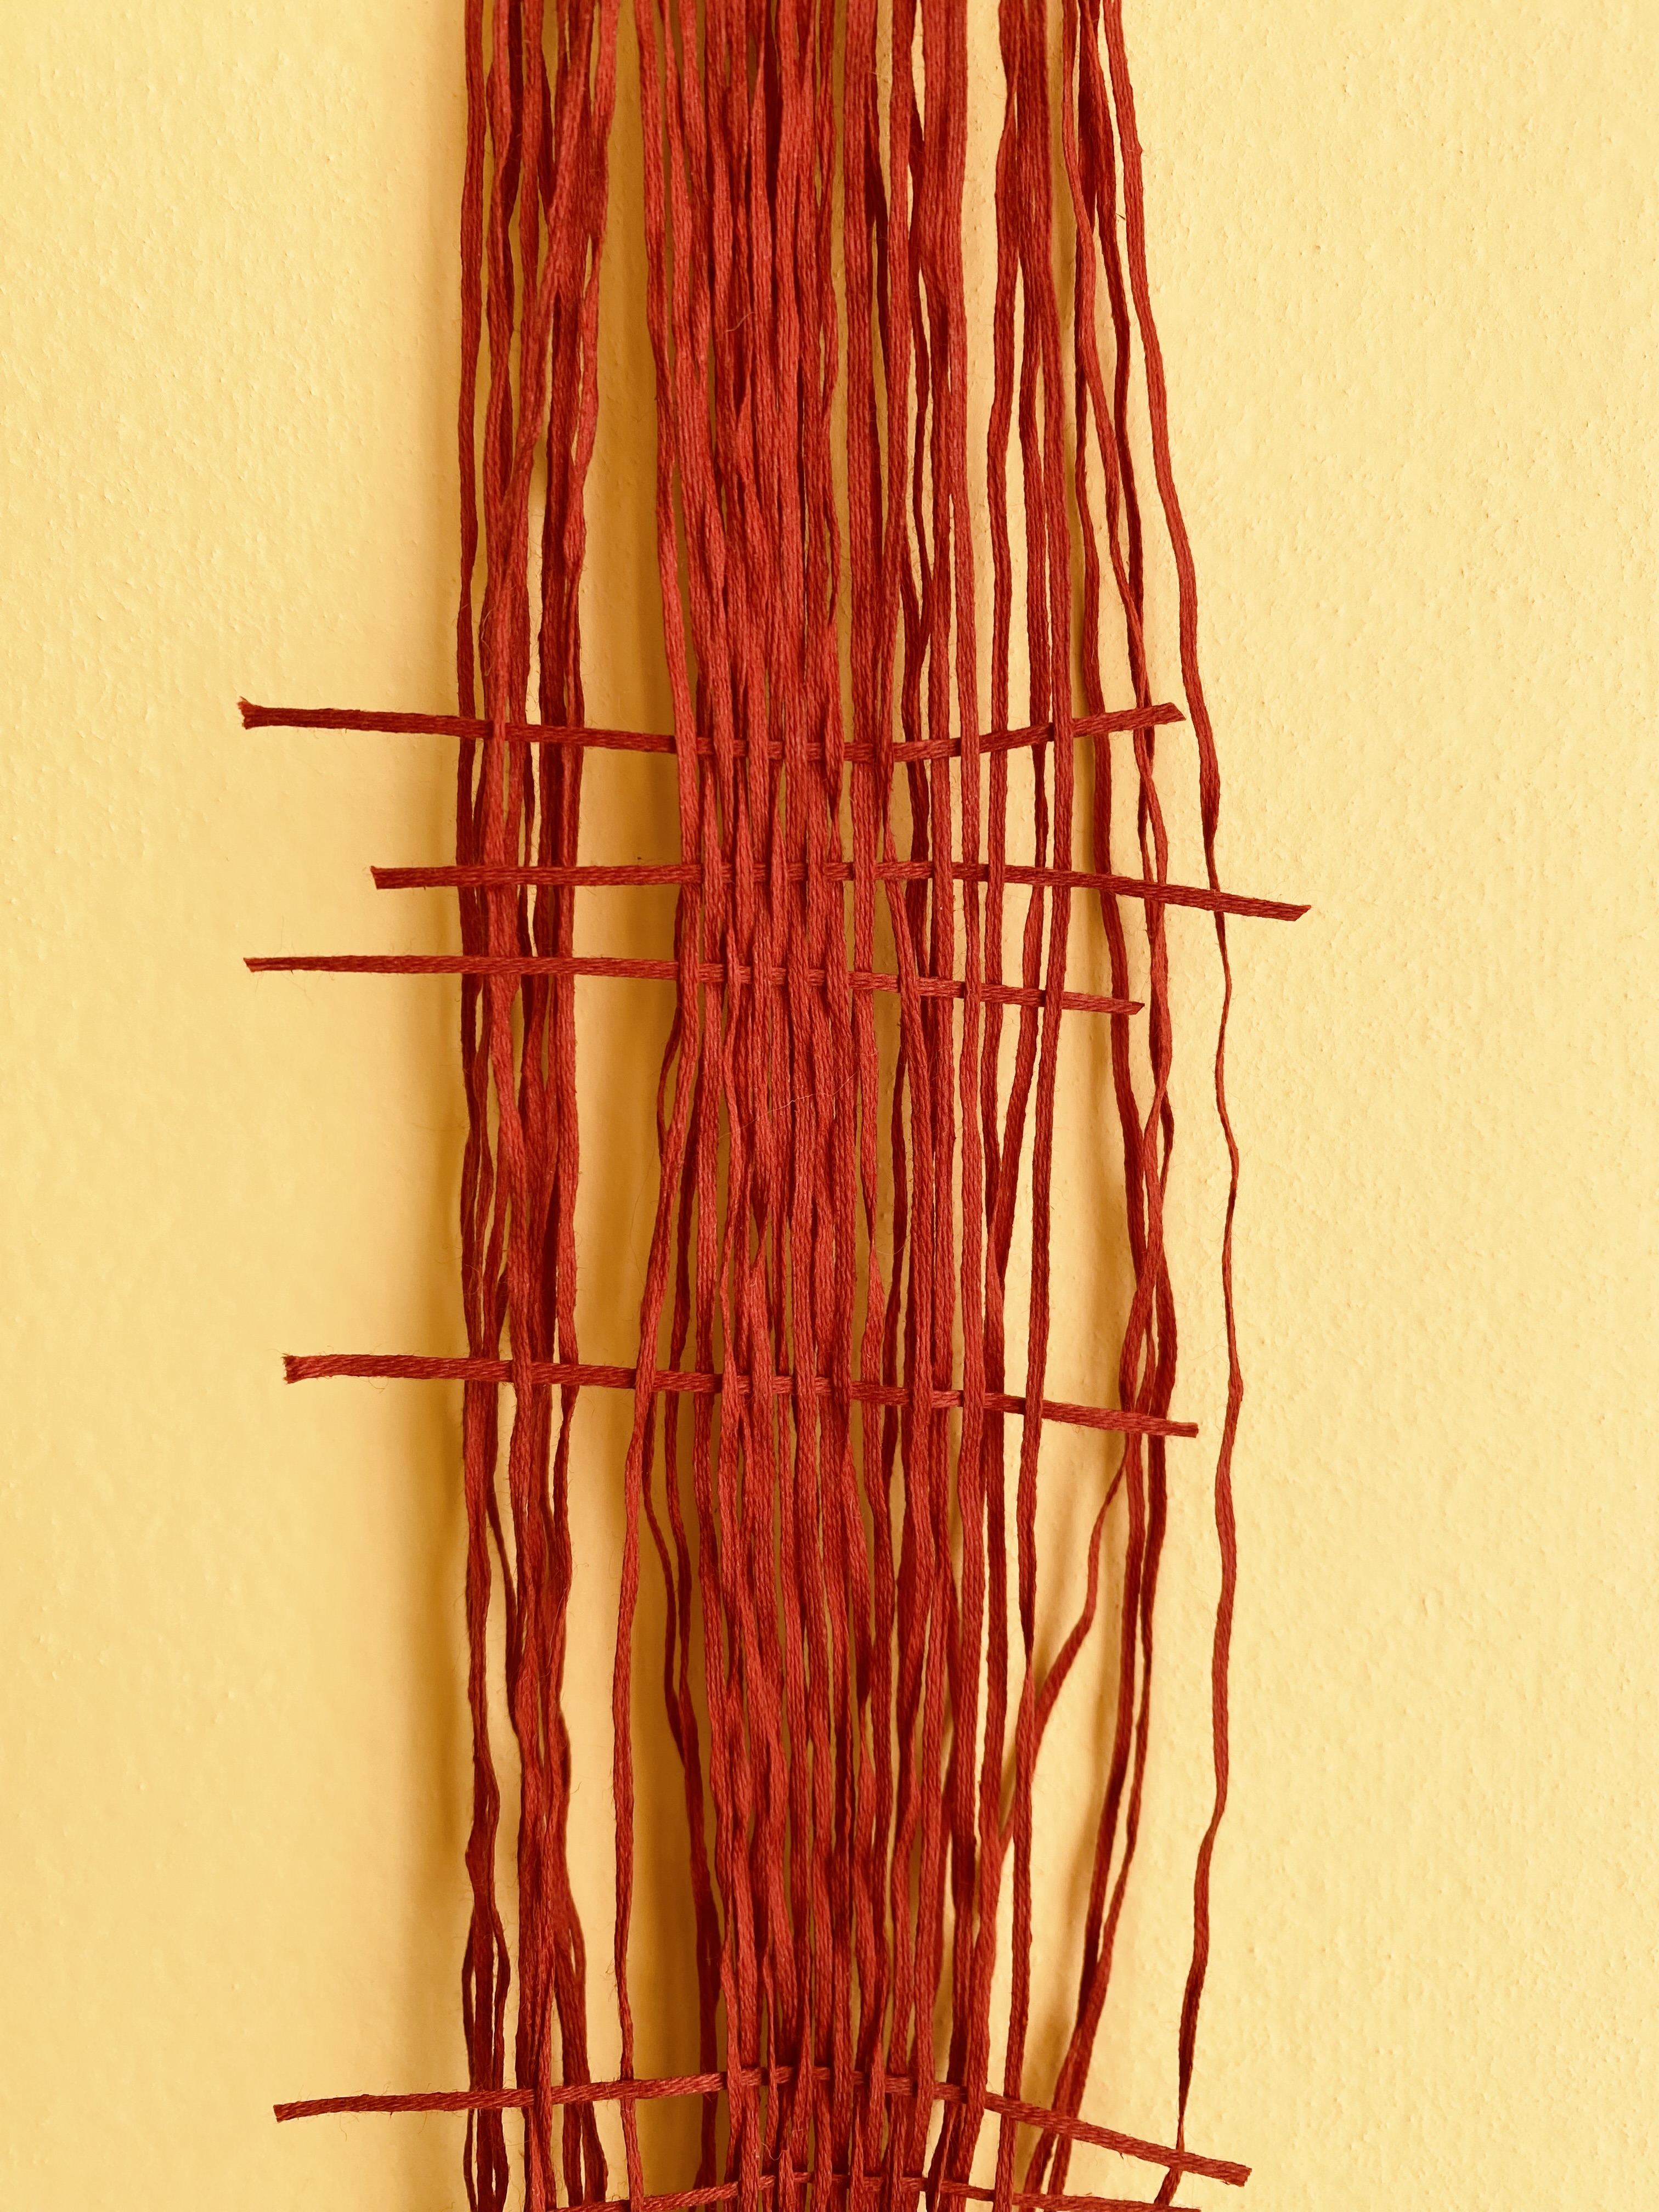
- I let my art flow from feeling- and let it help me see where I’m at. For example, I just pulled a piece off my loom that hadn’t worked the way I wanted it to. But I didn’t want to discard it. I just sat with it on the floor and “followed it’s directions”. The warps needed tying off or it would all fall apart, so I did that, and then as I did that, it took on a shape that I was into, so I moved more in that direction, and then I put it on the wall to look at it and had an idea for how I want it hung, and then I saw that it is reflecting how I feel and what I am trying to keep together- and – there it was… a totally unplanned expression of feeling at this moment in time…
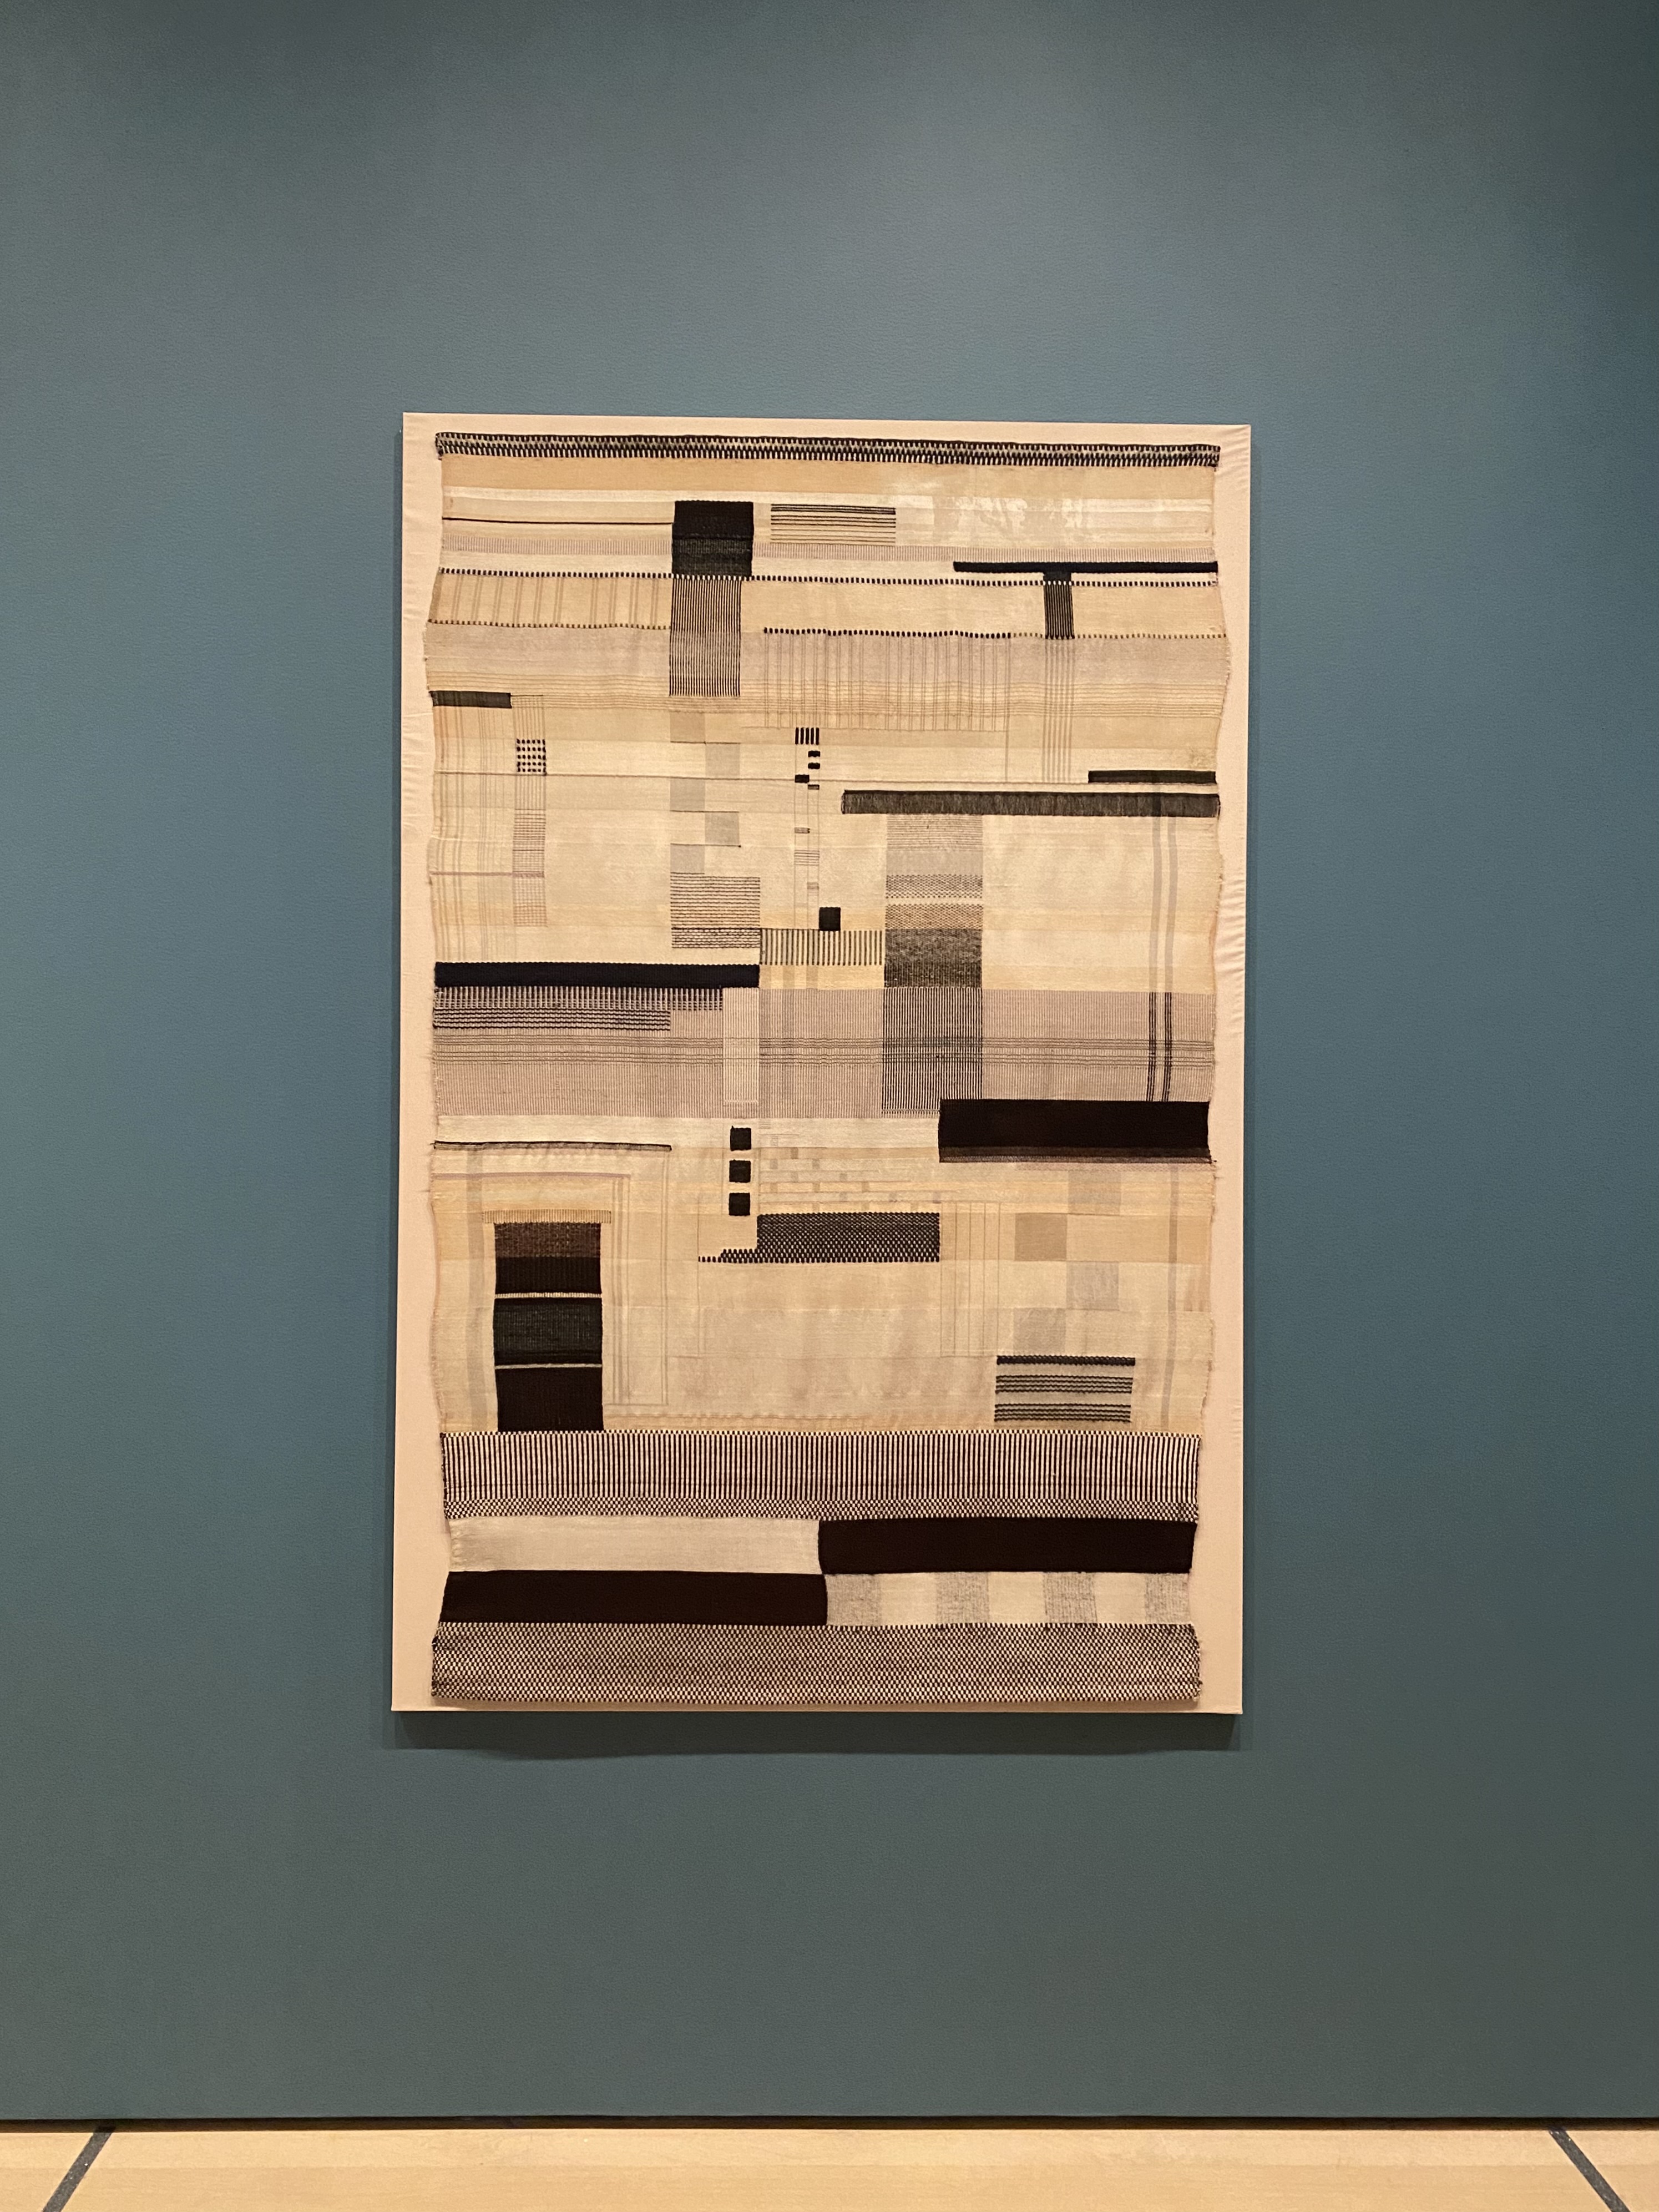
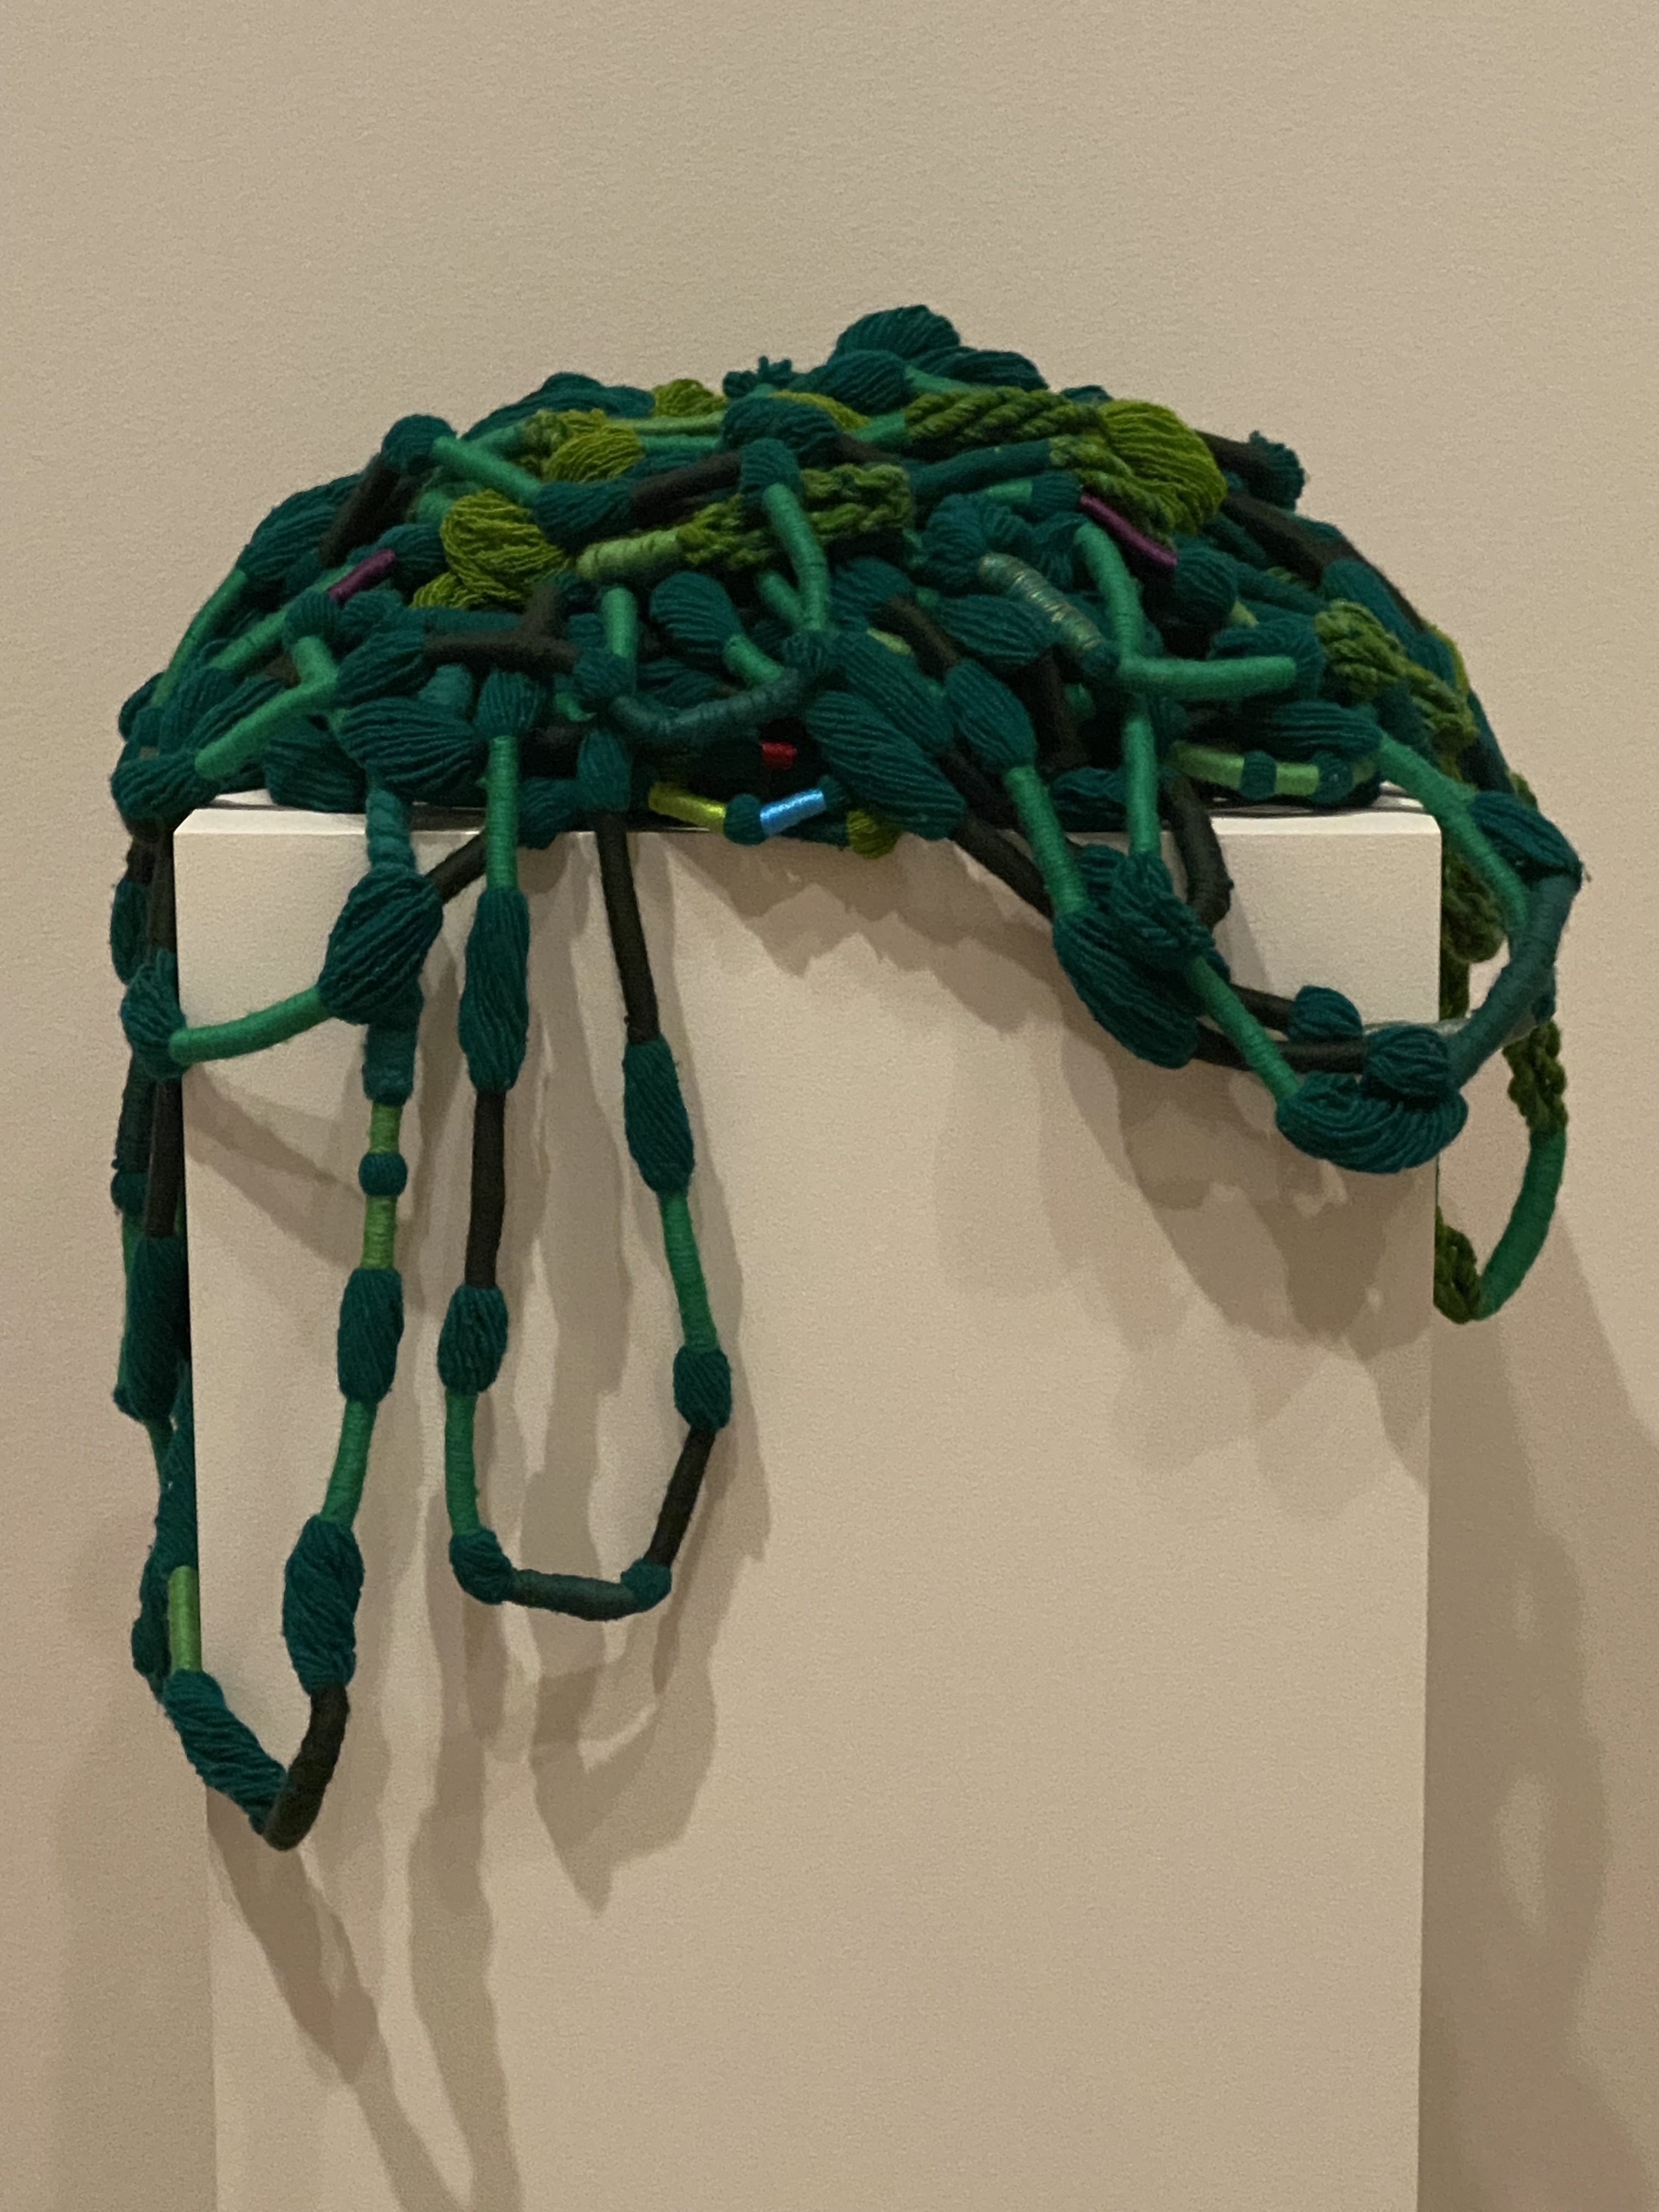
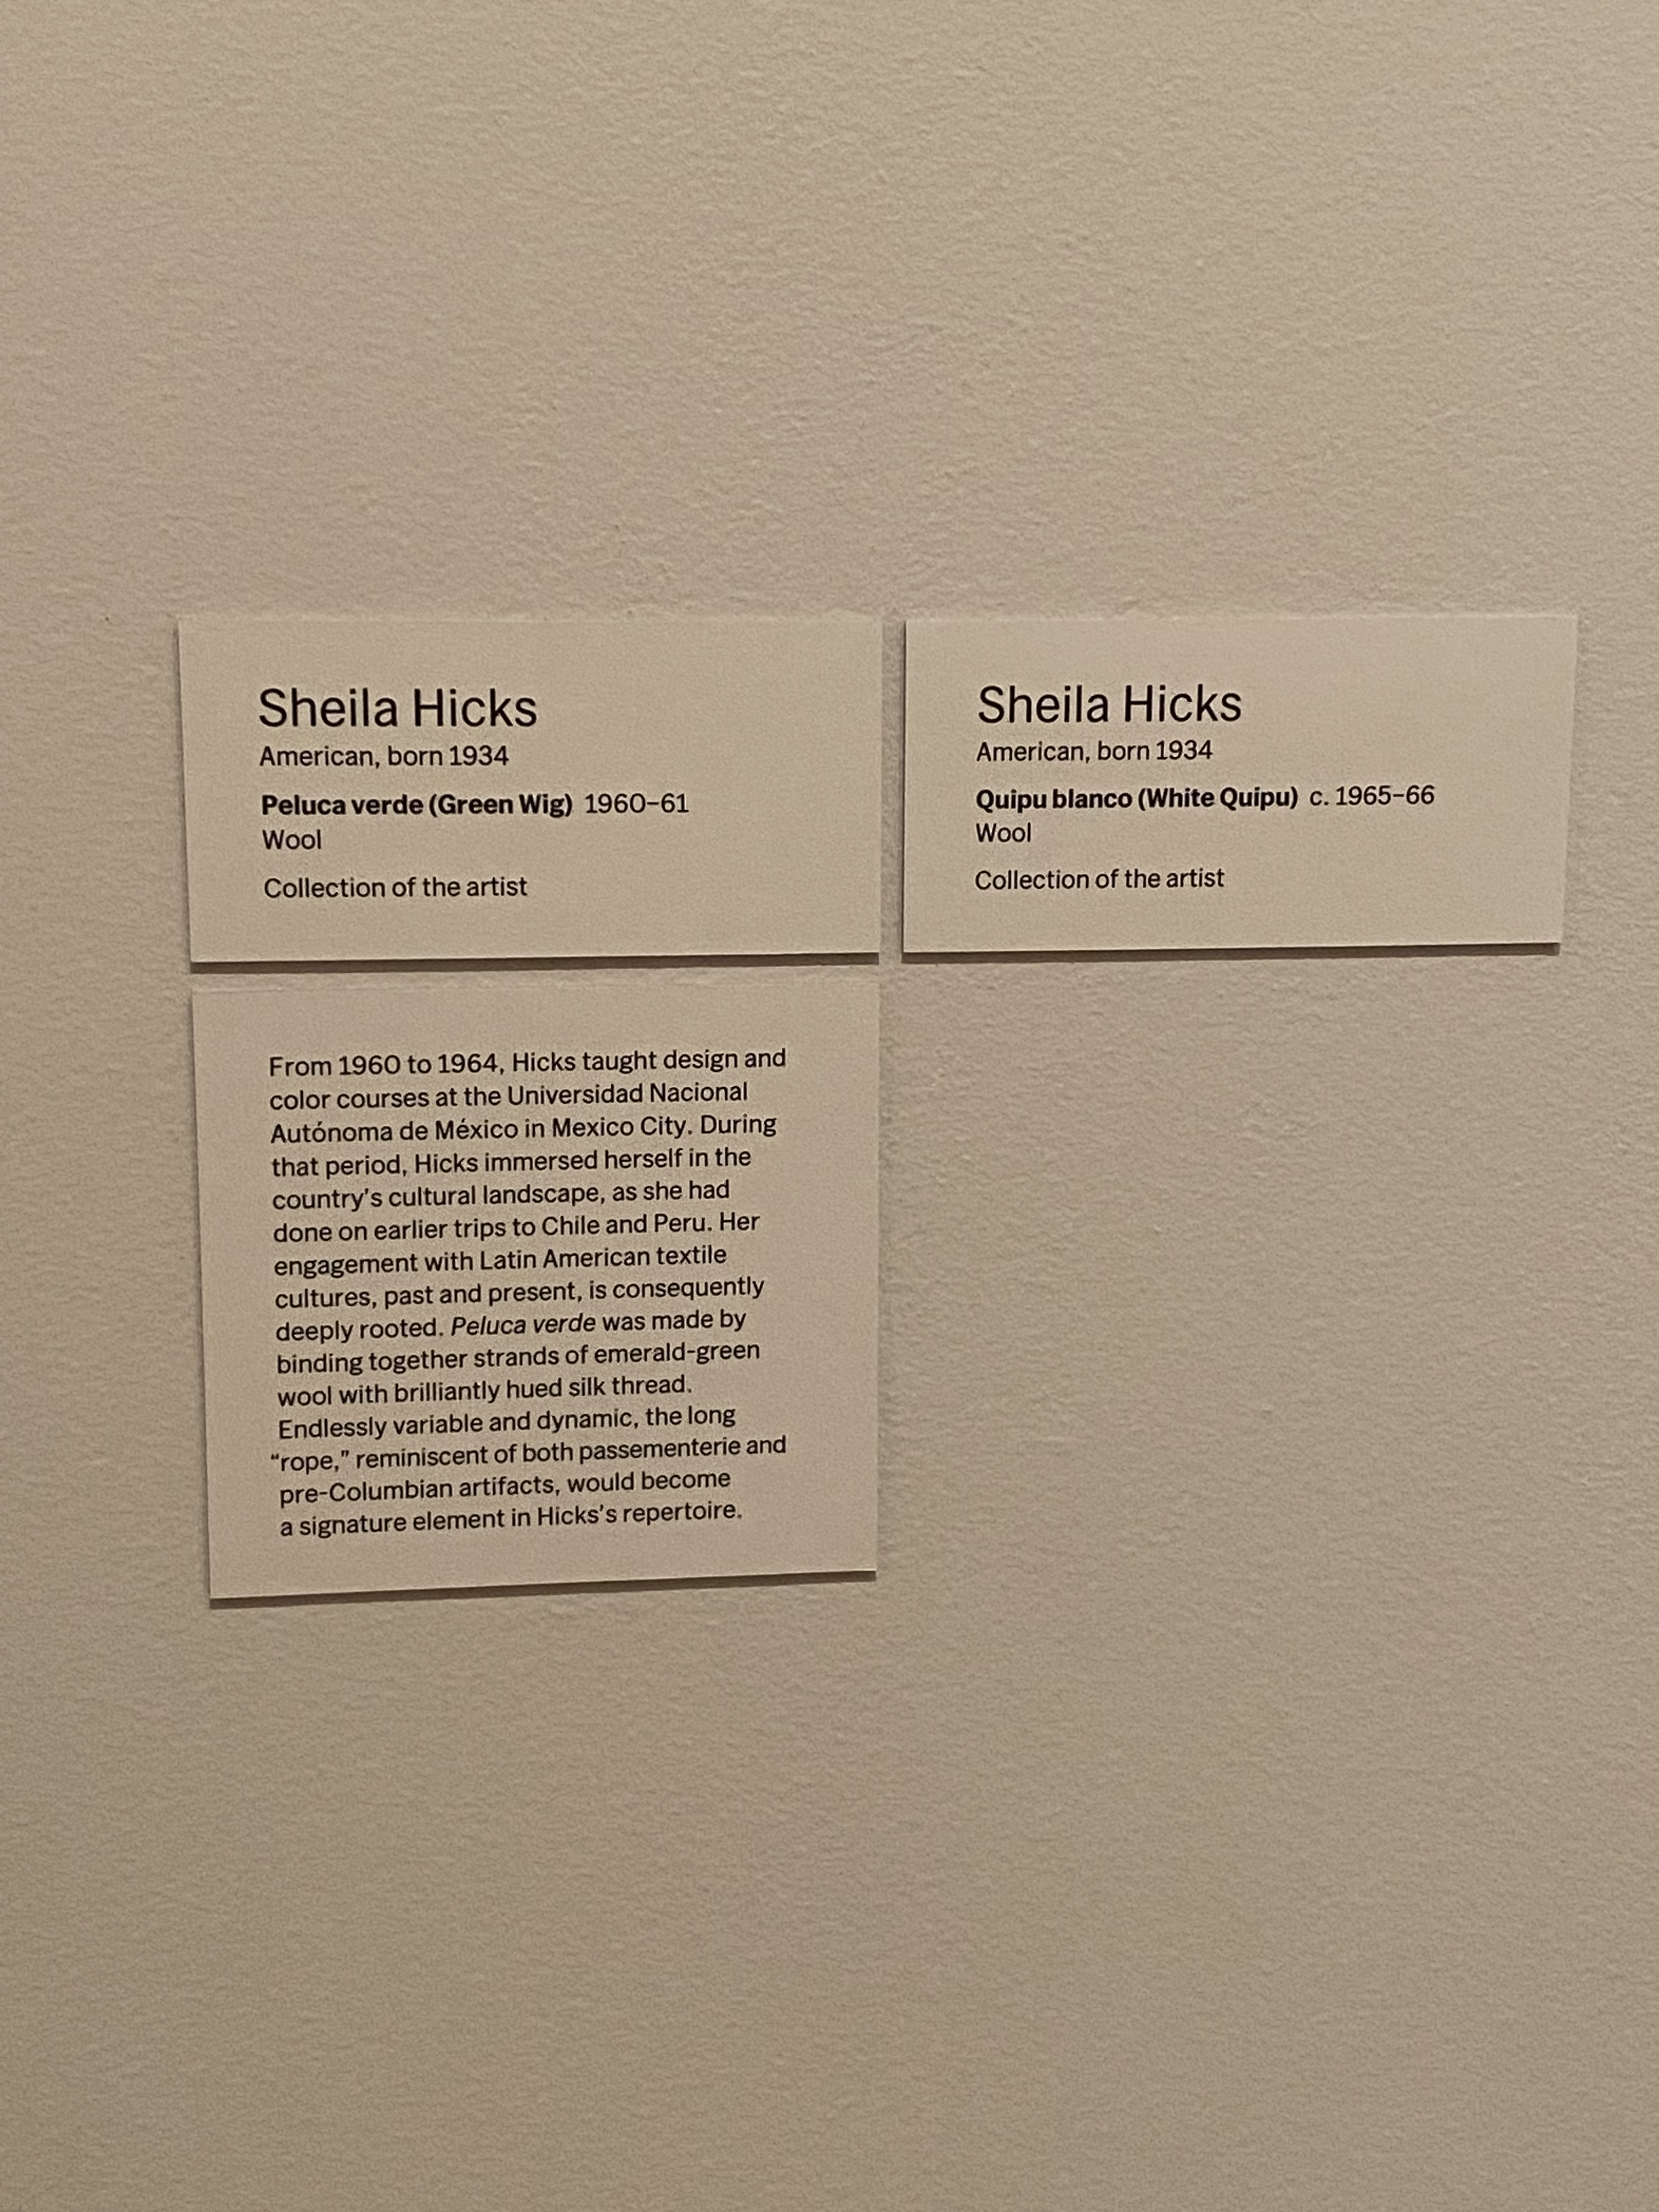
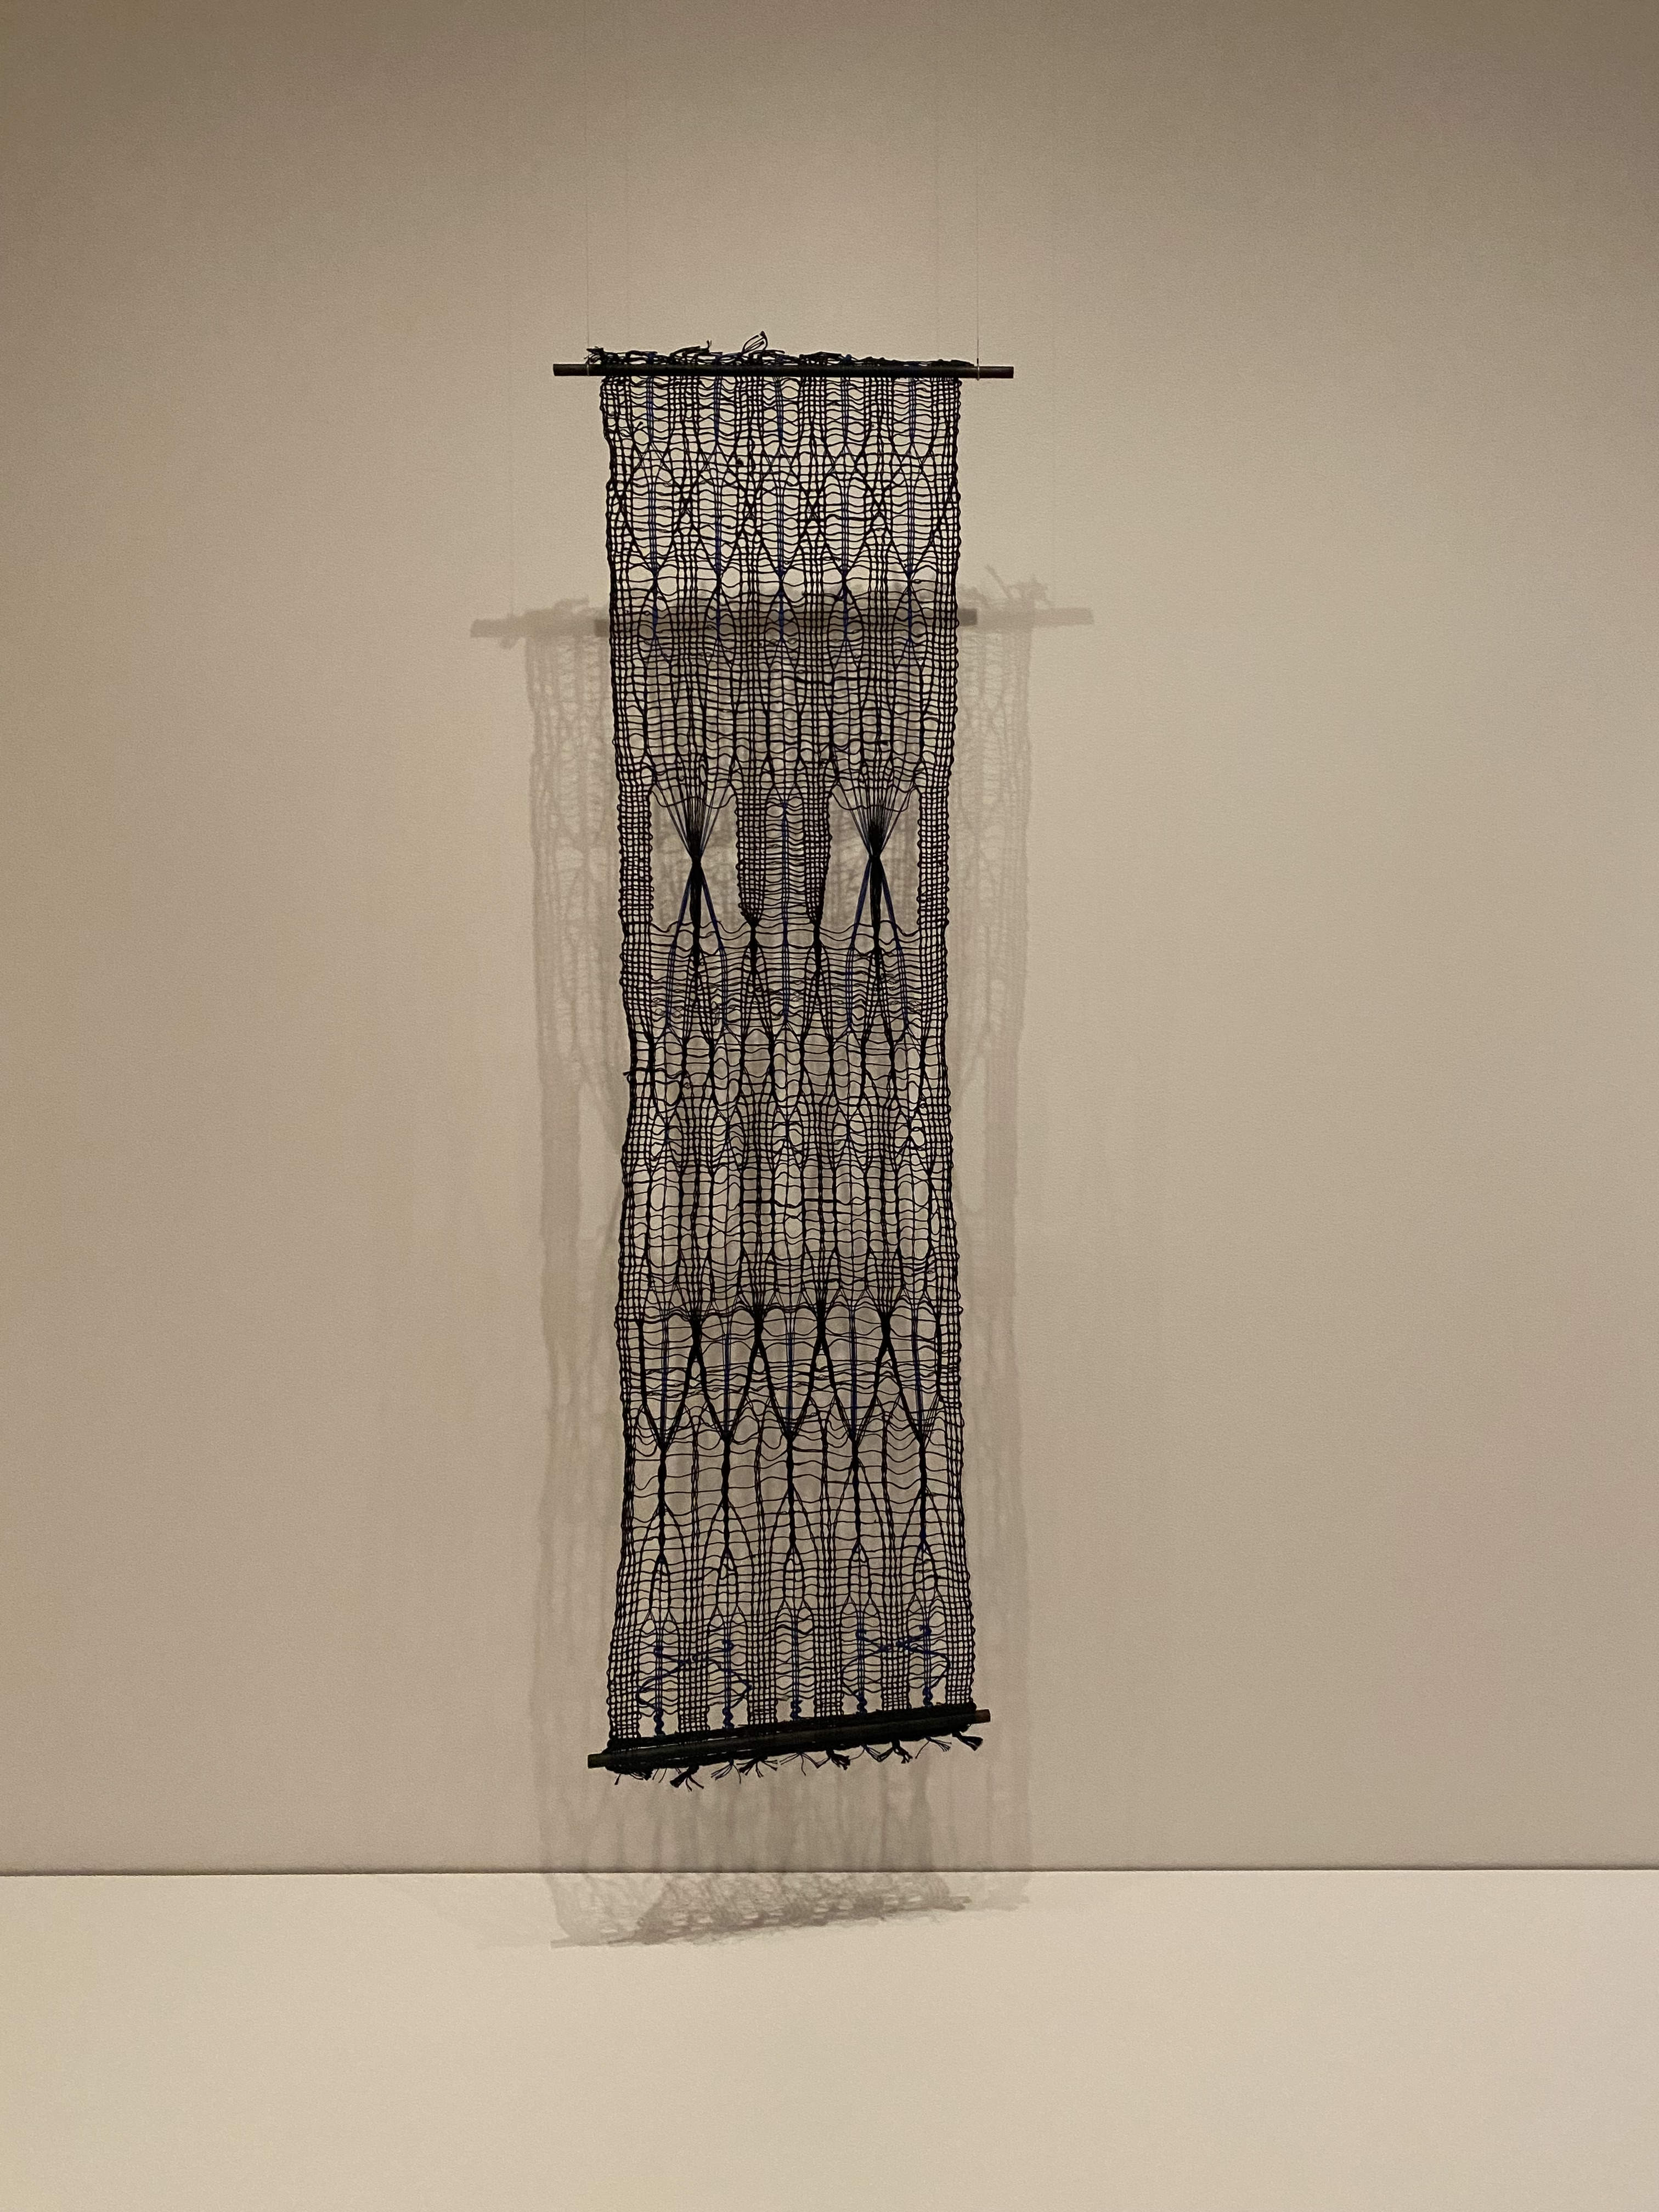
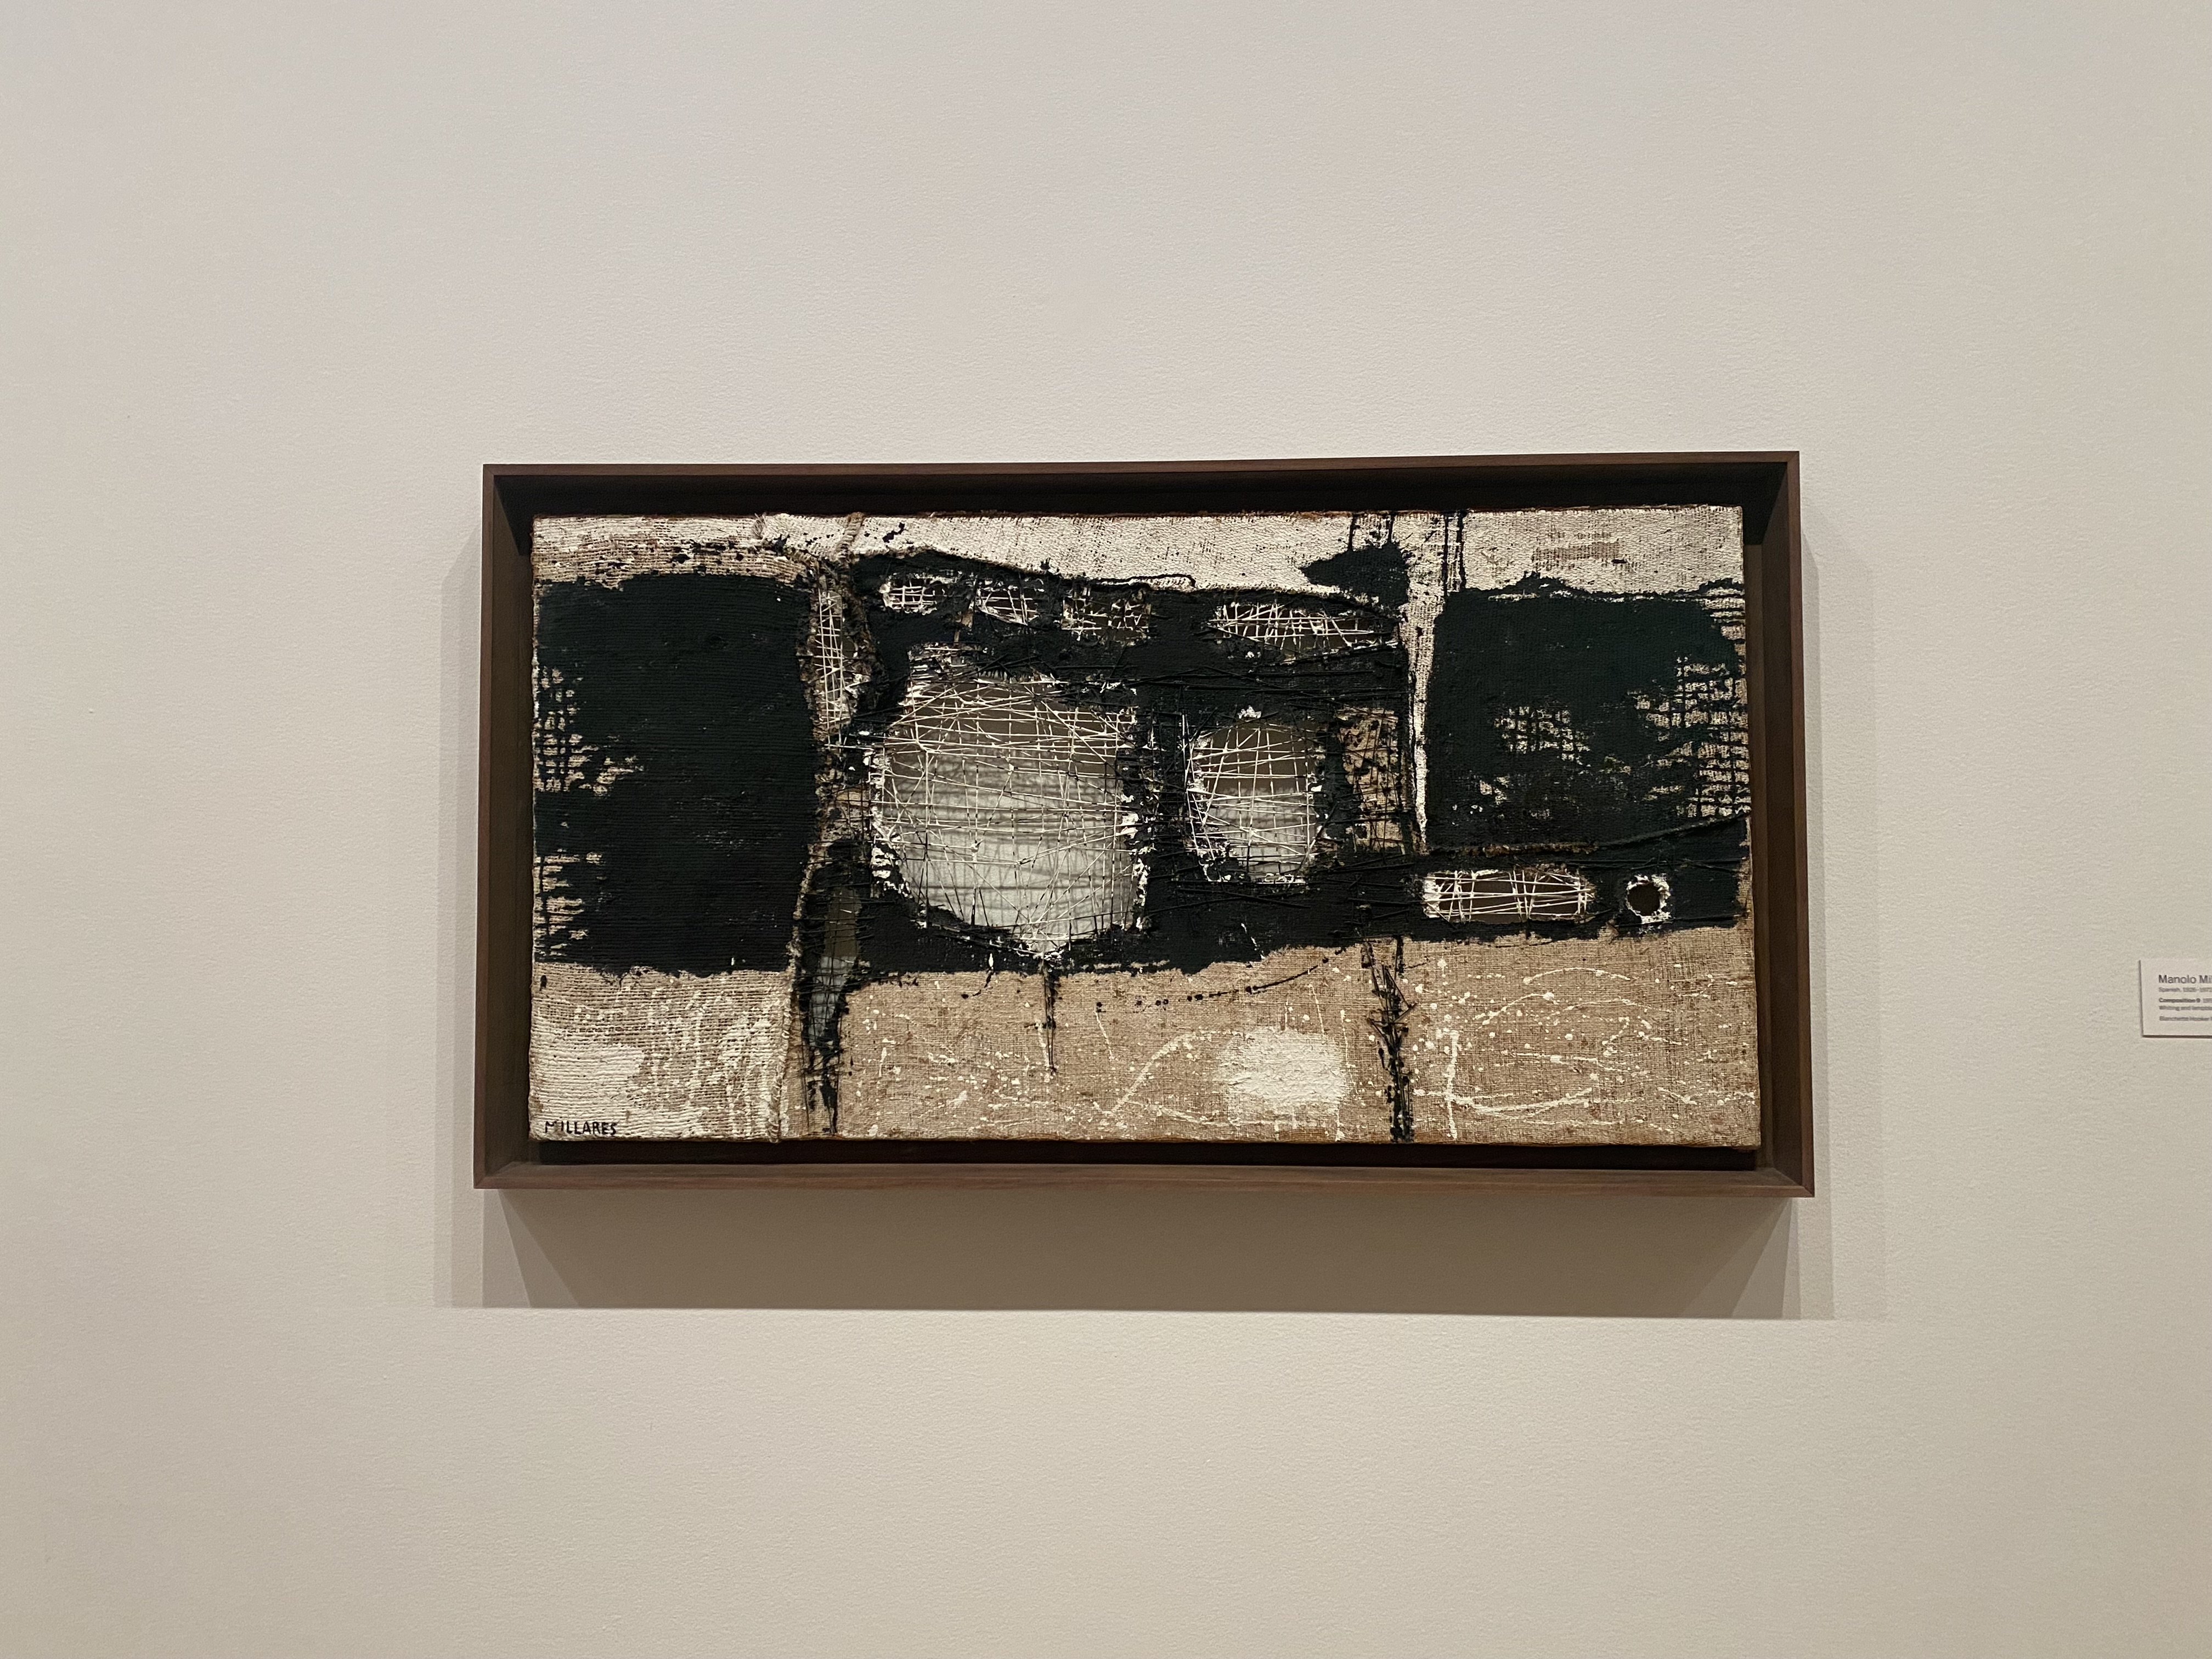
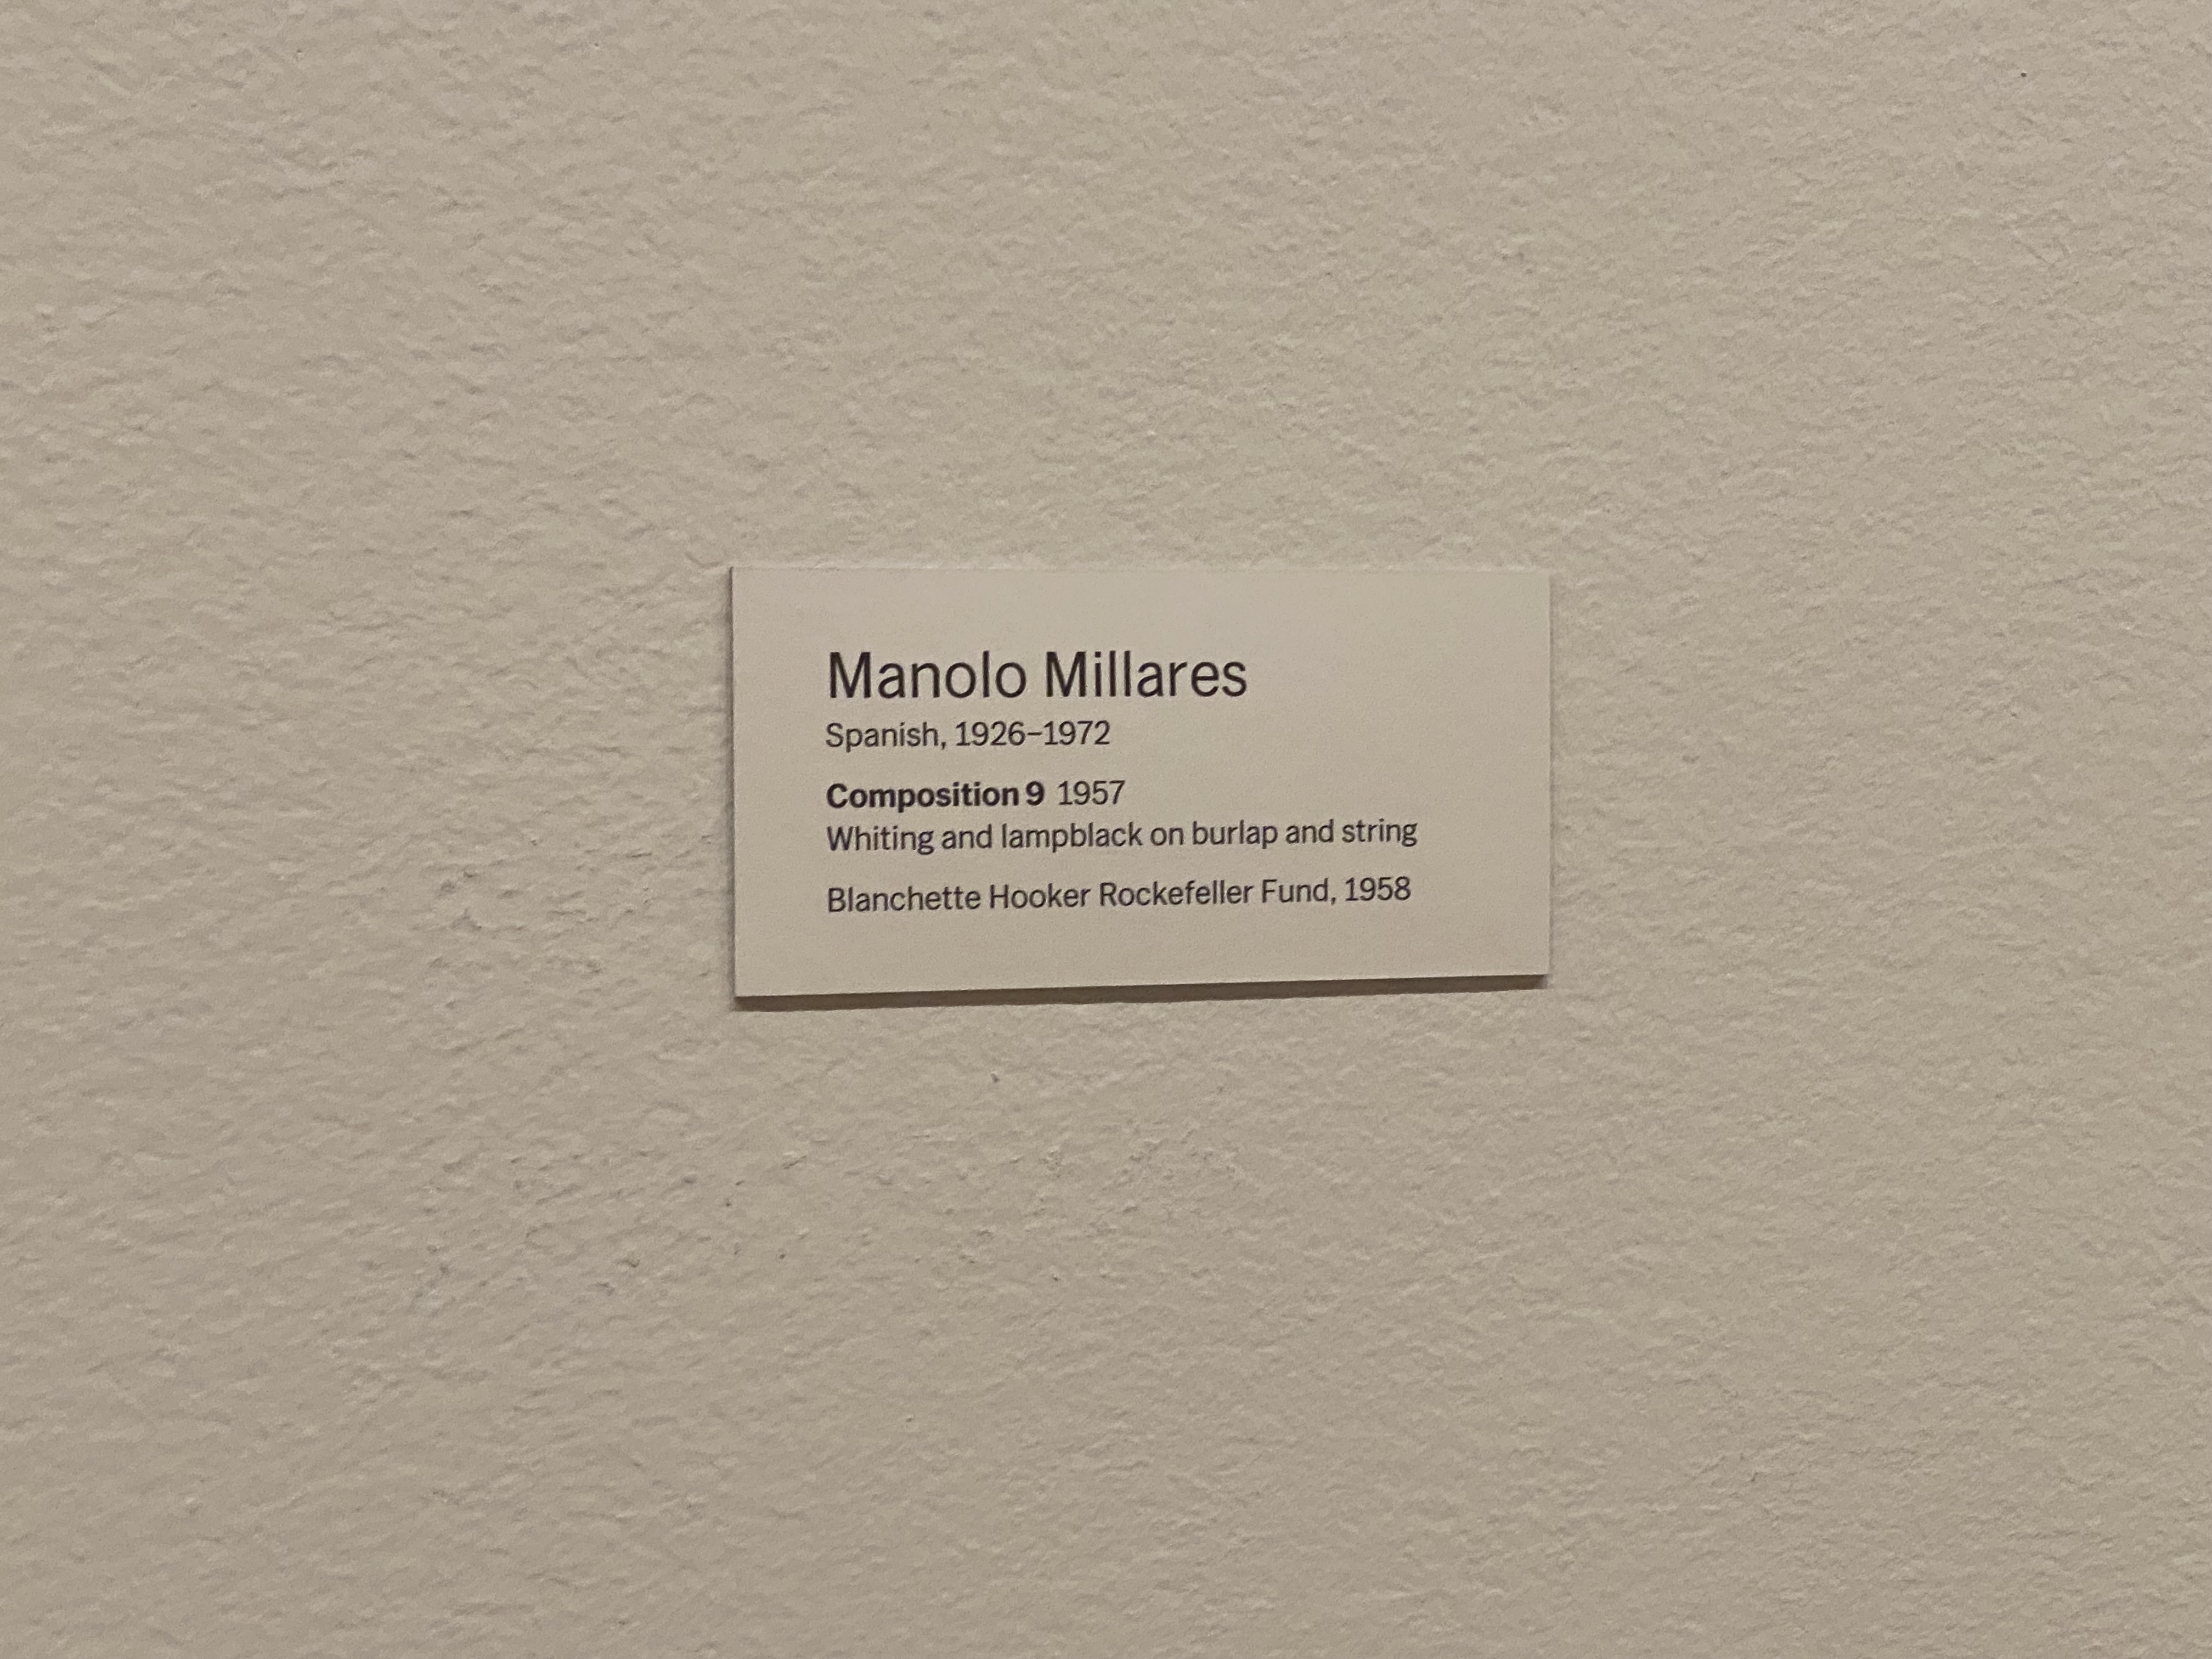
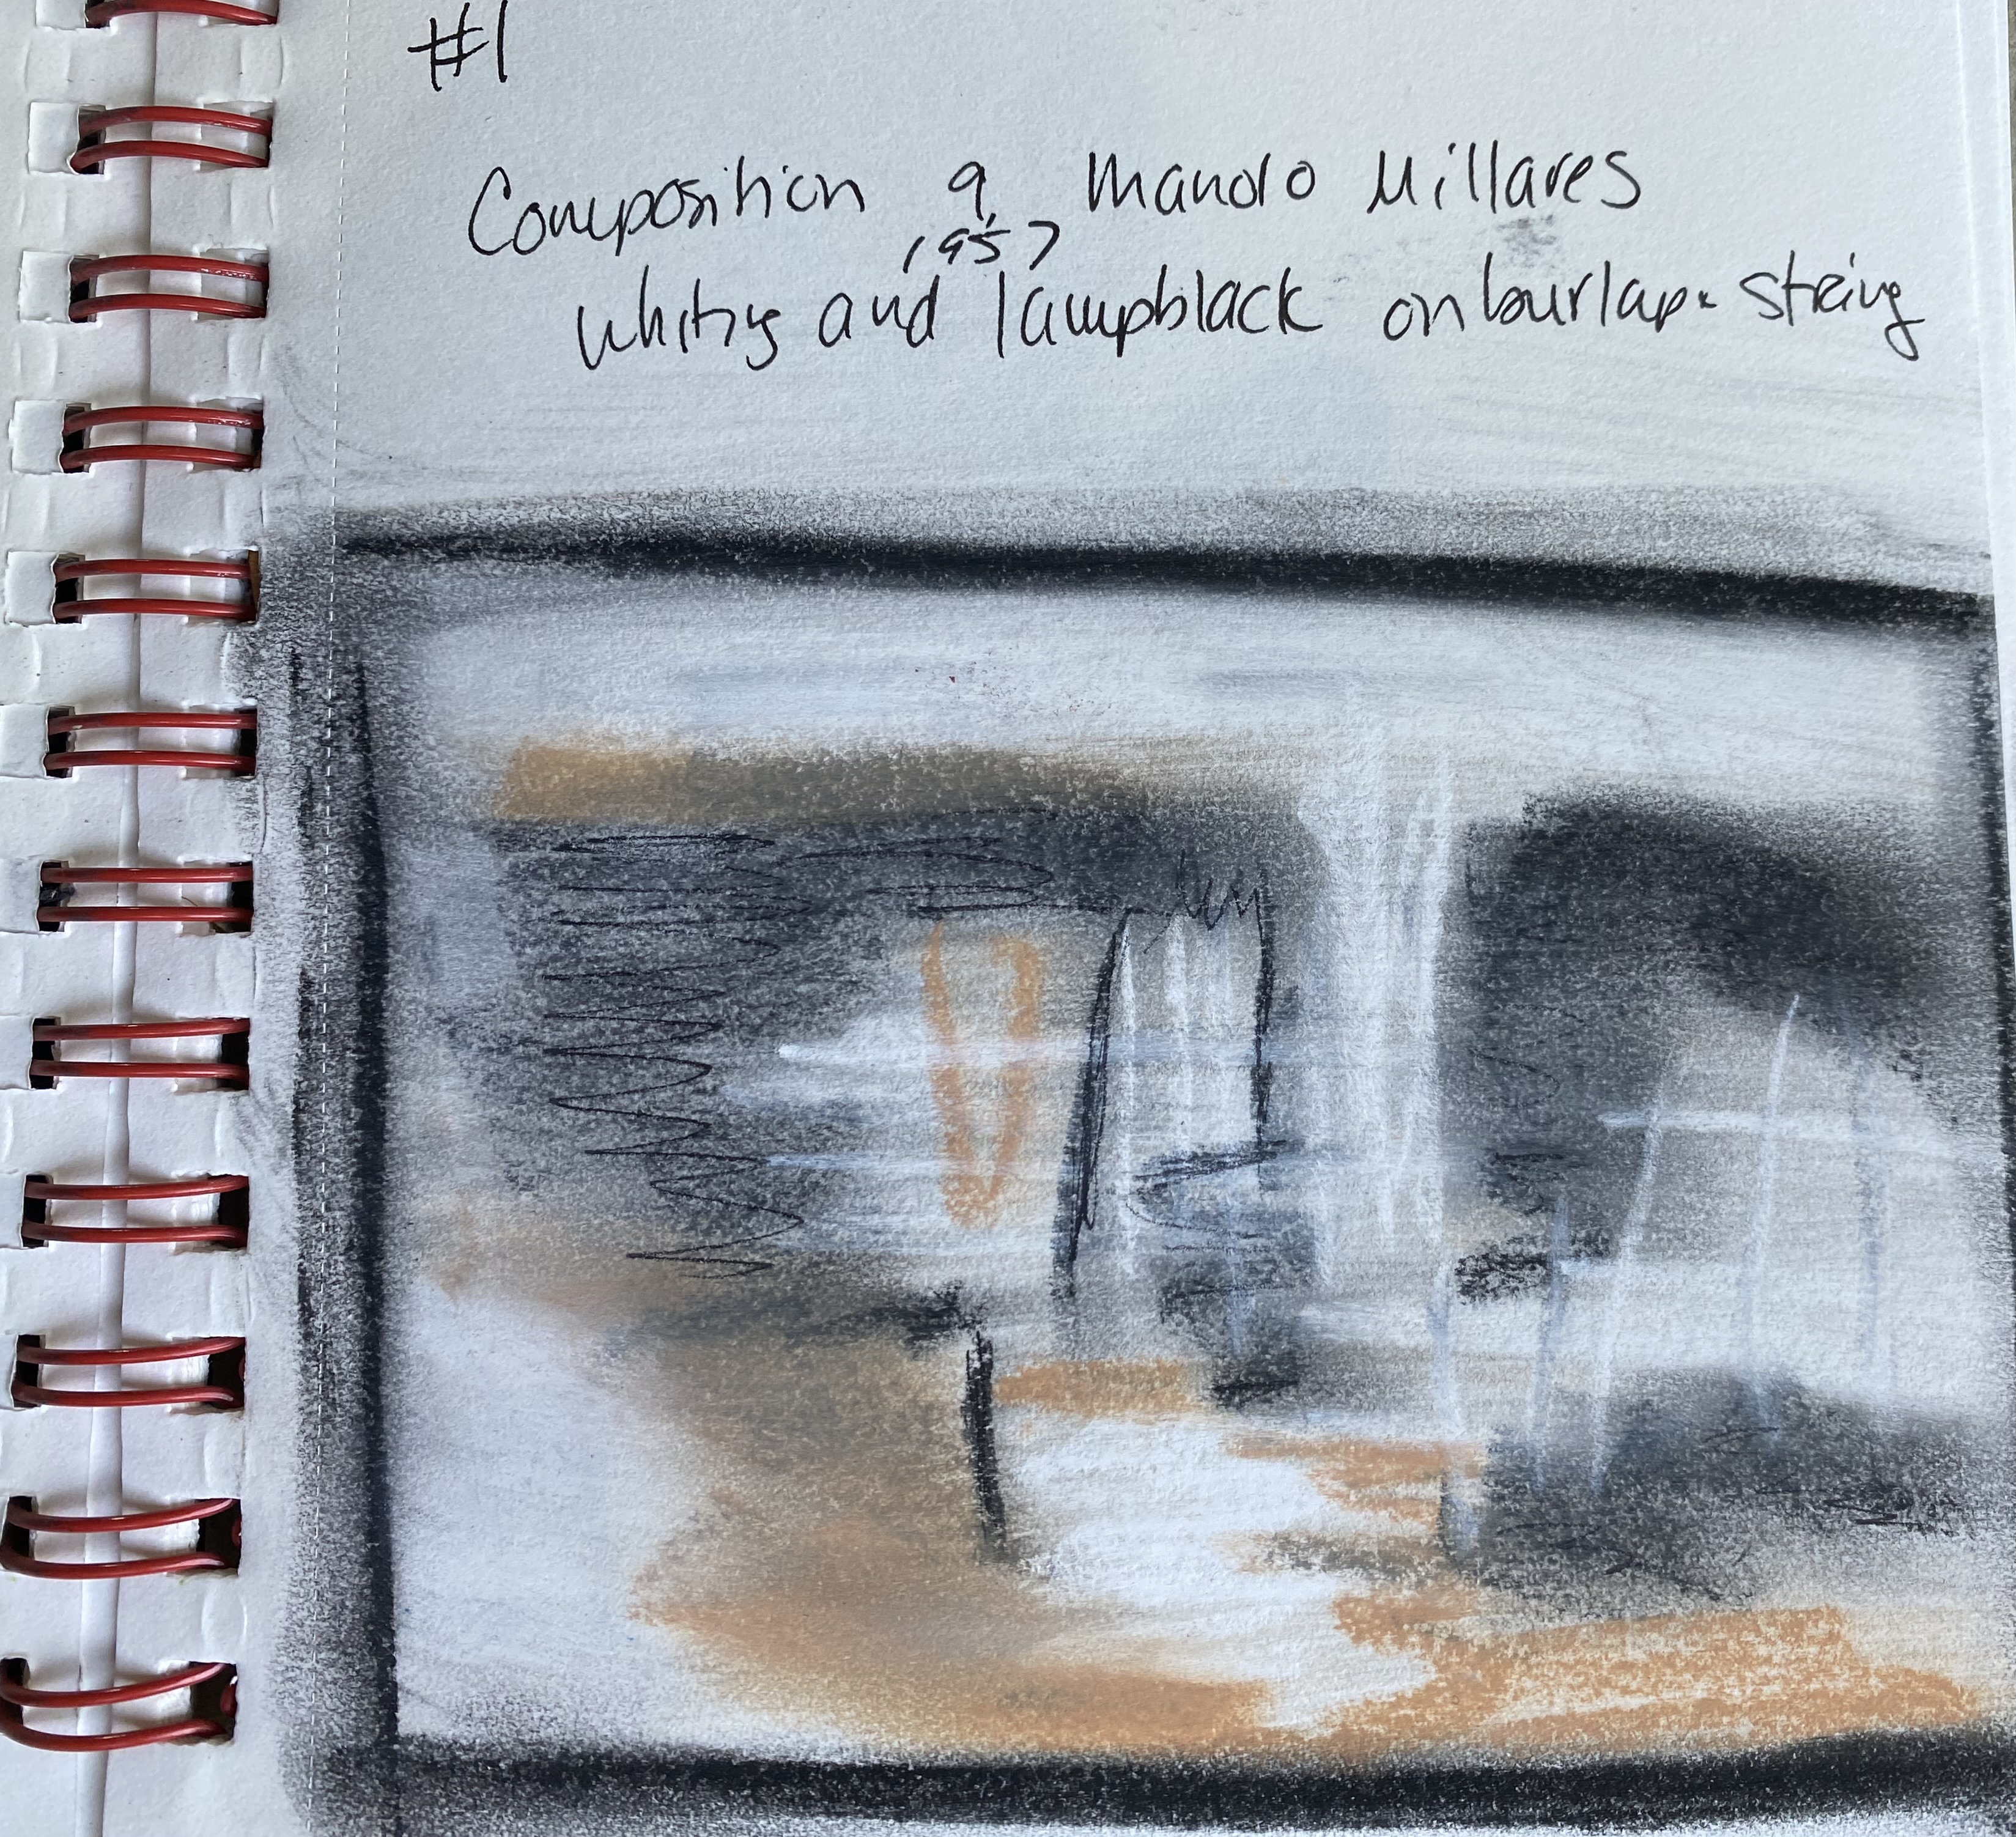
- I look at art- if possible in person, but also in books and magazines and online.
- I face down the internal pressure I feel at times to make all things useful or “worth it”.
- I don’t judge my mistakes (or i try not to). Sometimes (like above) I end up liking them!

- I look for ways to tie my practice into meaning- sometimes in protest, sometimes for fundraising for causes I believe in, sometimes to process an emotional struggle. (check out this place which is fundraising for asylum seekers to help with legal fees in Vermont).
Creativity may very well be a strongest bridge we have to cross to better health and more dynamic social connection. Creative expression brings people together and brings us closer to our own hearts. It’s a total win-win. It’s not a waste of time. And it’s not selfish.
Tell me about your creative process! I love hearing about how people nurture their own sparkly ideas.
Until next time,
bradie