I am on a plane right now, heading back to the Northeast US from Mexico. I was invited to go on the trip by the director of the Shelburne Craft School, Heather Moore, and was able to bring my daughter. Heather had her family with her, too.
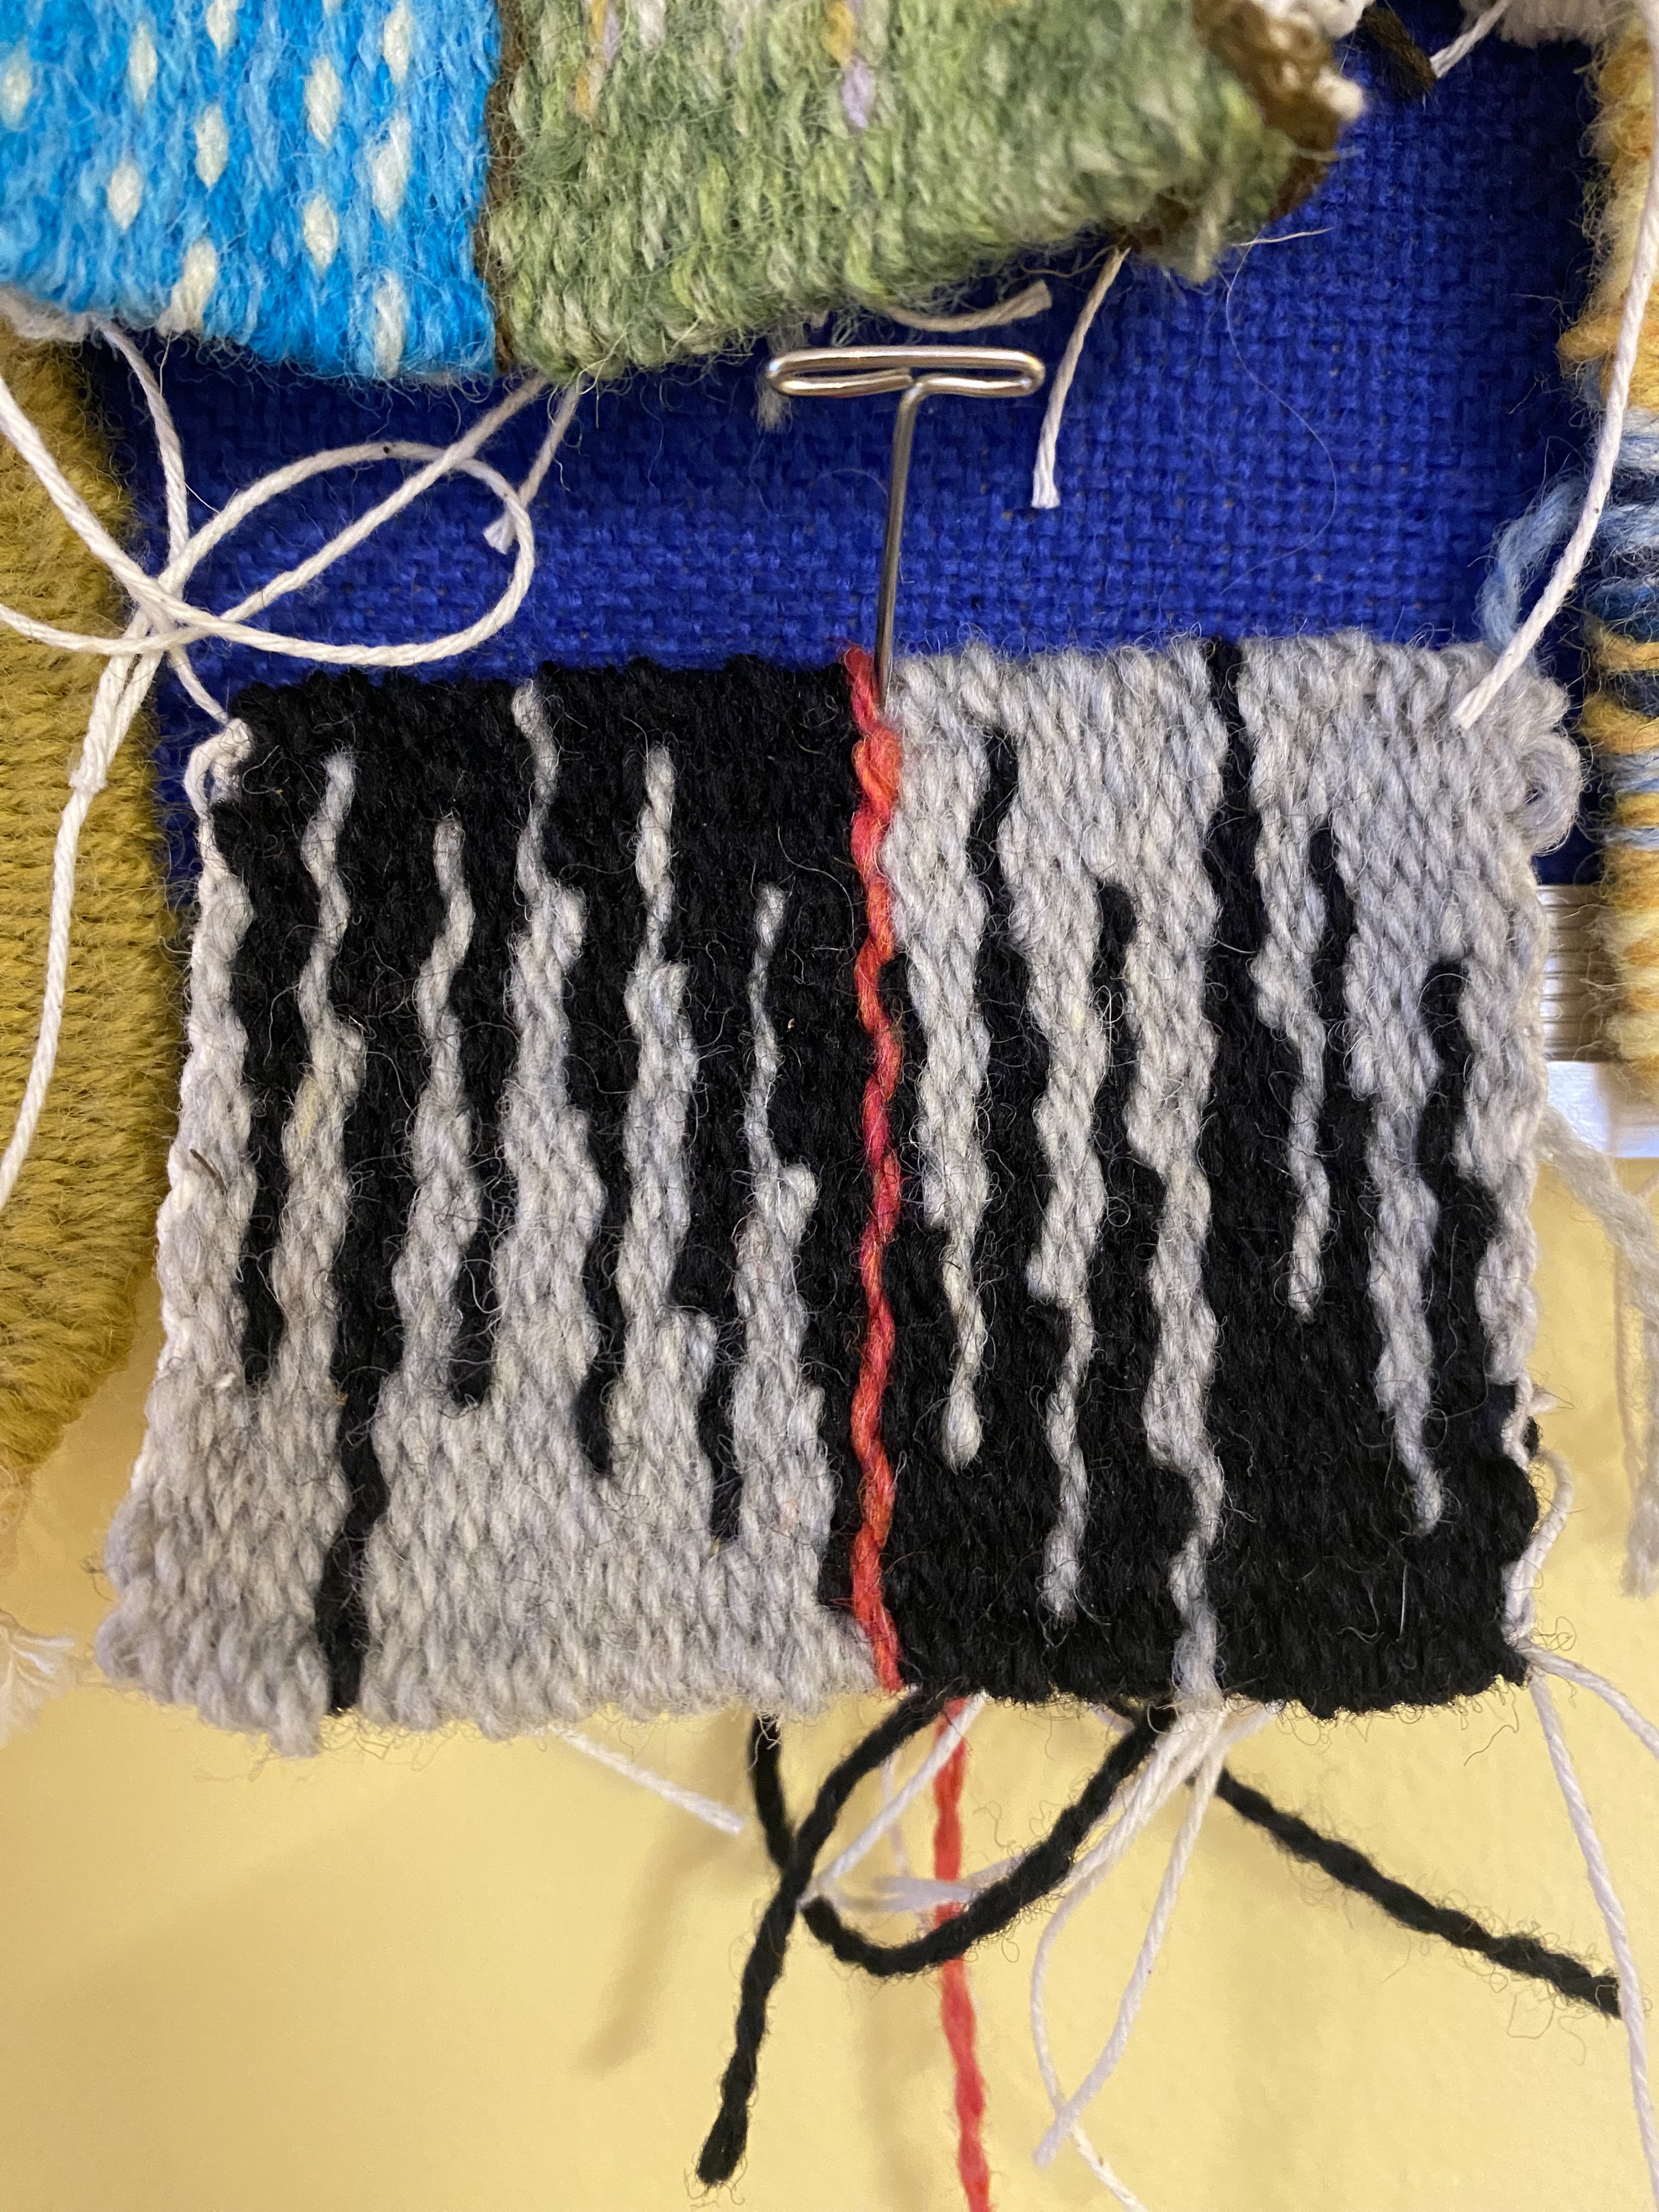
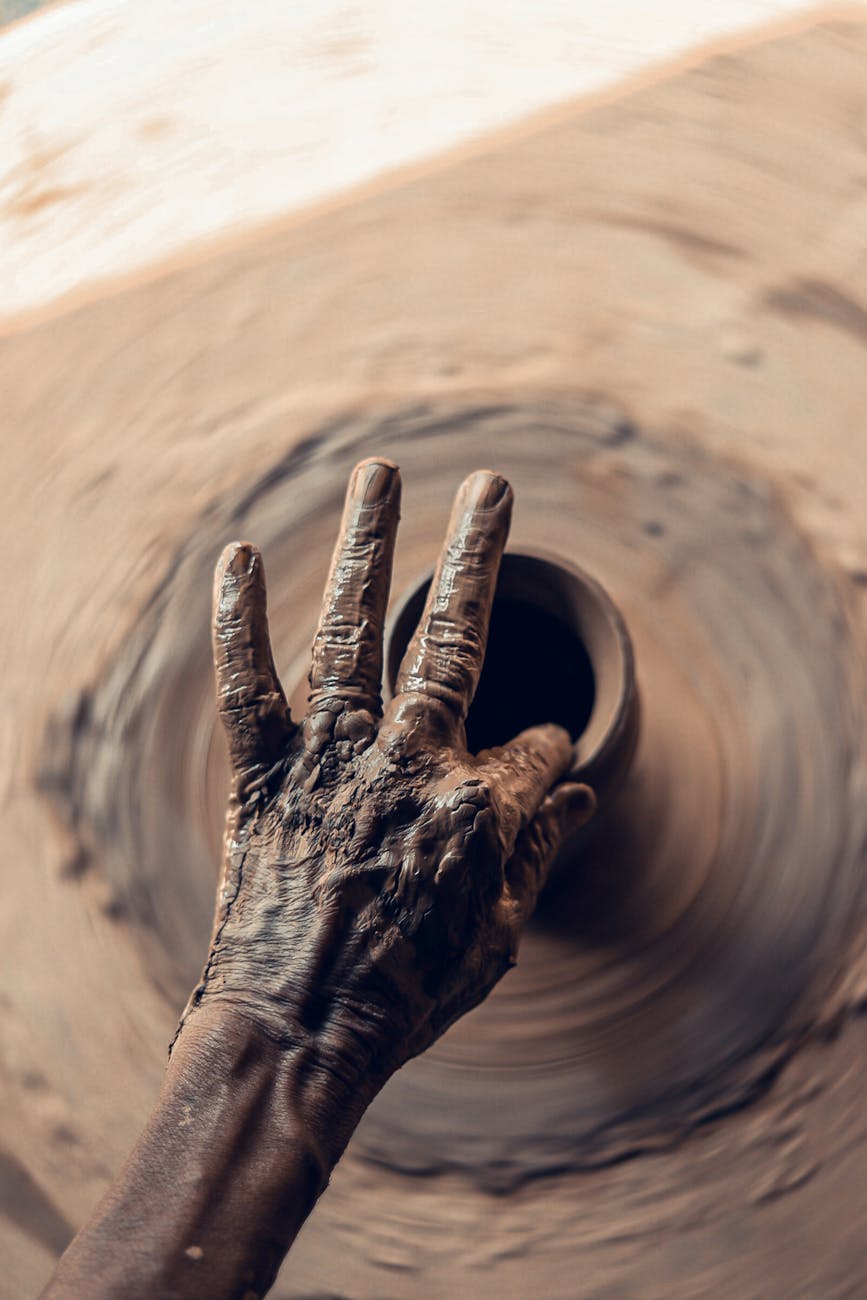
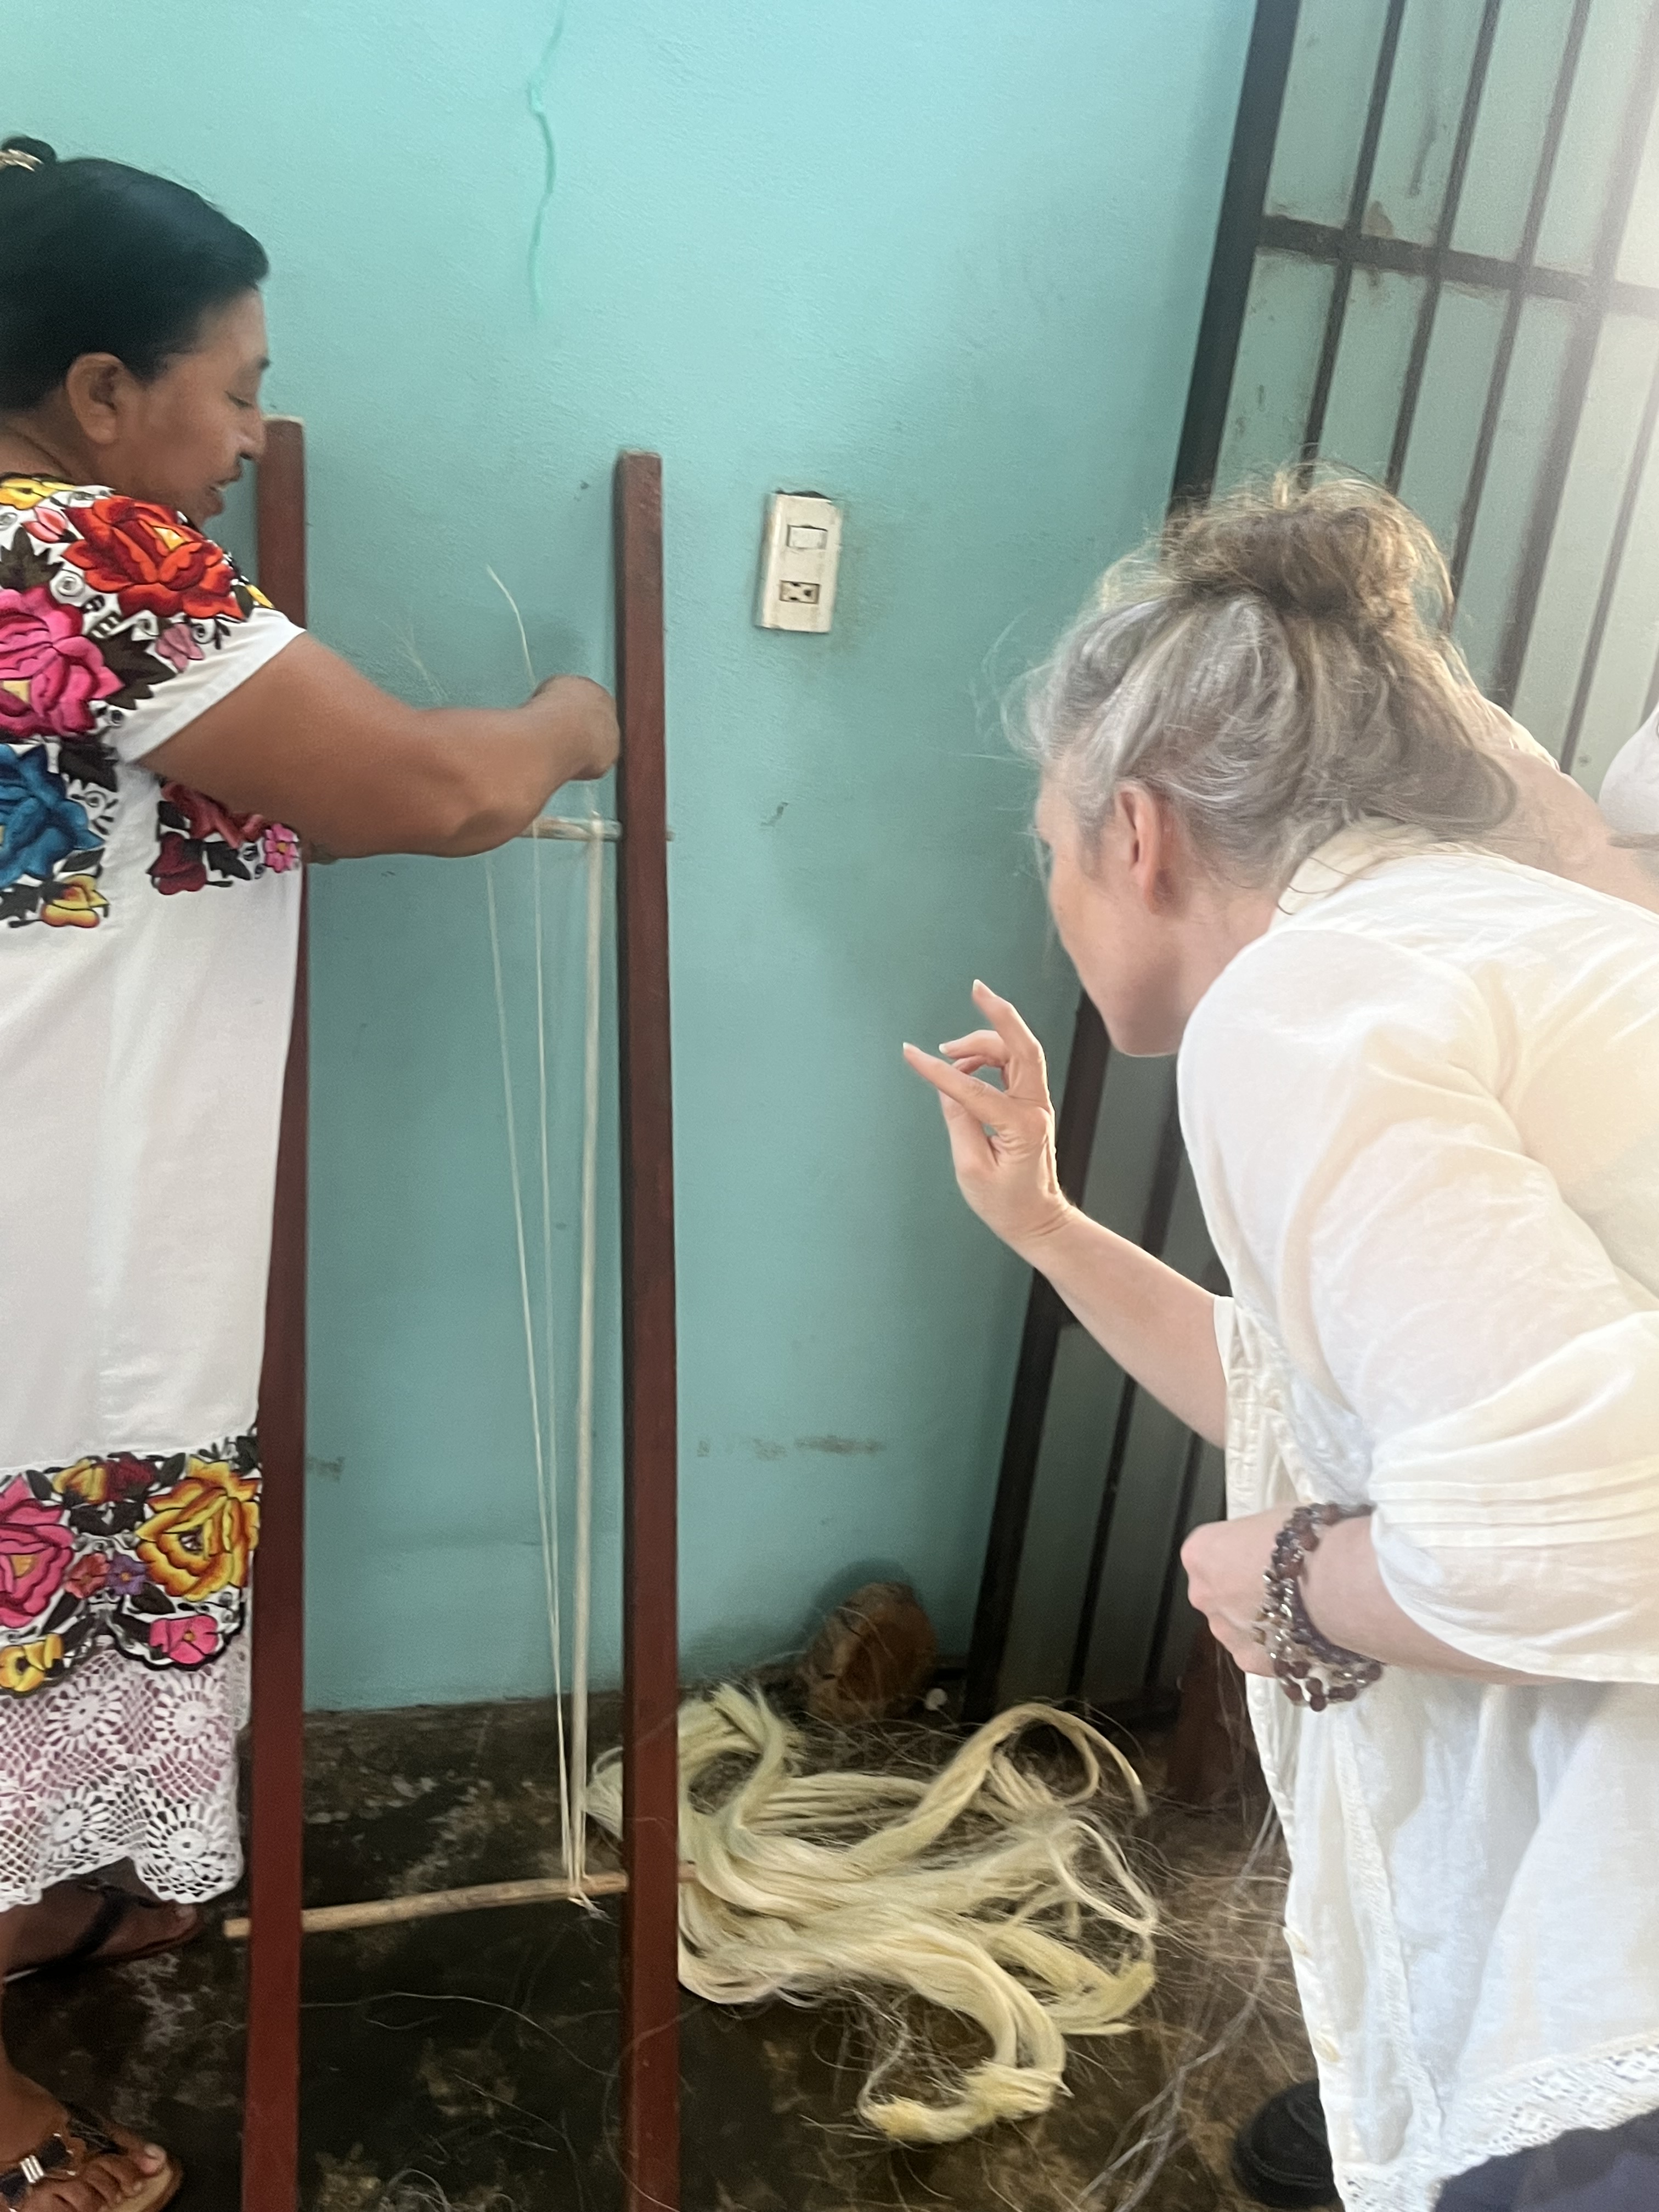
The purpose of our trip was to scout for artisans and opportunities in order to build a travel program for a group next year. We visited the Espadas family who are carrying forward ancient Maya pottery methods in Uayma, an embroider named Perla who is studying and practicing traditional stitching methods (she can be reached via Murem in Valladolid), a basket weaver named Mariano Chi in Ebtún, and a weaver, Dominga Cen, in Tixhualactún (she can also be reached via Murem). I’d also hoped to meet with Silvia of Bolsas Yaax Kiw who makes gorgeous bags out of henequen fibers, but due to my overshooting my relationship with habanero peppers and the consequences of that, plans shifted and time ran out. I really regret that, as her work is gorgeous. Silvia can be found here.
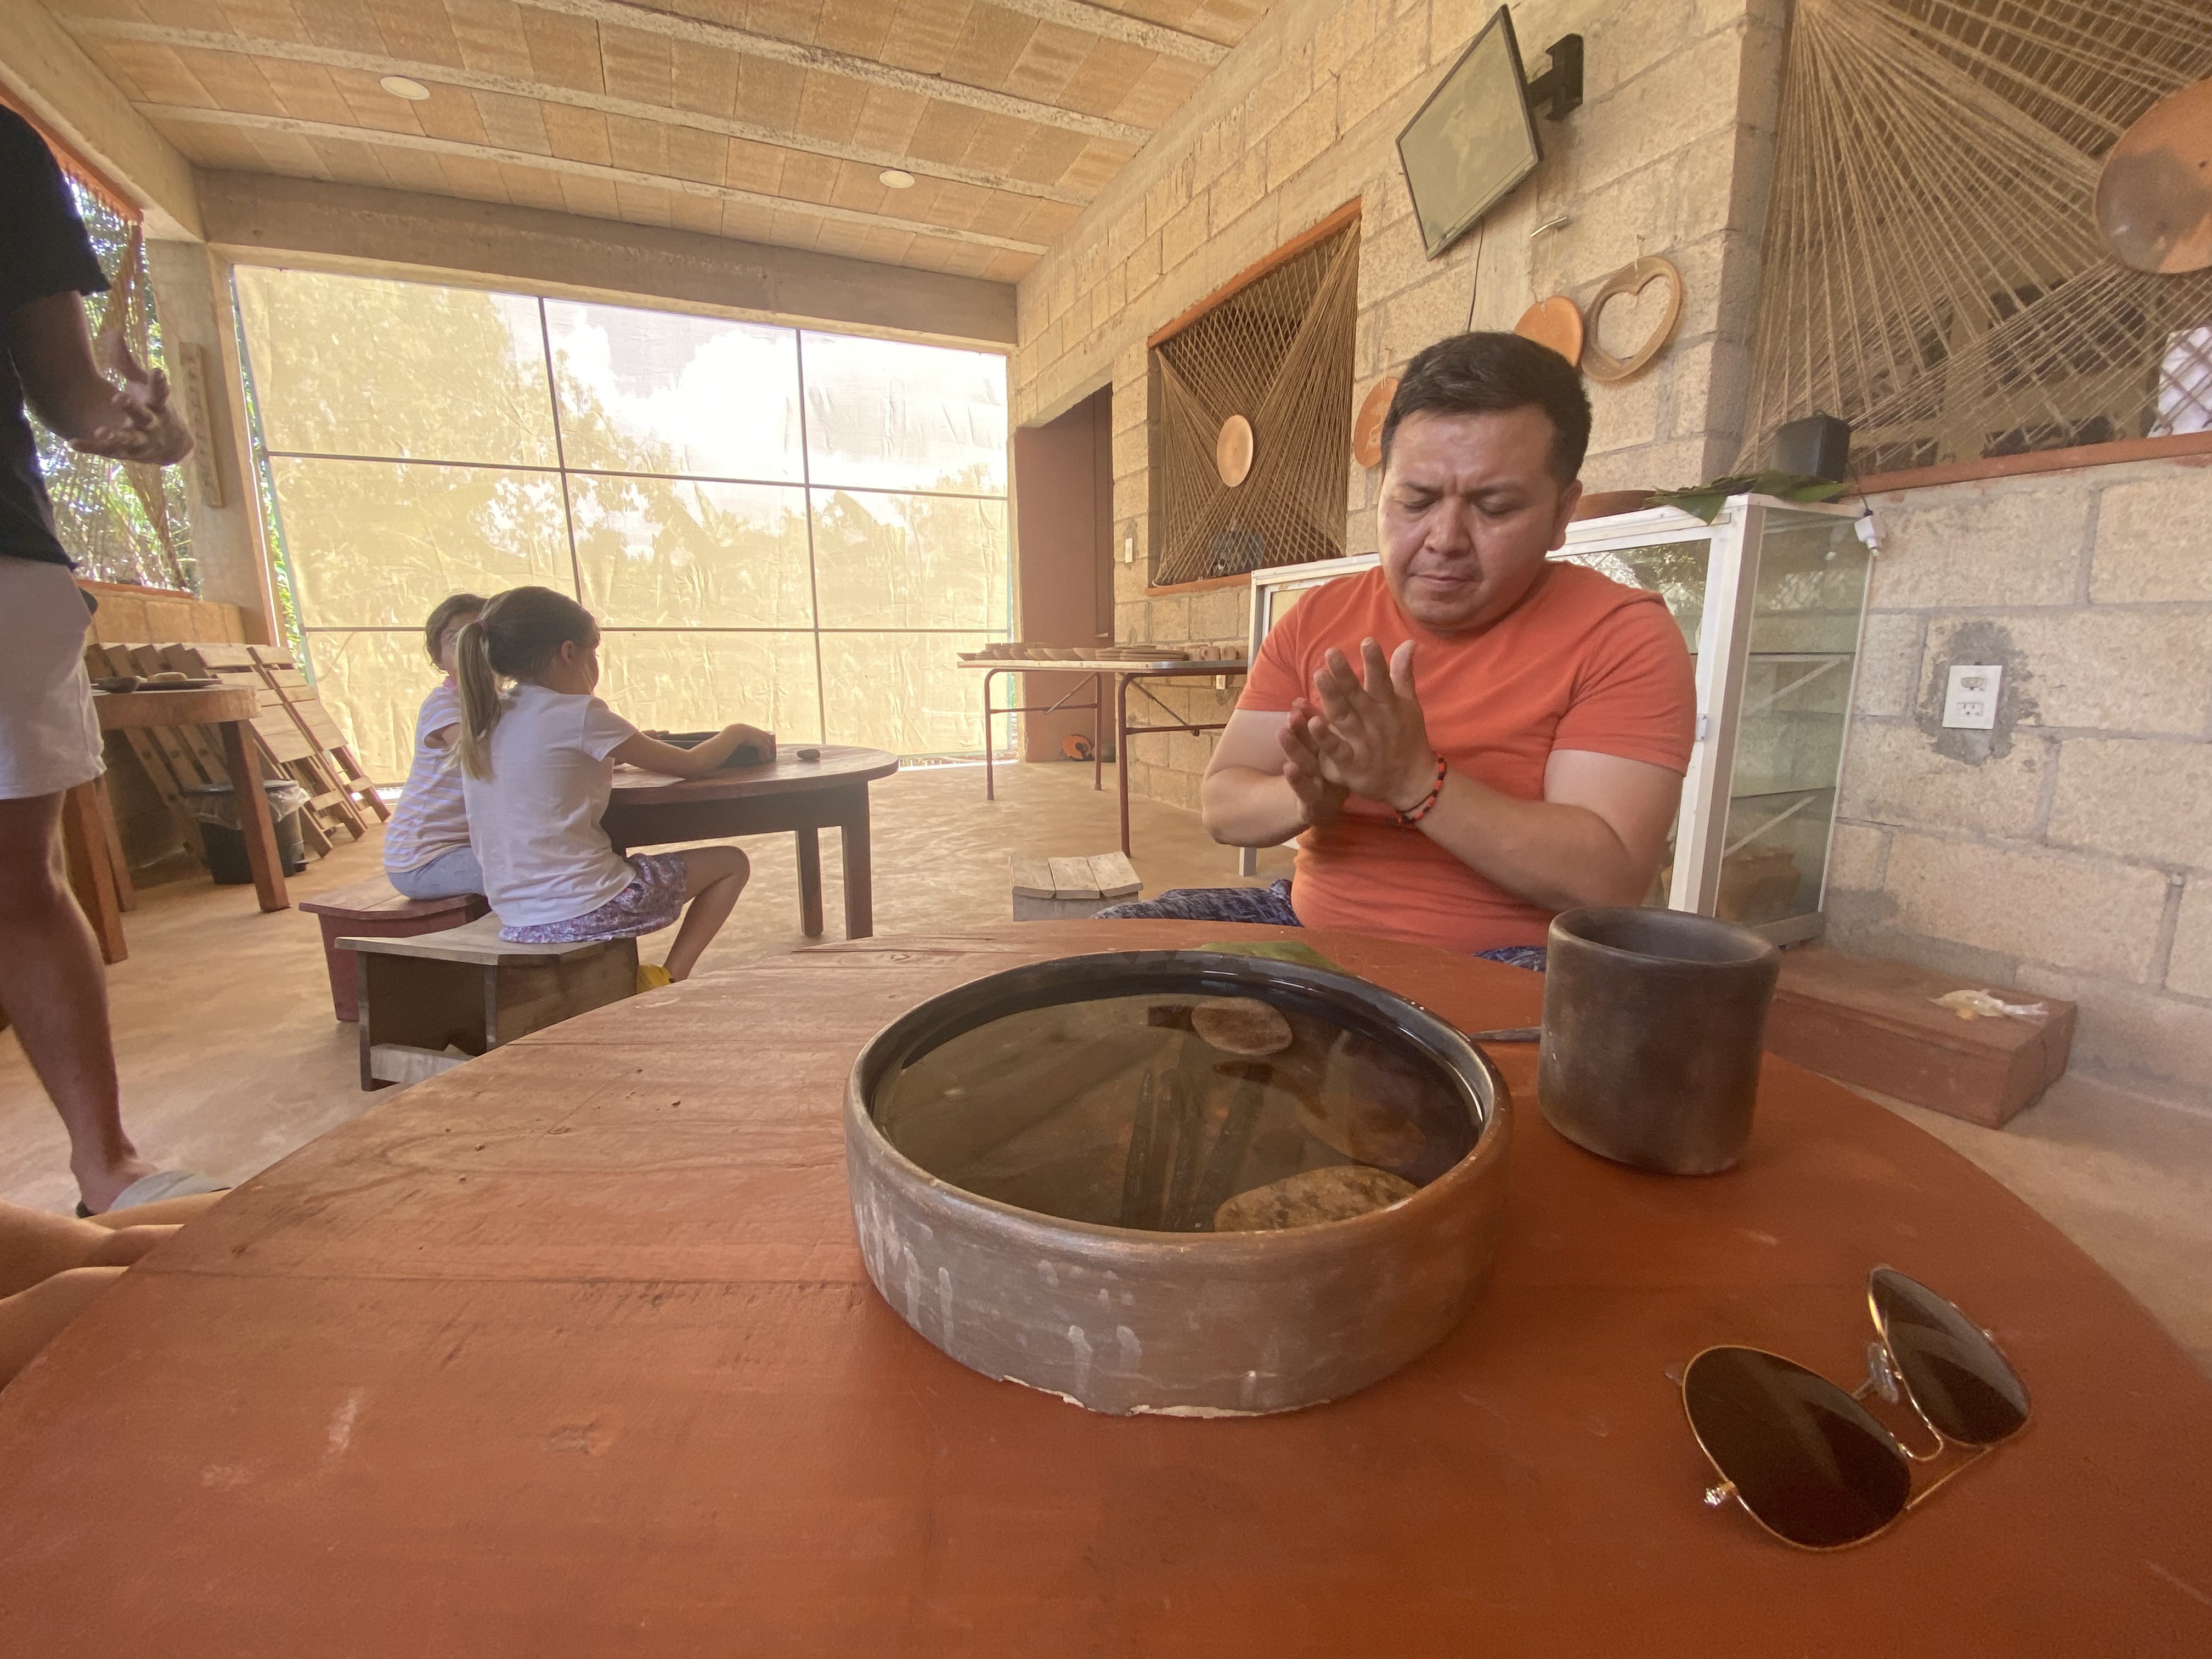
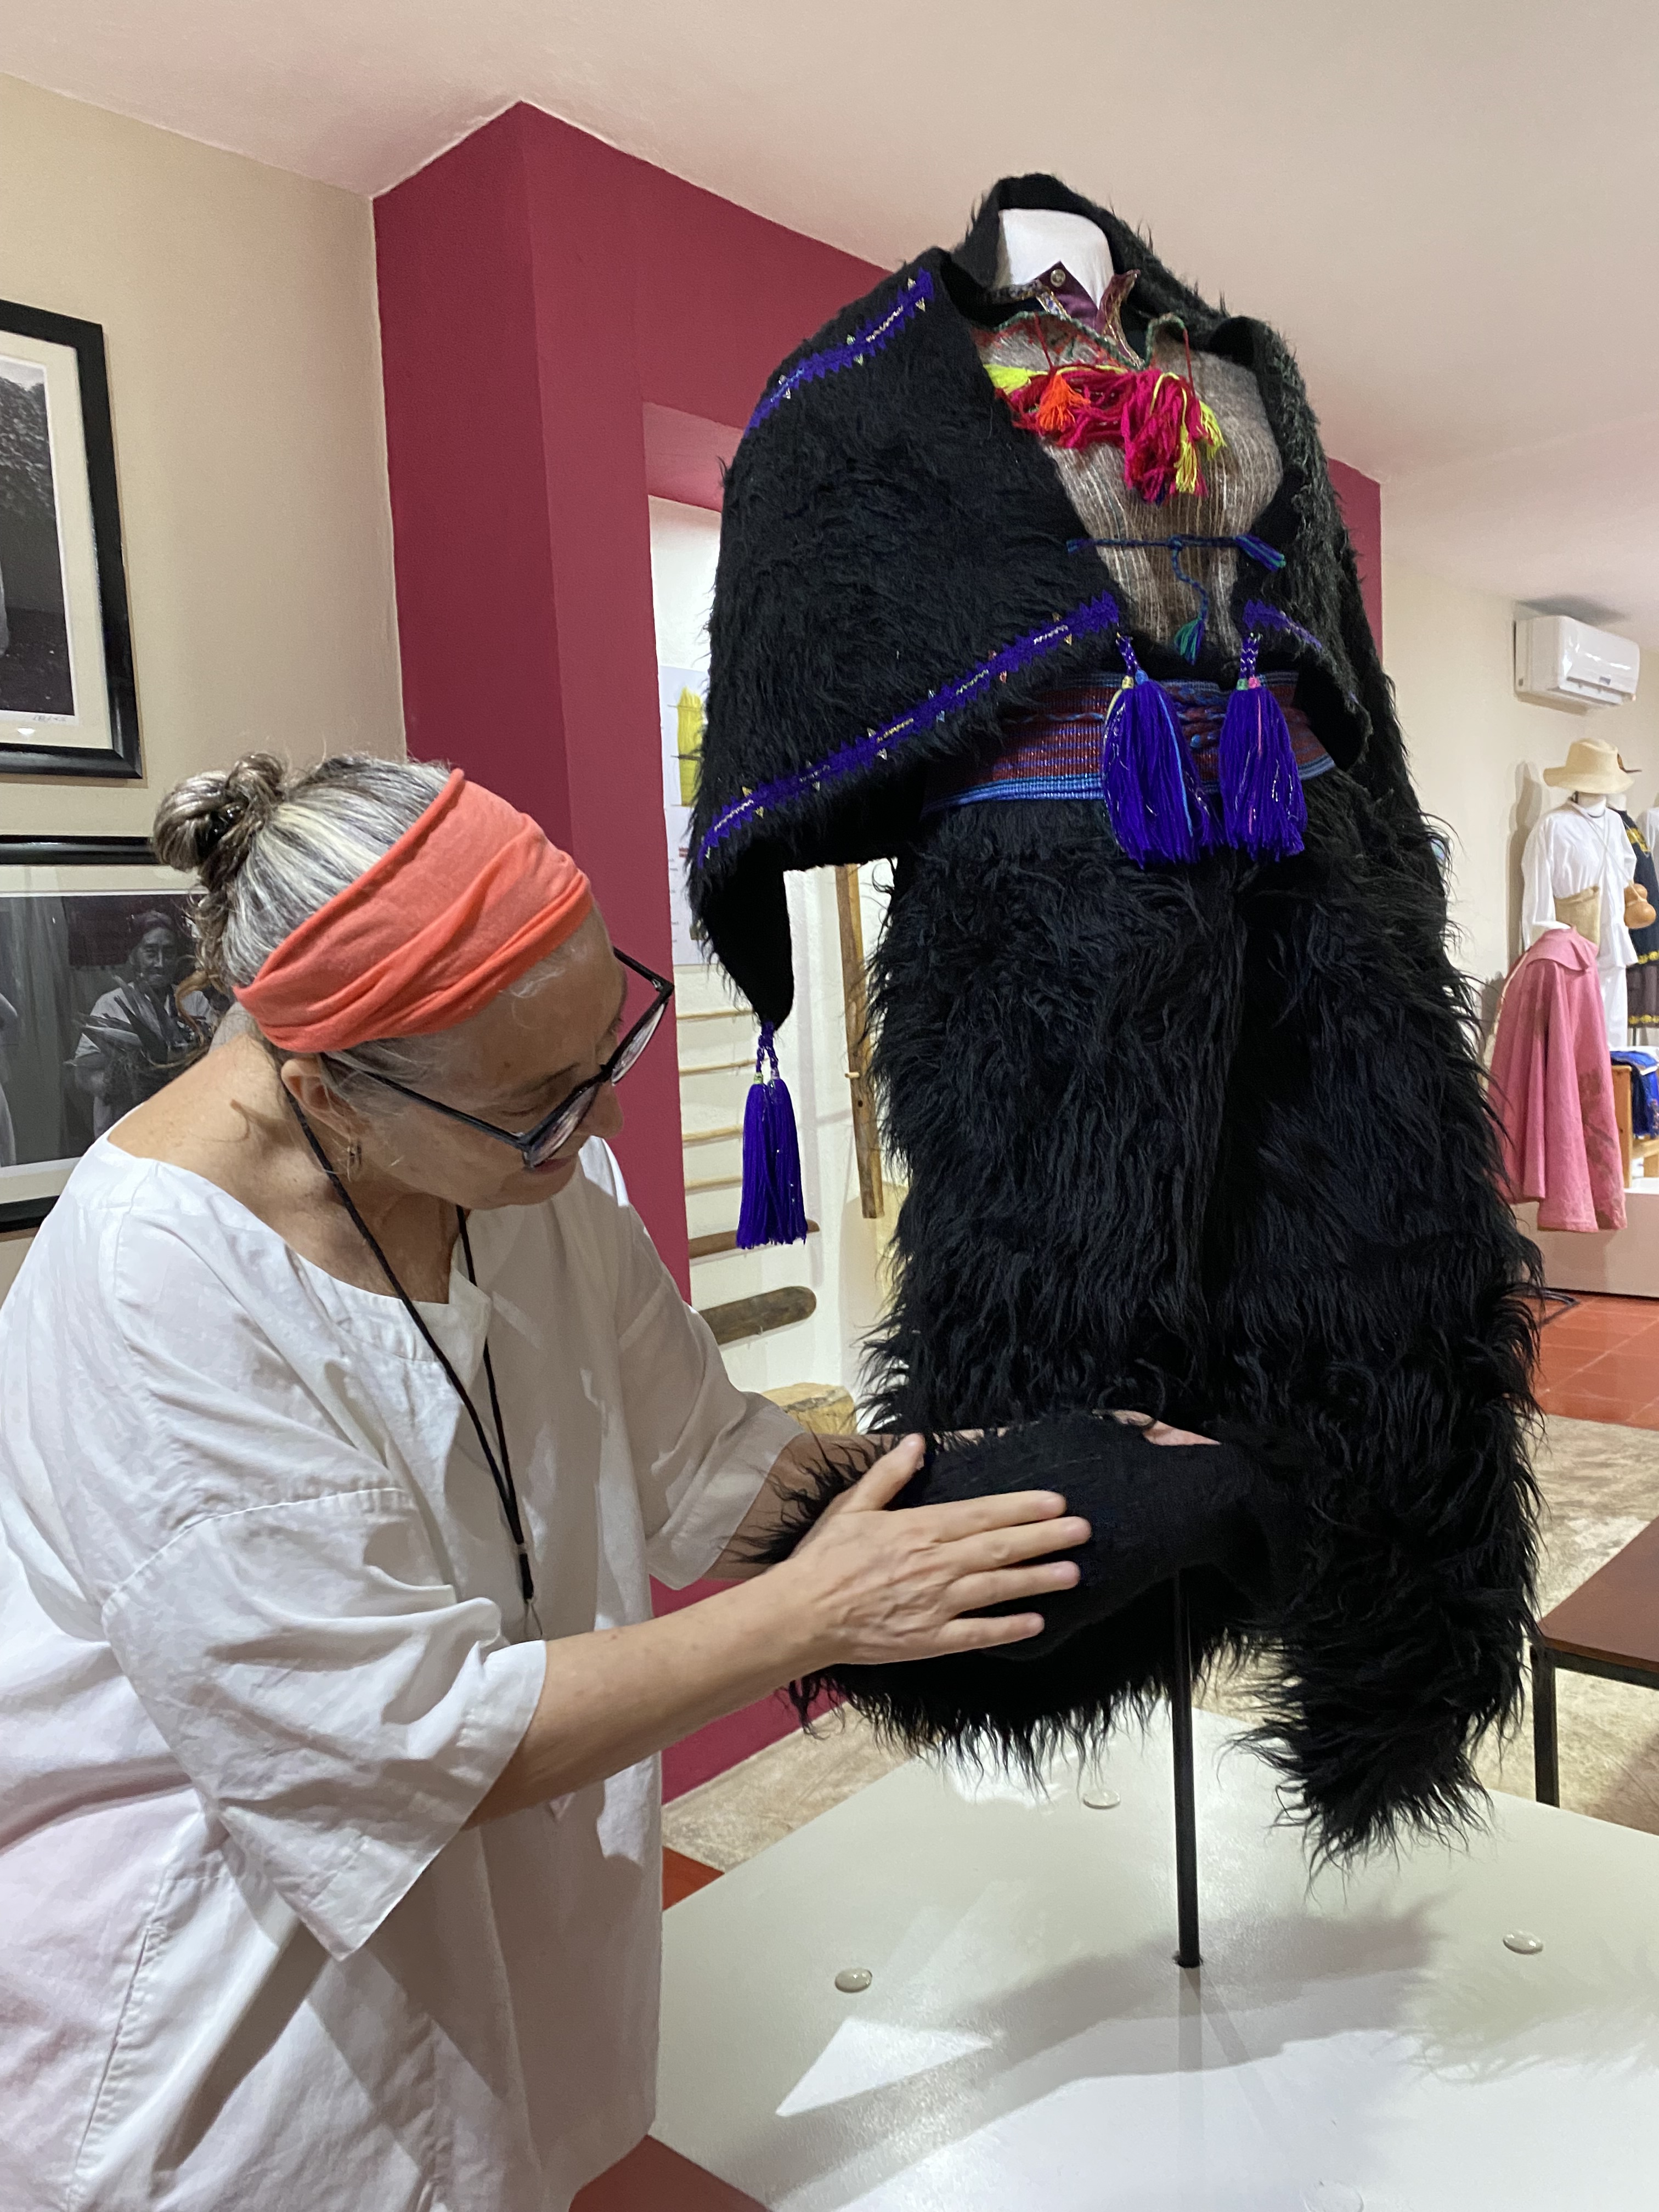
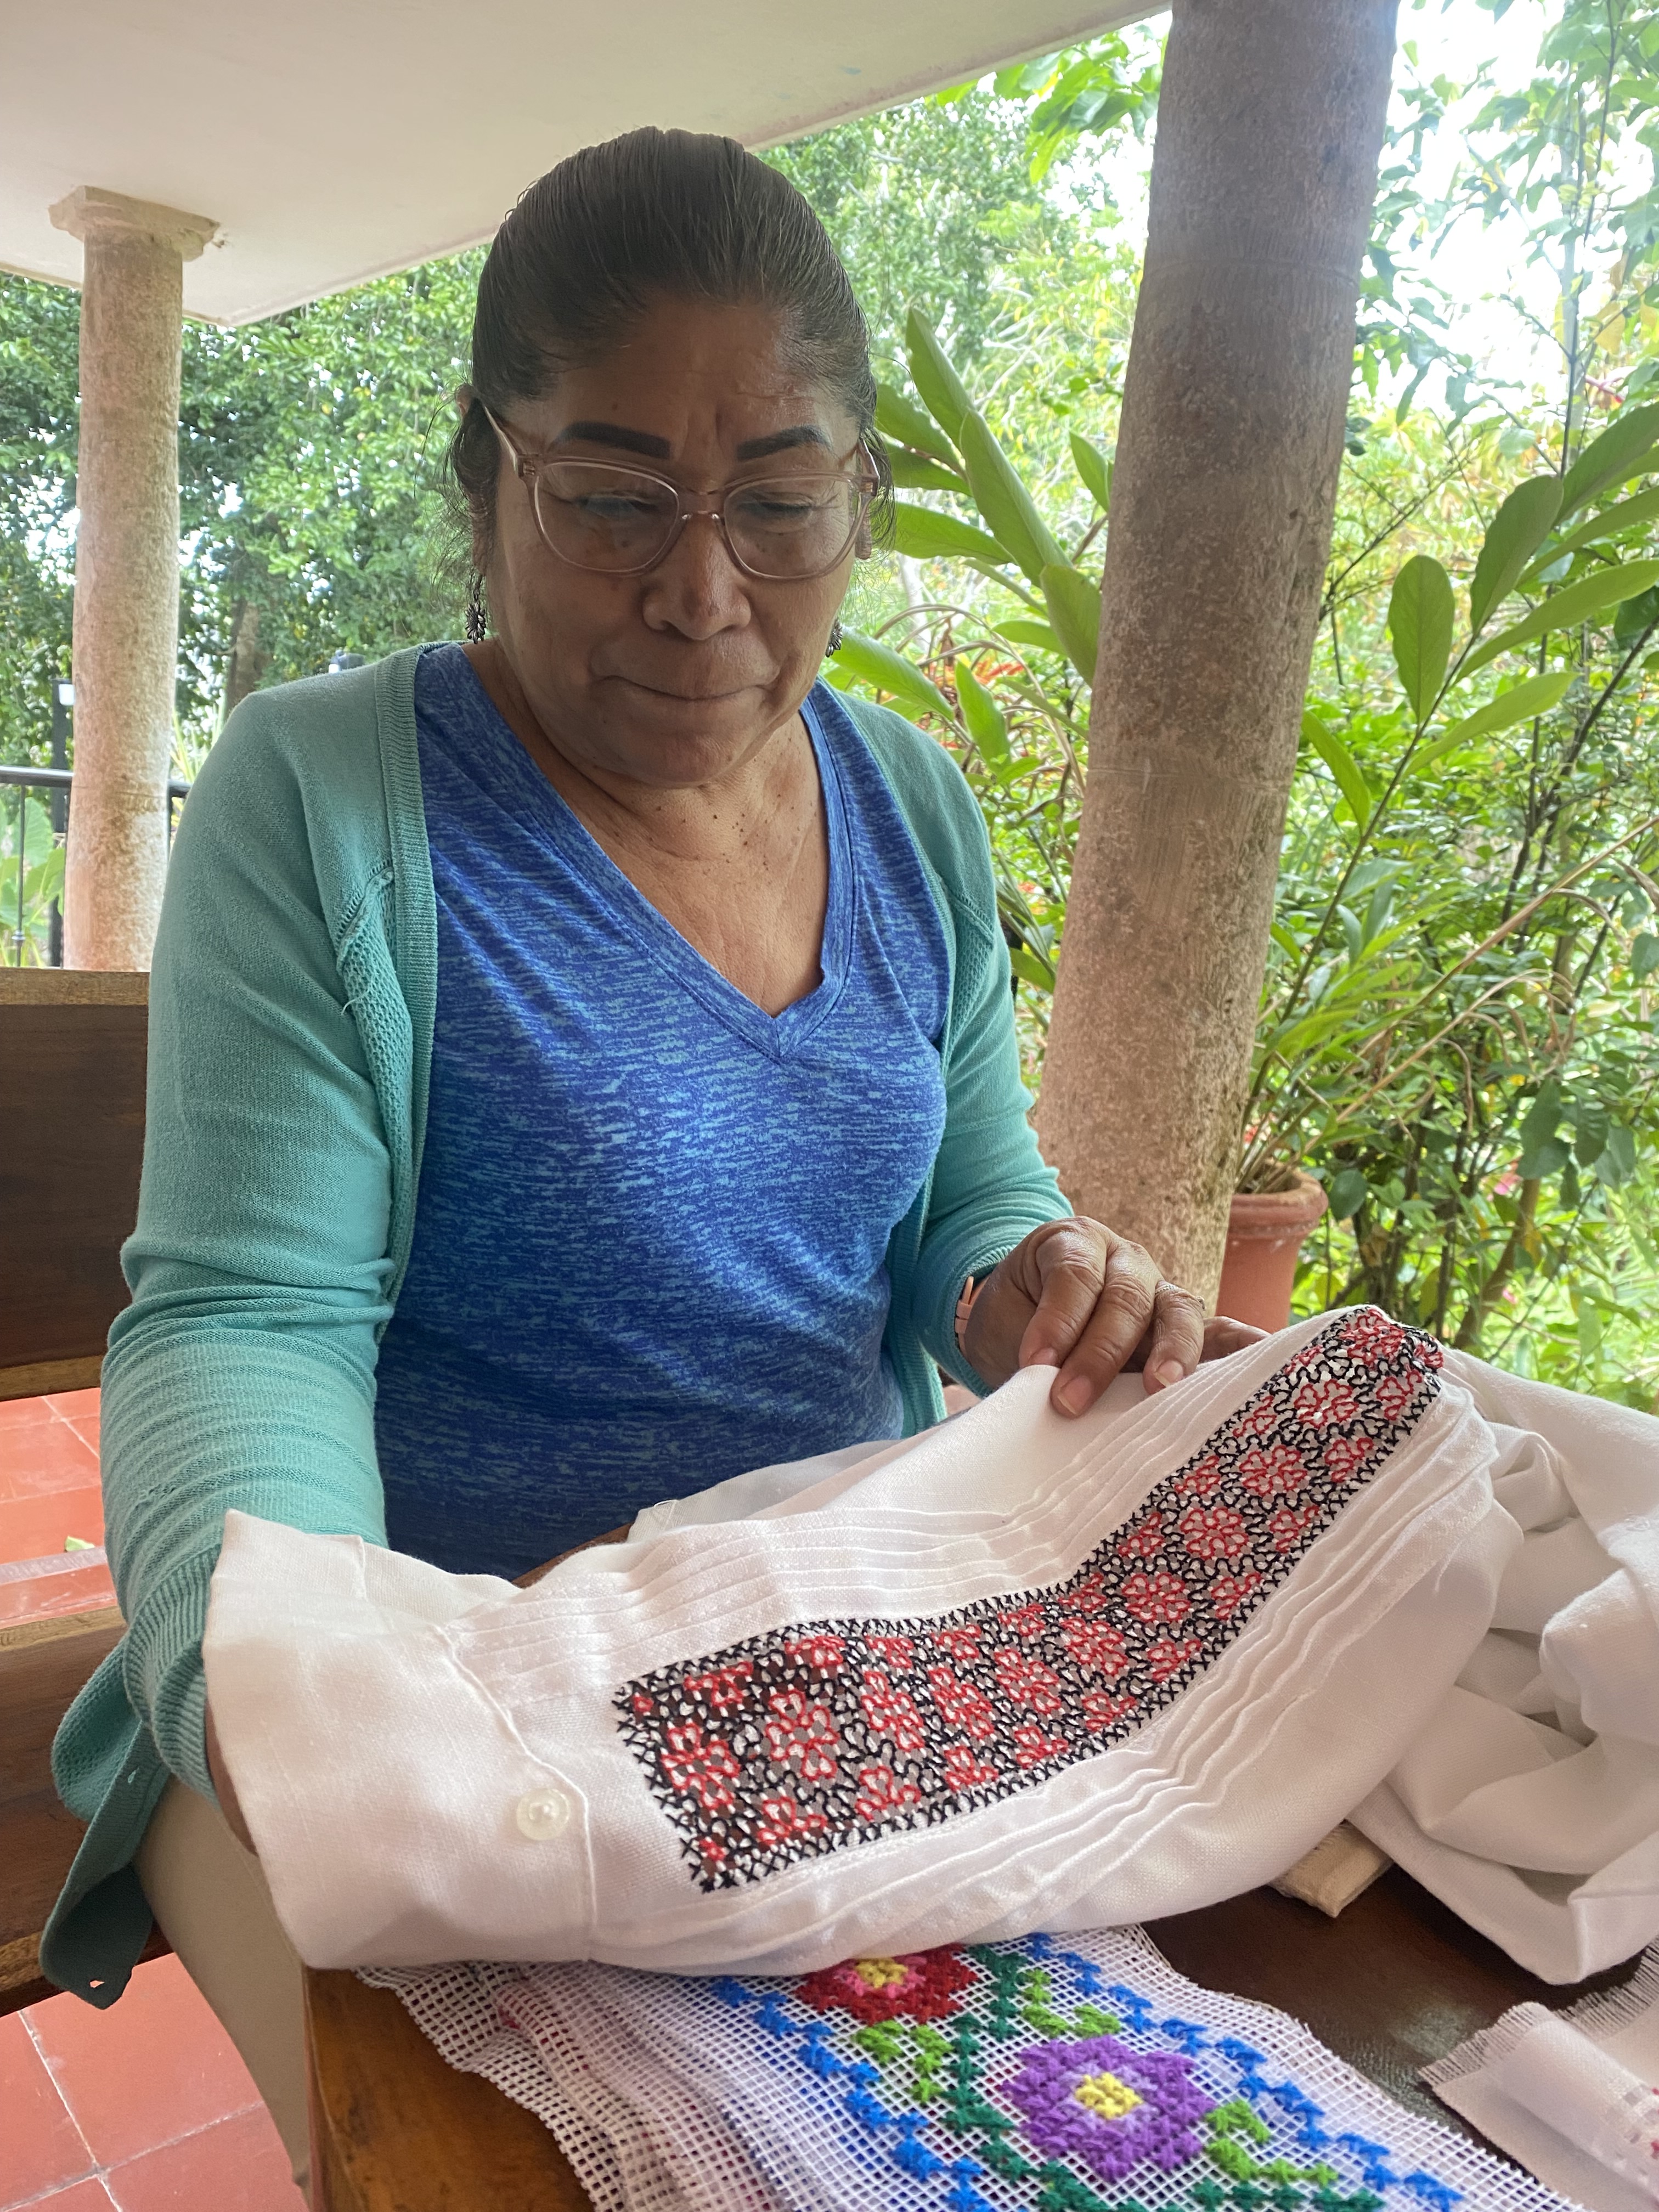
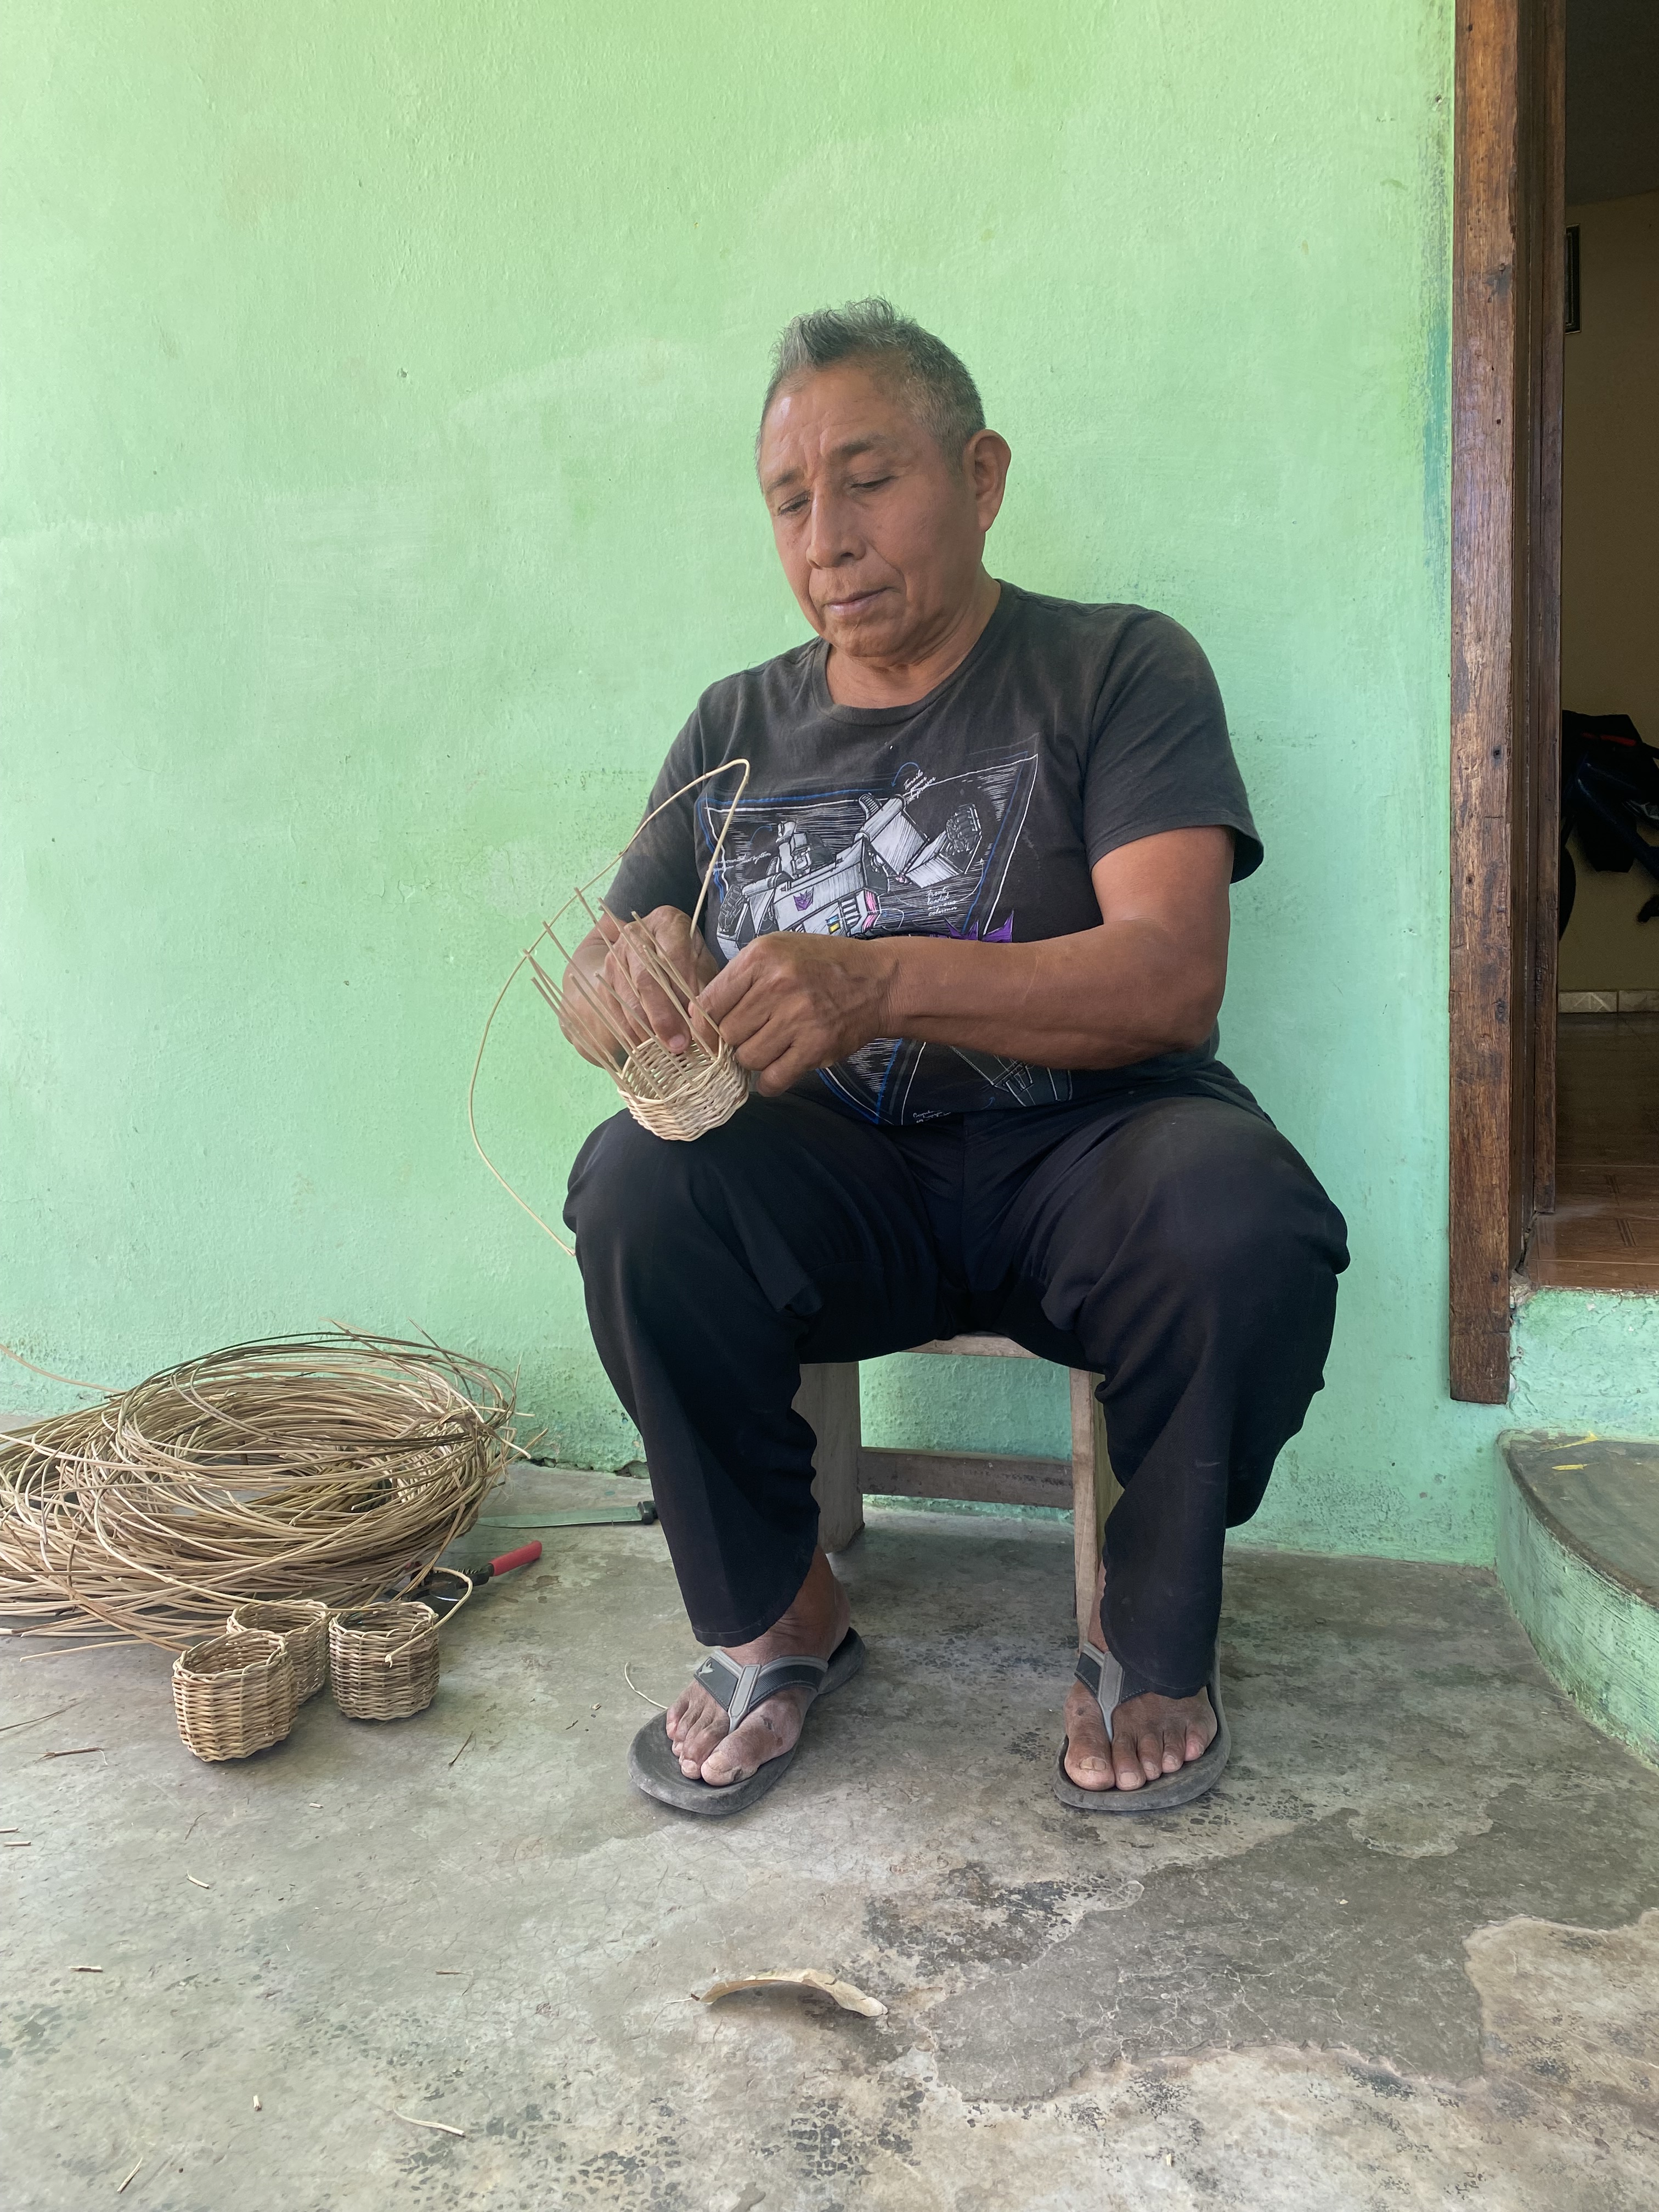
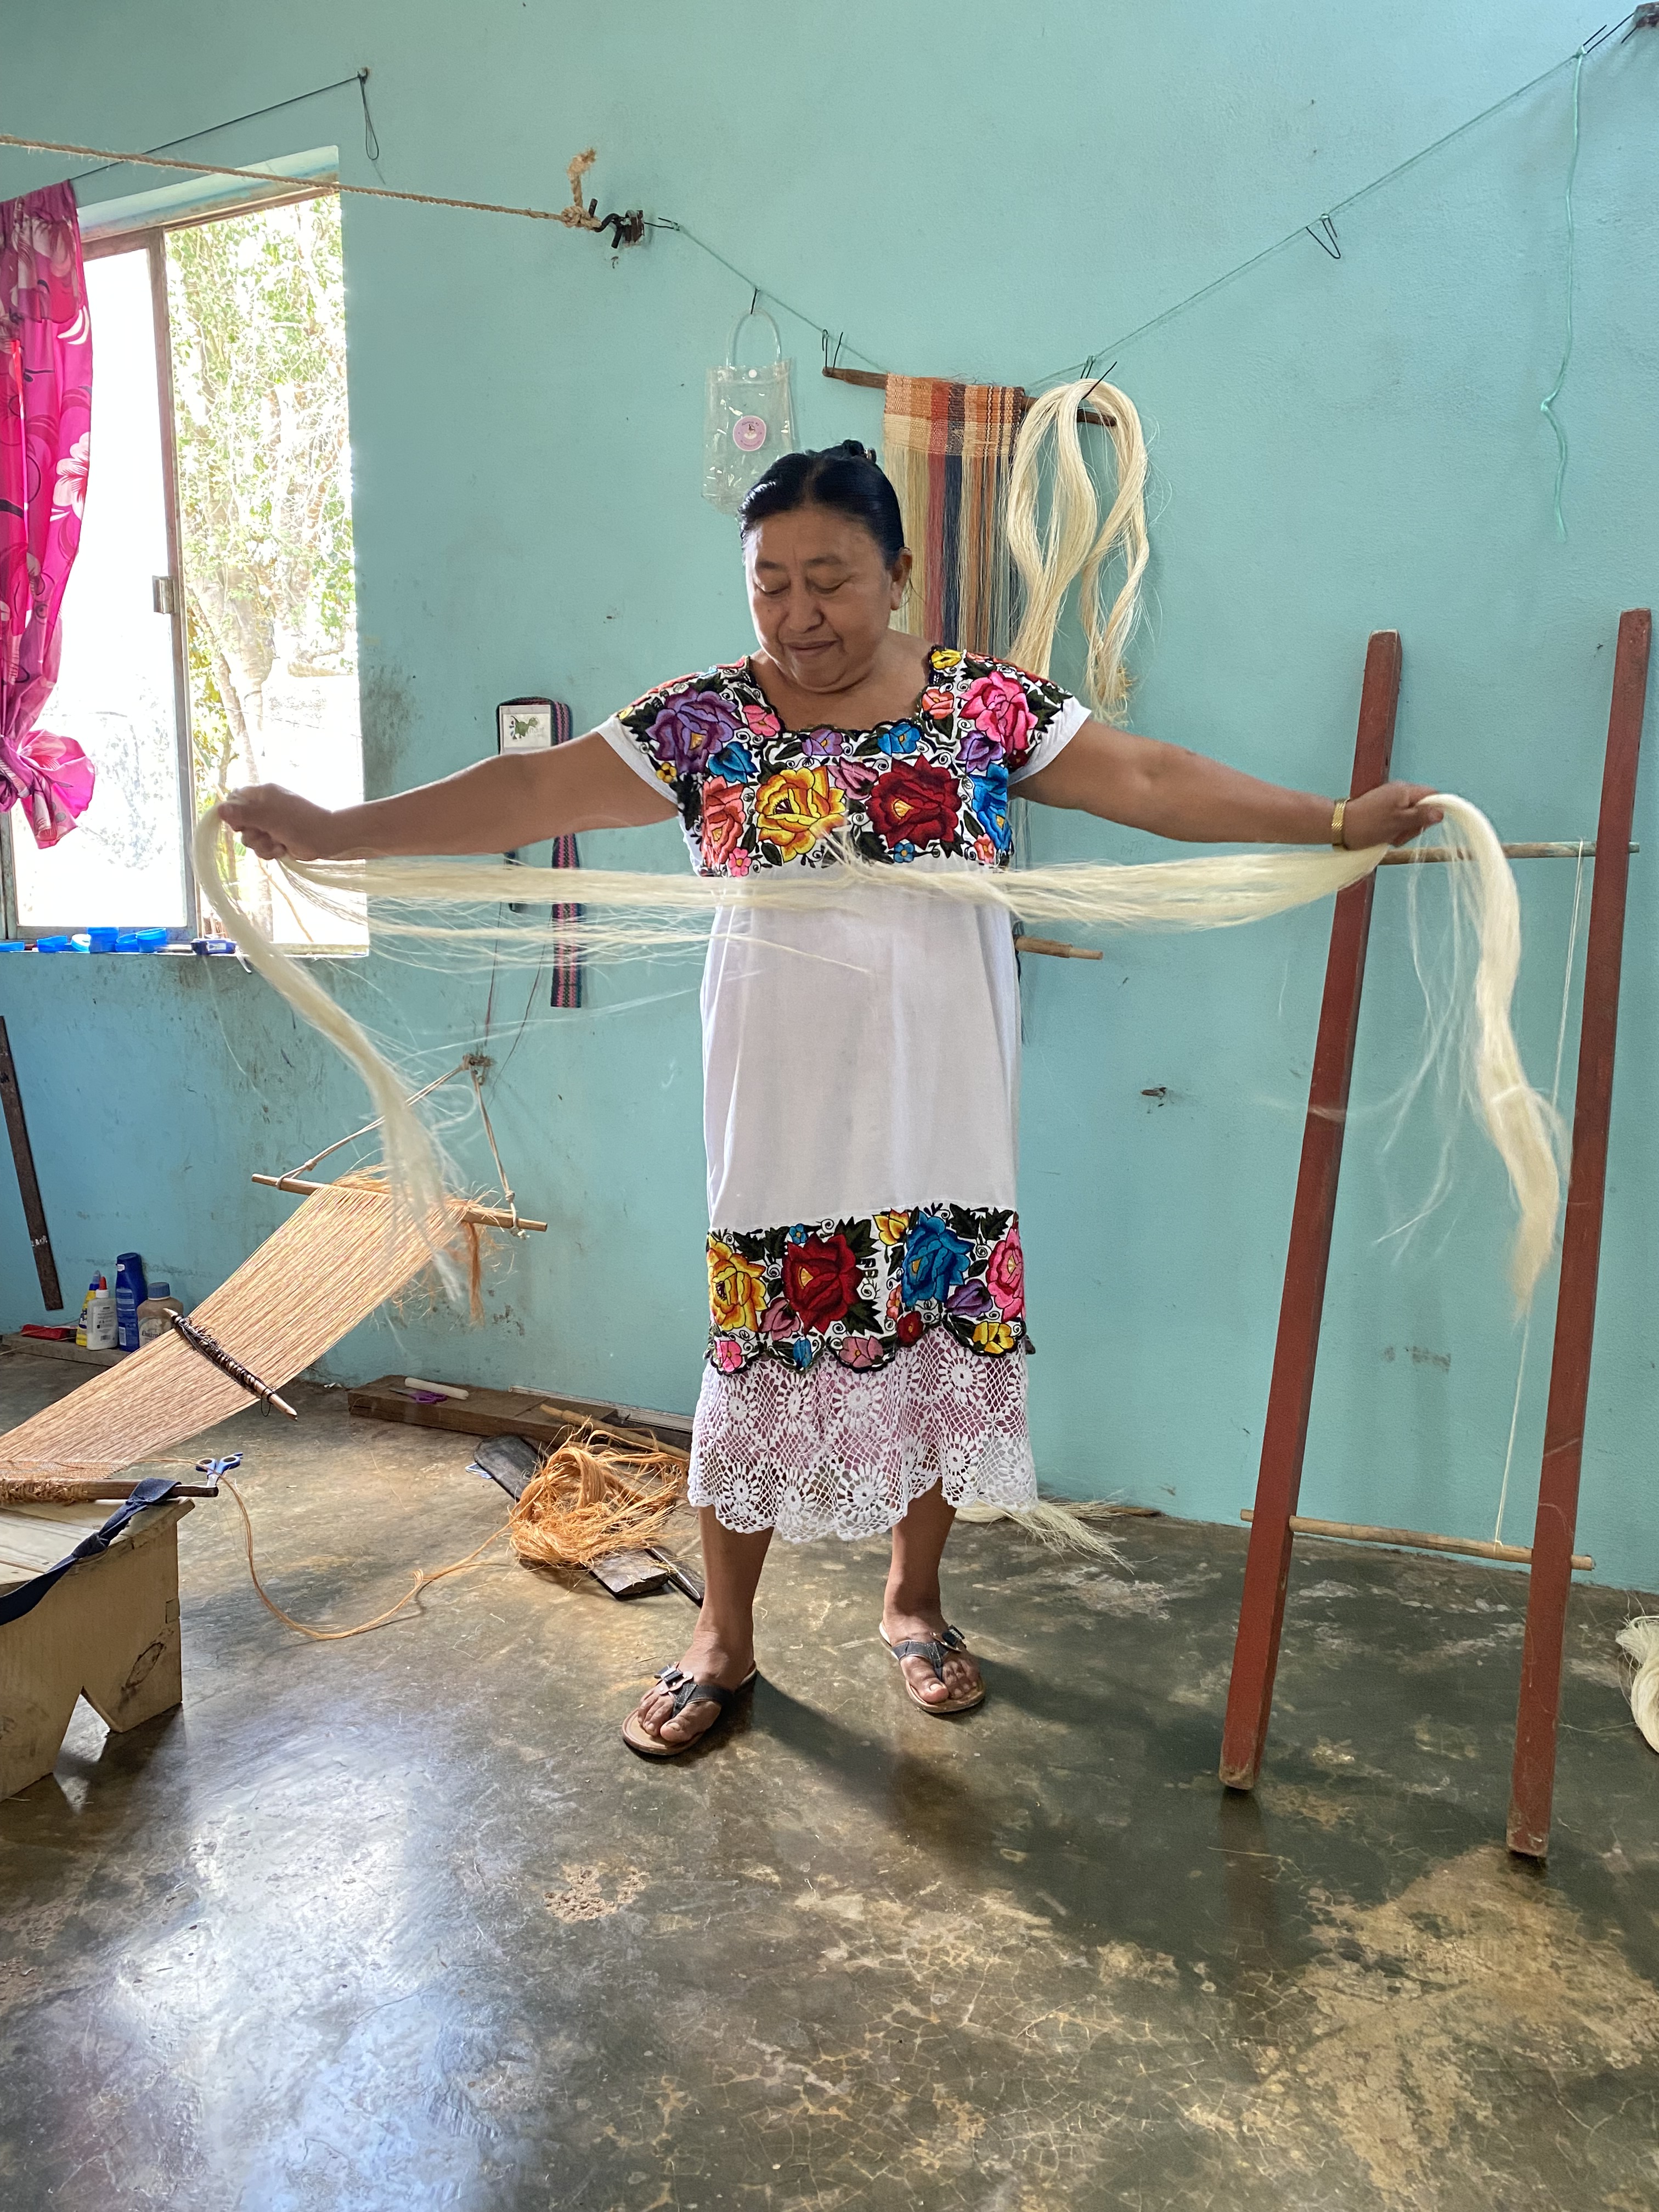
I was often overcome with emotion, in the presence of those sharing their art and craft with us, with so much generosity and care. I felt very lucky, and very much aware of the fact that I was experiencing something unusual and precious. If you are on Instagram and feel like seeing some of my posts on our trip, you can find them here.
Leading up to the trip, I’d been thinking about what brings people together and what separates them. I thought about the fact that I don’t speak Spanish and here I was, going to meet people to learn about their art. I was trusting that the artisans we were meeting with would be able to show us what they do, and if we were paying attention, we could learn without words, and ask for clarification through hand gestures and facial expressions.
We could express the question, “how did you do that?” and a bridge would be formed. Of that I was certain.
Tey Mariana Stiteler, who directs the beautiful Murem – Museo de Ropa Etnica de Mexico in Valladolid was instrumental in linking us up with three of the four artisans we met with, and she translated for us the whole time! And in Uayma, we had this excellent translator and guide. Even still, there were countless moments when, just by watching, listening, and absorbing, we were learning and connecting and understanding each other even without translation.
“How did you do that?” became the bridge I’d imagined between people interested in each other.
It was beautiful. These experiences expanded my mind and stretched my heart.
For this month’s Summoning Creativity theme, we are looking at ways to dive into a “how did you do that?” mindset. There are no specific requirements that have to do with travel if that’s not in the cards. But look around. See if you notice anything that someone made that you think is cool, interesting, unique… whatever! If you can, ask that person how they made what they made! You don’t even have to do the thing itself if you don’t want to!
Just don’t stop with the observation of the thing. Take it step further and wonder at it, ask about it, and see what happens.
Maybe there is an artisan market in your area that highlights work from your region as well as places around the world. Check it out! Ask a question.
Maybe there’s a family member who makes a delicious dish that you only eat at their house. Ask them how they make it!
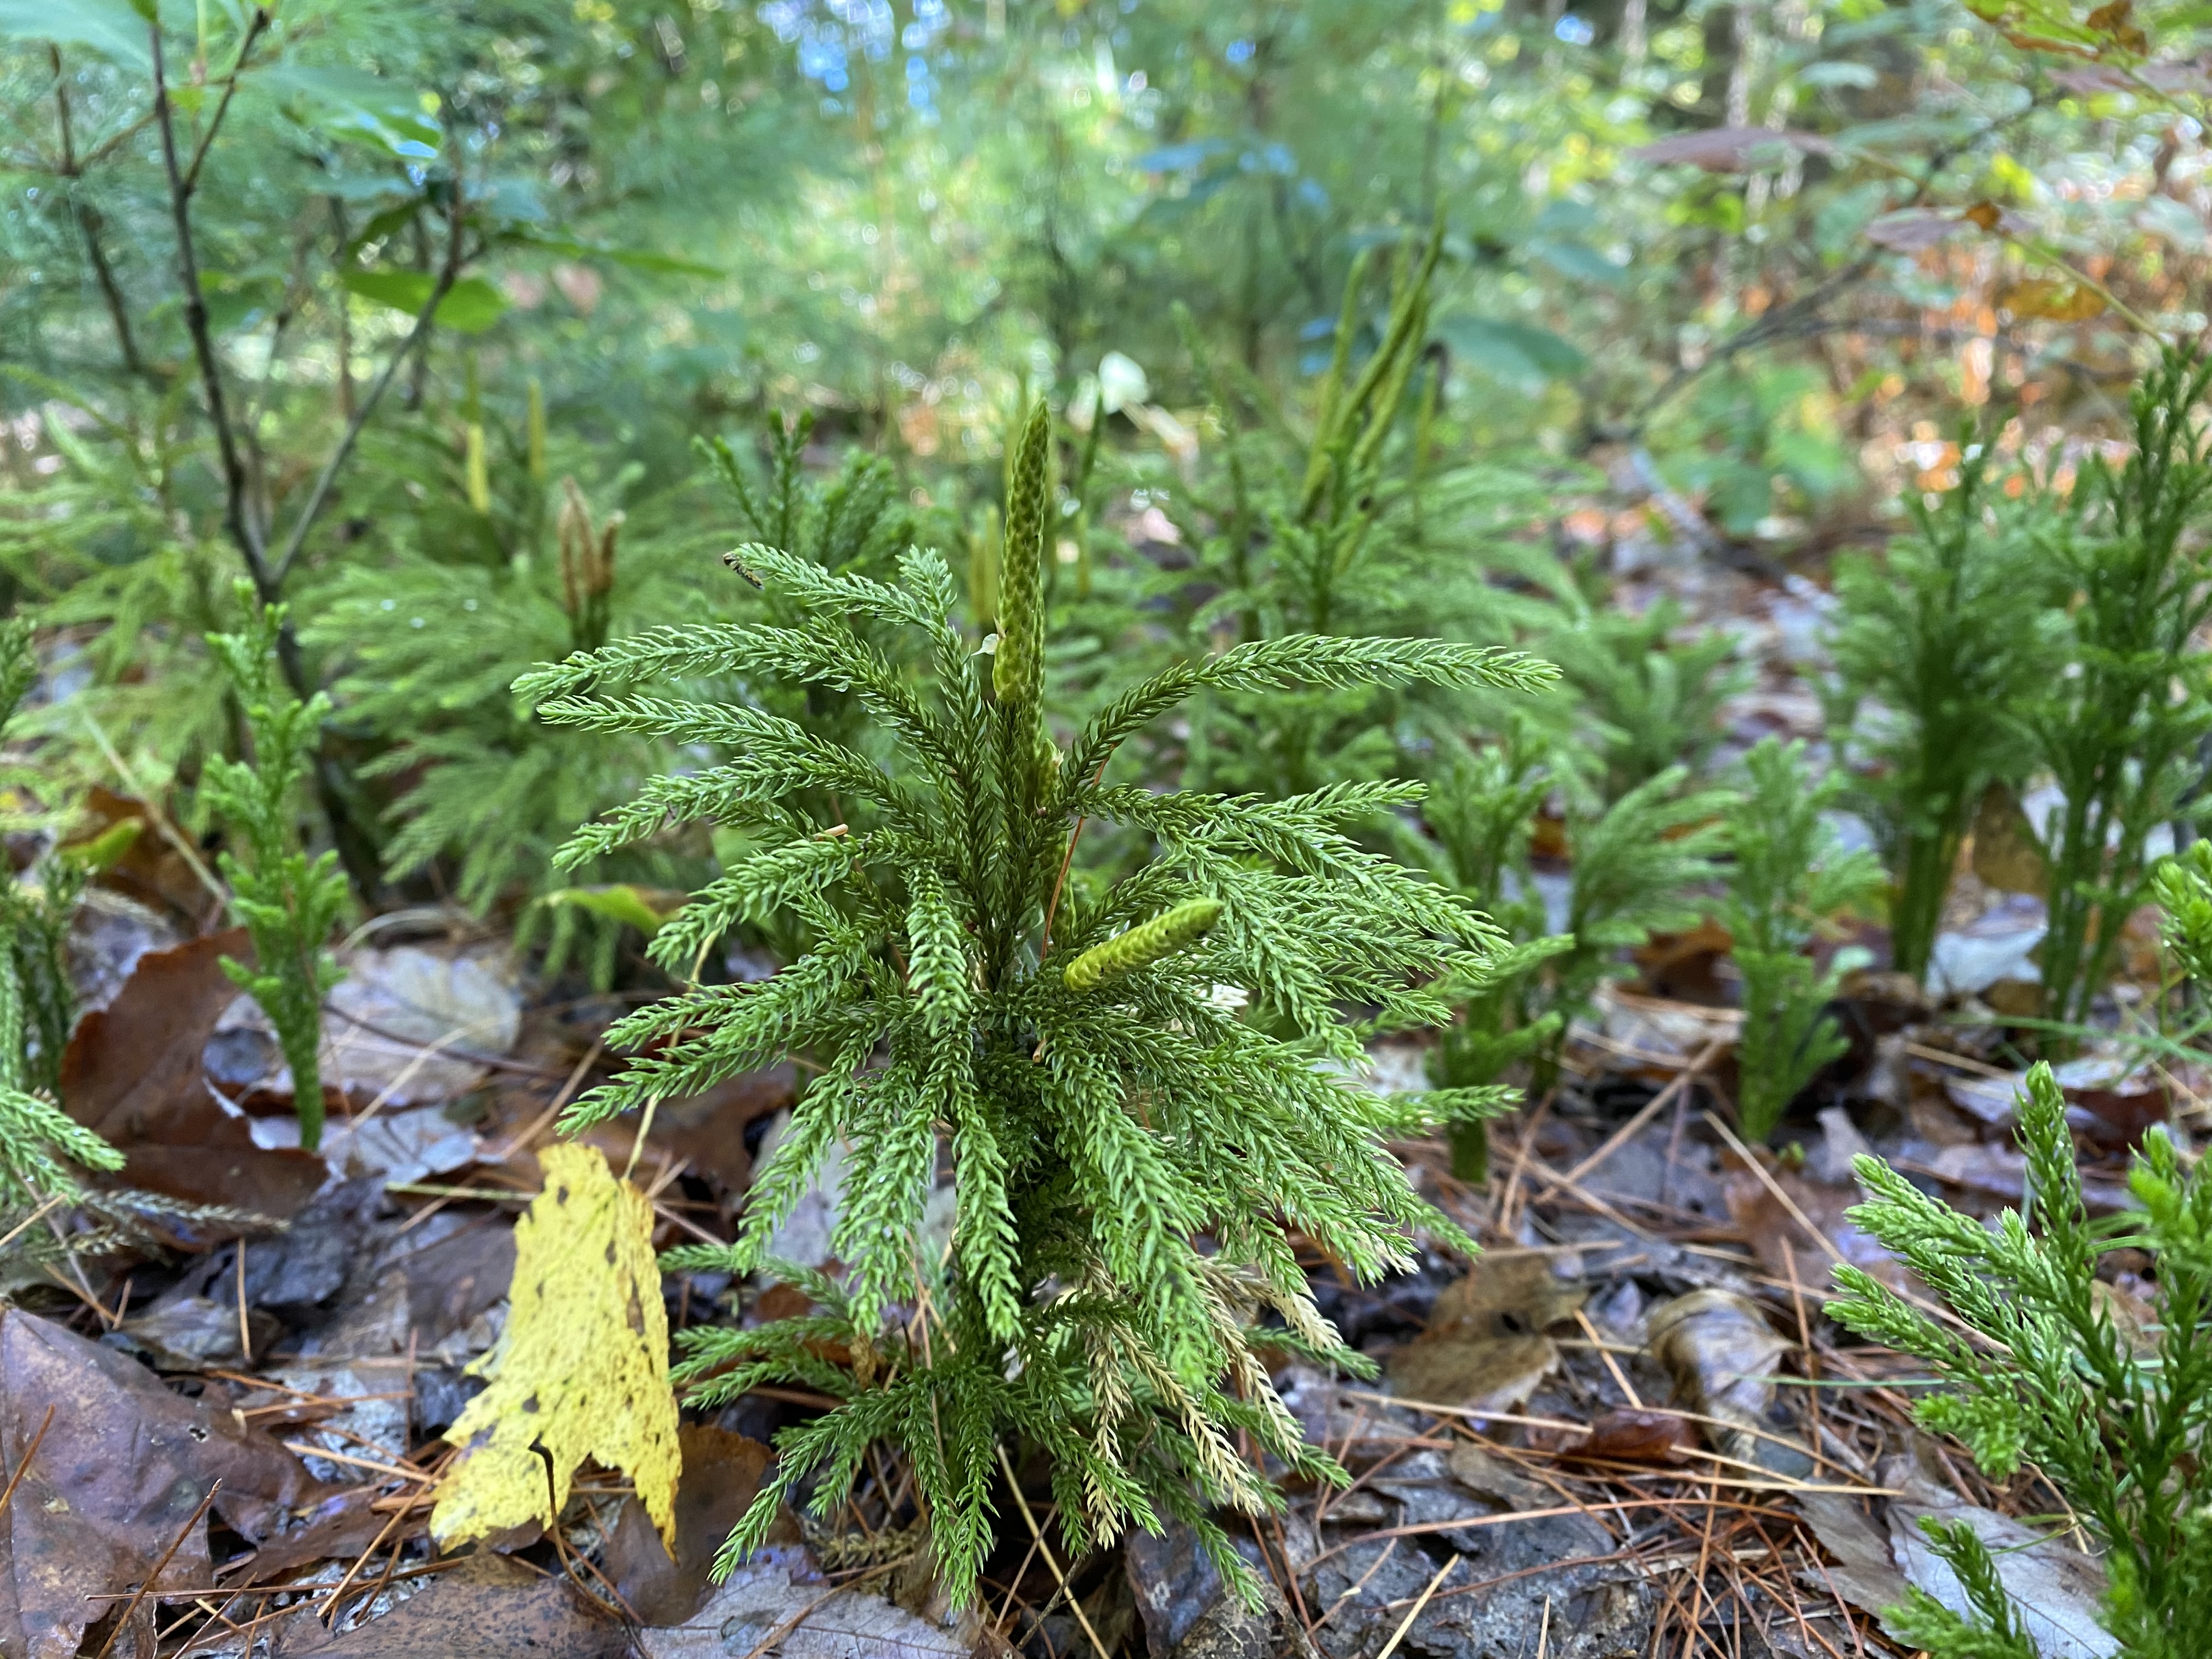
Maybe there’s a person nearby with a beautiful flower garden and you’ve admired something in it. Ask them what the plant is or how they go about a specific gardening task.
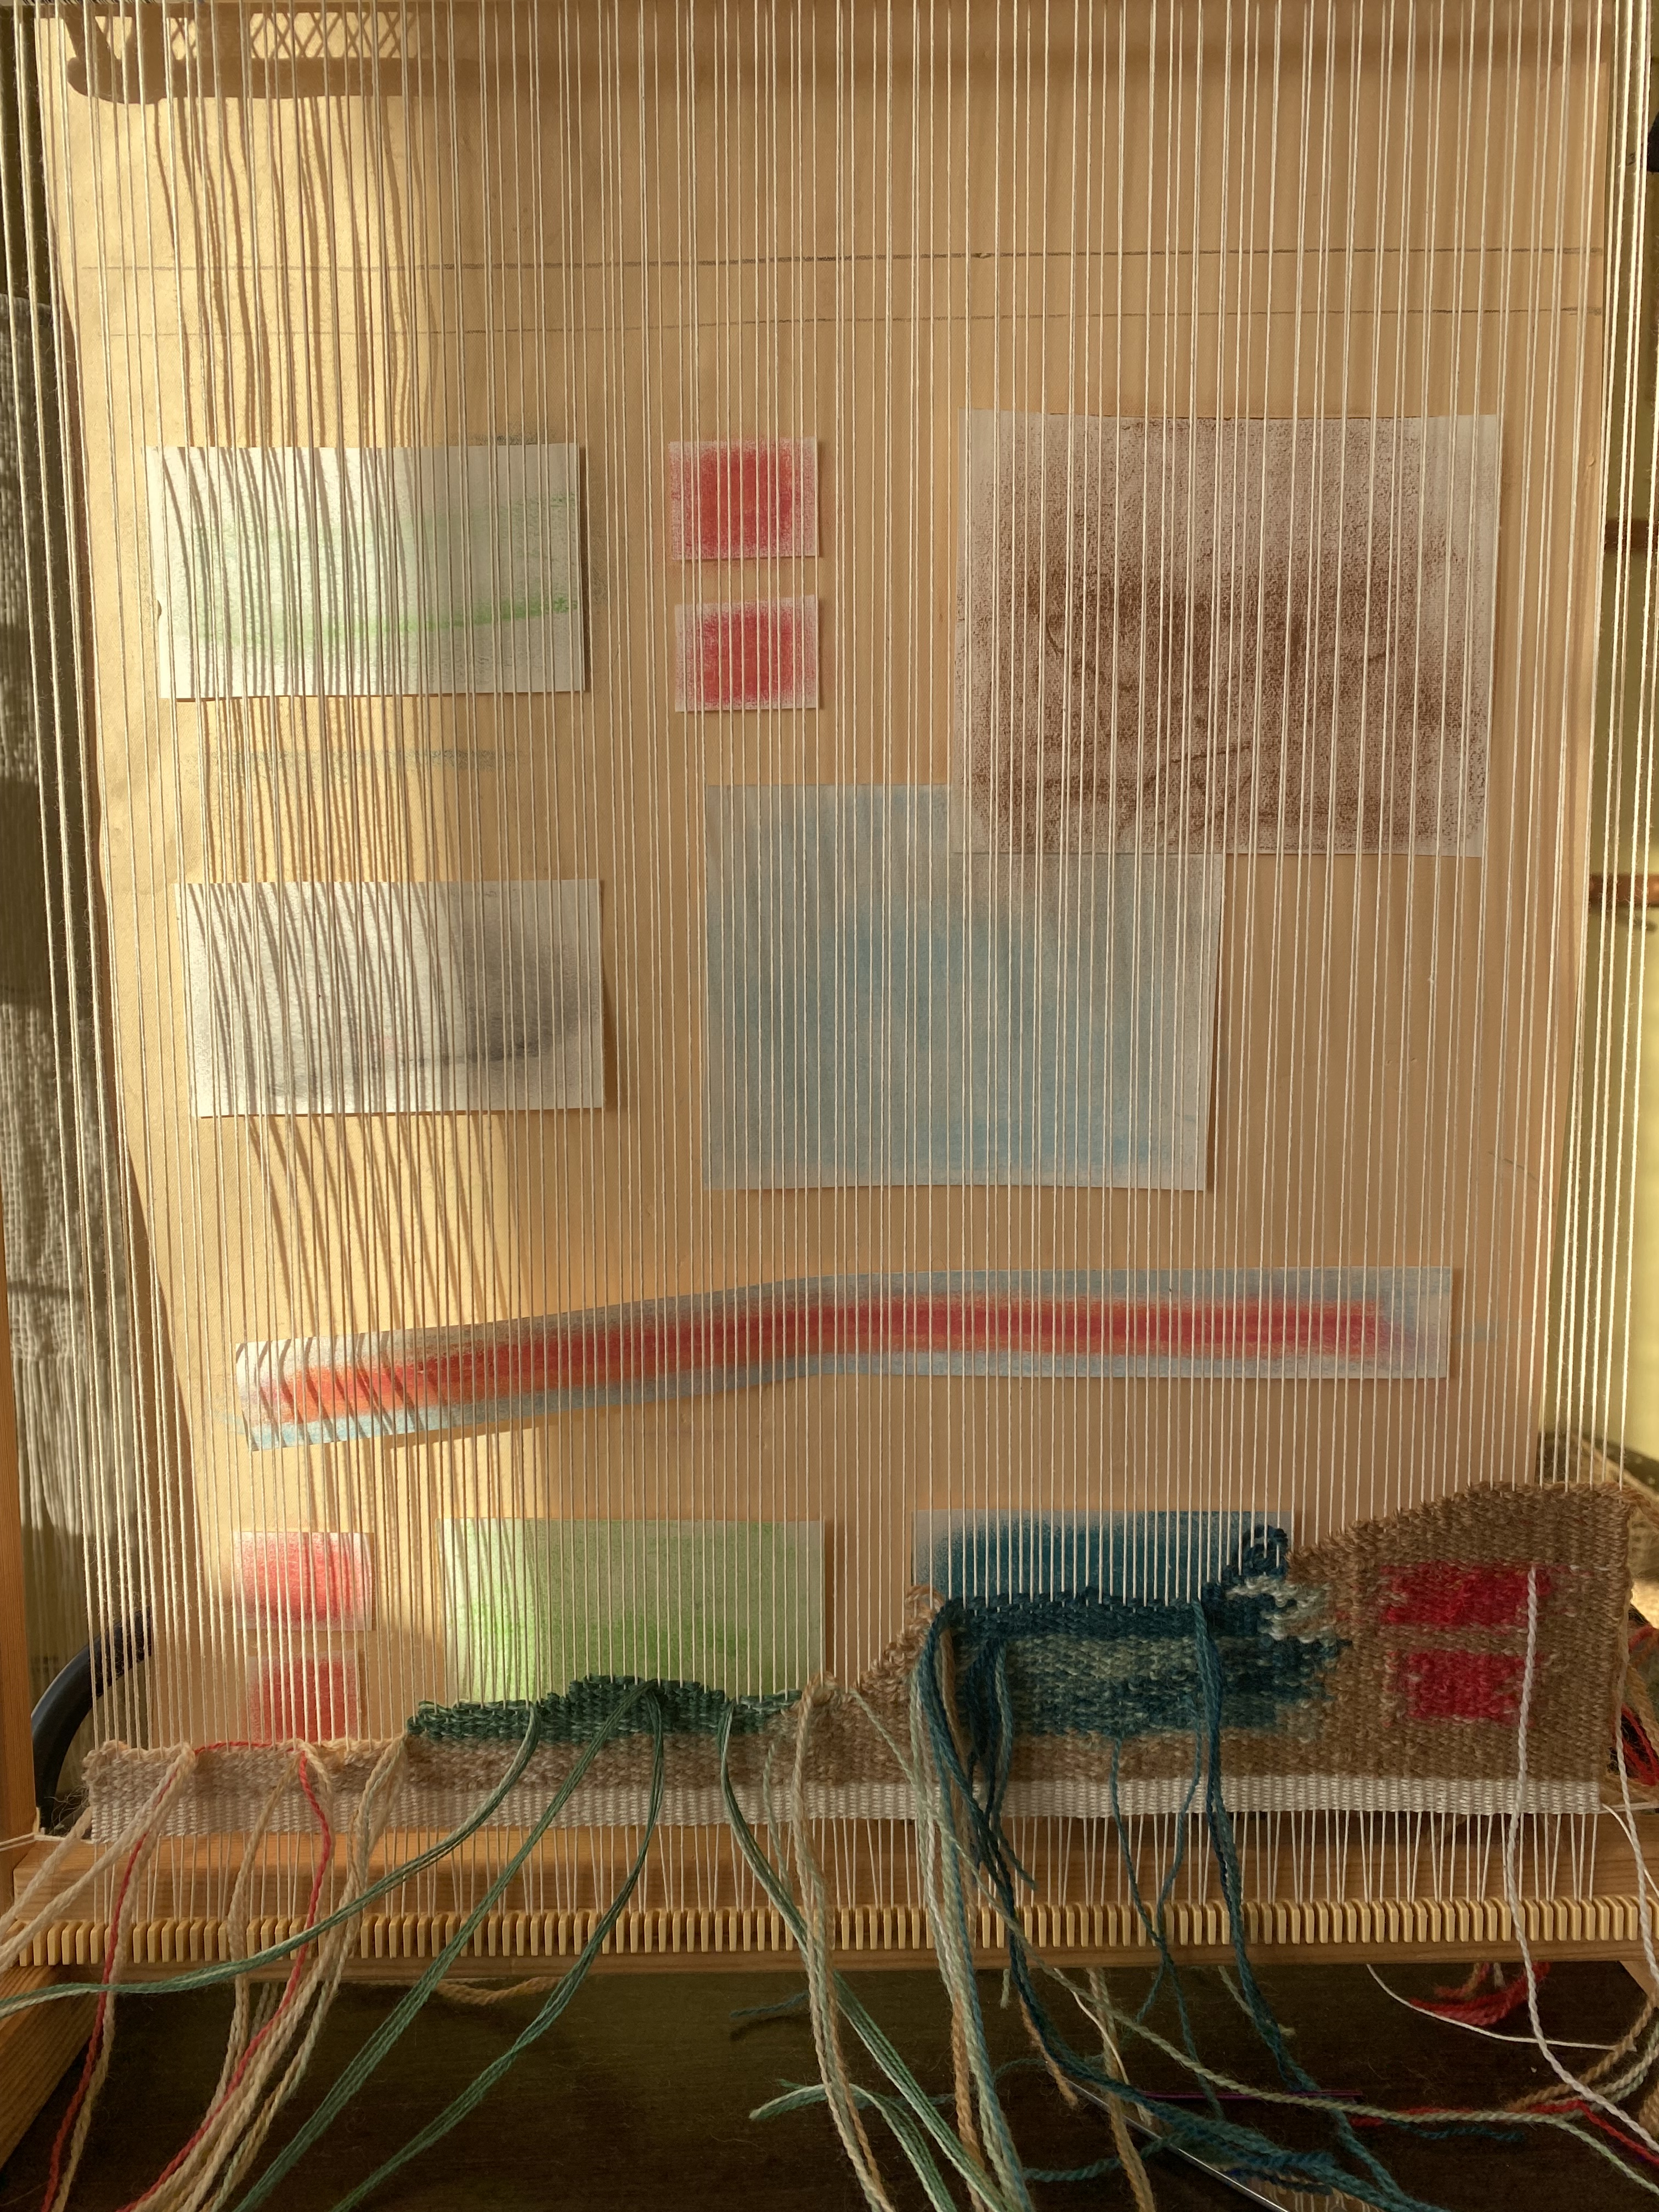
Maybe there’s someone who knit/crocheted/felted/or wove a piece of clothing. Ask them about the pattern or draft and see what they say.
You get the idea! When we notice what others are creating and making and we take an interest in those things, we are connecting in a way that is higher and freer than so many other things we are encumbered by these days.
I hope in this coming month, you get to experience that sparkly moment between yourself and another person, maybe someone you never would have met or talked to had you not noticed something they made. If you end up having a cool experience as a result of asking, “how did you do that?” please share it with me! I’ll love to hear the story!
Until next time,
Bradie