I haven’t been able to weave lately because of a back/neck injury I sustained one month ago tomorrow. As I’ve worked to get back in touch with my body and what it’s communicating to me (if only I’d listen!), I’ve been thinking a lot my looms and which one will be my entryway back into weaving.
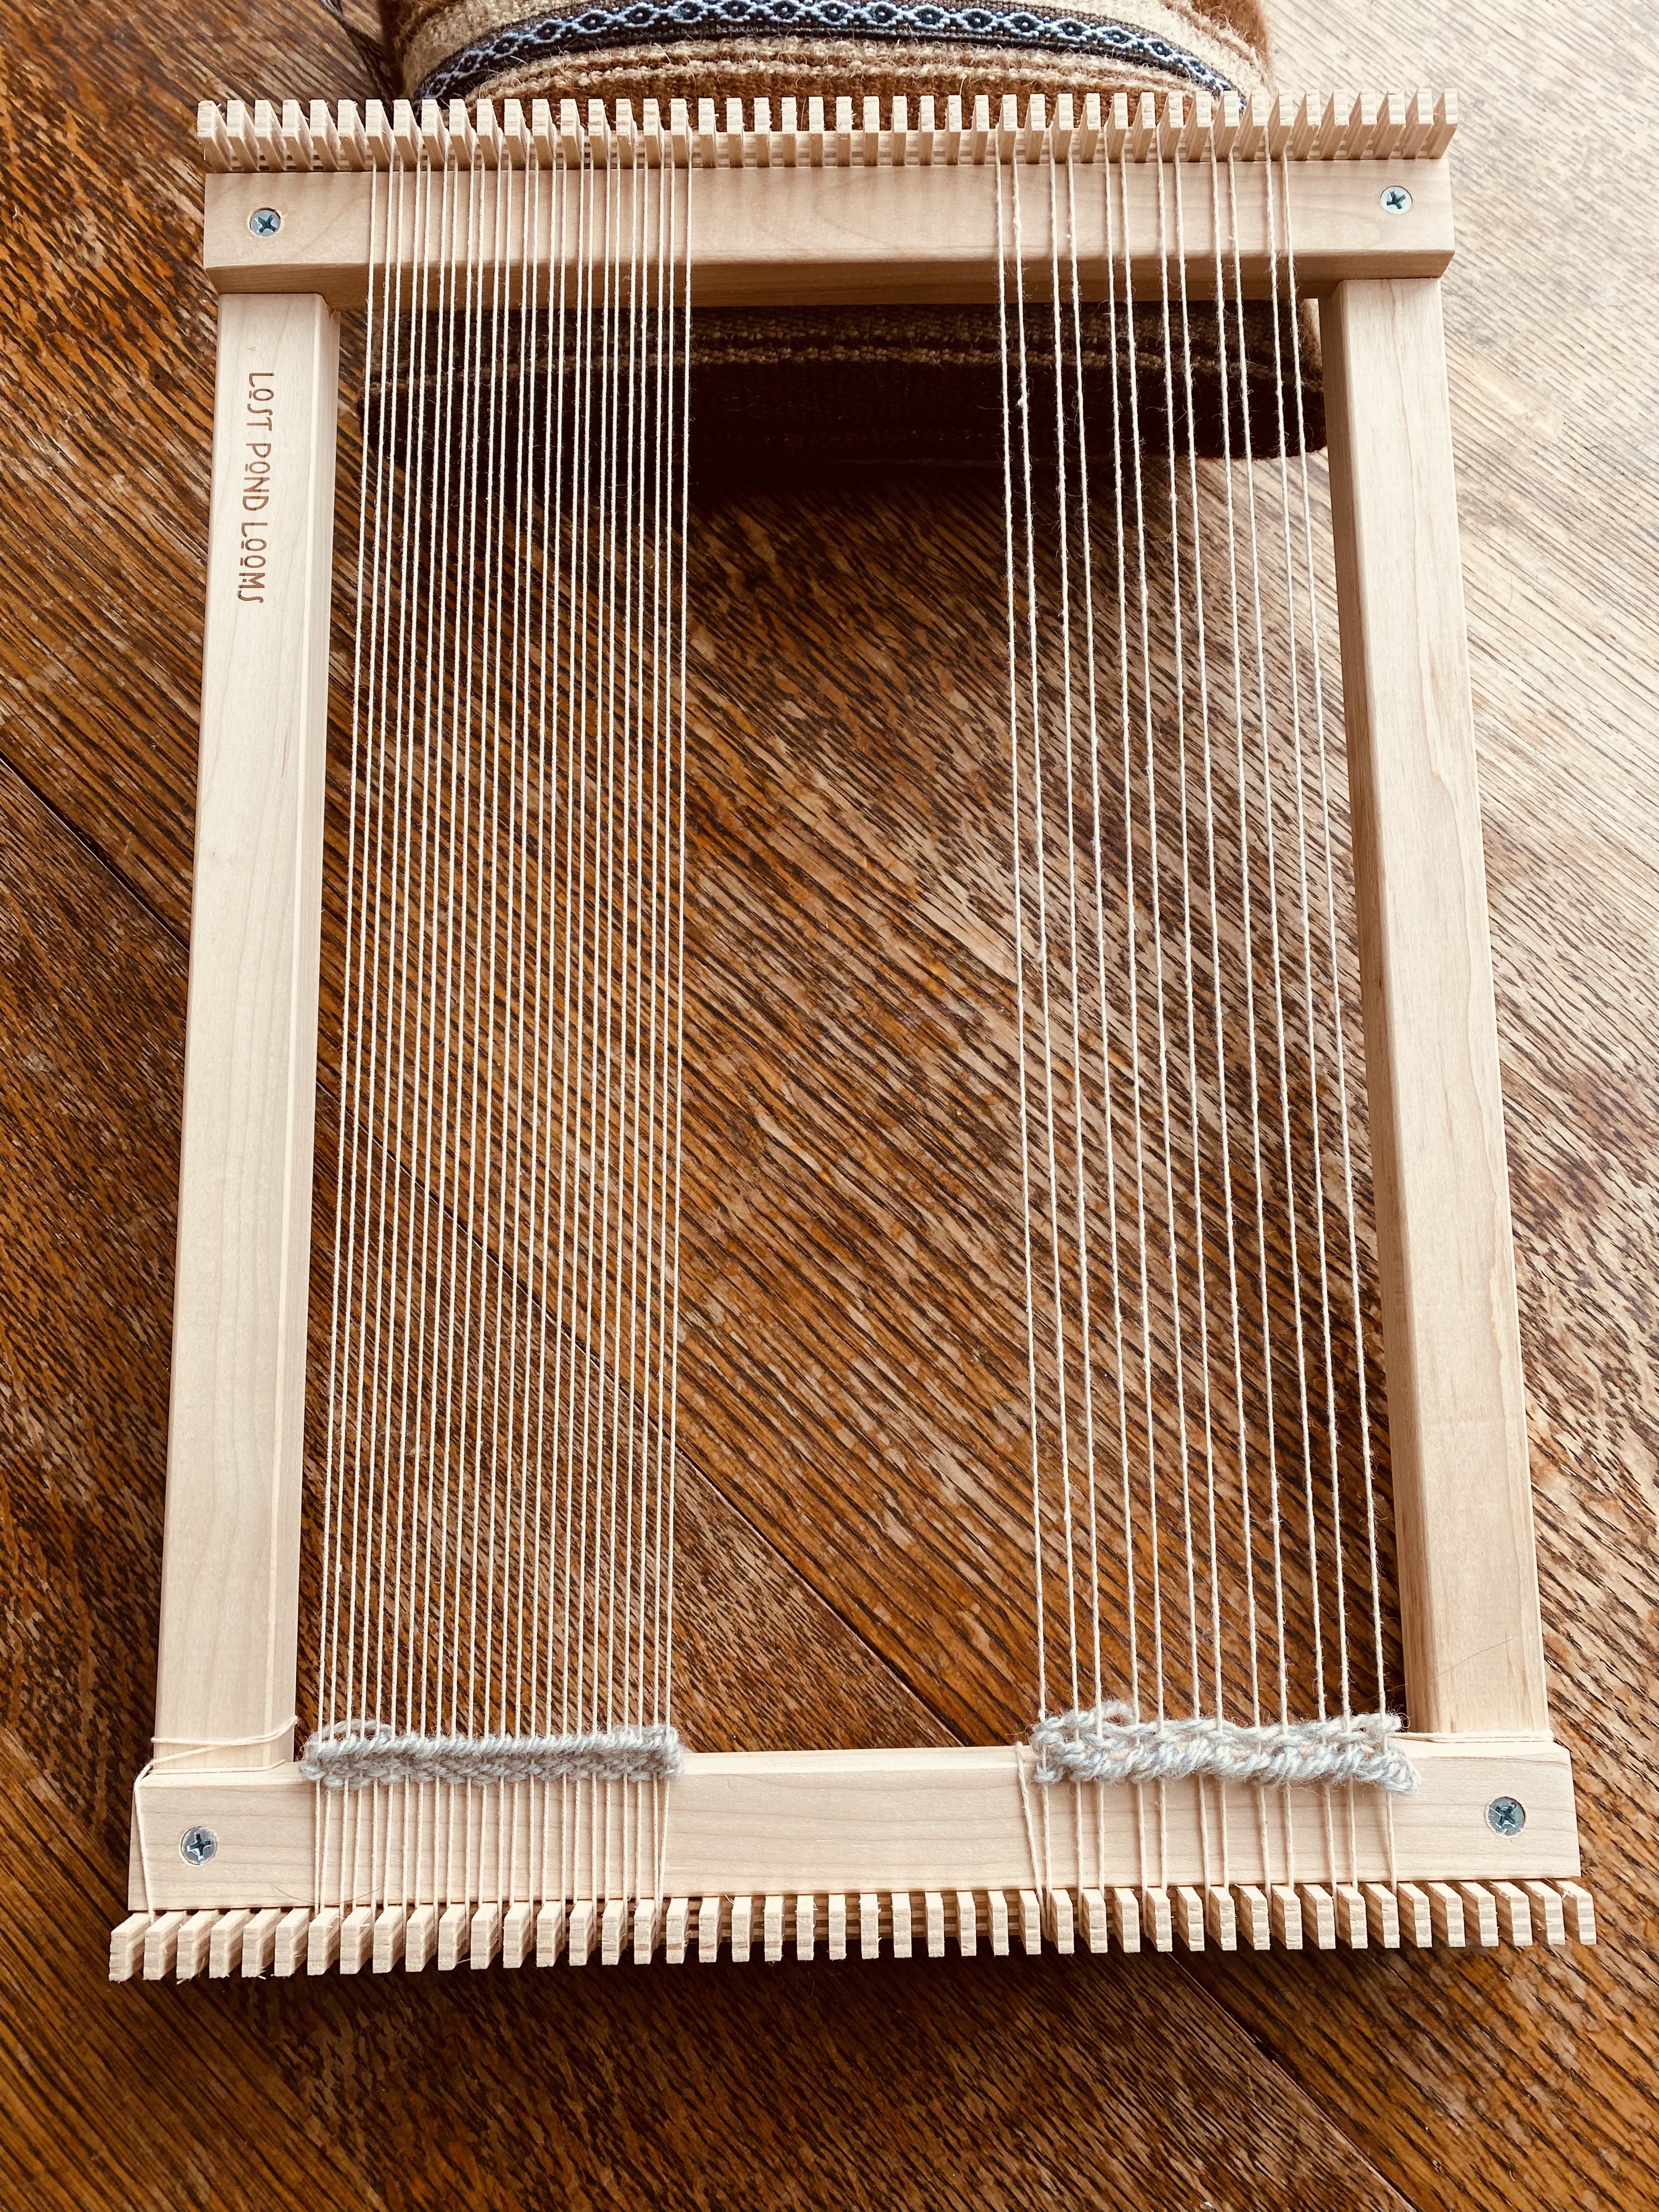
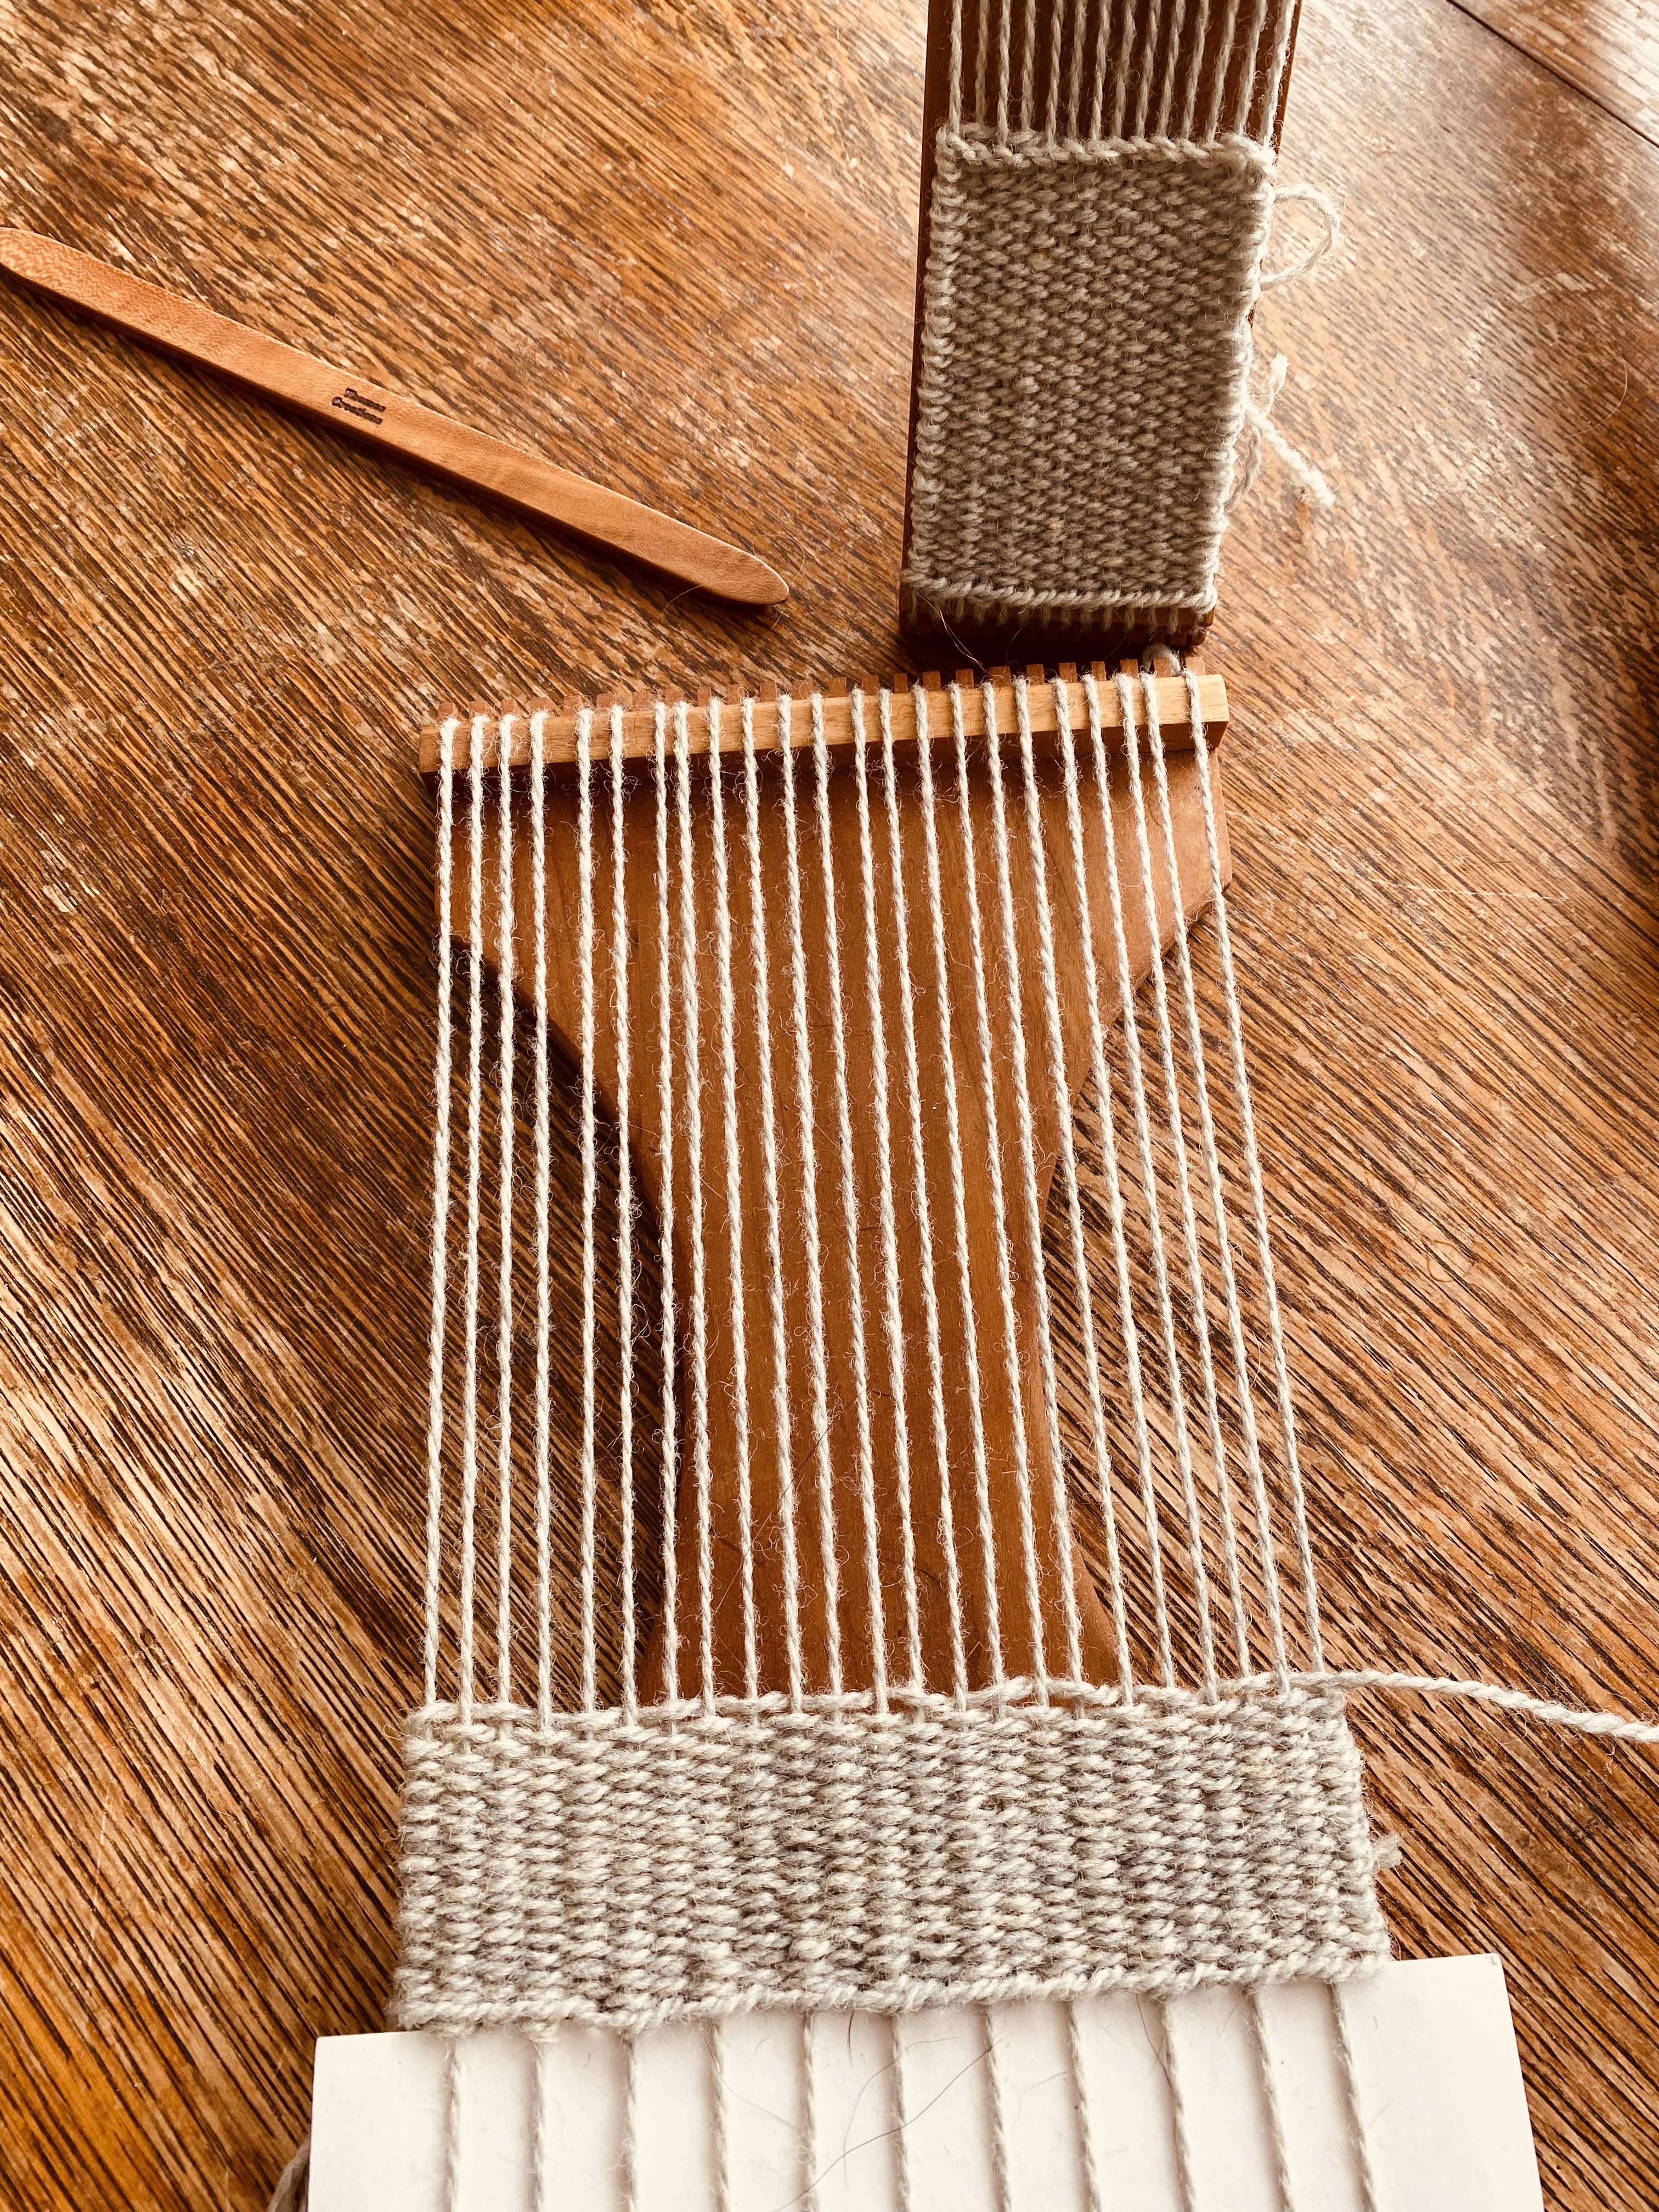
I think for the sake of my back, I’ll start weaving again on this wonderful one from Lost Pond Looms. I am planning on using this loom in both my Introduction to Tapestry Weaving Classes and Wild Weaving classes, as we phase out the ones we have been using. I like this loom because it is super strong and allows for different warp spacing. I also love that we are buying it directly from the person who makes them, and he’s from the next state over in NY.
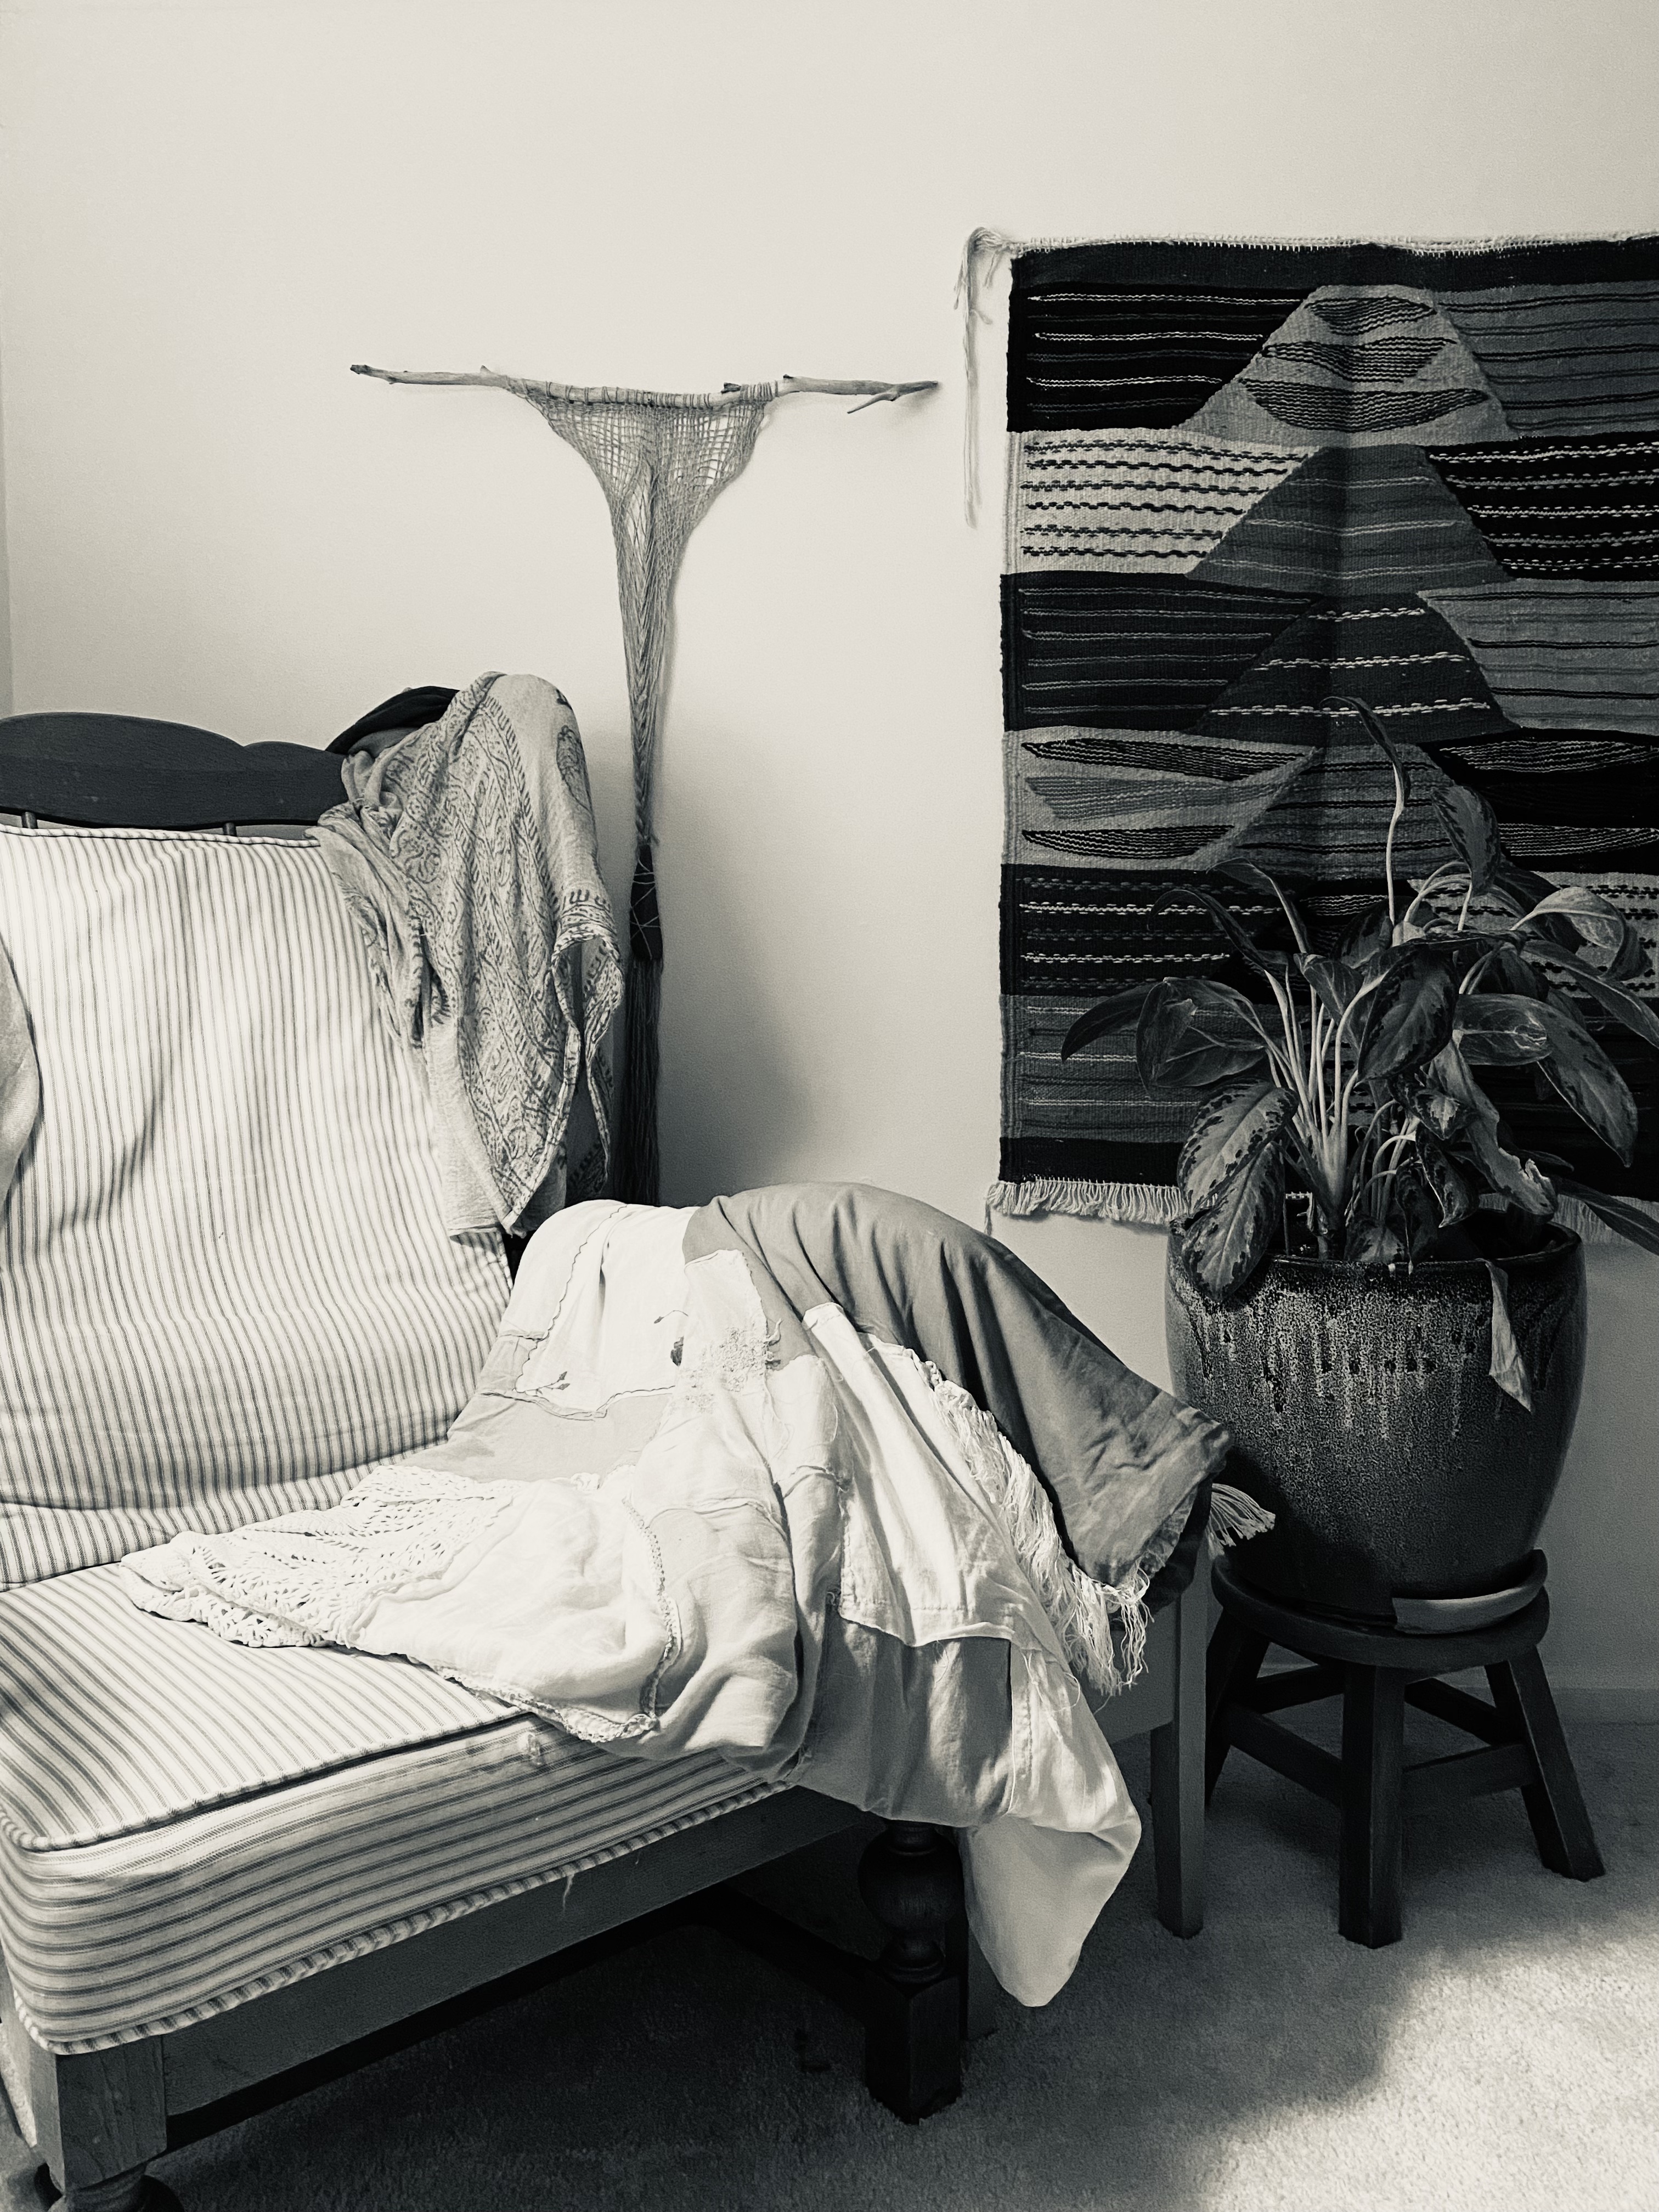
So, taking it slow, and learning ever more to listen to the language of my body and woven form itself. And in the meantime, I’m circling my weaving tools, thinking about what they will hold soon, and looking forward to picking up my yarn again.
I spend a lot of time thinking about and talking about grief. It’s part of my job as a therapist. I co-wrote a book about it. And I incorporate working through grief into certain of my weaving classes, both with groups and individuals. It’s a subject that is always relevant because all of us, at some point in our lives, barring few exceptions, lose loved ones or experience losses of other kinds, like endings of relationships, job loss, or significant life changes due to chronic illness, bankruptcy, natural disaster, war. The list is long. The news of late has been devastating and heart crushing when viewing what is happening in the Palestinian Territories and Israel. So many of us are grieving locally as well as globally. So many of us have been doing this for a long time.
There’s nothing to say about it that can take away the reality of the pain, anguish, trauma, and truth of the matter, which is that human beings can be so utterly monstrous to each other. It’s shocking, and then we must think on the reality that we have choices to make every day about how we are going to be in the world. And sometimes even the most peaceful of us disappoint ourselves. I guess that’s where the truth is, too. It’s always a choice, and always it is true that how we are to others impacts our experience of our lives and our relationships.
I’ve noticed a few things lately that might seem obvious, but that have been moving me and making me look above and beyond the chatter. These observations help me connect with my choices in a way that mitigates feelings of helplessness and despair. I’ll share them with you here.
~ There’s a lot of dialogue about how much our culture gets grief wrong and how there is this pressure on people to “get over” grief quickly. I don’t disagree with that, but I have been noticing how many individuals and organizations are out there, all over the world, talking about how grief really is, and how much it changes a person and a life. As I’ve looked more deeply into remembrance and awareness days to do with grief, I’ve seen a lot of realistic information about what grief is really like as well as how we can support others when they are struggling. I’ll write soon about an upcoming awareness day to do with grieving children. I wonder what is getting in the way of the honest messages to do with grief from landing and changing the experiences people have when they are suffering. How can we release the pressure we put on ourselves to stay the same, no matter what?
~ Giving people the space and respect they deserve and are entitled to when processing life events and grief is a wonderful thing to do. When we can get out of the mindset of having to make someone “feel better” and instead hold space for them to simply be where they are, a sort of alchemy takes place. A bridge of trust grows, and often it looks like recognition. Almost like a version of namaste, it is as though the spirit says, the grief in me sees the grief in you.
~ As I talk with and listen to people, something is becoming crystal clear: long-term grief is not always solely about the loved one lost, but sometimes is a result of the anguish of trying to get back to normal too fast, whether this is a self-imposed pressure or felt as pressure from others. As a result of that anguish, there are multiple layers of complexity piled on and on and on. As people try to find their balance and figure out a new normal after any kind of grief, part of that often entails facing the pain of how their grief was received and responded to. This is tough stuff, but it seems important to me.
~ There is something incredible that happens when people let themselves process life events through the practice of making. We do so much thinking about so many things. And I’m a fan of thinking! Thinking helps us make choices that are less reactive, more informed, and ideally lead to better outcomes than when we fly by the seat of our emotions. But… sometimes we get lost in the weeds of words and self-analyzing. Creating spaces where people can translate lived experience into artistic form works, and what we get from that is insight and healing from angles that might not have been approached if the senses weren’t involved.
~ Listening… the most wonderful kind of listening… is medicine. The kind where you’re not waiting to say the next thing, or thinking about your words as the other person is still talking. Slowing down and absorbing what someone is saying and letting it affect you or work on you in some way- this is true relating. And it doesn’t require hours, or even many minutes. It just requires deciding that the person you are engaged with is worth your time and attention. Can you imagine if we all treated everyone like that? And were treated like that all the time?
What helps us meet the people around us where they are, not where we want them to be? How do we maintain compassion, patience, love, and curiosity? The first thing that comes to mind and is the only one I want to focus on at the moment is self-compassion. Sometimes it’s just the truth that our cups will not be full before we give to others, and we can sustain that for a while. Sometimes we are tired and grieving ourselves, when we are at the same time showing up for others. And sometimes, we can’t give in the ways others want us to give or we wish we could, and we need to pull back and refocus that energy. That’s okay. It helps to remember and keep remembering that it’s not anyone’s job to take grief away from others or somehow fix the pain of it. And sometimes energy needs to go back into the self for a while before it can go out again. It’s just the way it is, and there’s nothing selfish about it. It’s okay to think about how you can show up for people at any given time, and be honest about.
How do you tend to yourself and nourish yourself as you go about life and relationships? Do you have ways you tune in and respond to your heart and body? Do you take the importance of this as seriously as you do your love for and support of others? And, when you can’t be there in the way you always have and feel worried about that, or stressed or resentful, do you have ideas about alternatives? Can you imagine communicating them?
Yesterday evening I took a piece off my rigid heddle loom I’d started weeks ago. September 1st, I think.
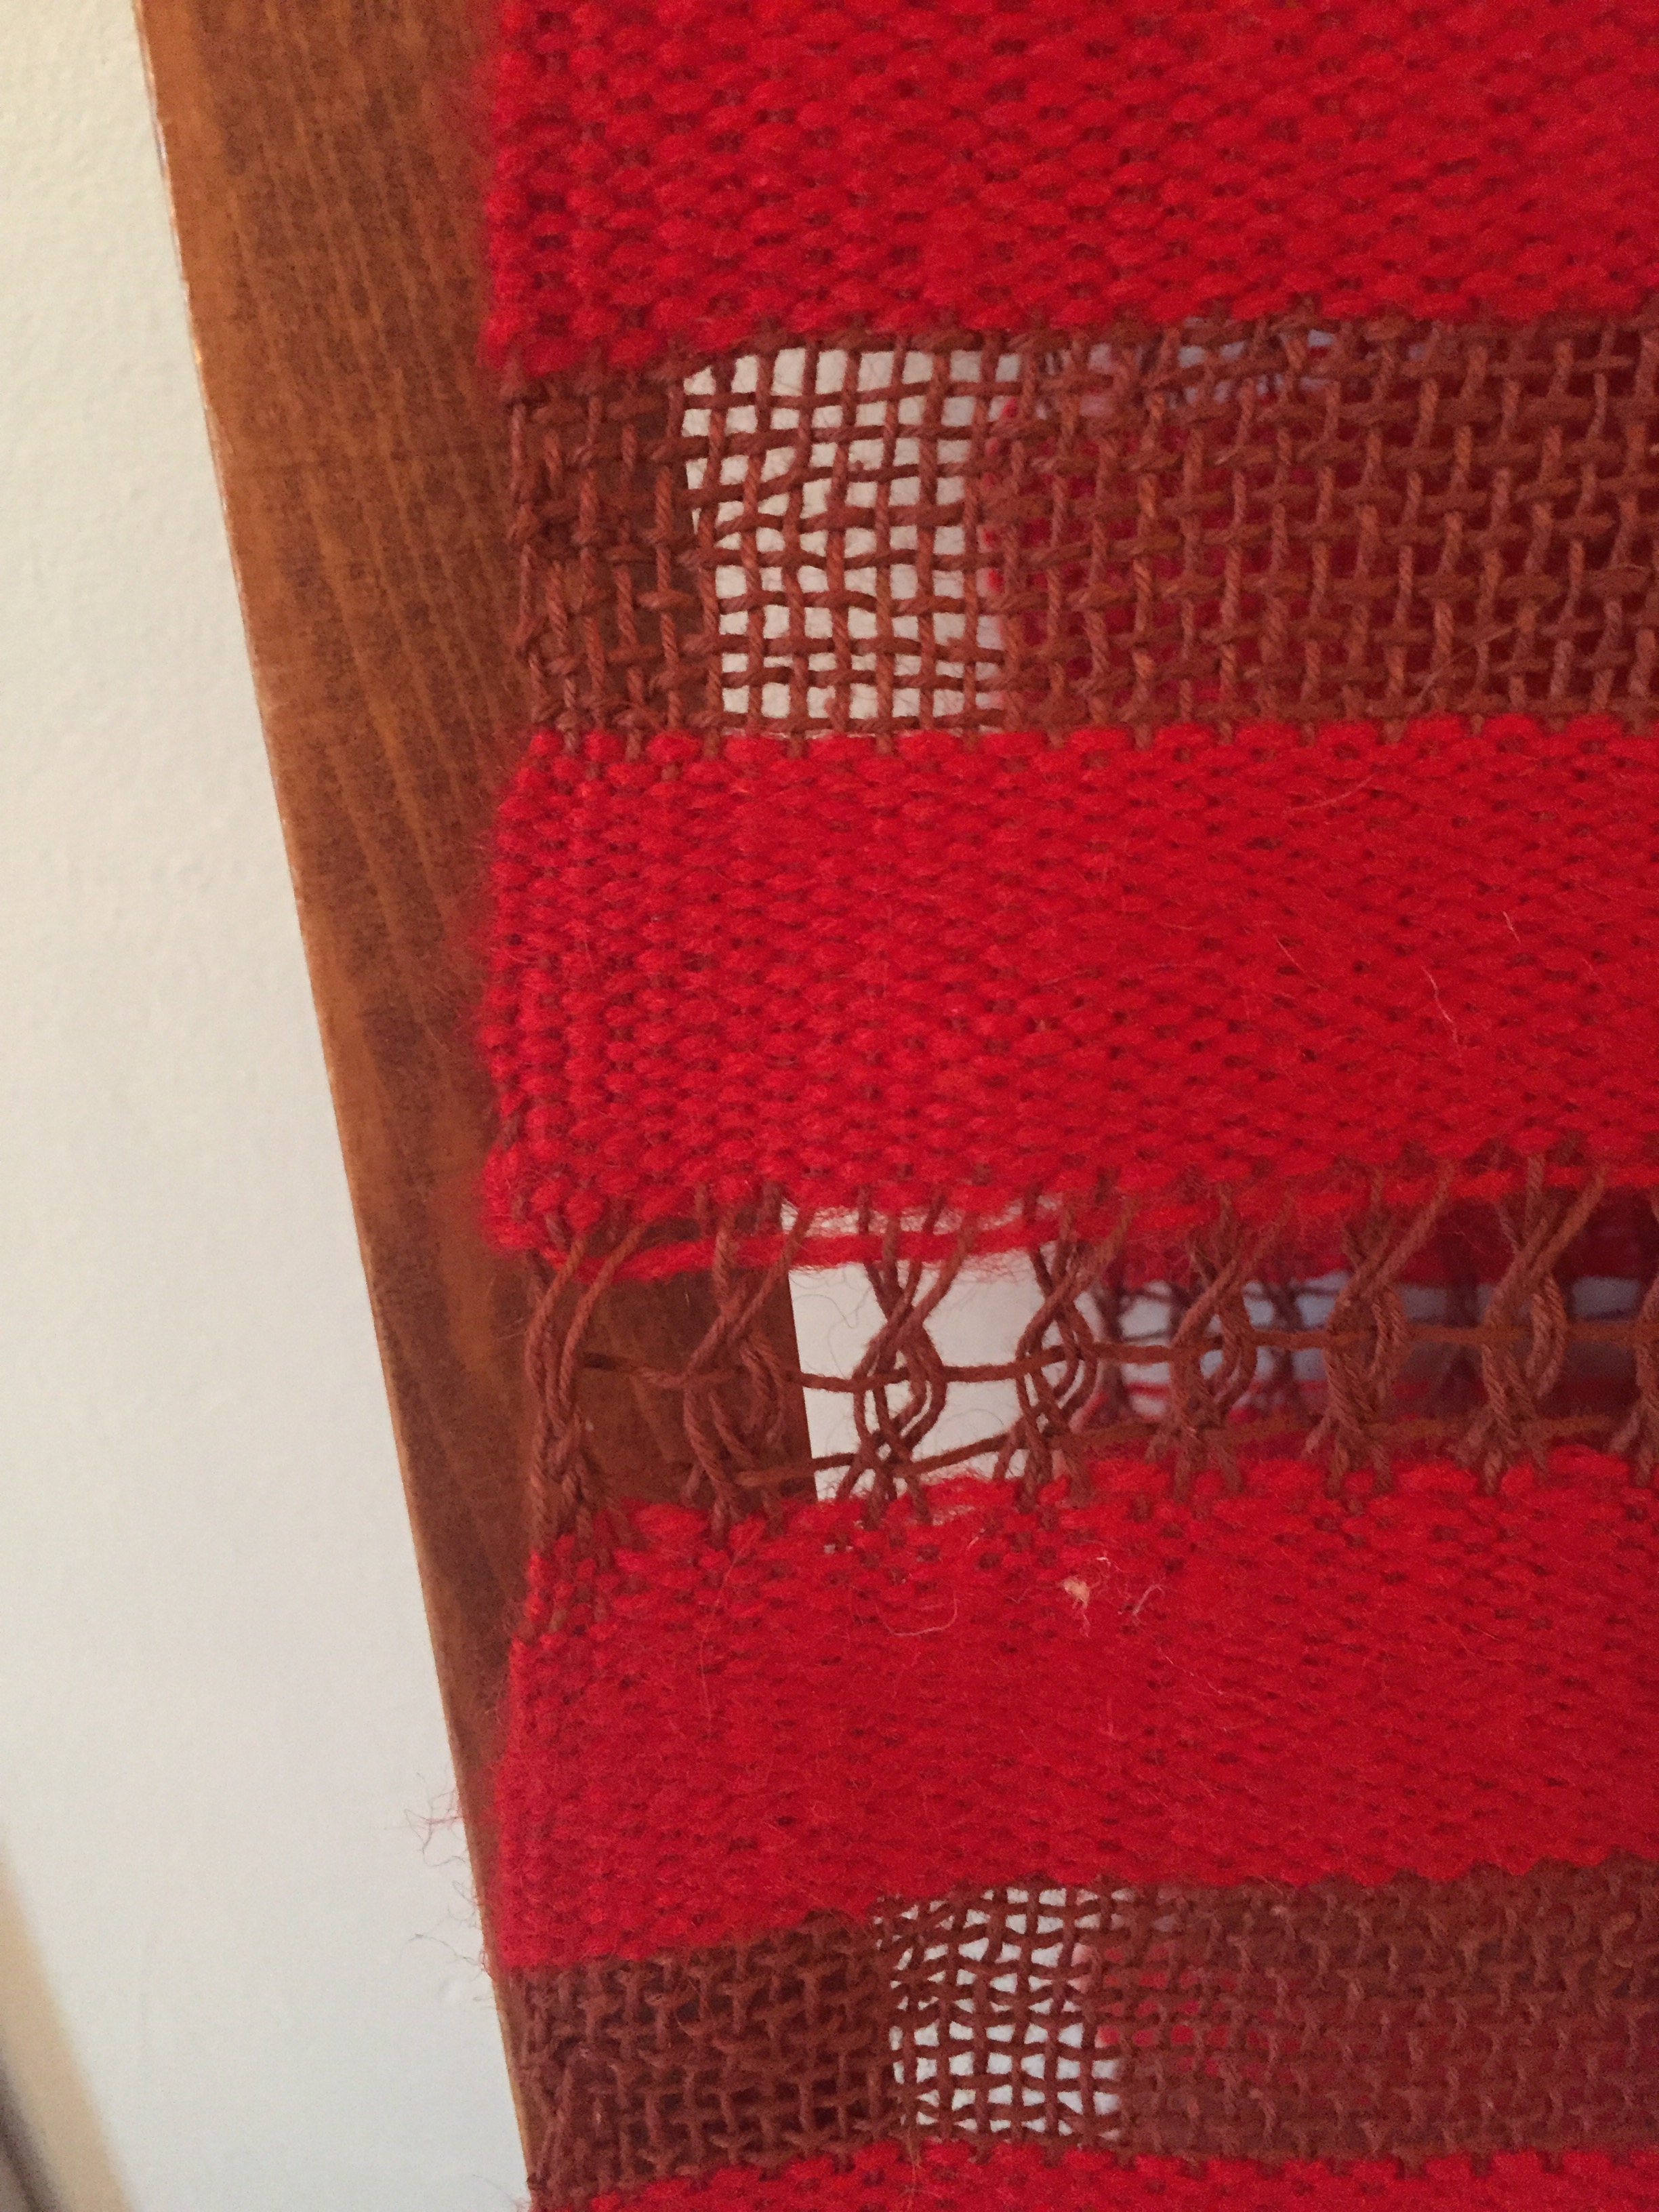
I used a yummy mohair yarn and what I’m fairly certain is a kind of thick cotton thread. I love autumn-esque colors. I was going for a shawl that both looks warm and delicate, airy and solid. I also wanted to practice a weaving technique called Leno as described in the book, Inventive Weaving on a Little Loom, by Syne Mitchell.
The cotton thread behaved so much differently than the wool yarn. It is much less forgiving and had almost no elasticity. Sometimes the selveges were a catastrophe. I thought about bailing on the project about halfway through because I was worried it was just a hot mess and I should start over. Then I got stubborn and opted to carry on ~ best case scenario, I reasoned, was that I’d love the shawl and want to show it to the world, imperfections and all. Worst case? That once off the loom I’d lament wasting hours of my life weaving cloth not fit for mouse bedding.
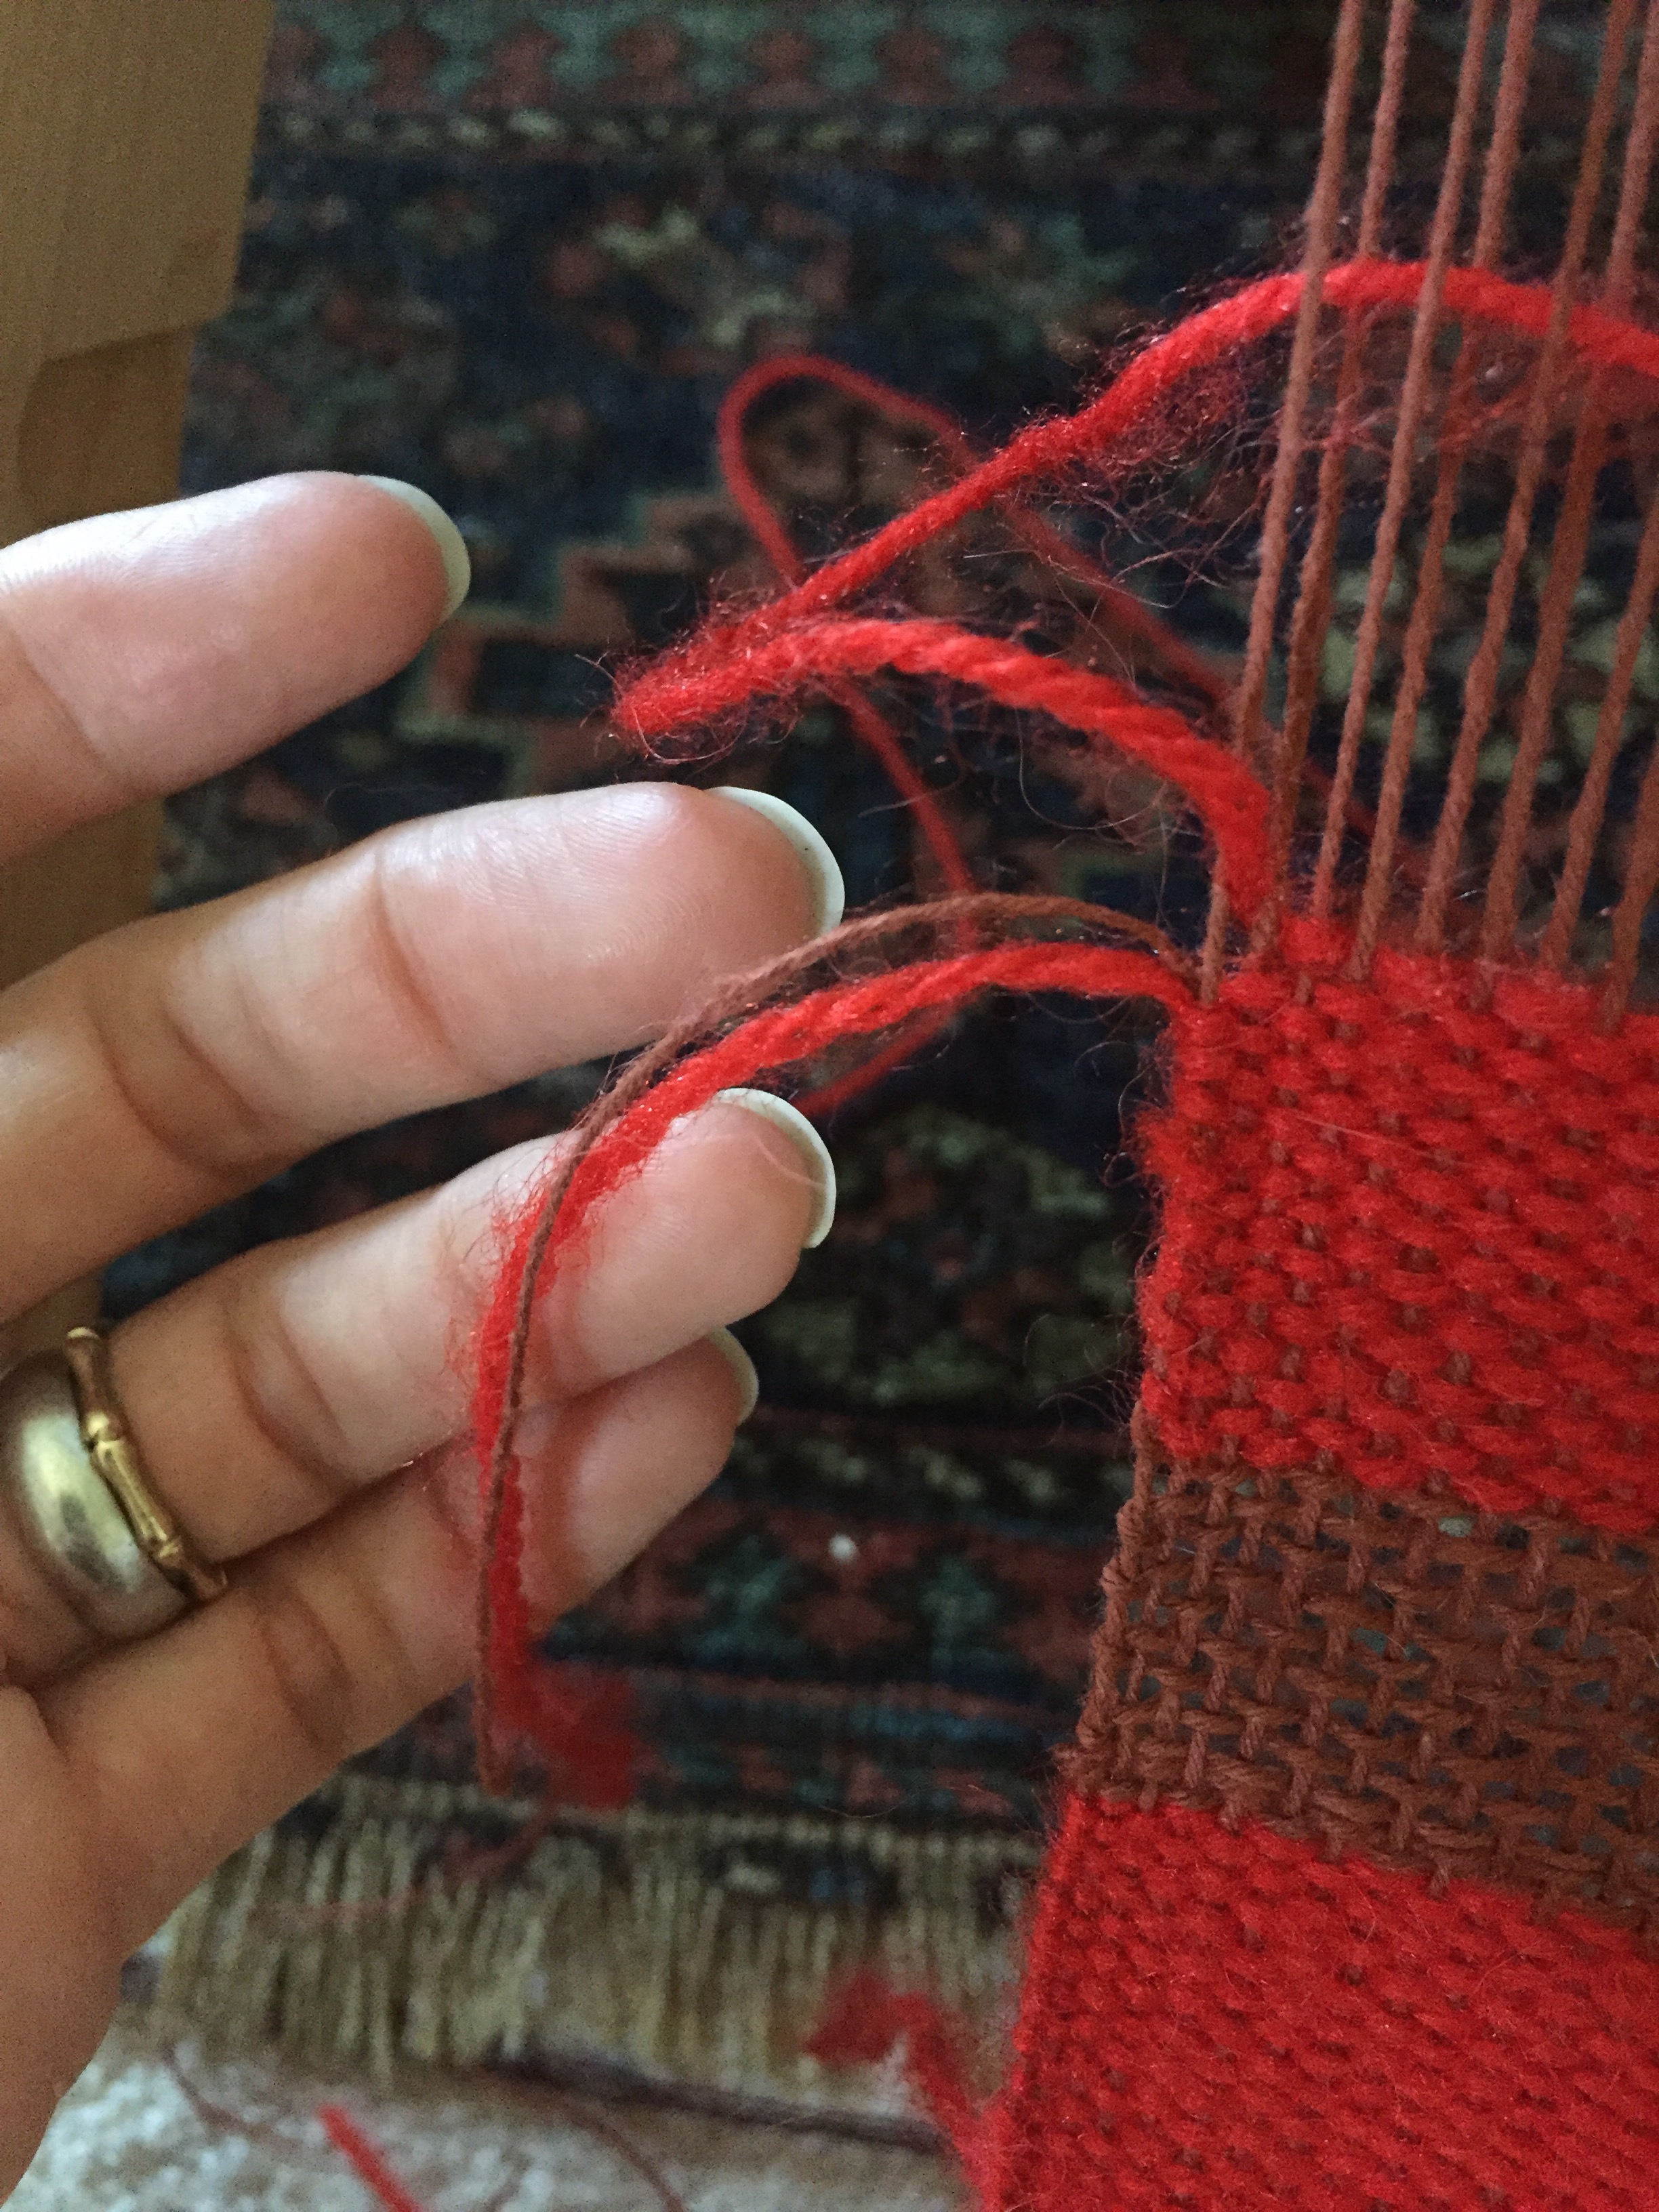
I tried out some things in an effort to minimize loose ends. Oh loose ends! They are part of things, aren’t they?
When I had to switch colors (according to my own pattern; I’d arrange the color changes much differently if I were to make this again) I tried securing the loose threads in the loop of the weft as it was going back through the warp. That worked out pretty well. Wish I’d have figured that out sooner!
Taking the shawl off the loom was nerve wracking! Not sure why. It feels both sturdy and fragile at the same time, and all of the loose ends made me wonder how the hell I’d get them all sewn in without ruining the fabric.
There it is all laid out.
I stayed up until the wee hours last night sewing all the strands in, those that couldn’t be trimmed as they were. It was so worth it.
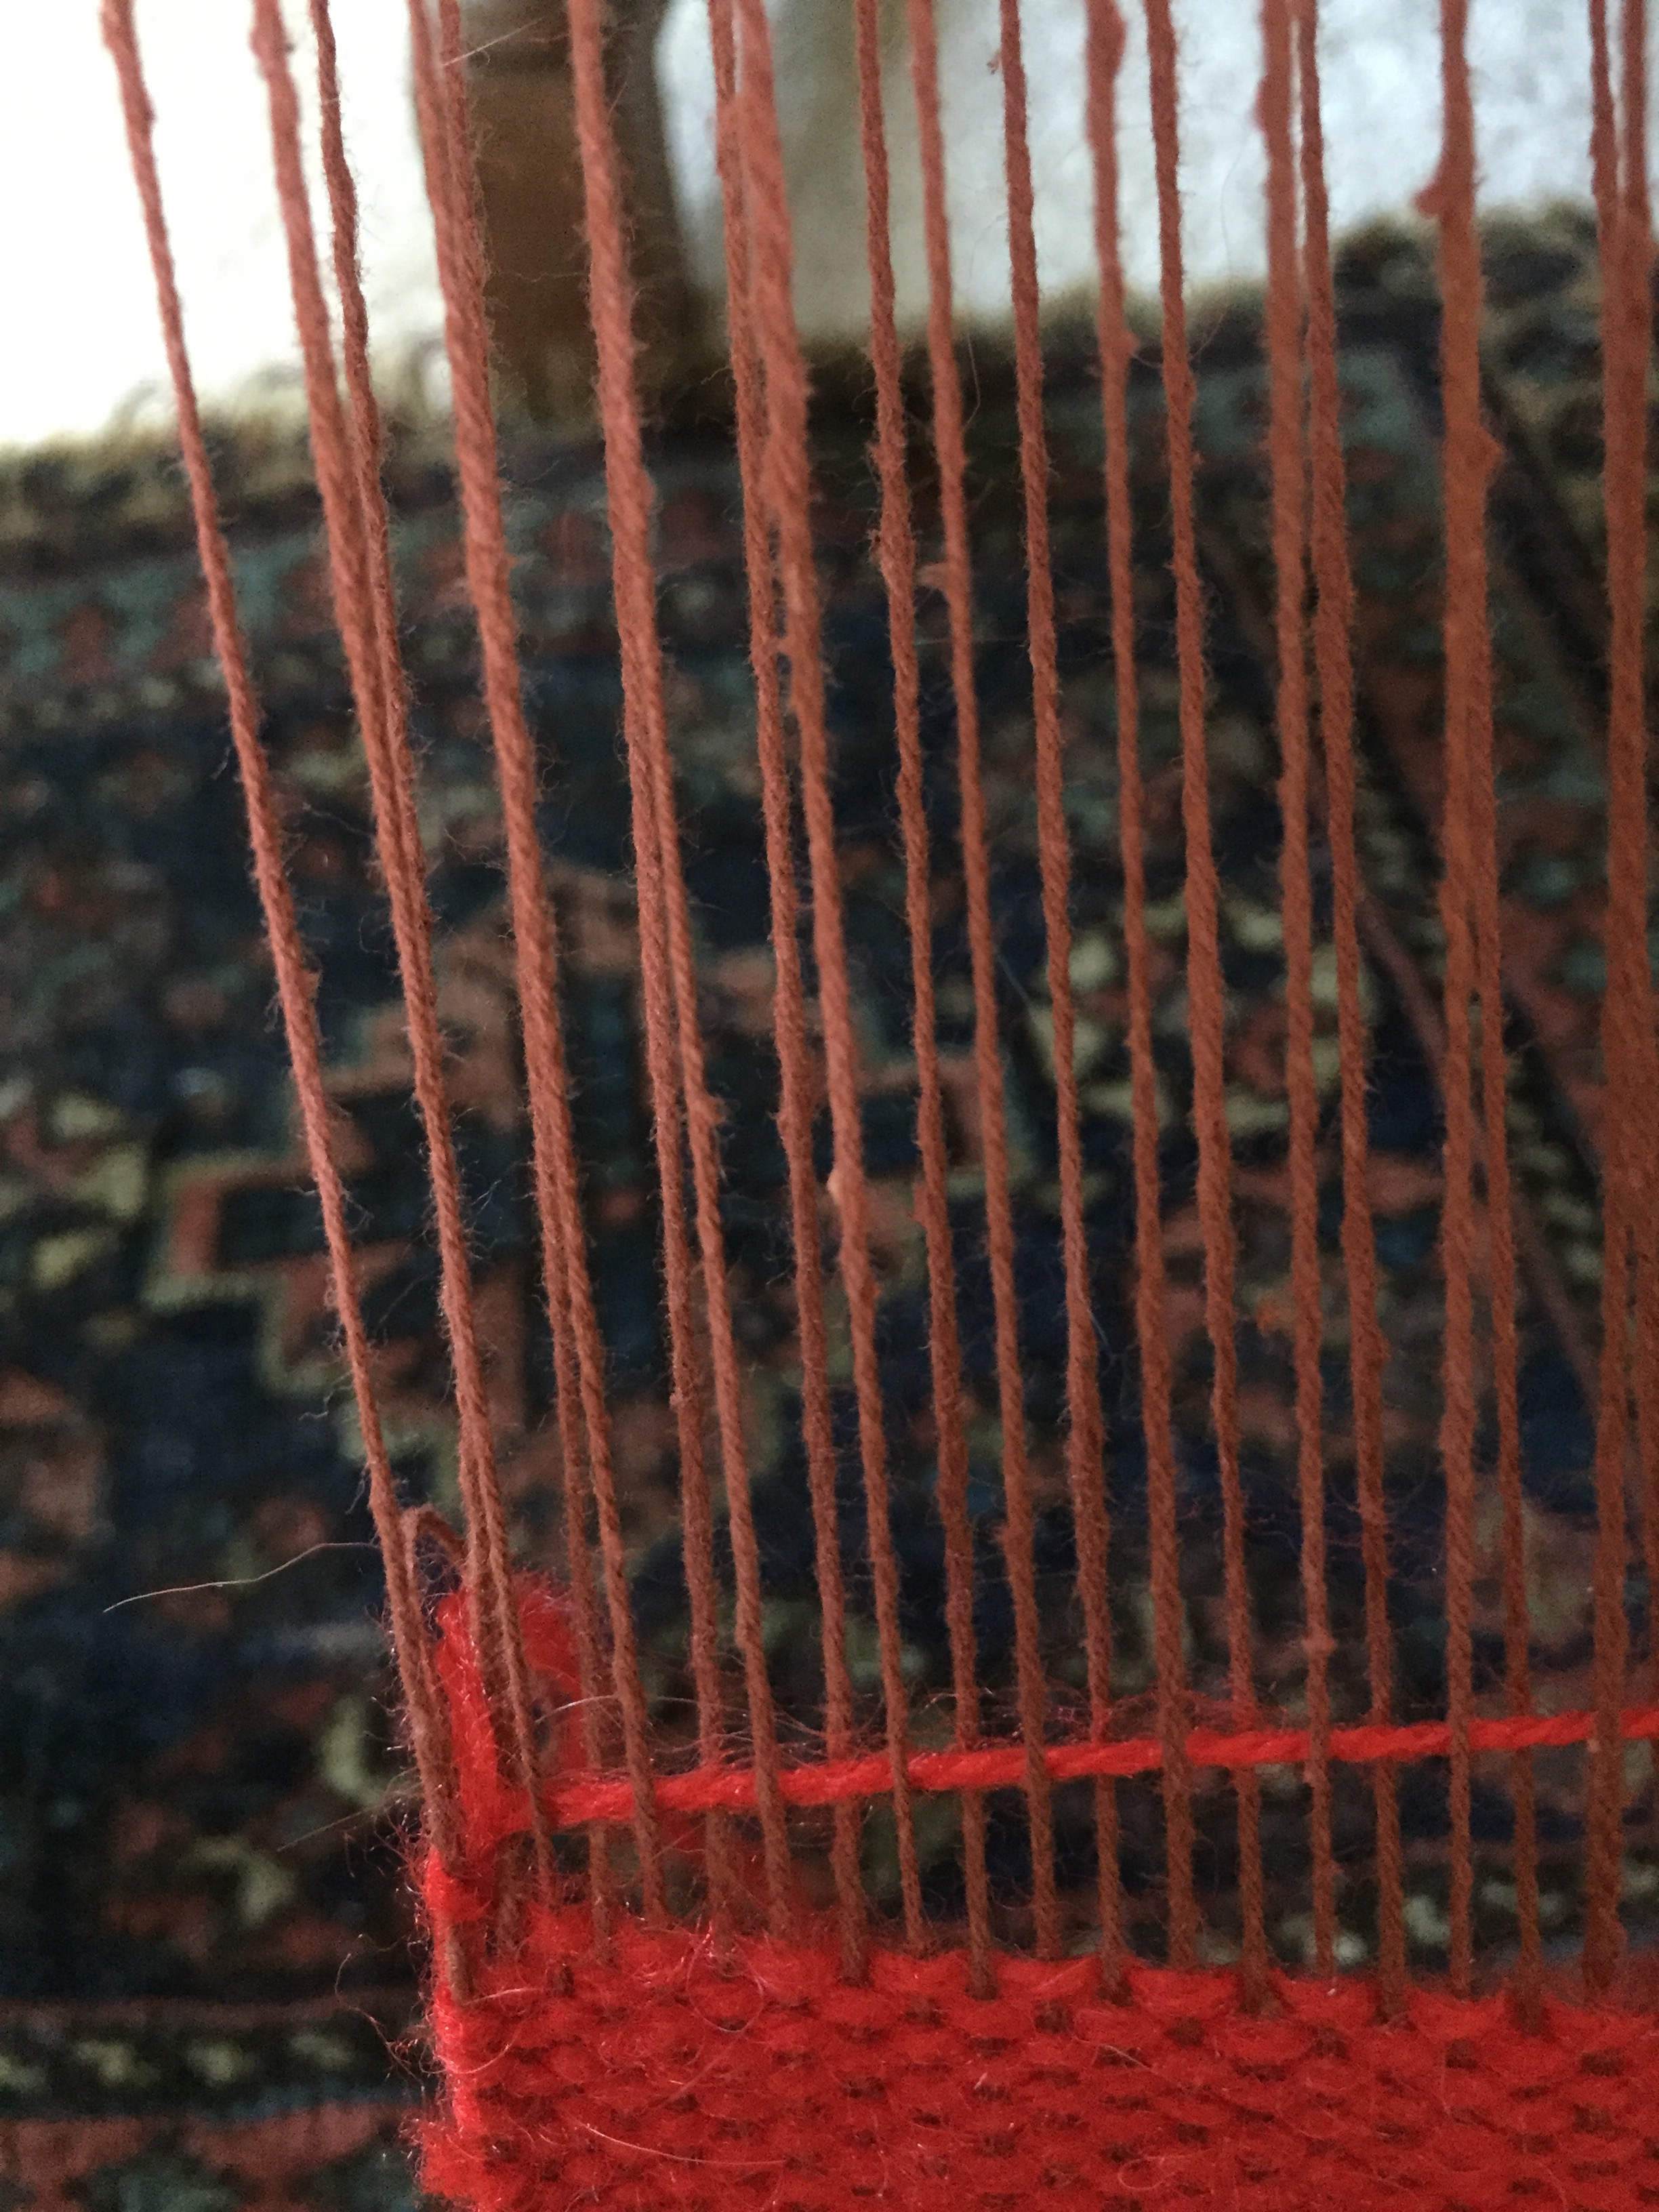
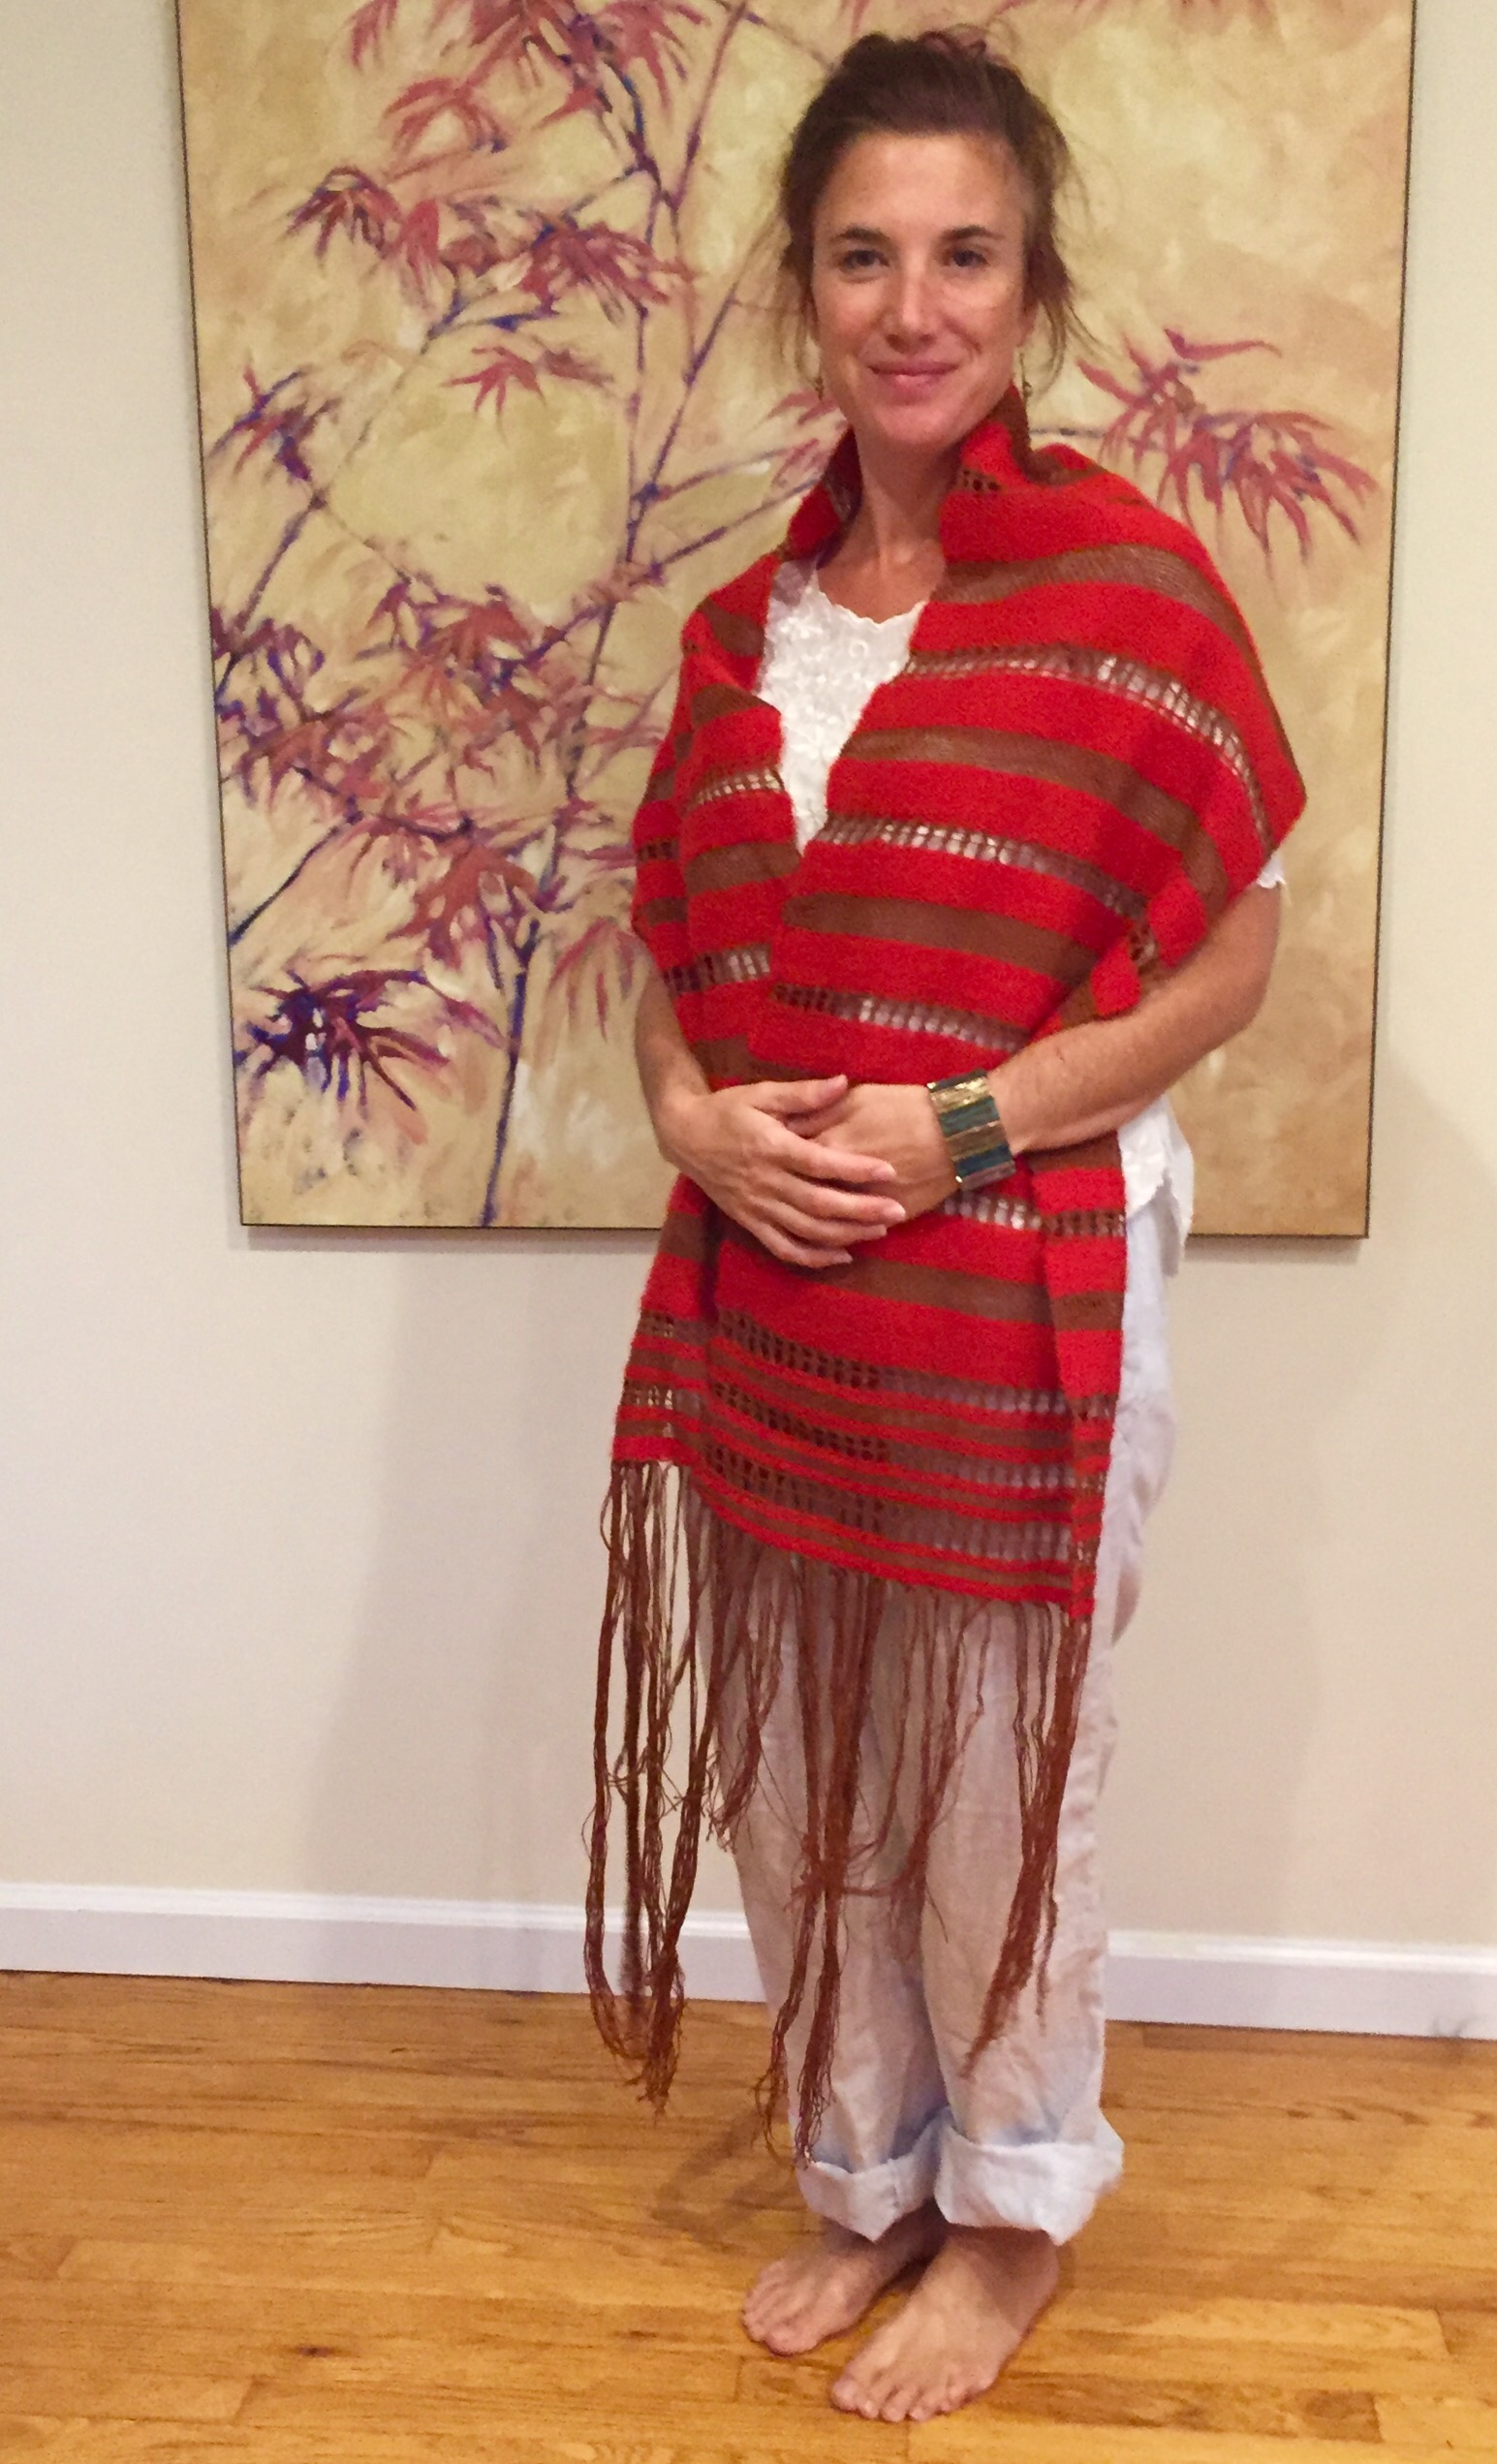
The shawl isn’t blocked yet but here it is. I’m so happy I kept at it. I learned so much about how different threads behave, selveges, the utter importance of a proper tension in all warp threads (obvious I know, but I thought I’d done that and still there were problems throughout. I think I need to make smaller groups of weft threads in the beginning stages).
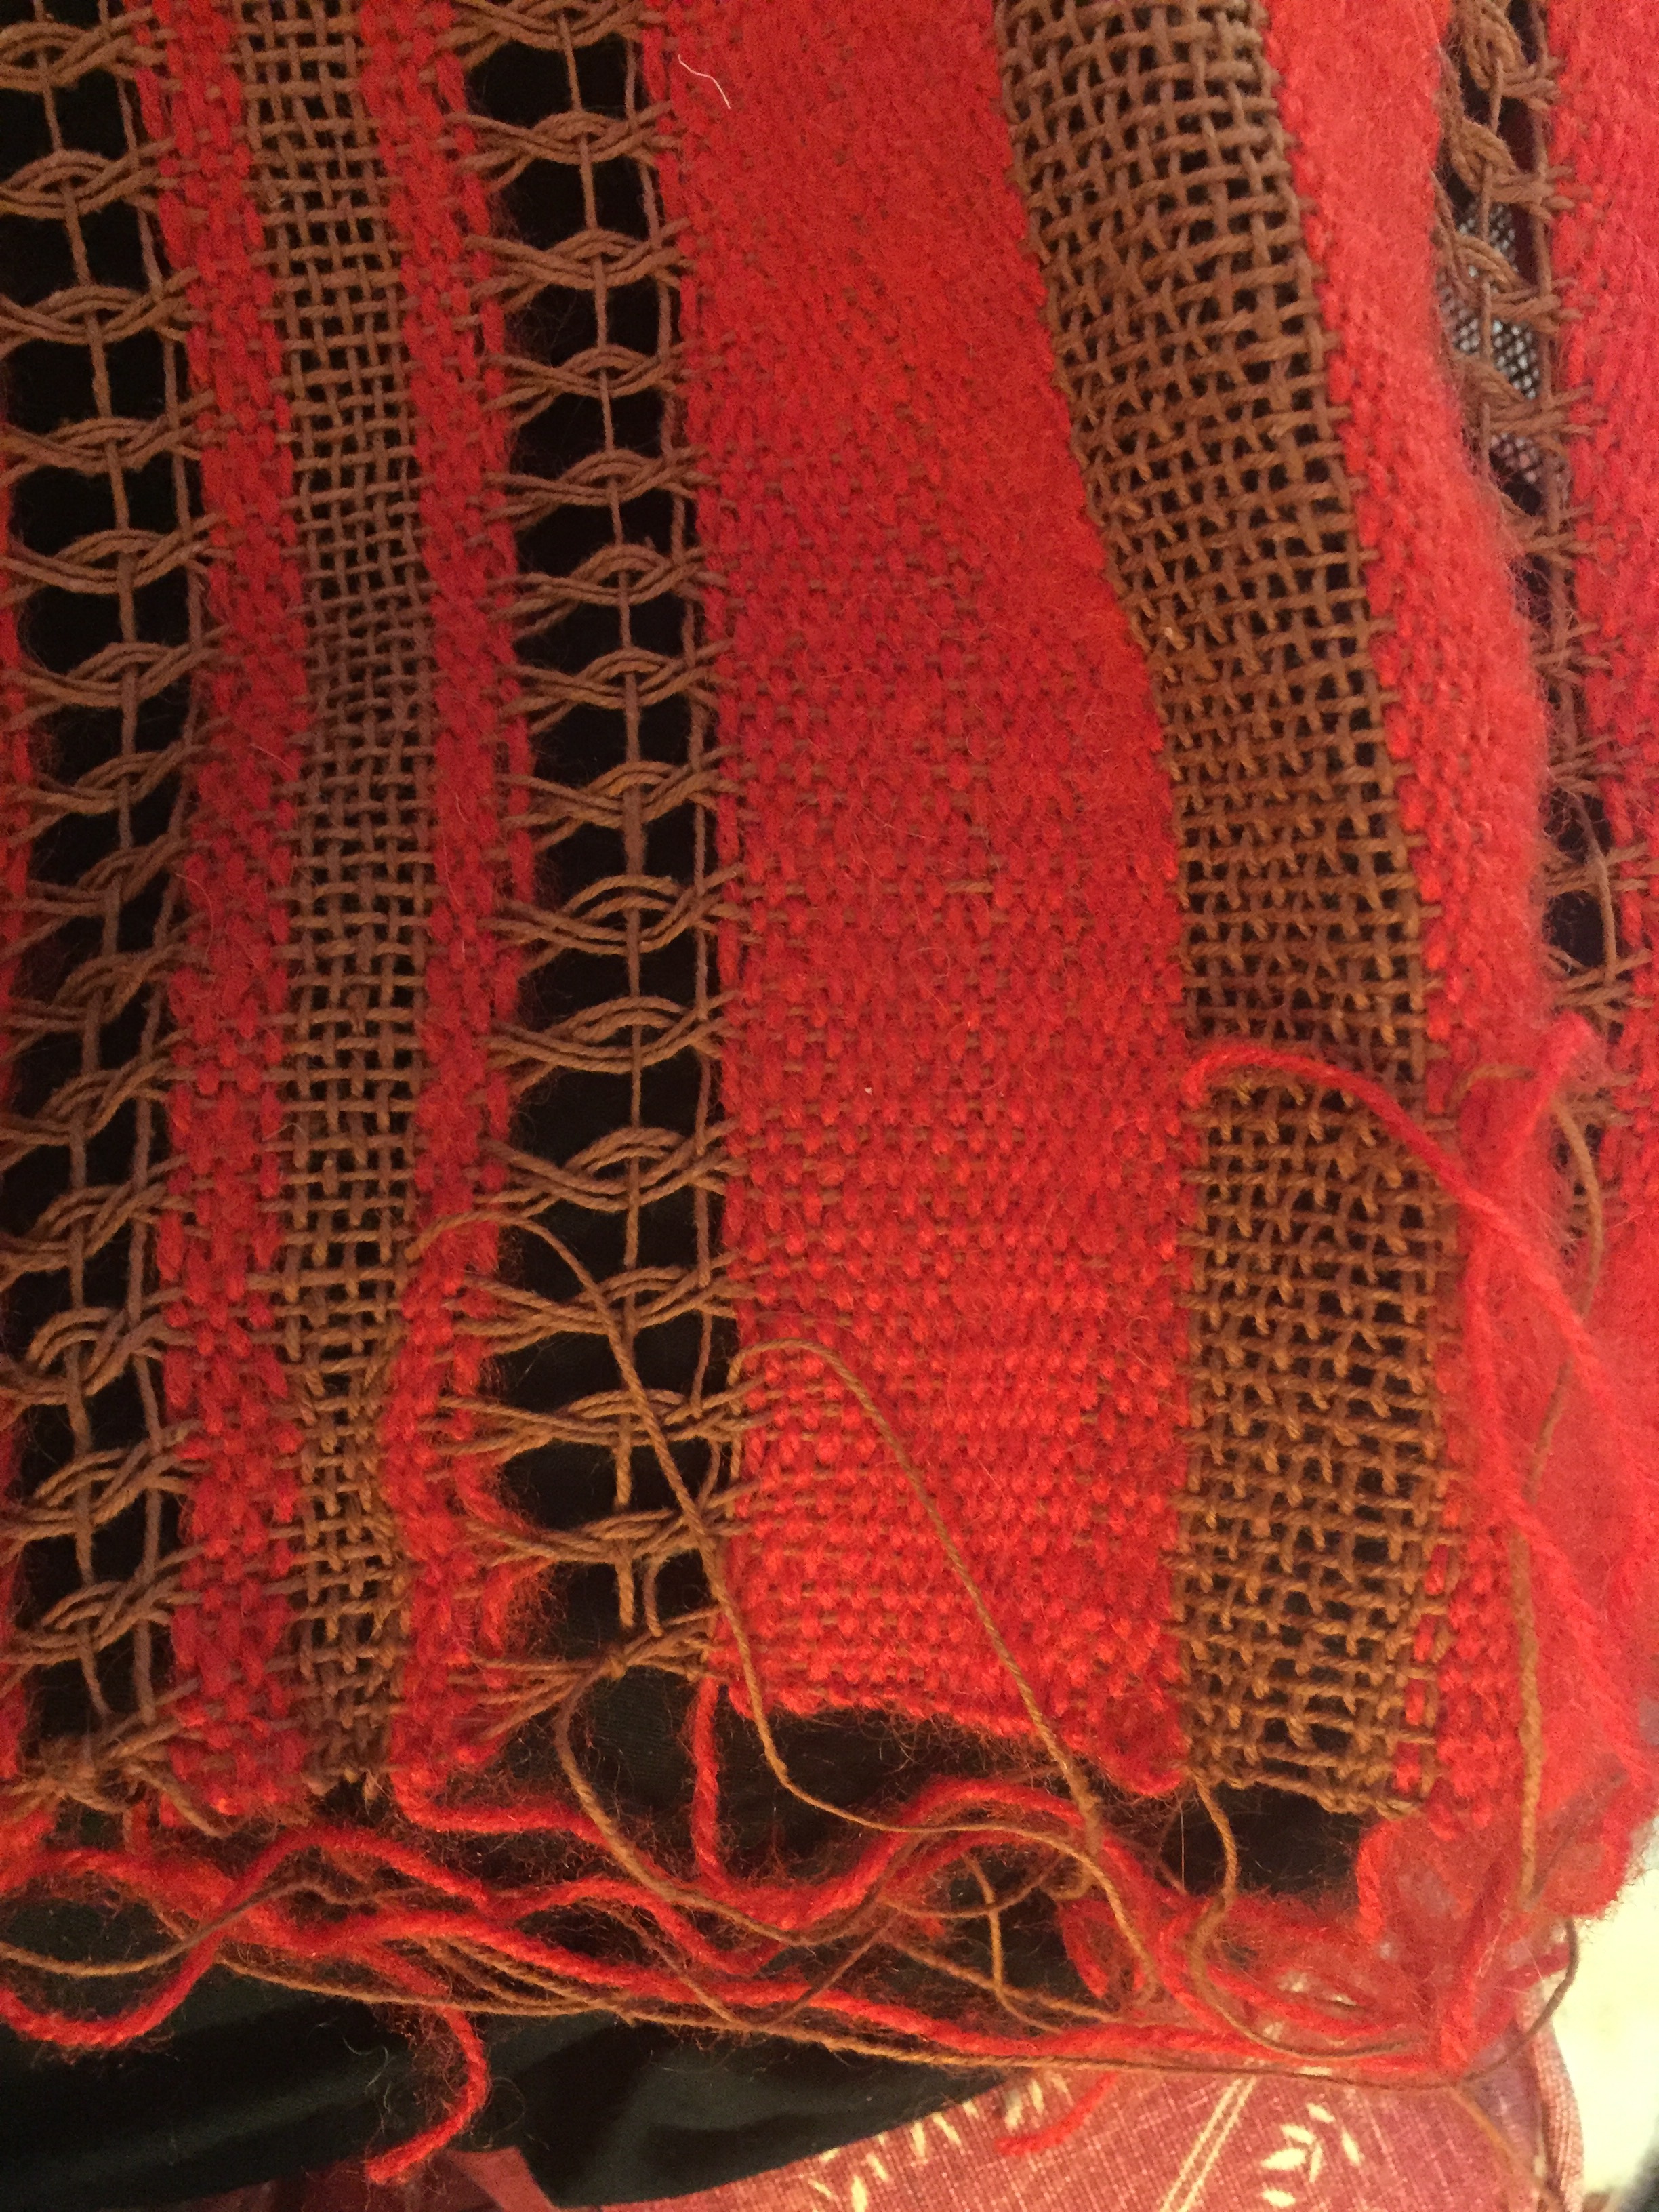
Here’s an up-close view of the general pattern.
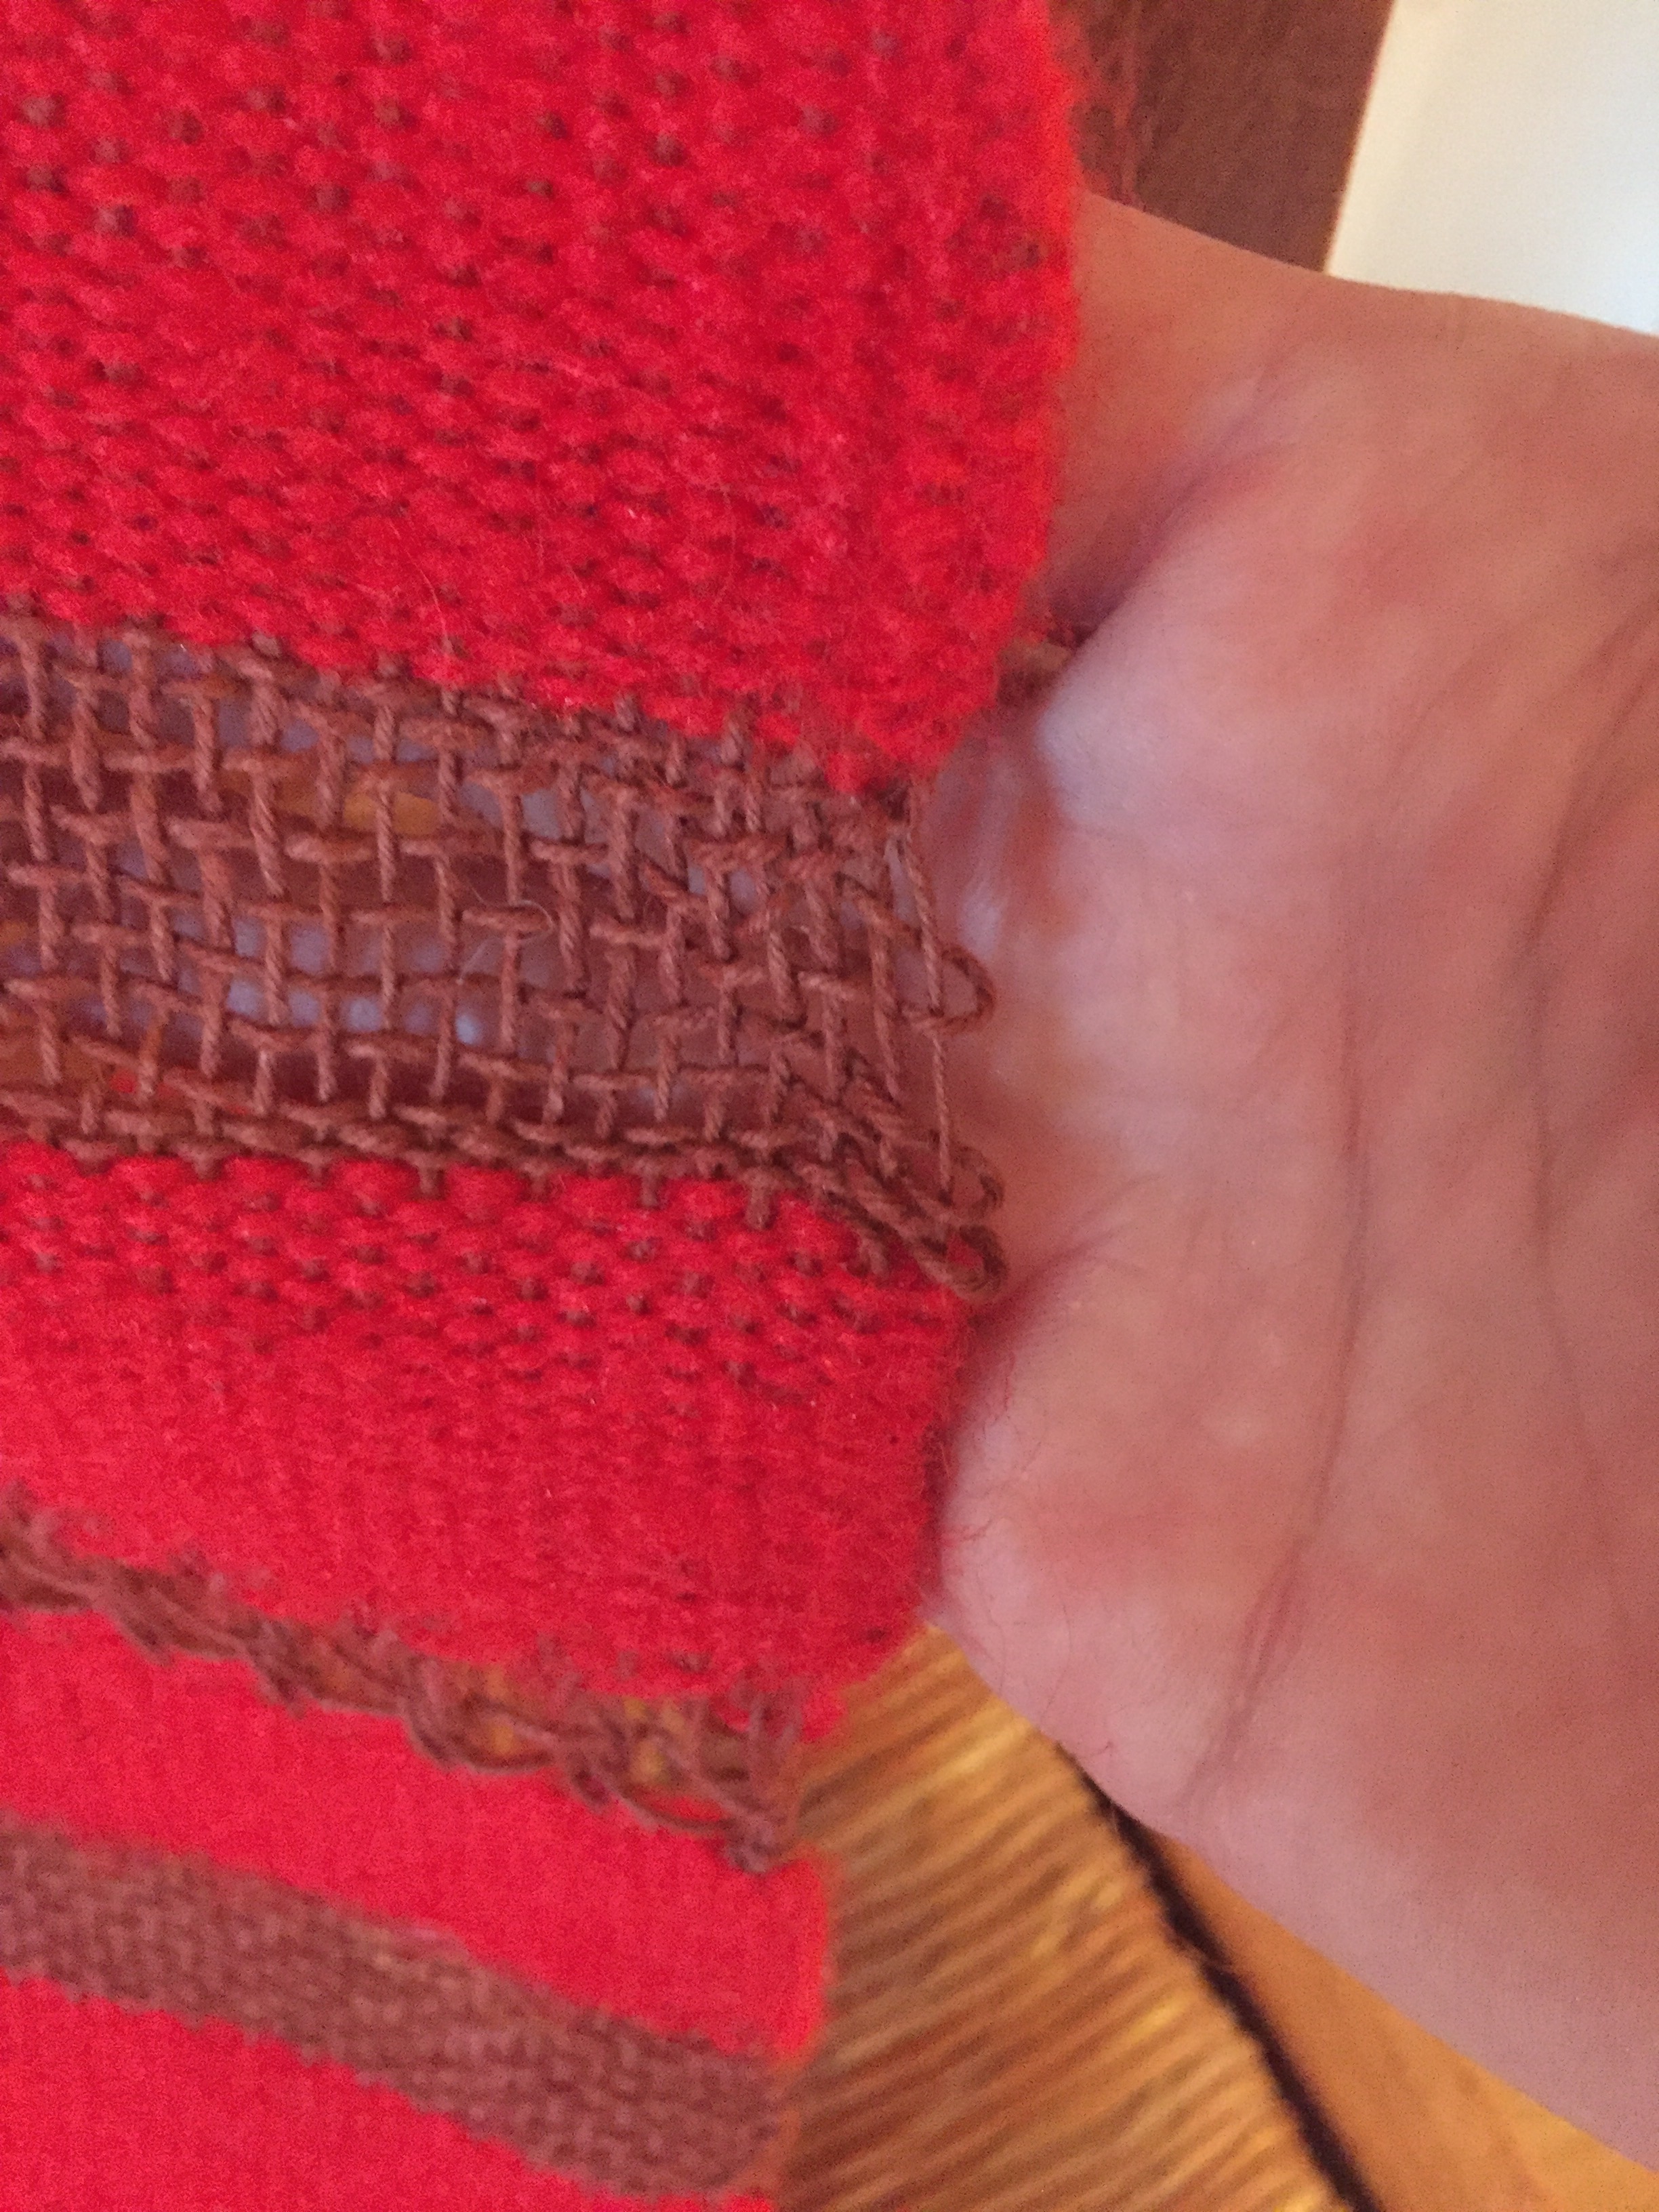
Here’s some unfortunate selvege proof.
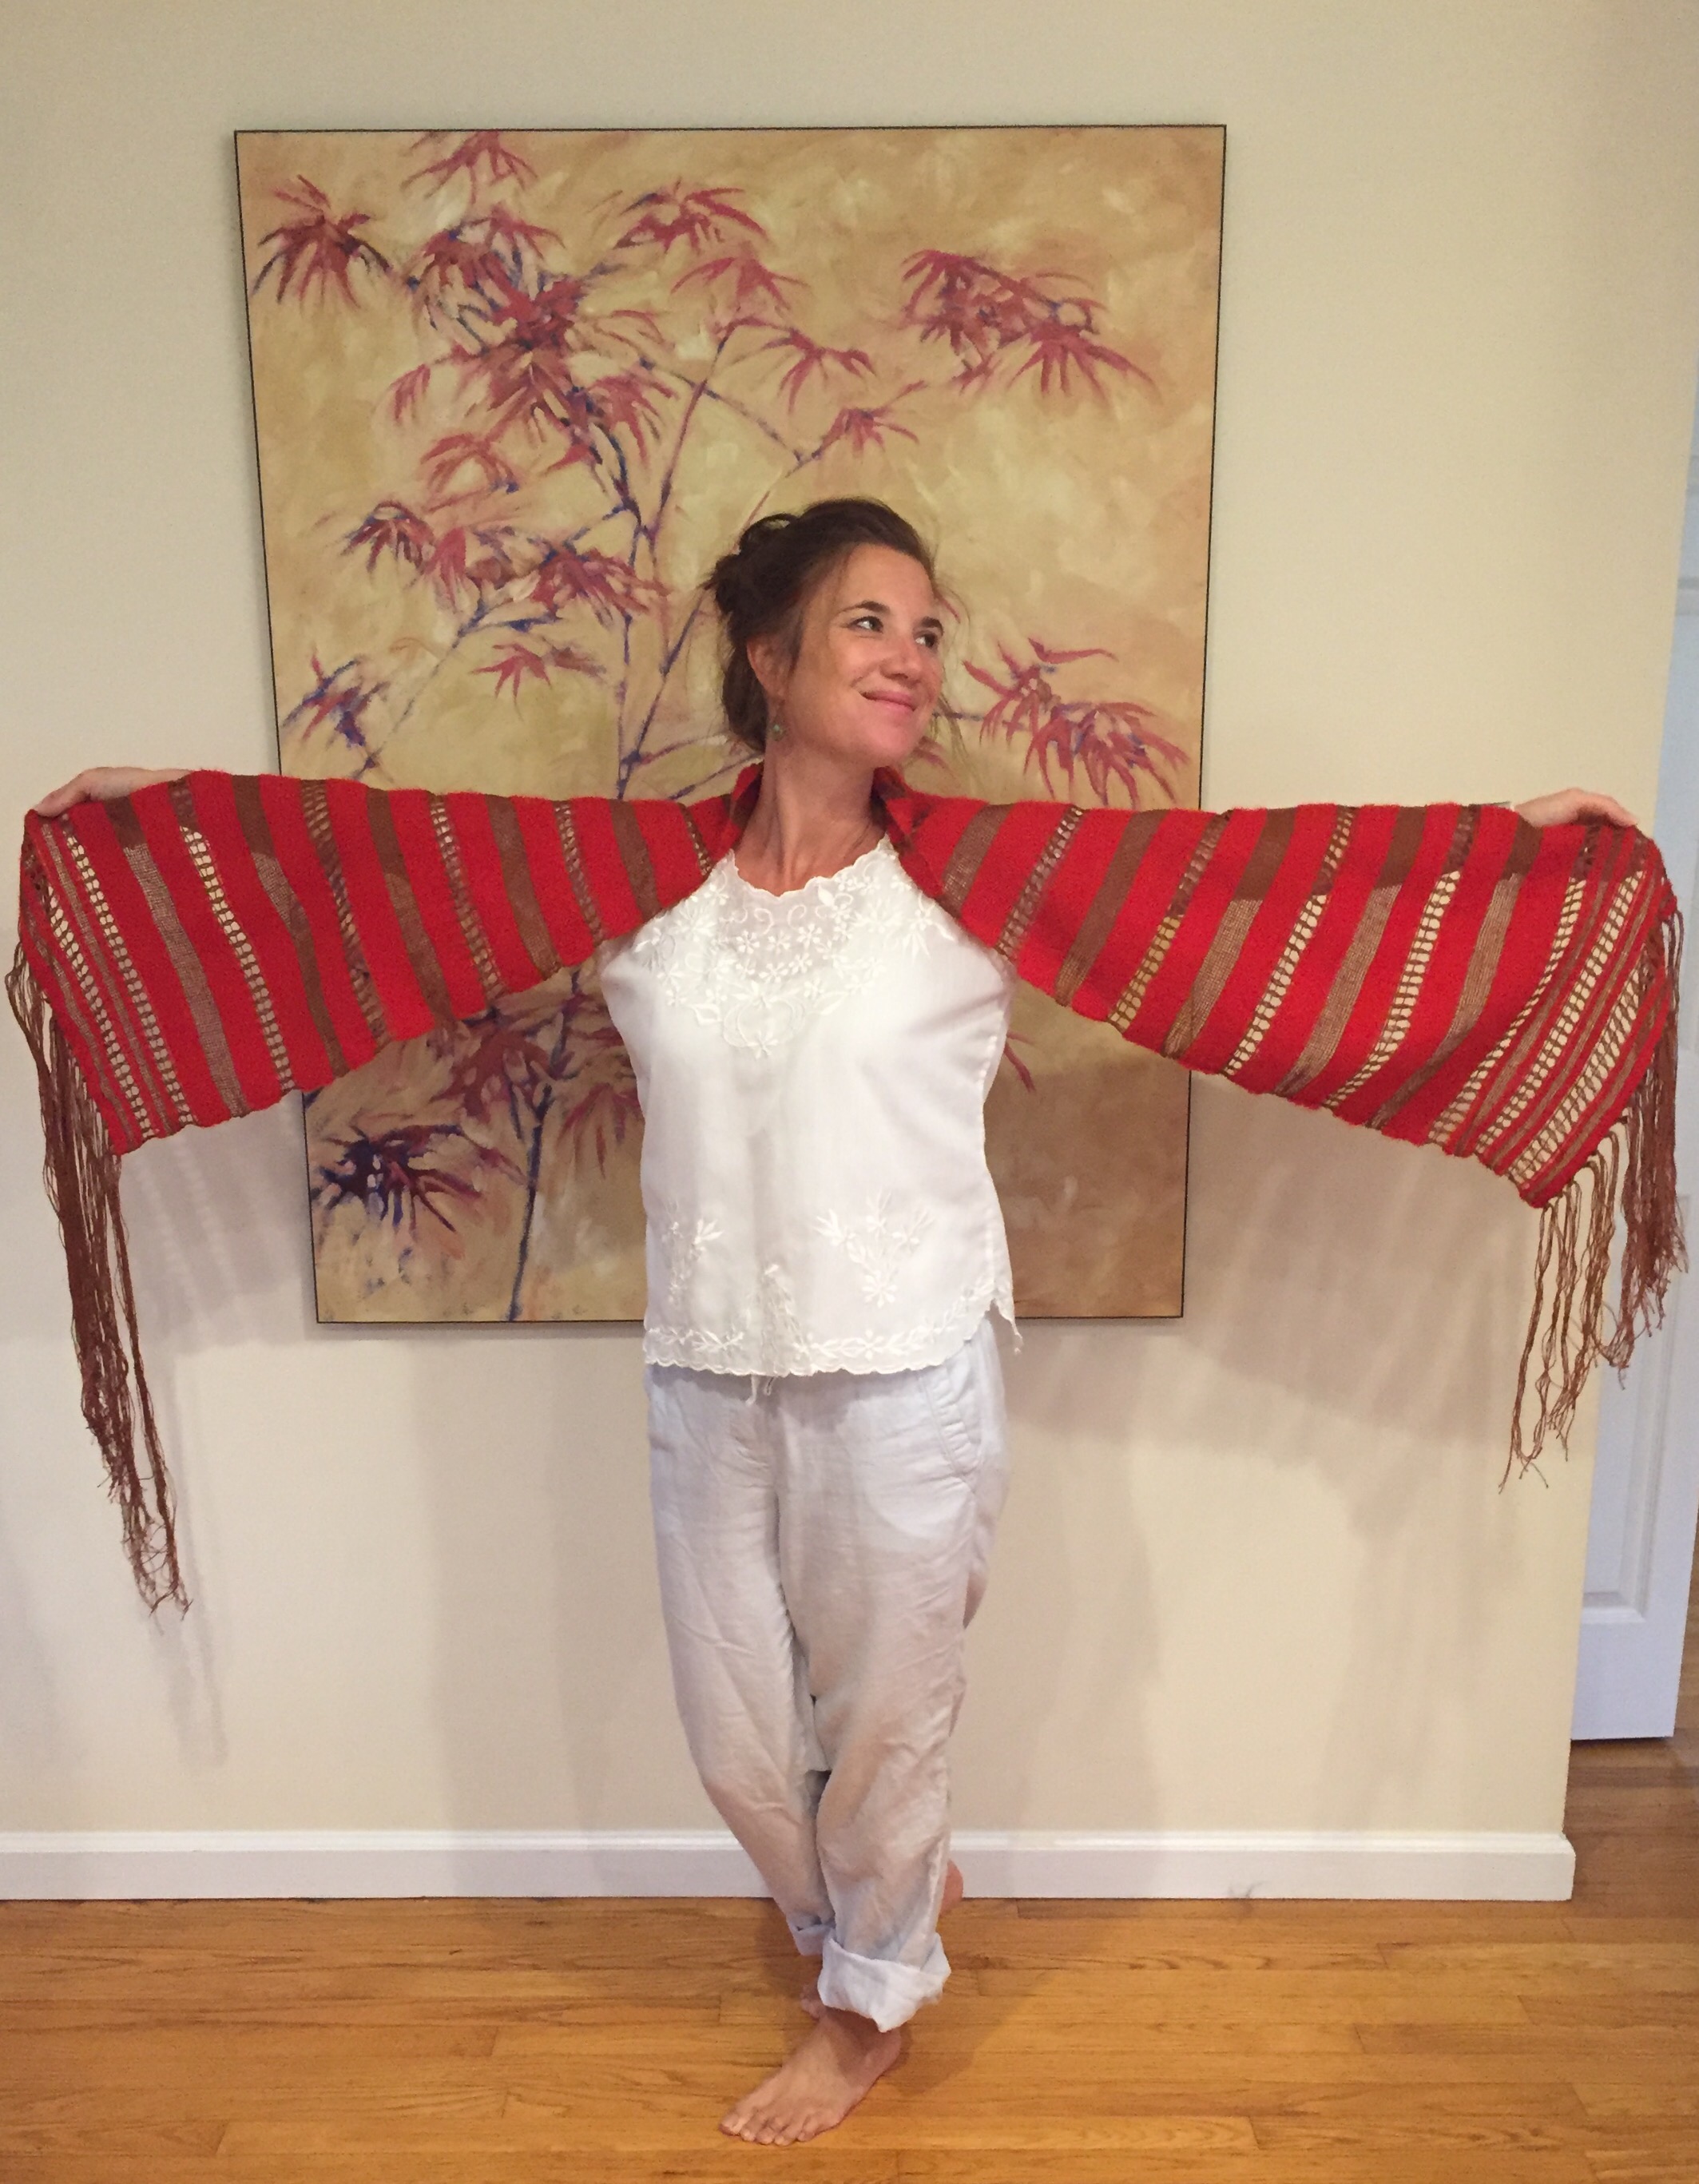
And there’s me, still proud as hell of this piece!
I’ve been meaning to write a post about sock puppets for months! But, you know… life. I was reminded of these hilarious characters when I read through the stupendous thank you notes I received from the kids in my son’s class for all the activities we did over the year. A large number of them said making sock puppets was one of their favorite activities. So, of course I should share what we did!
#1: Gather socks you are willing to separate from. Got any loose ones kicking around, lonesome without their mate?
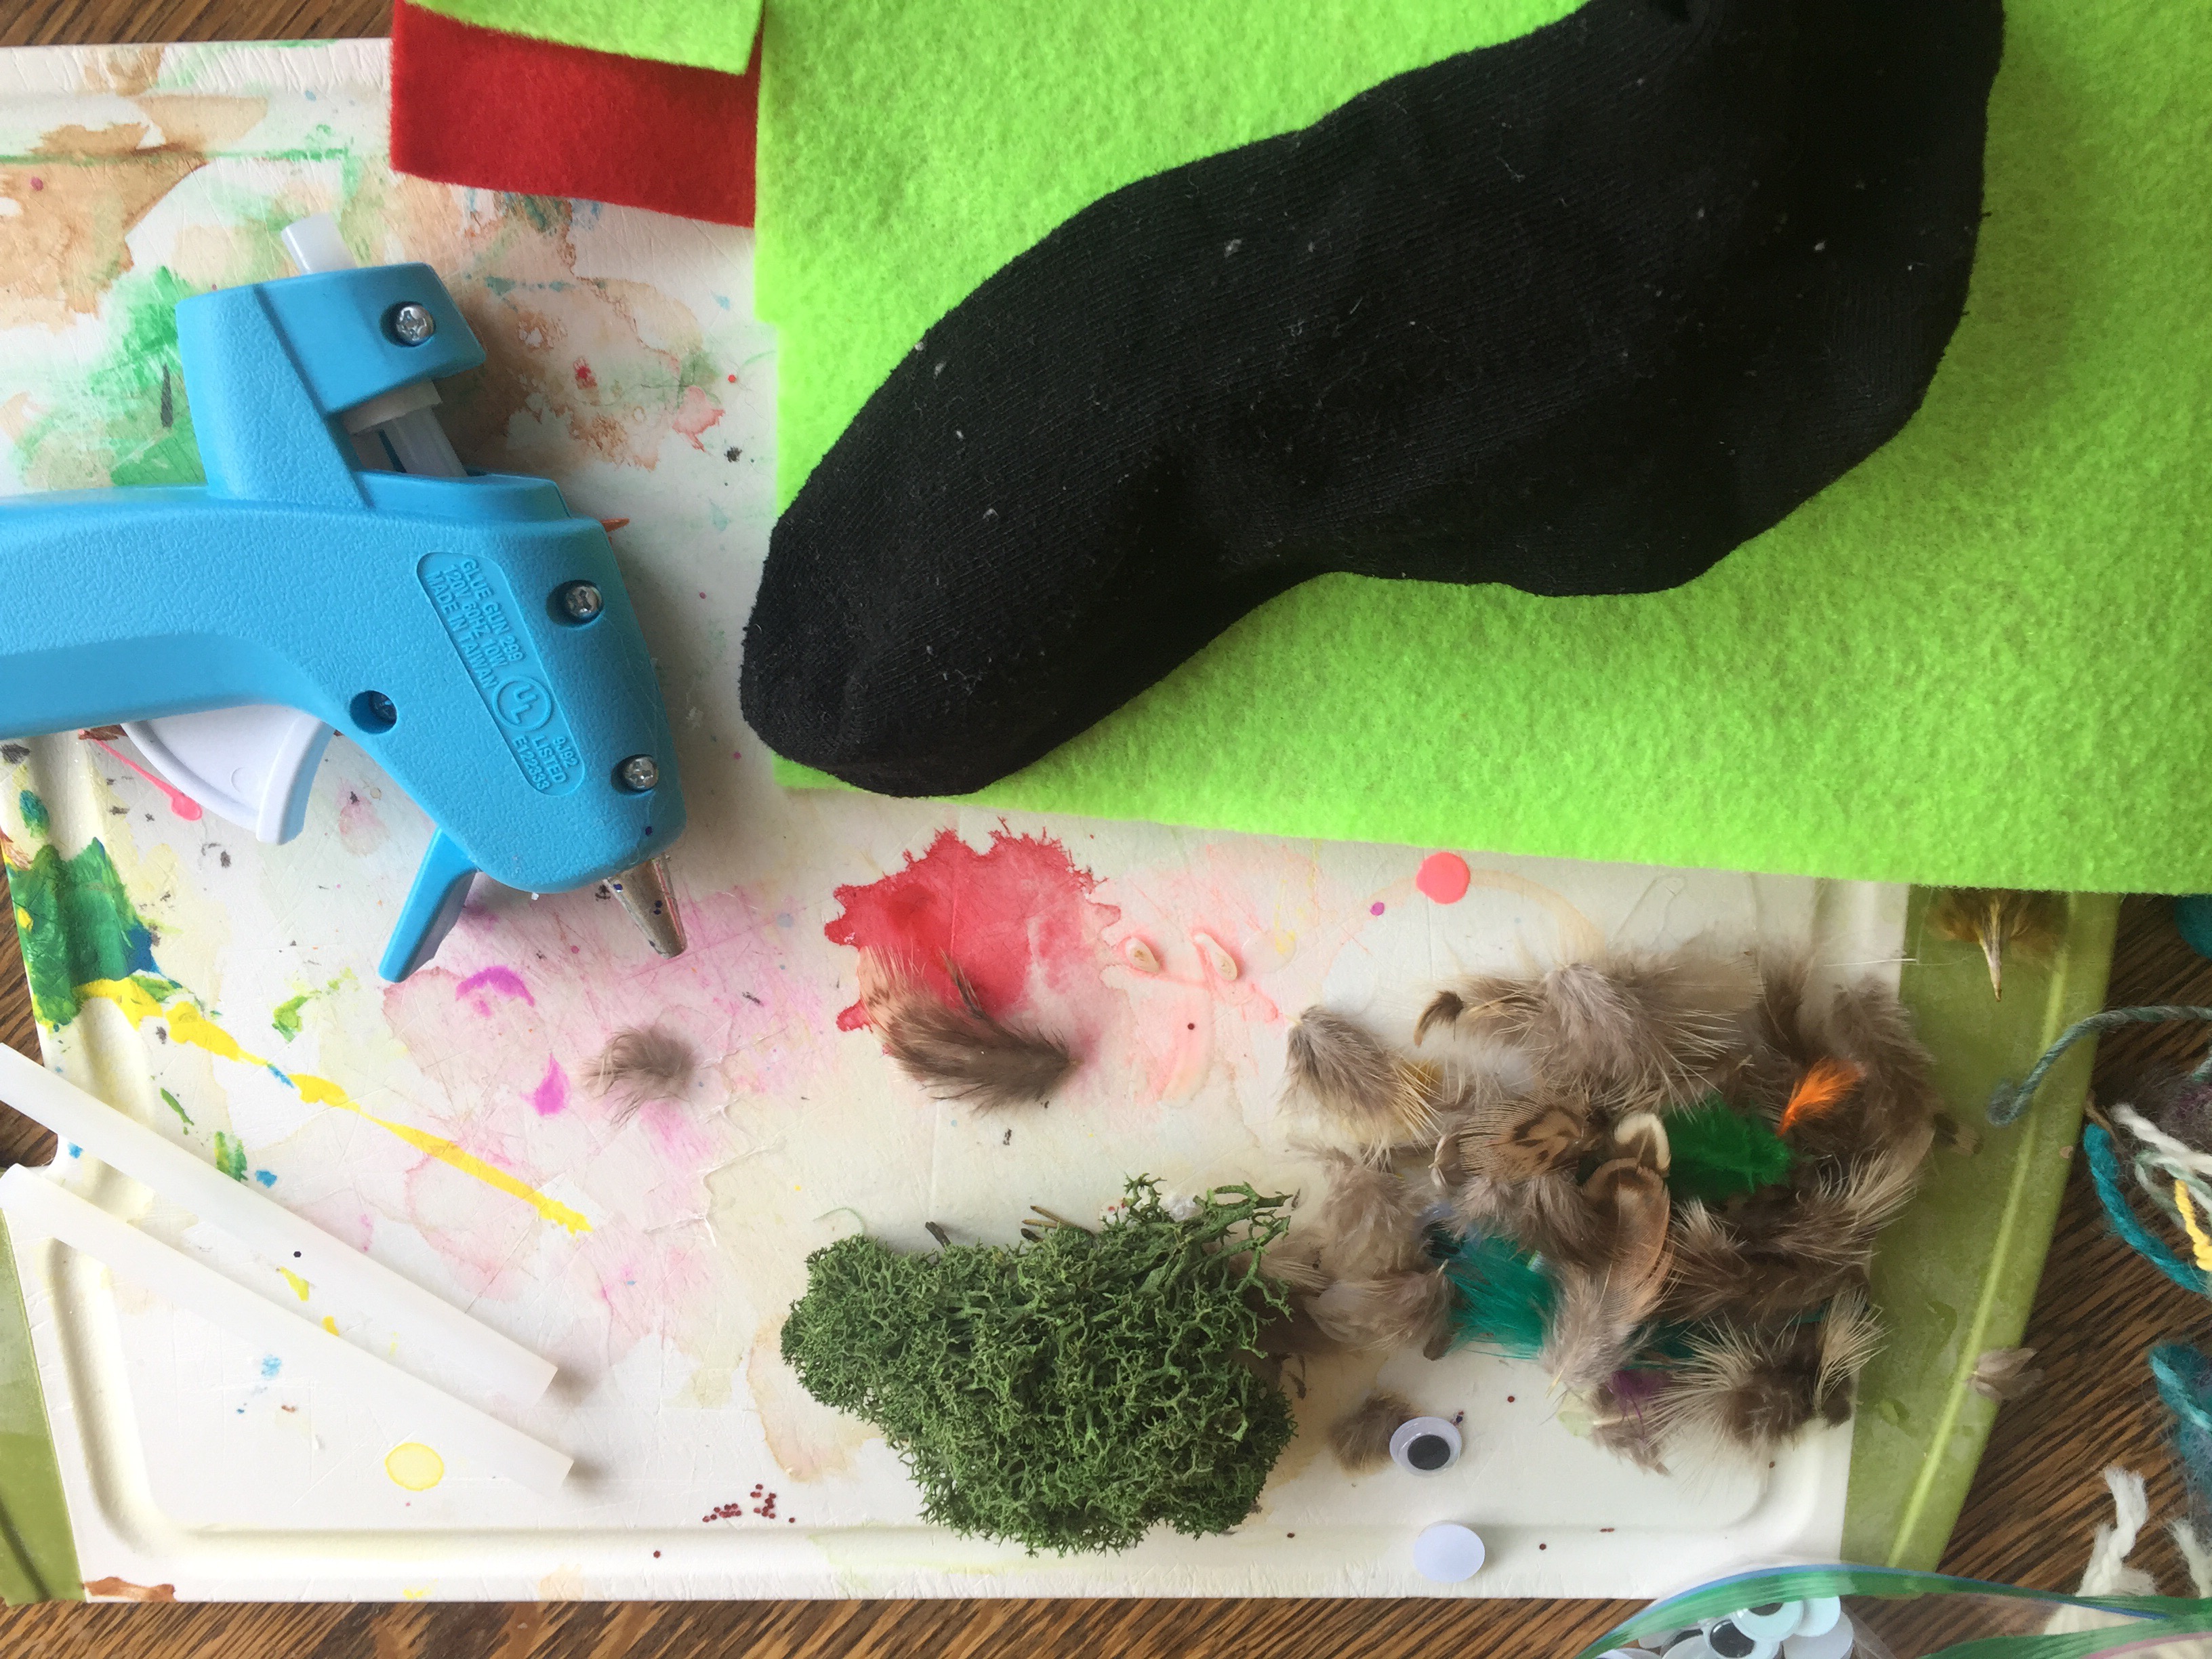
#2: Collect random bits of stuff you have in the arts & crafts category. Pom-poms, beads, googly eyes, moss, old costume jewelry, felt, buttons, yarn…
#3: Get glue ready. I found my glue gun to be the most effective but standard glue works, too. Clear glue is better because you don’t see it once it dries.
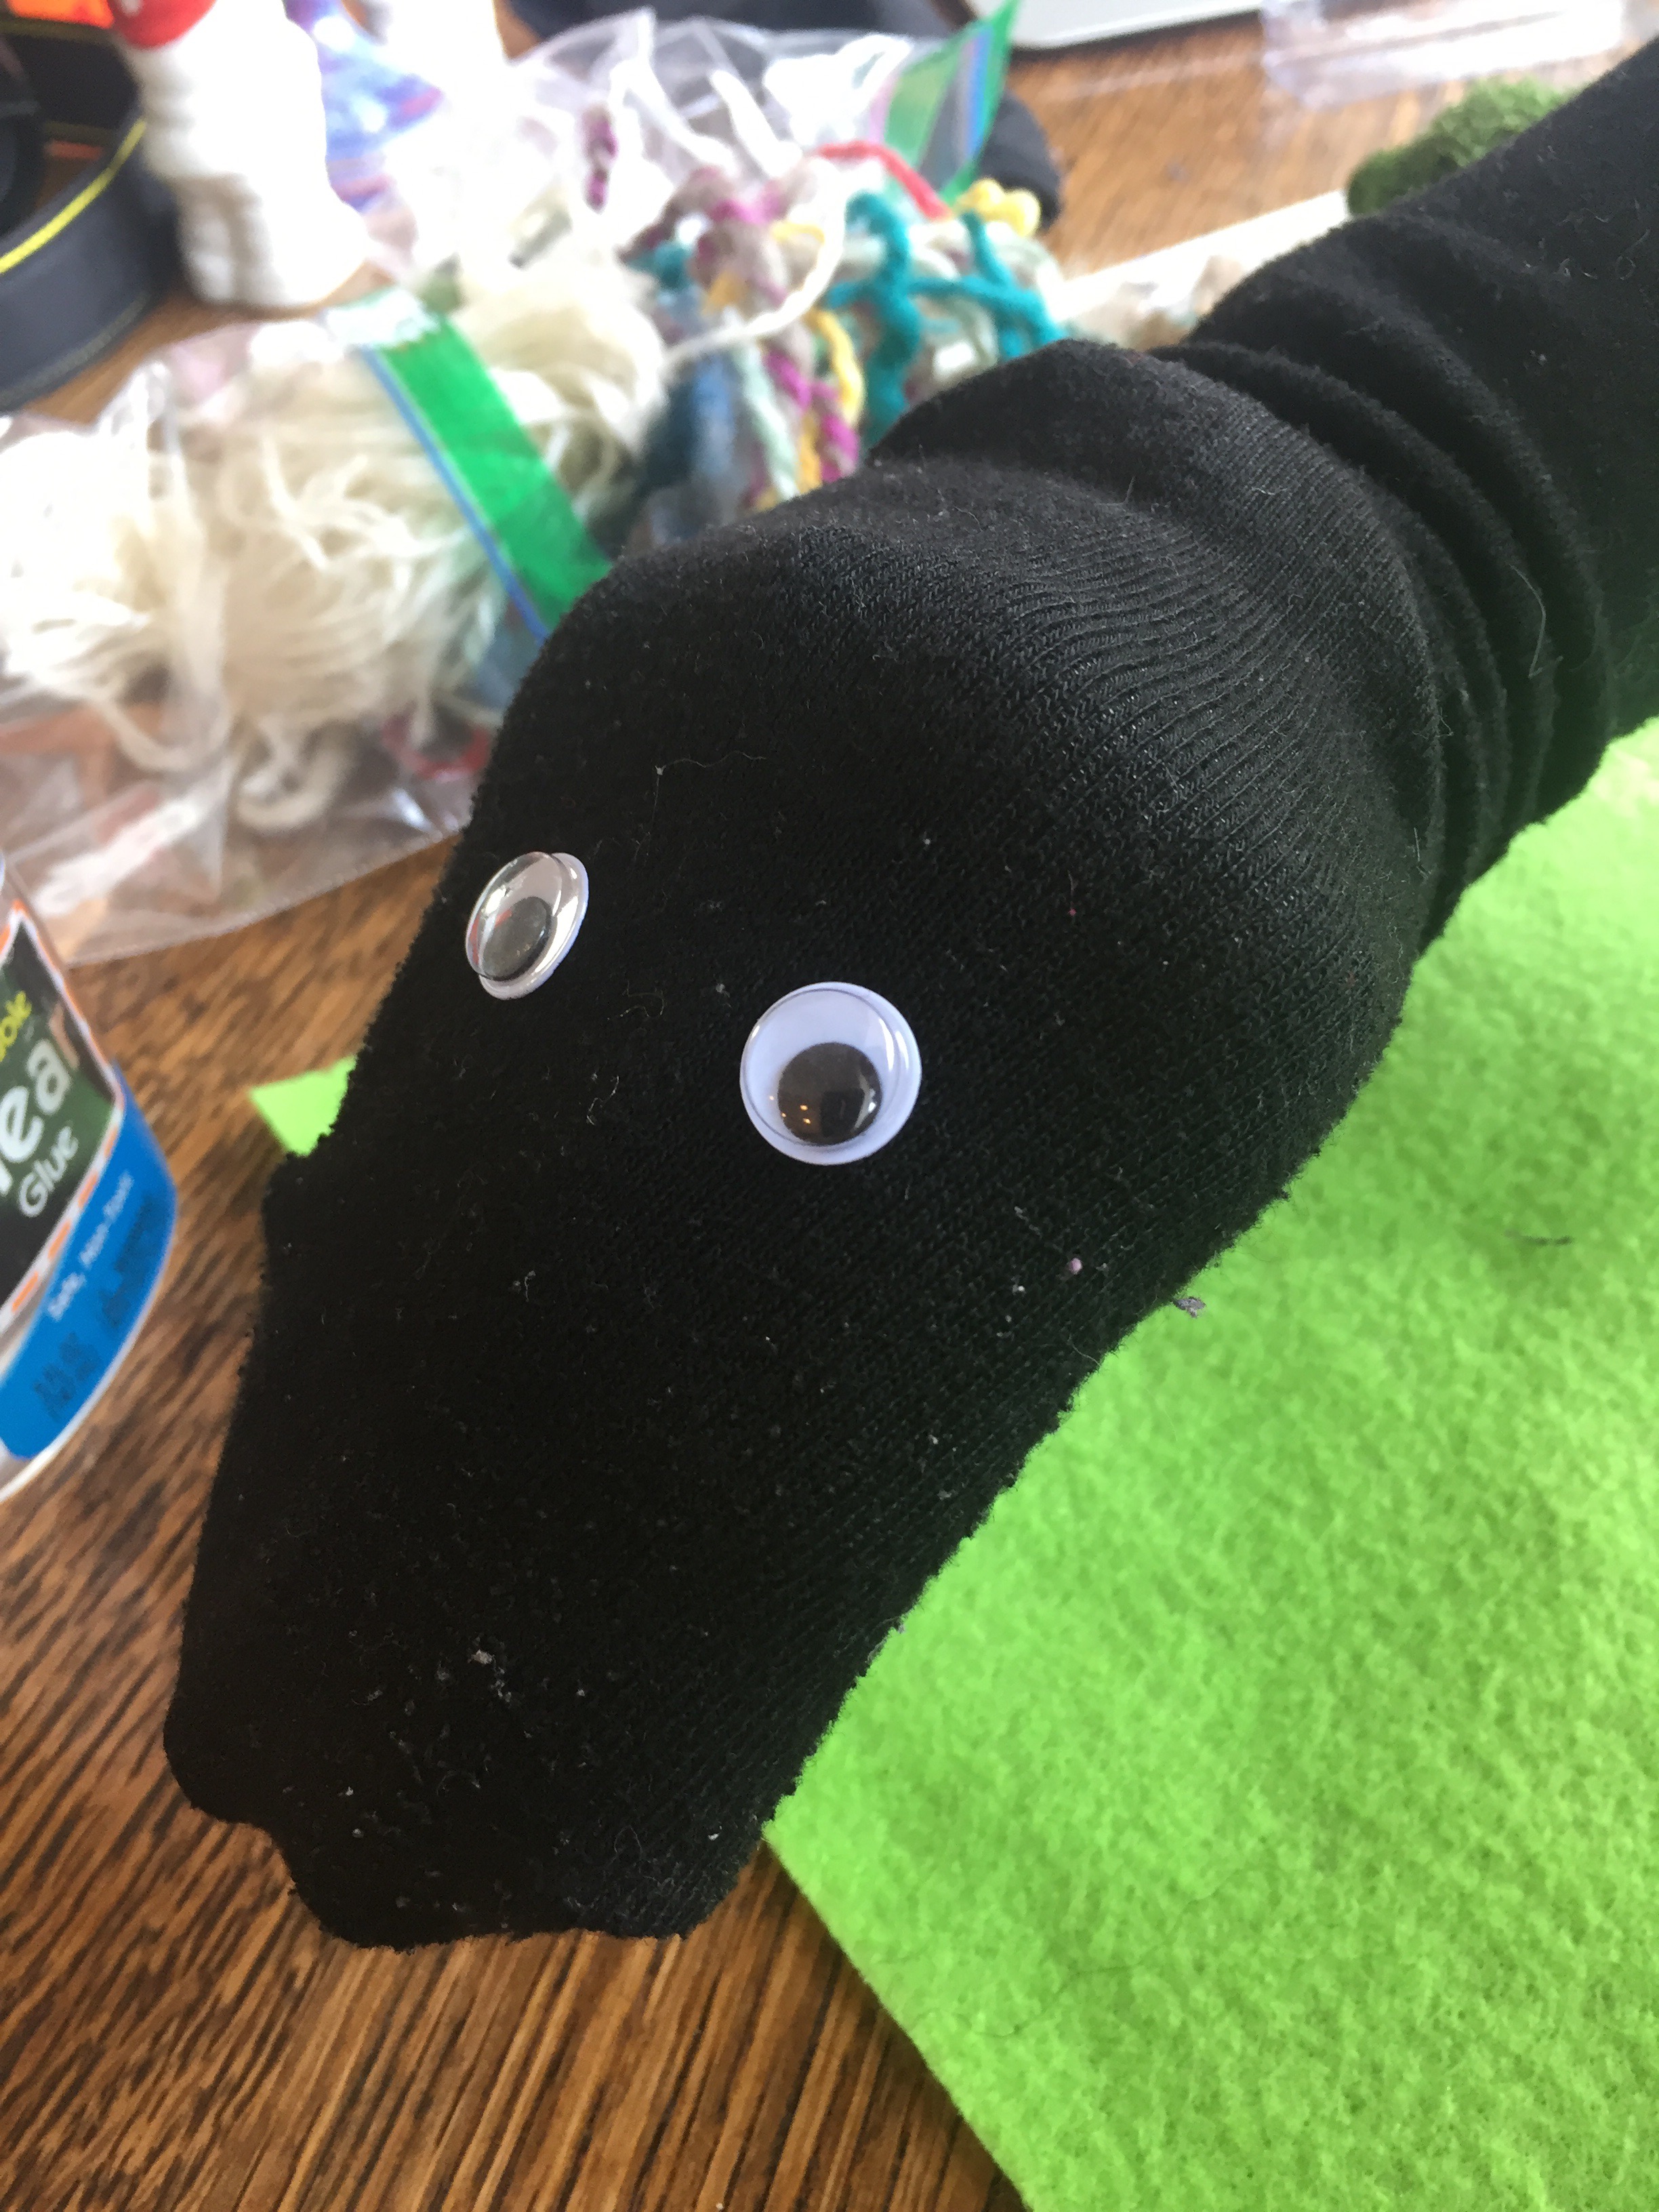
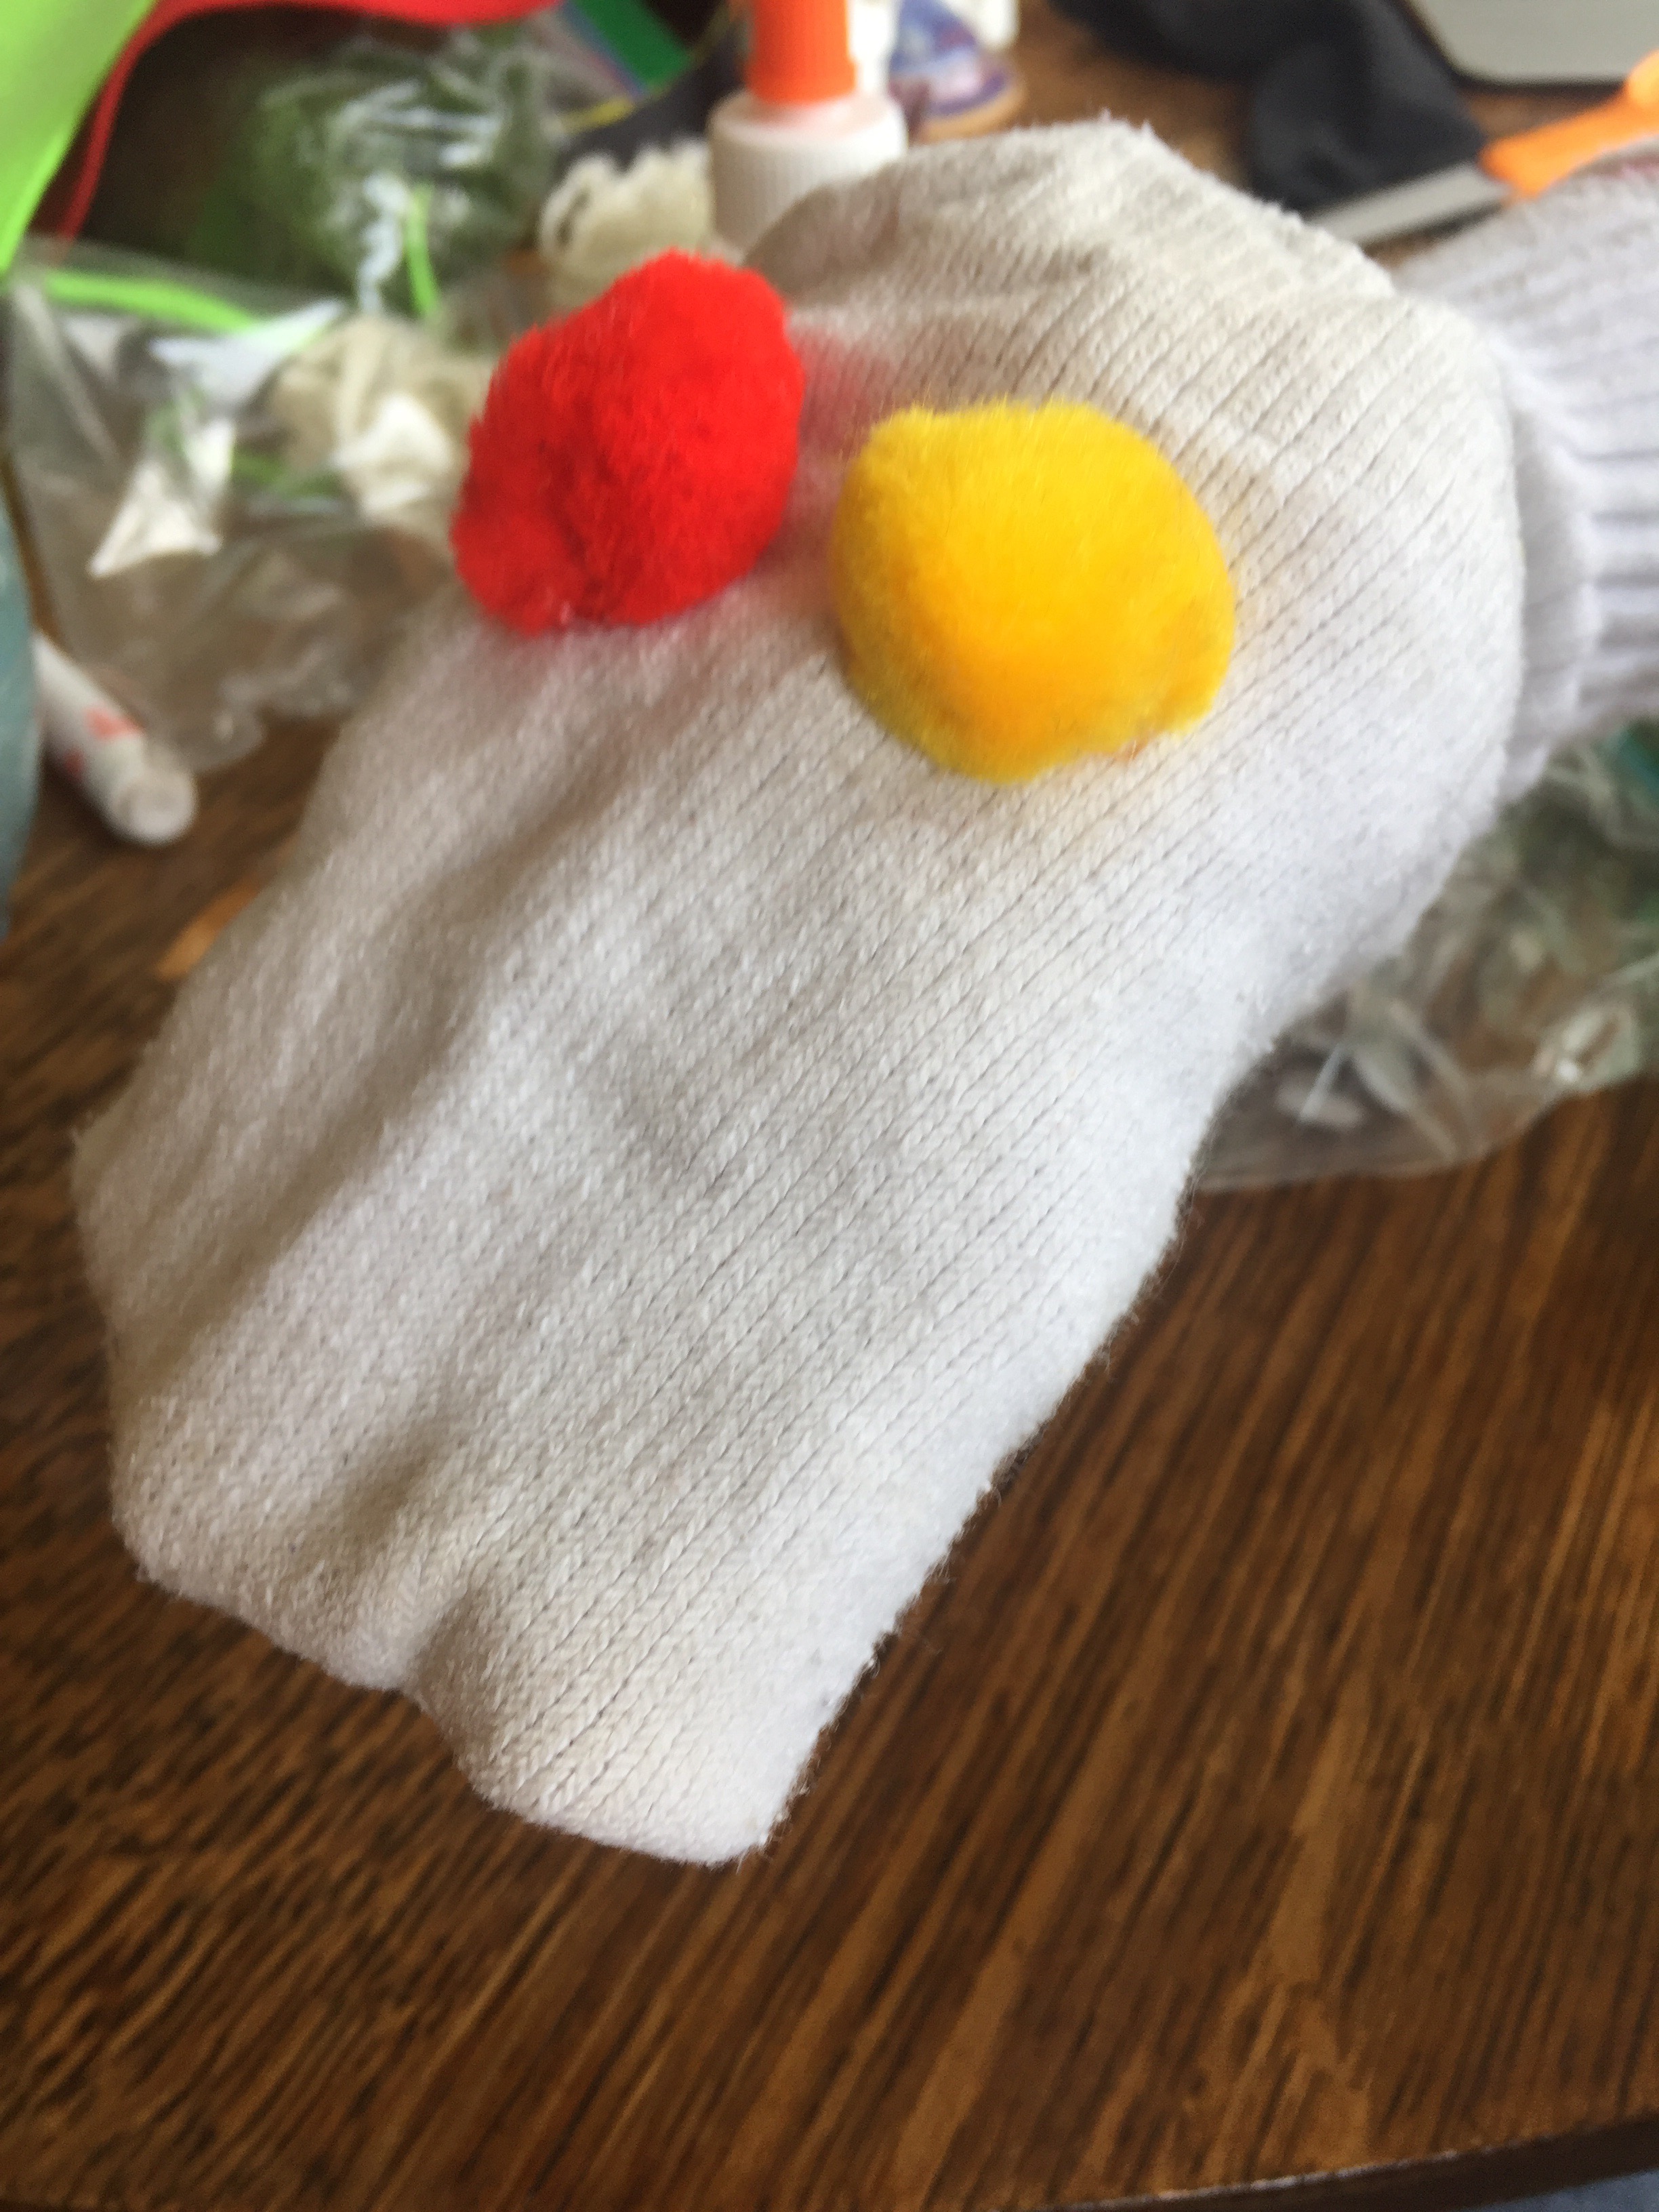
#4: Arrange sock on hand. I find that the heel of the sock fits nicely over the knuckles. When you open you hand, keeping your fingers together and away from your thumb, you can tuck the extra sock fabric that would otherwise be around your toes, into that space, creating the mouth. Close your hand, holding the mouth in place, and glue on the eyes where you want them. Then, gently remove the sock and lay it on the table.
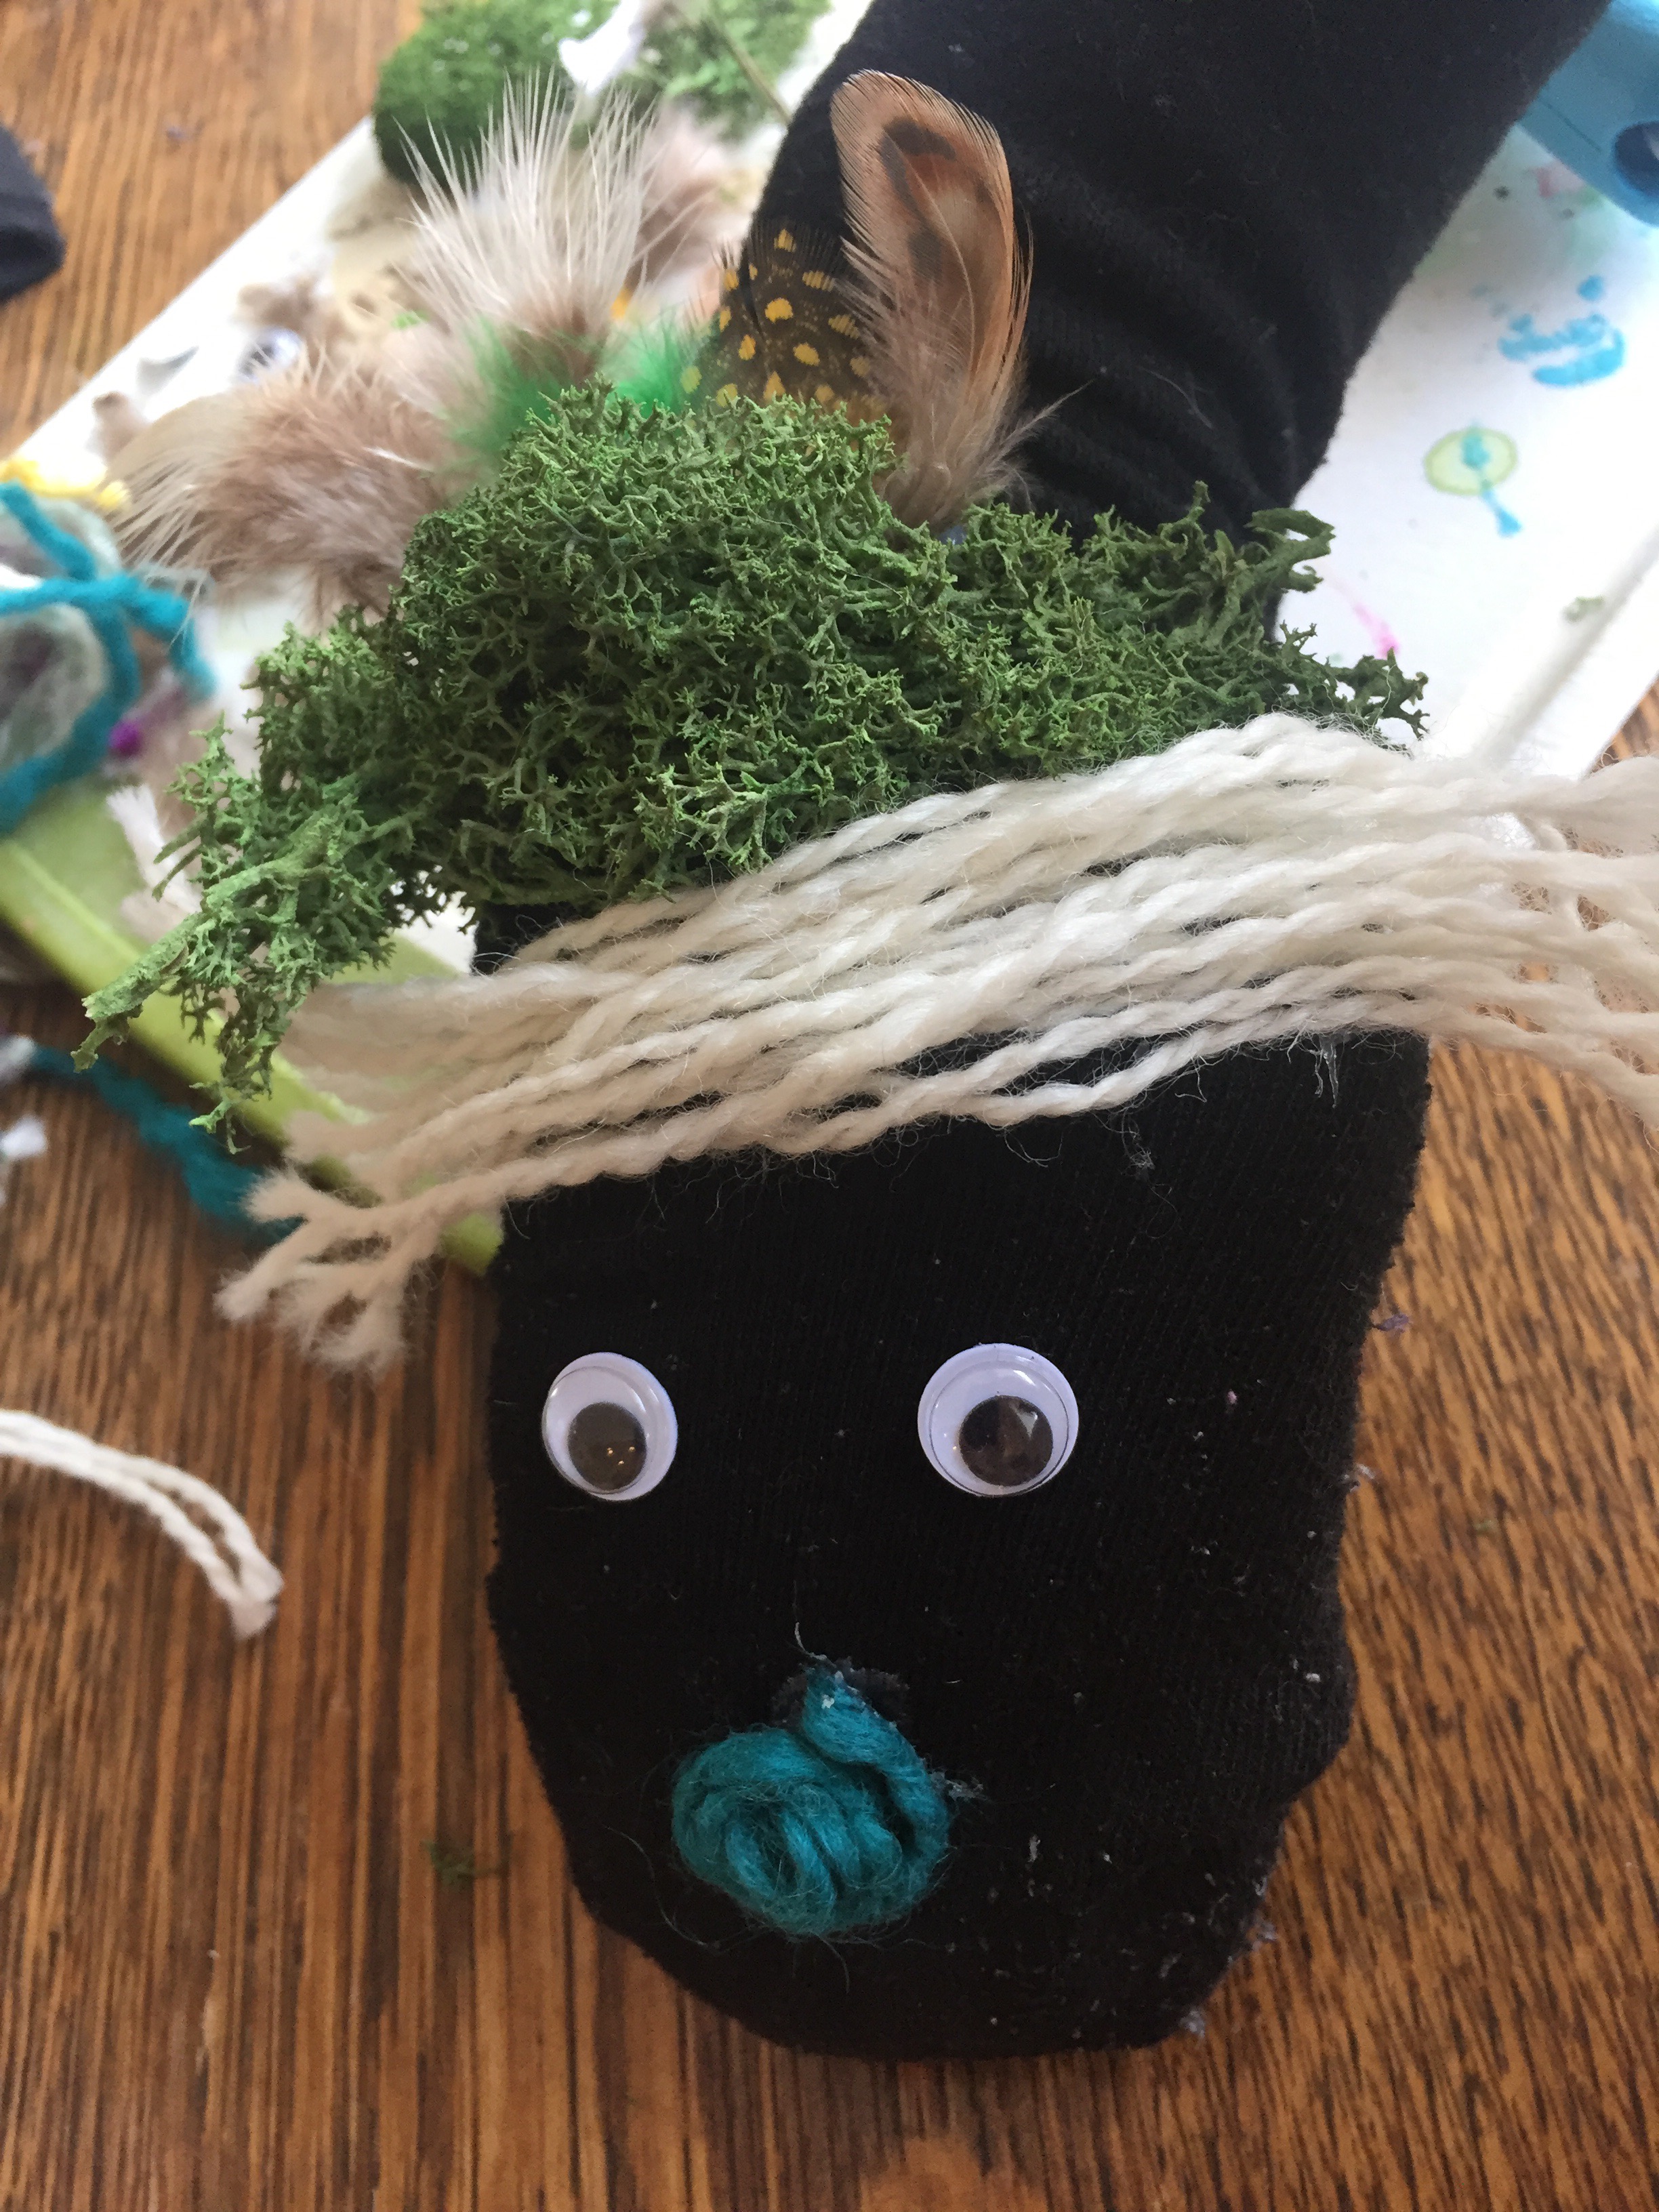
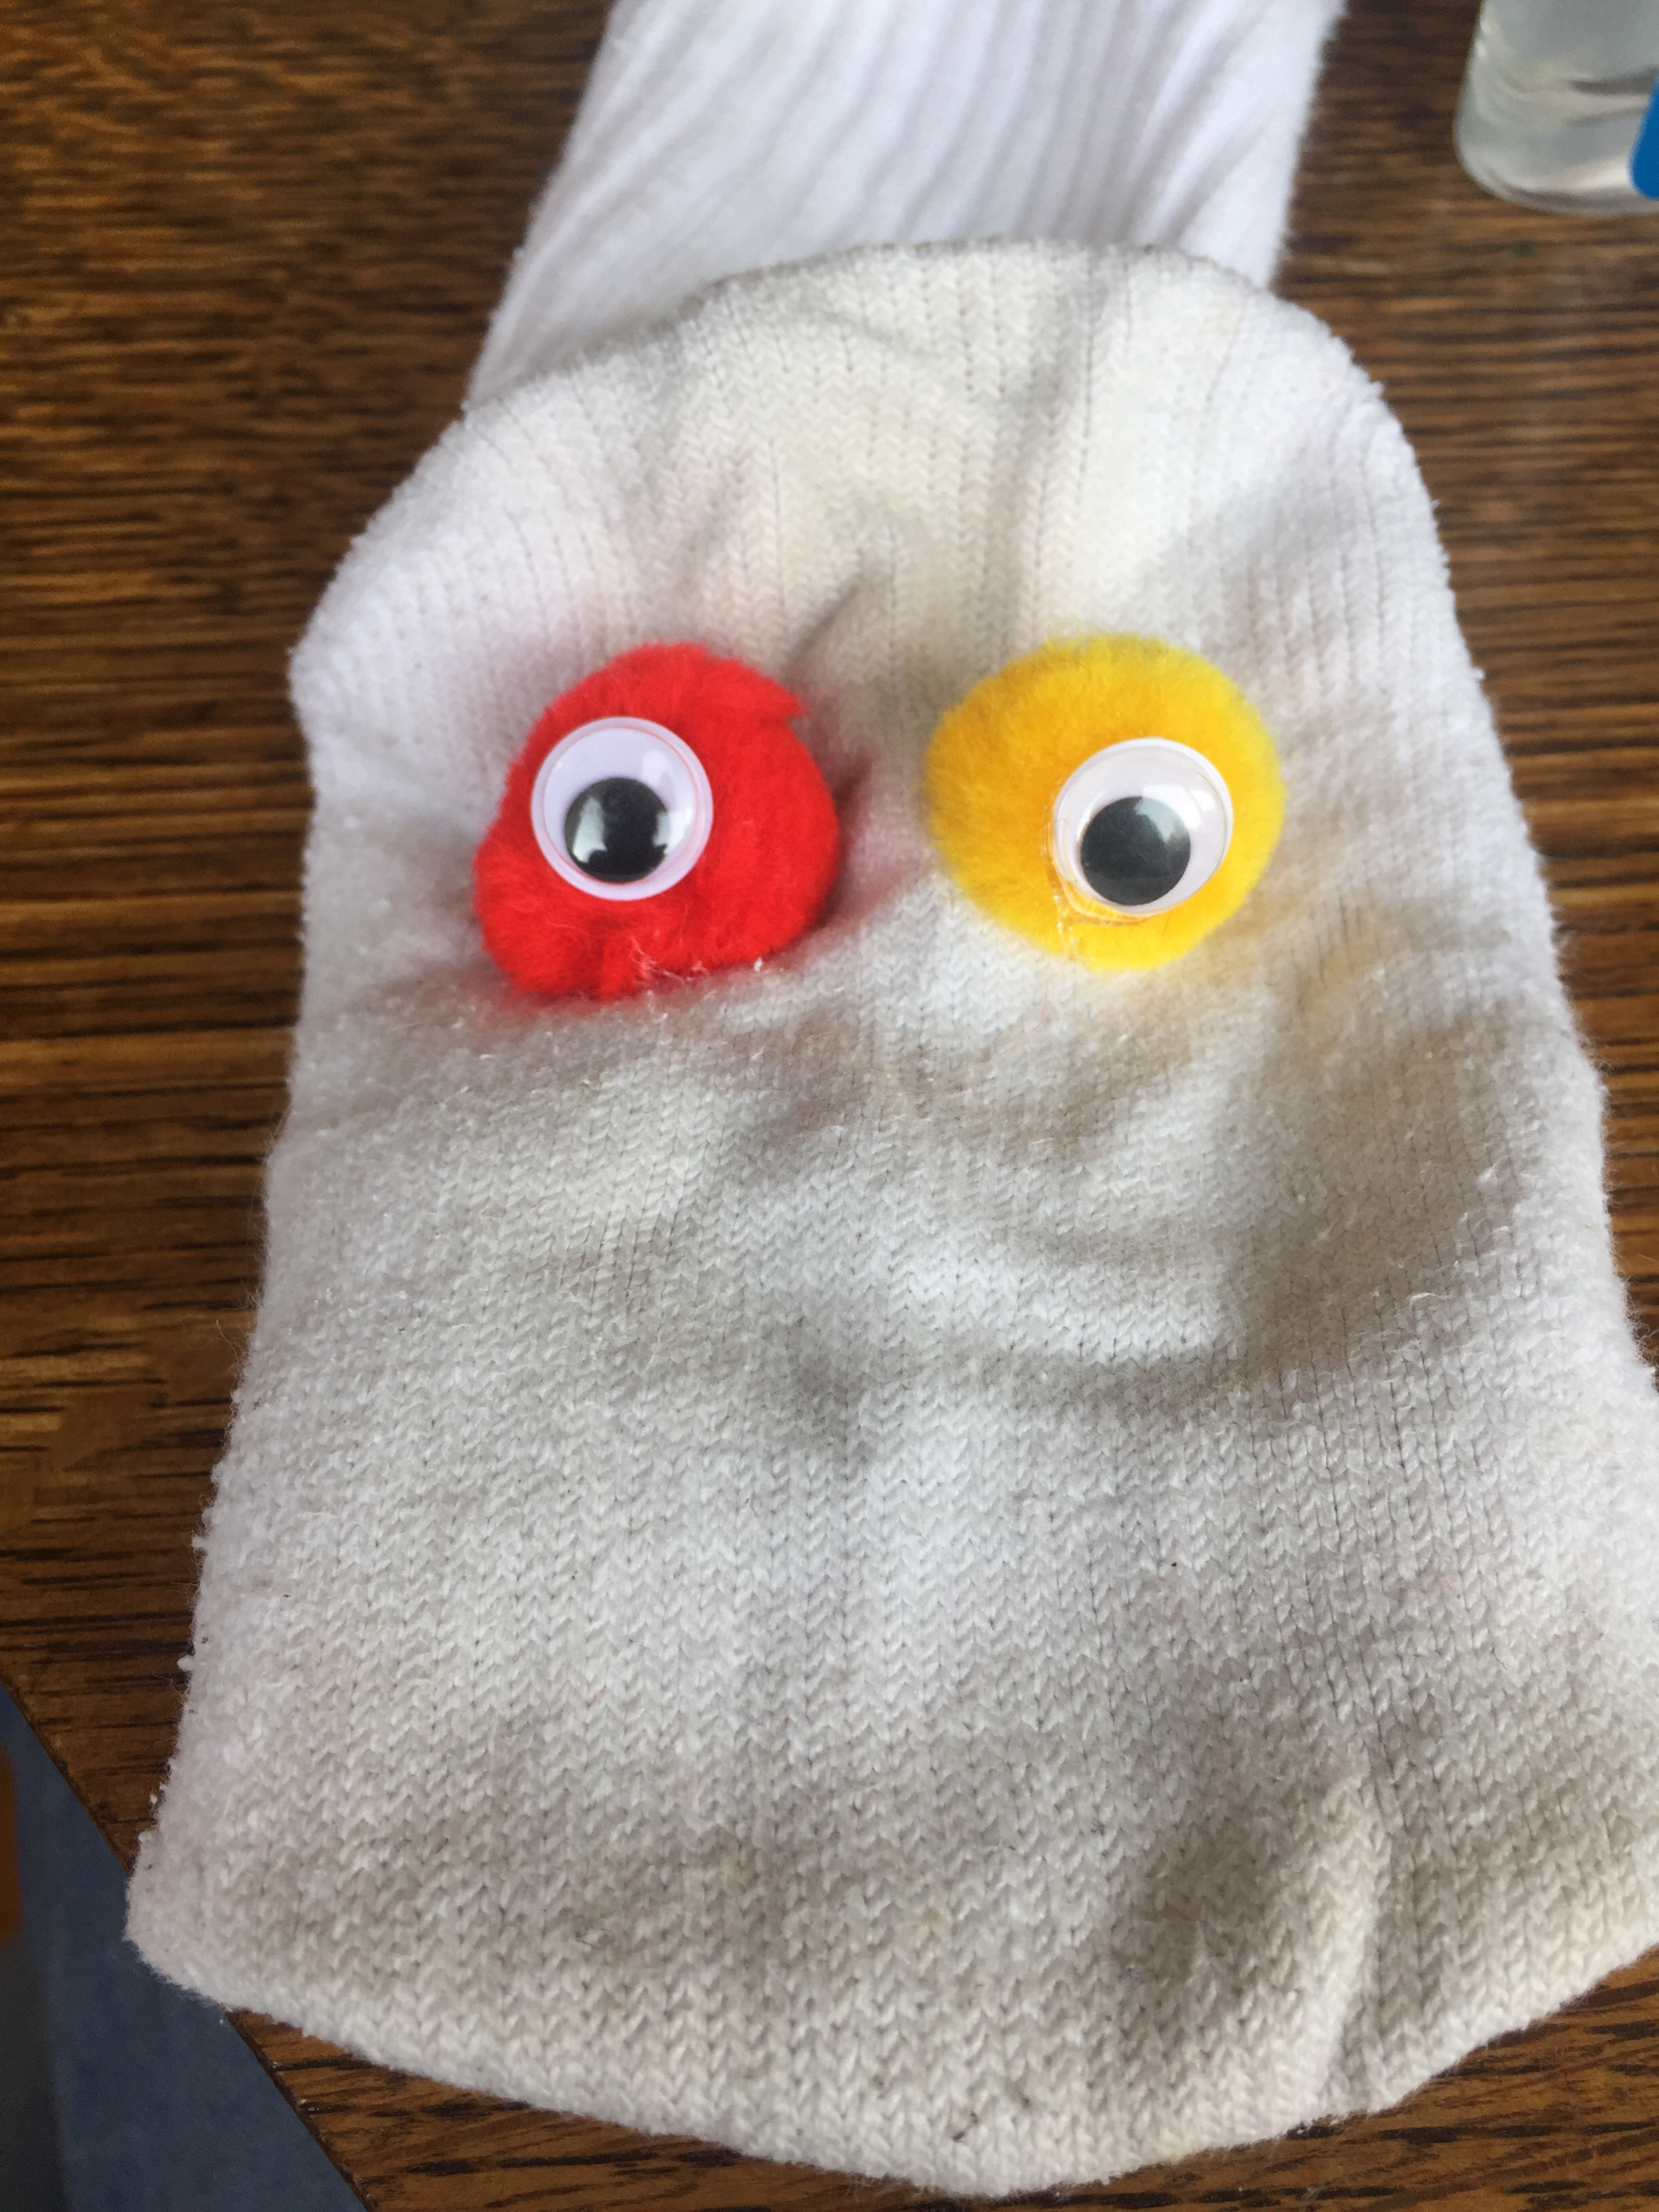
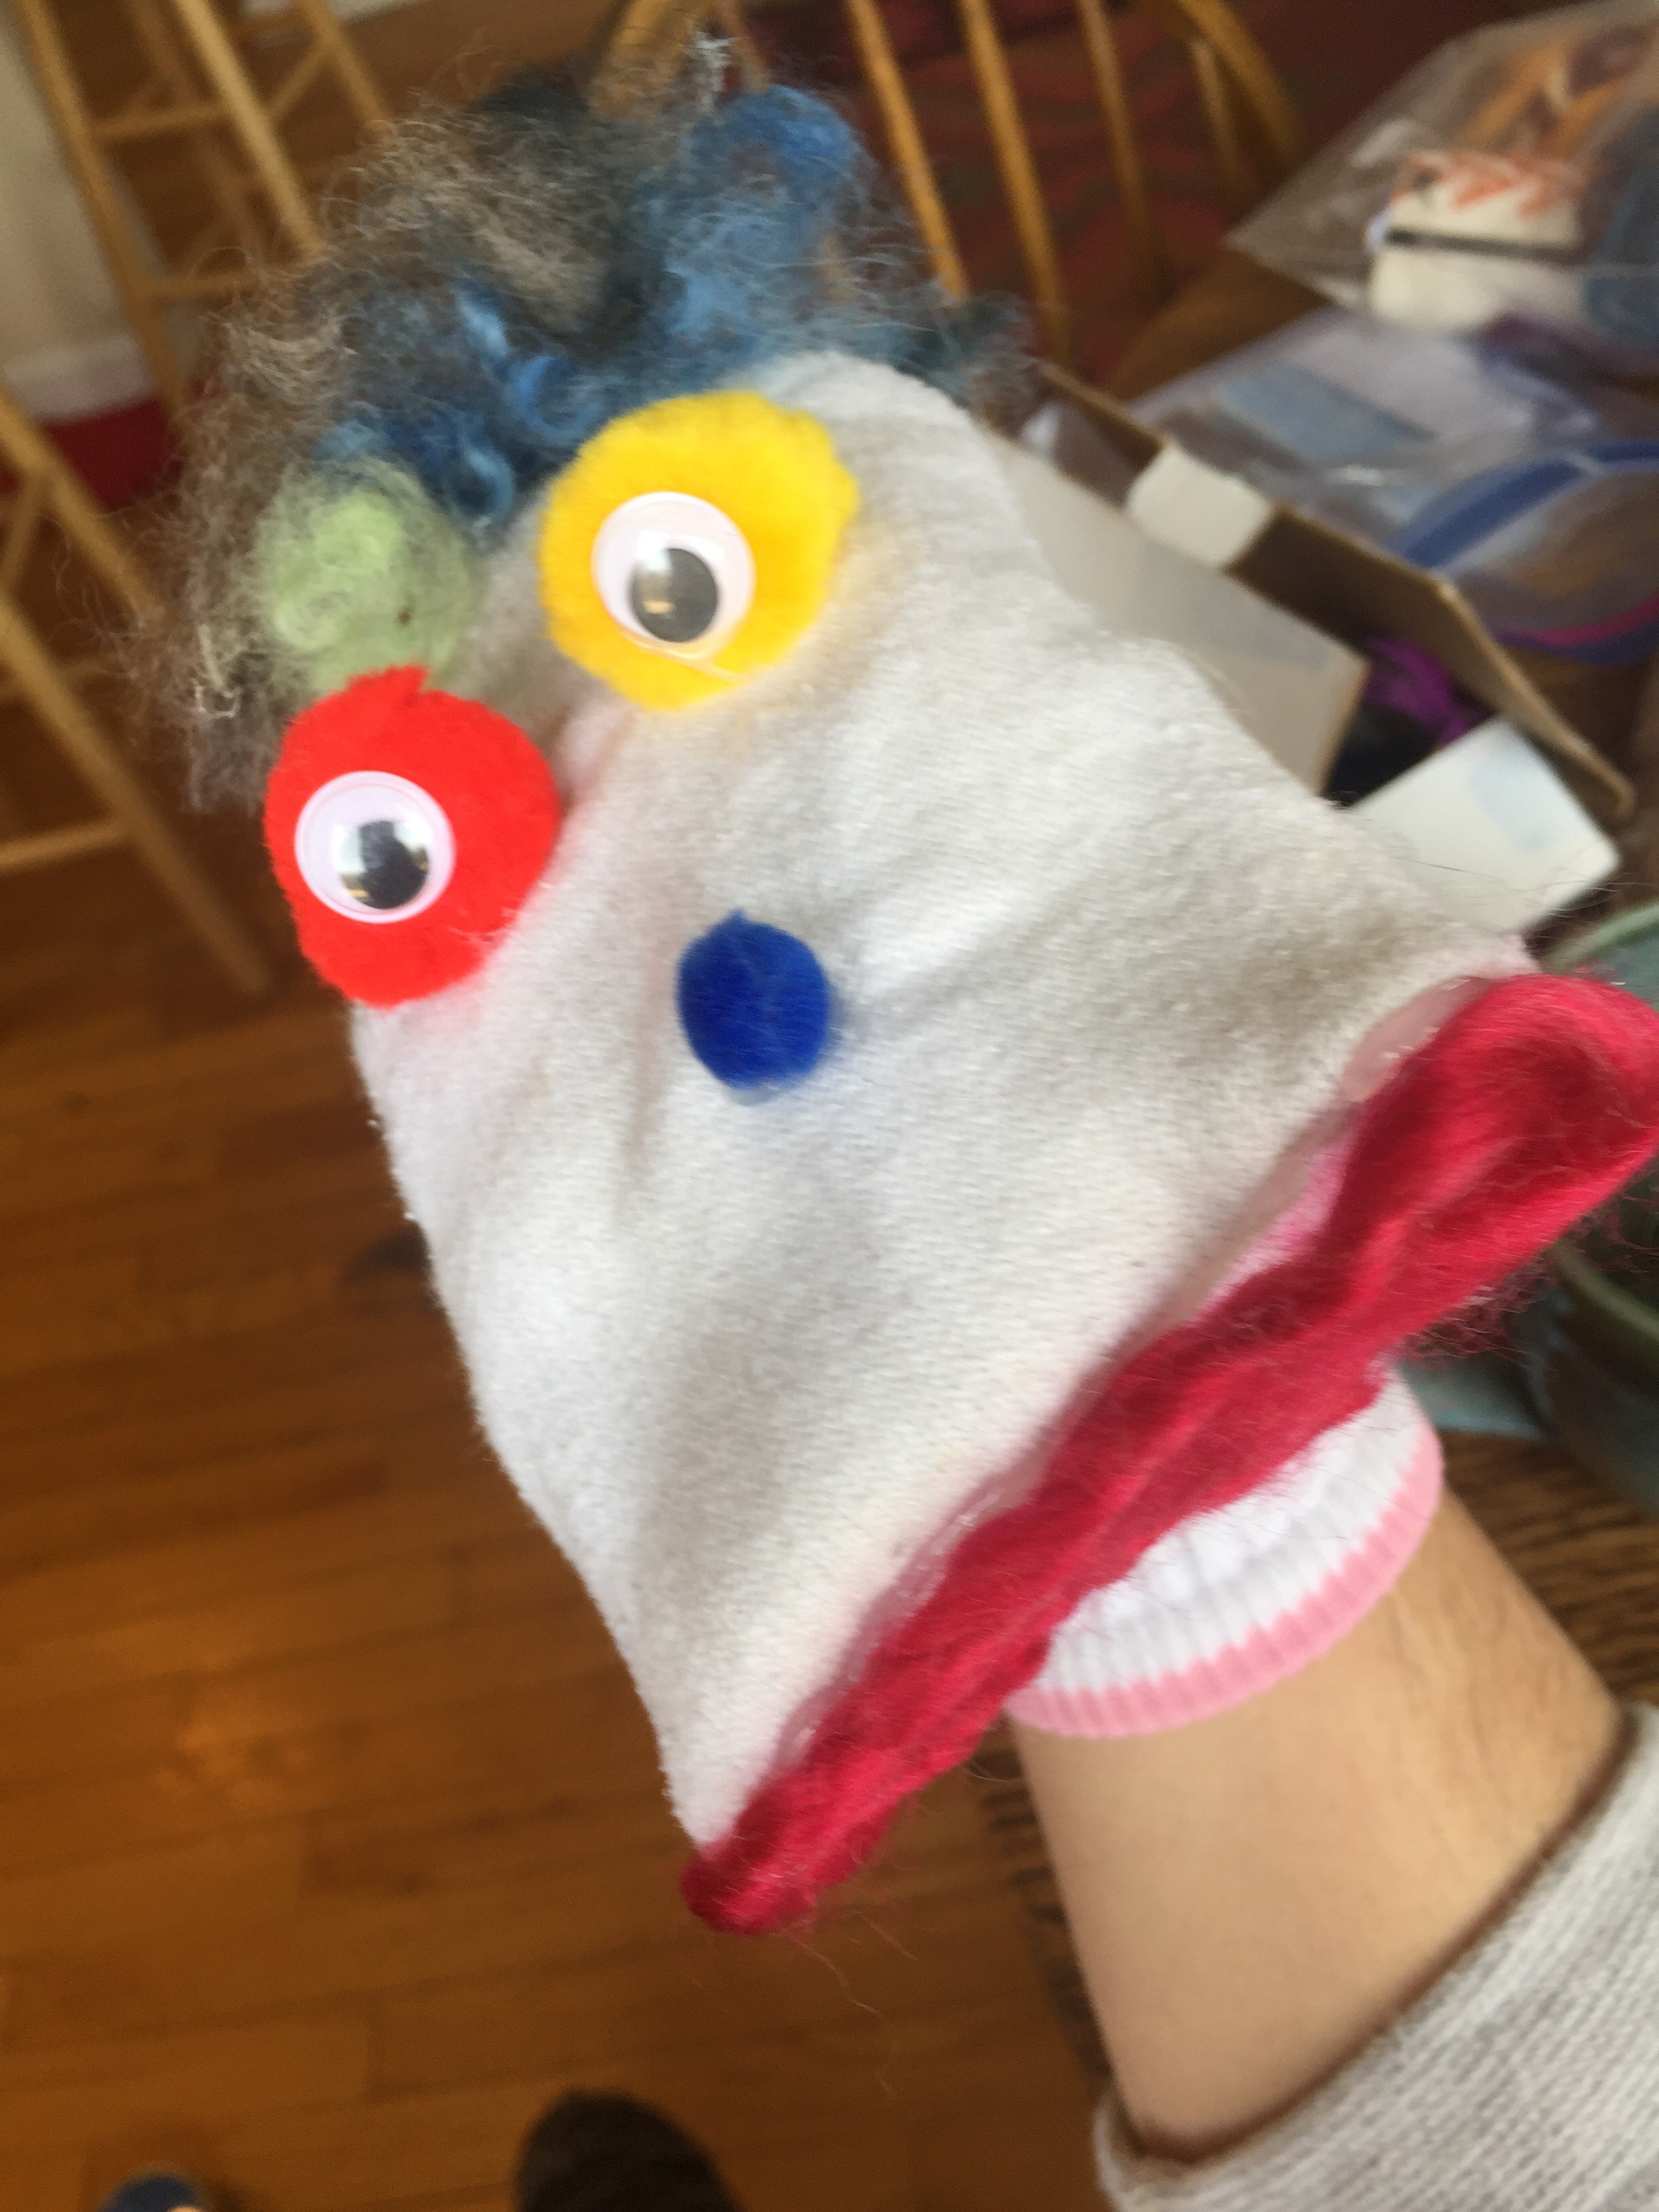
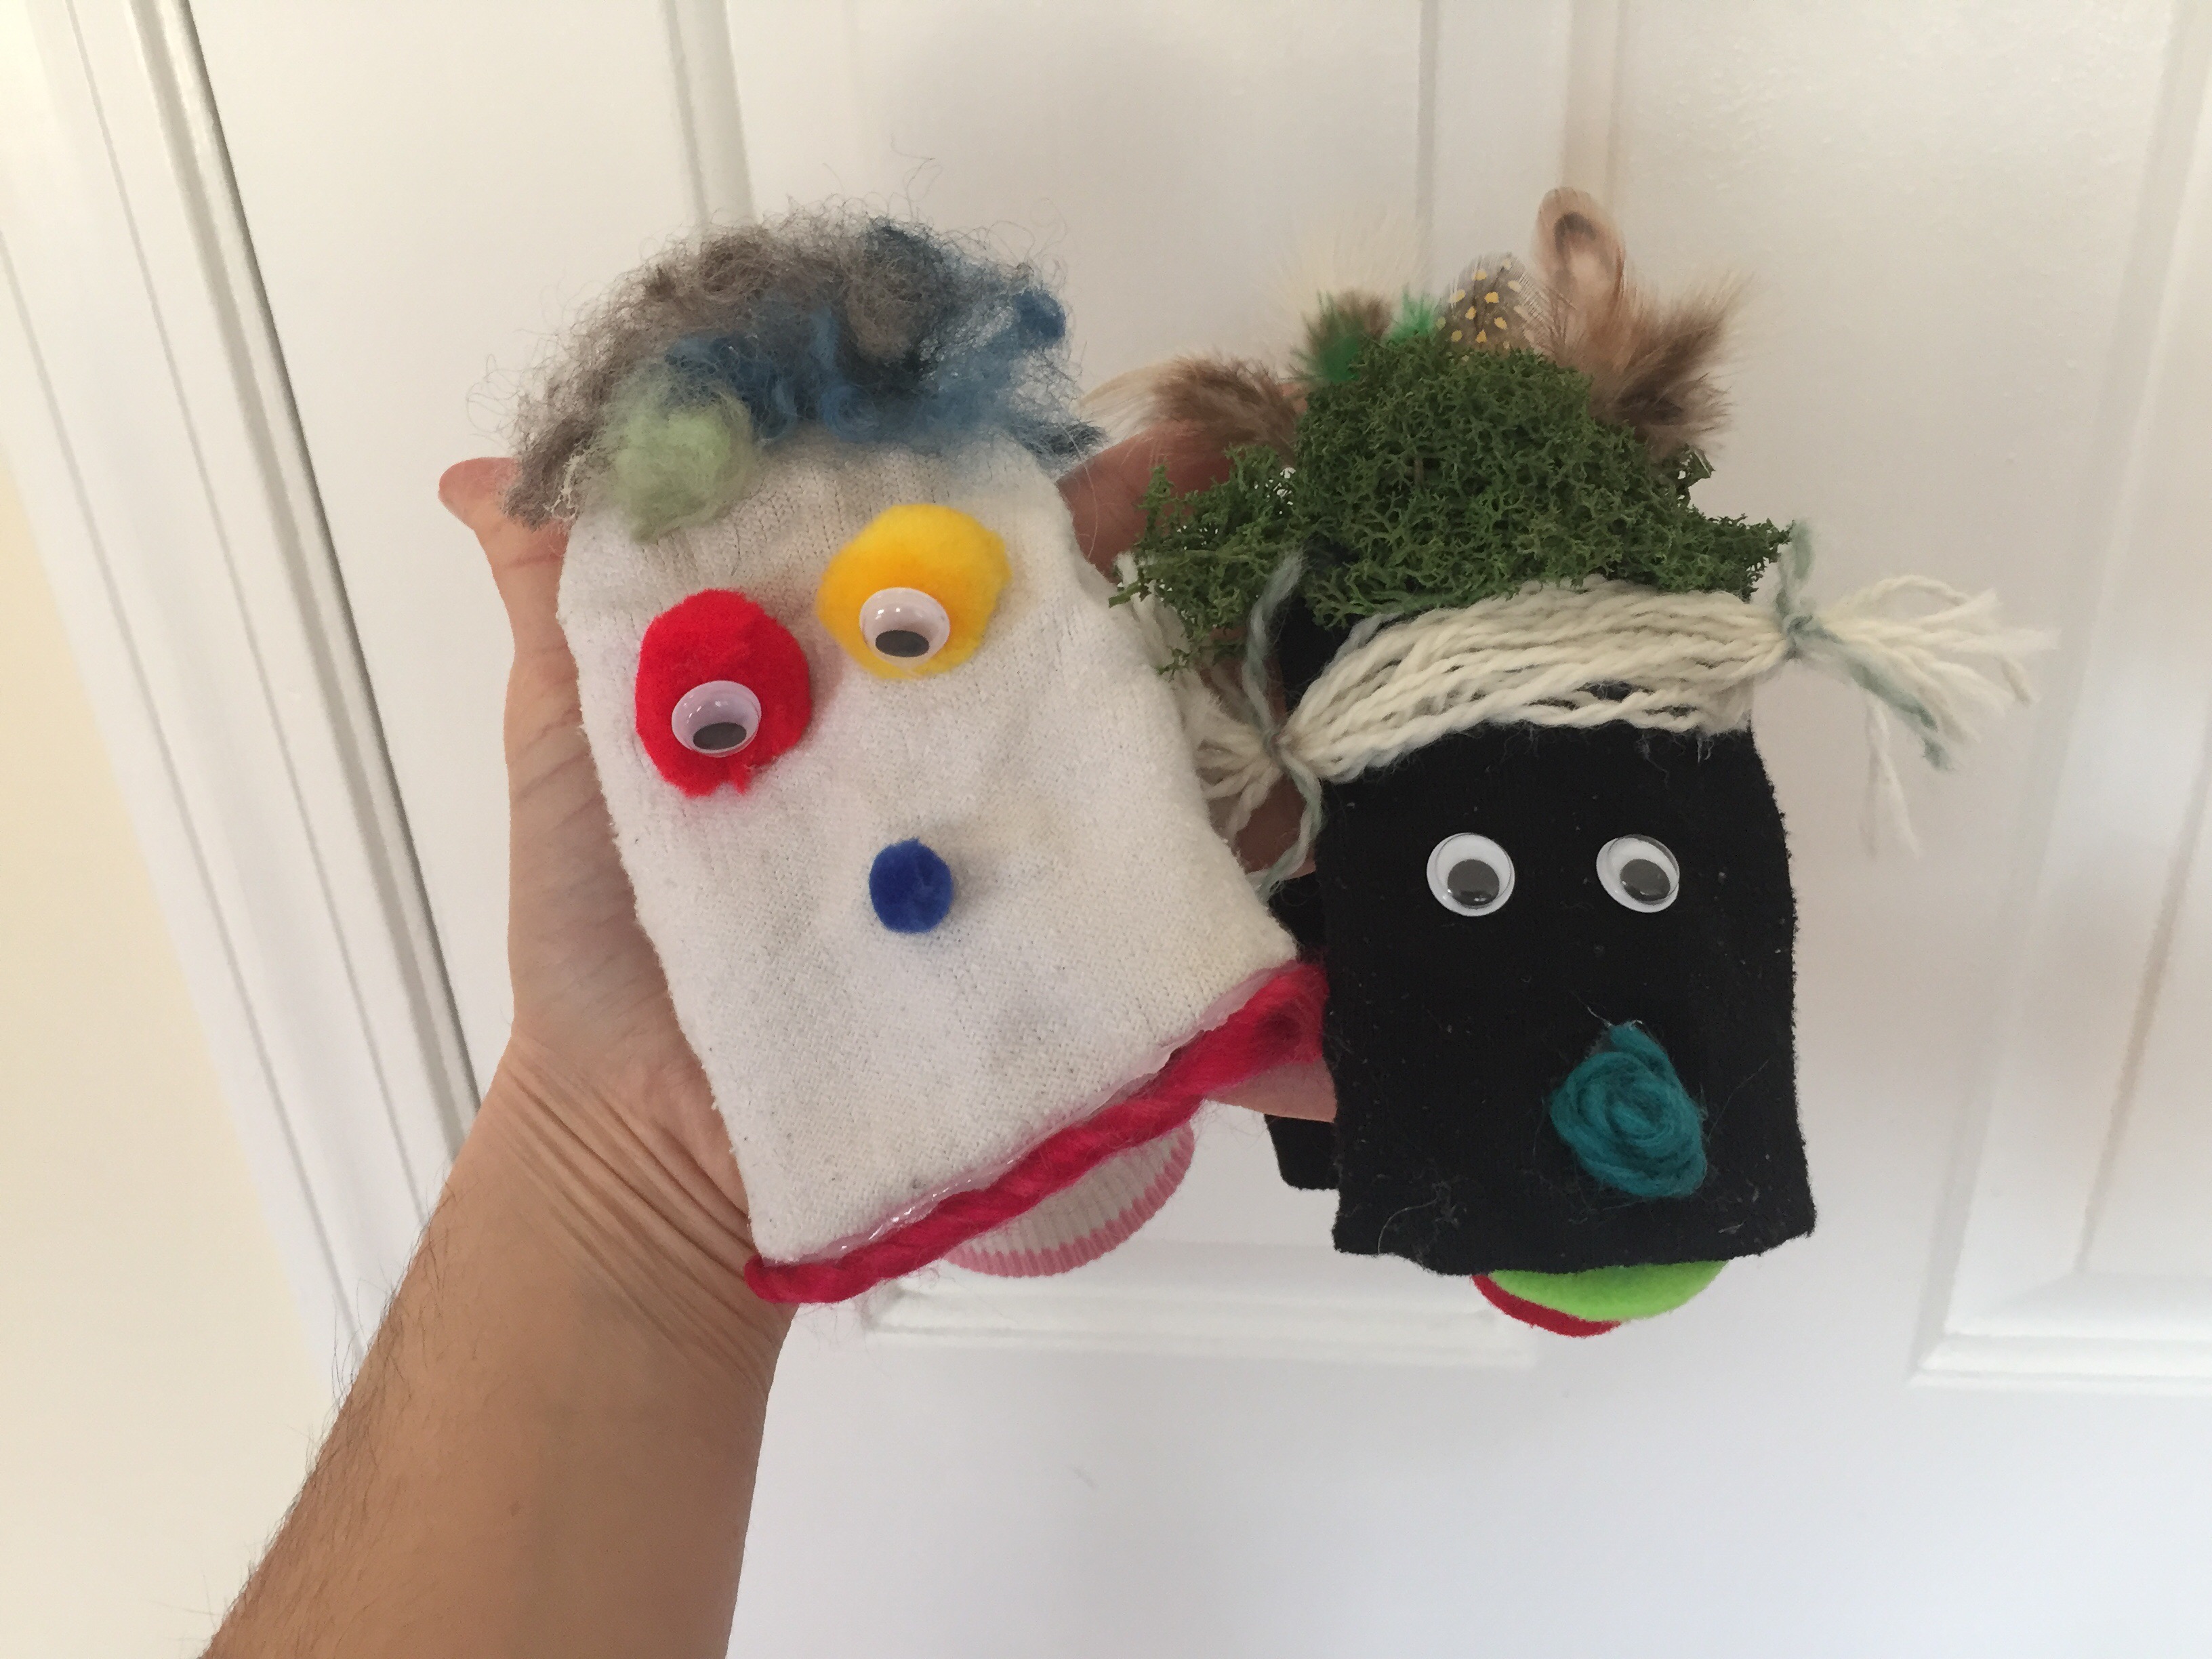
#5: Notice the personality that is already evident! Amazing, what eyes do. 👀 Start adding whatever you want to your puppet, being careful not to overglue. You don’t want the sock to stick to itself. On mine I knew mossy hair was necessary, and feathers.
And more hair… and a nose…
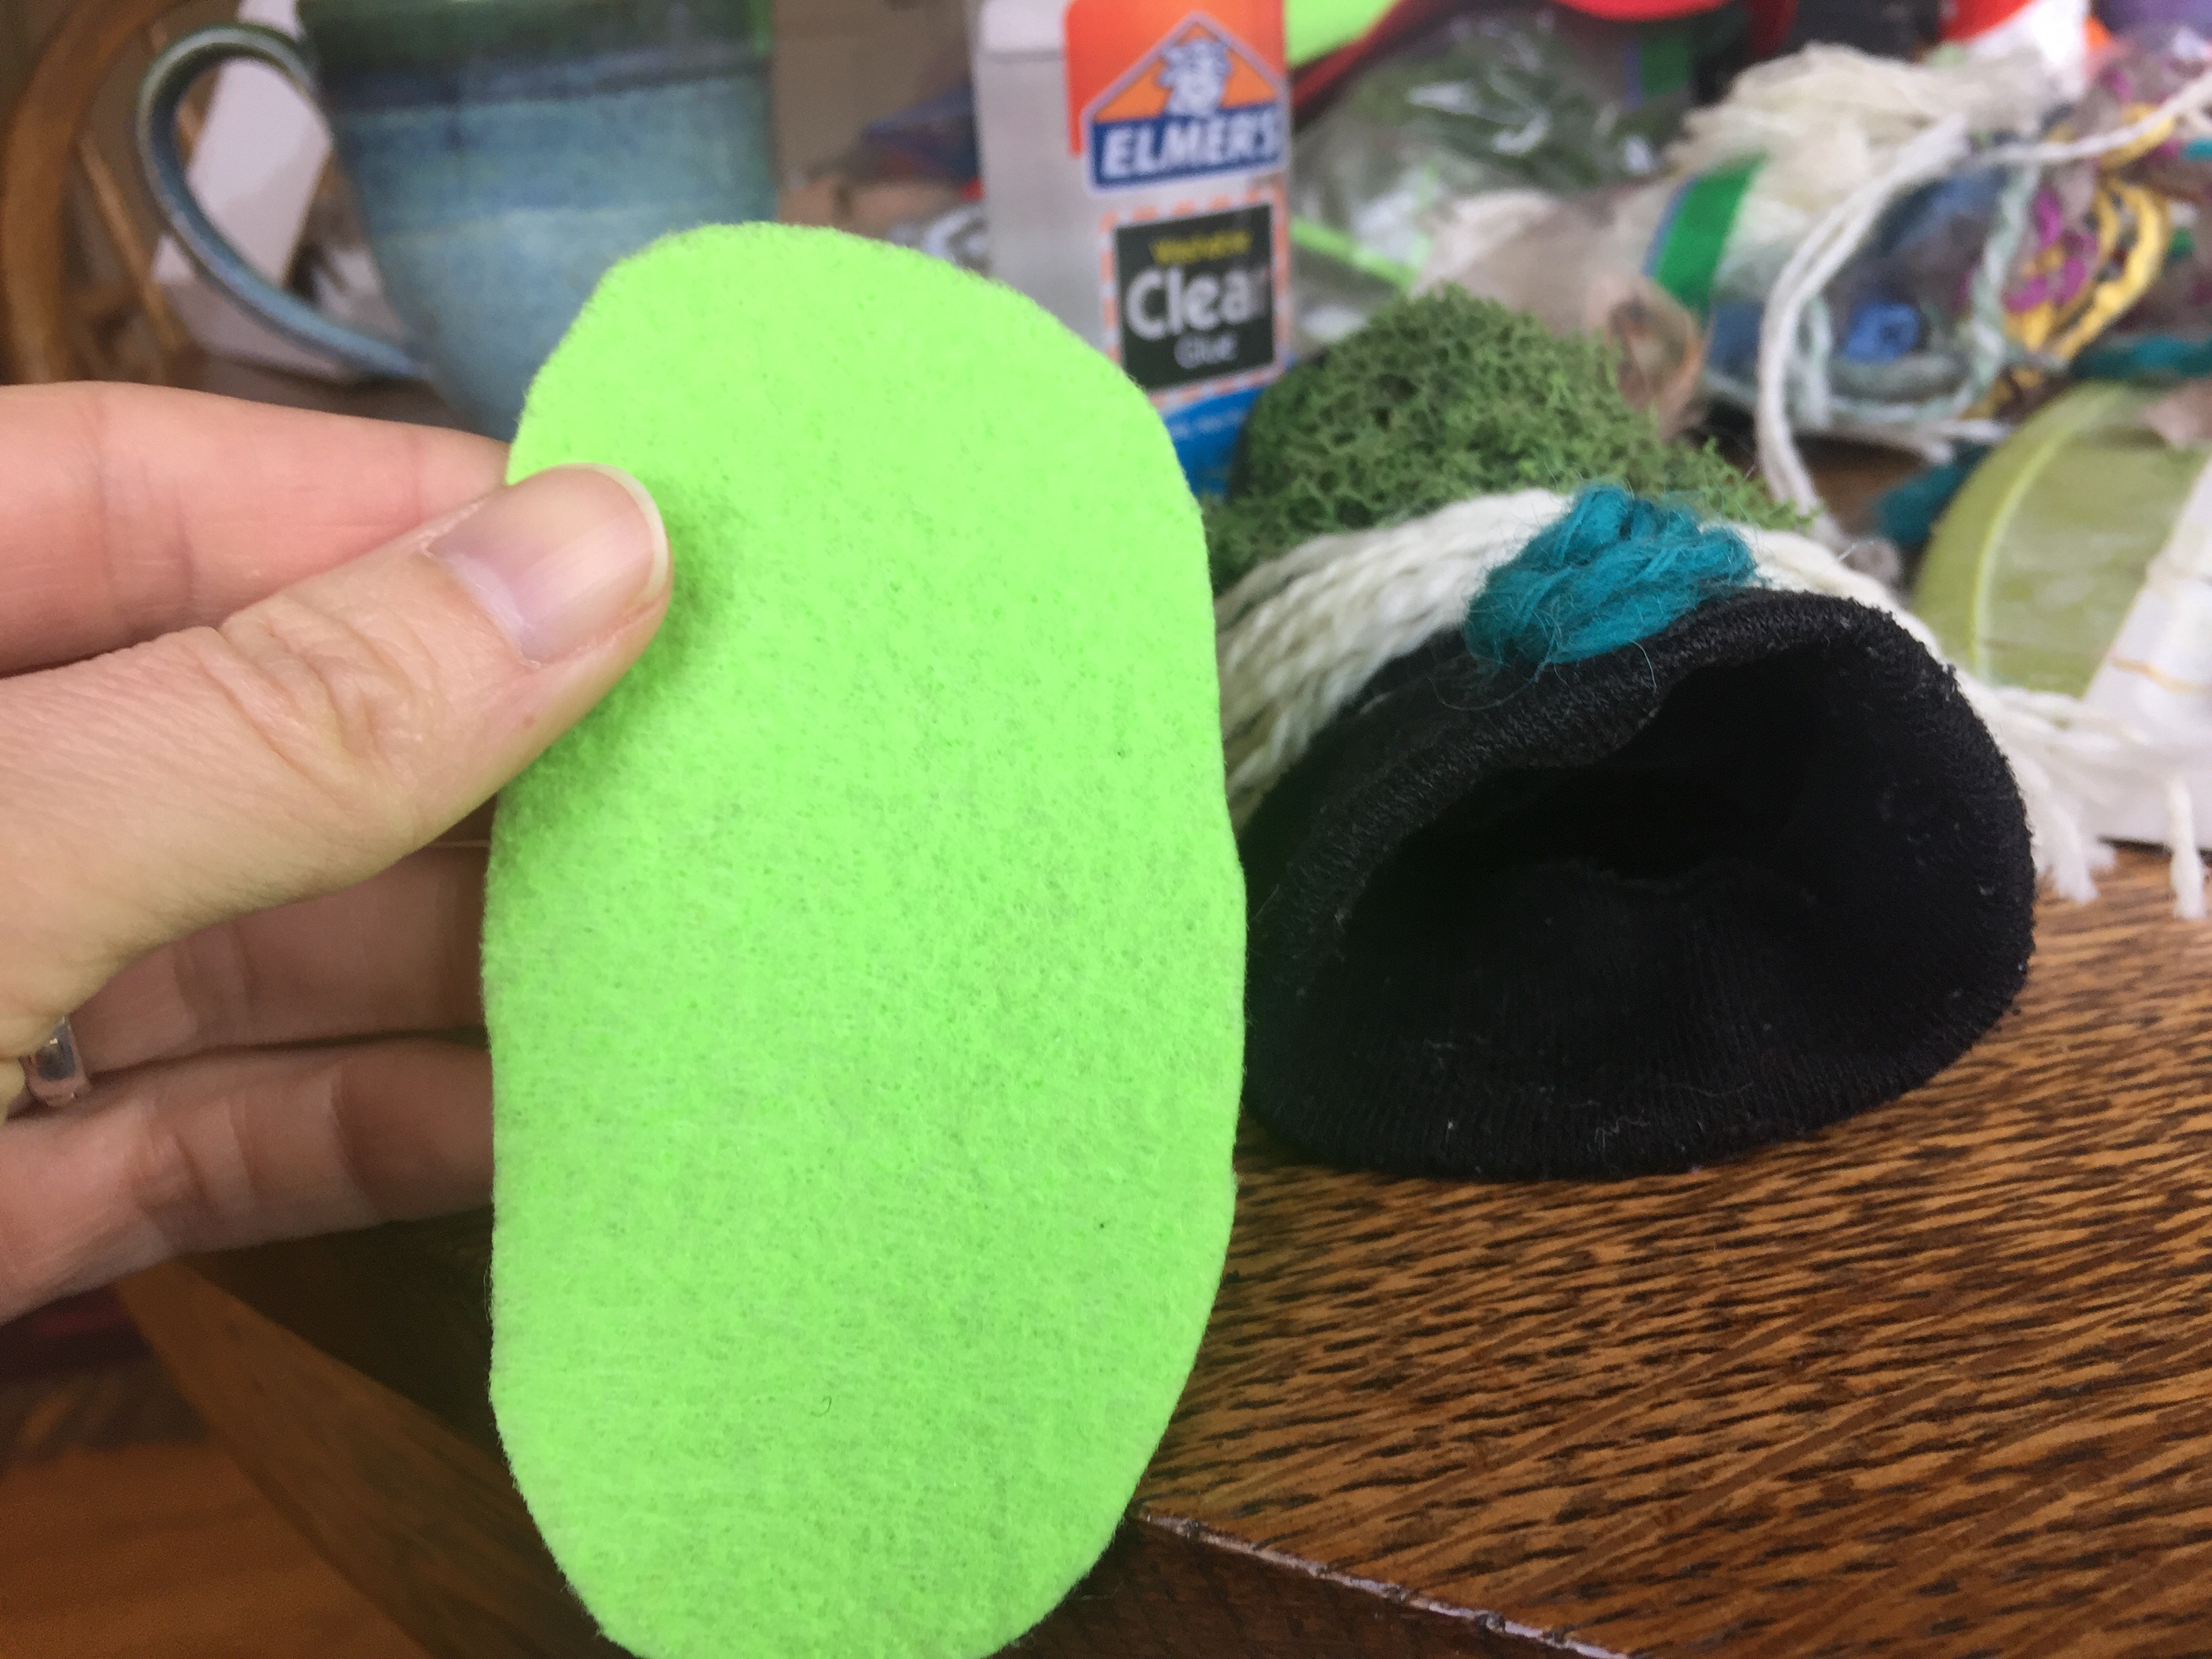
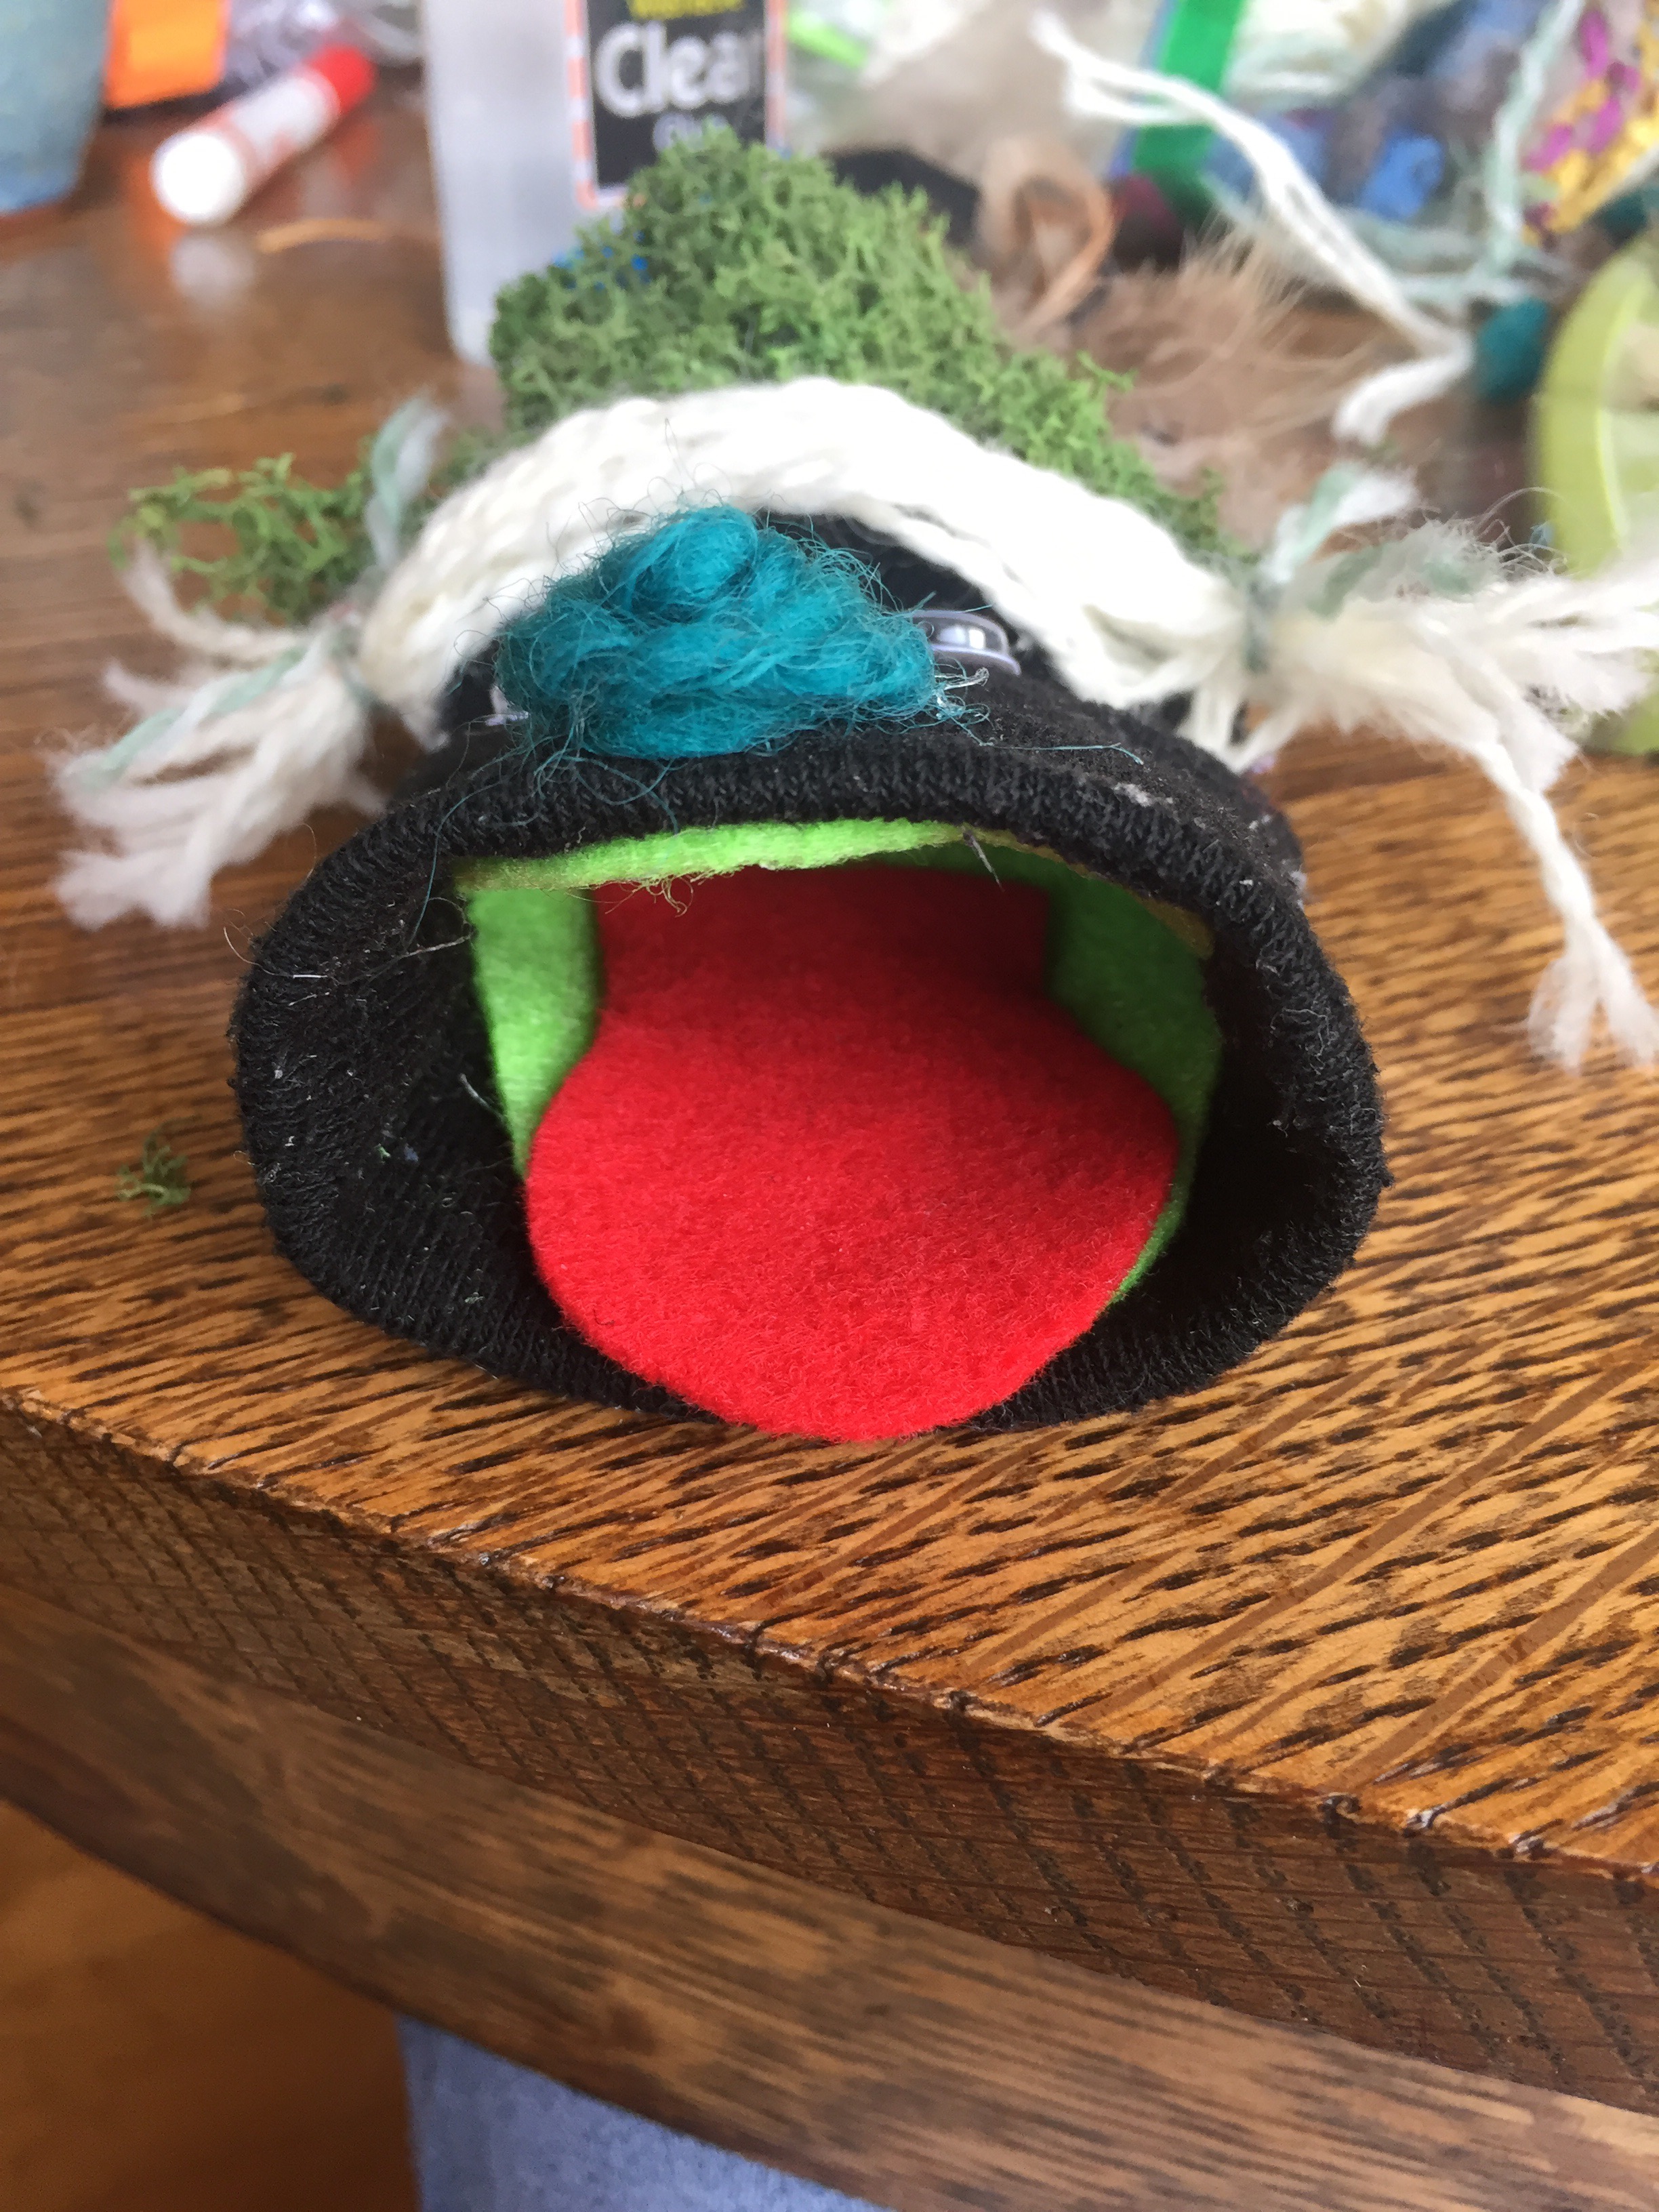
#6: after the adornments dried for a few minutes, I started on the mouth. I propped open the space designated for the mouth and eye-balled the size.
And cut out a felt oval…
I tucked it into the sock mouth to ensure a good fit, then took it out, put glue around the edges of the felt, and tucked it back in there.
Then I added a felt tongue which was simply a smaller oval with one side cut off.
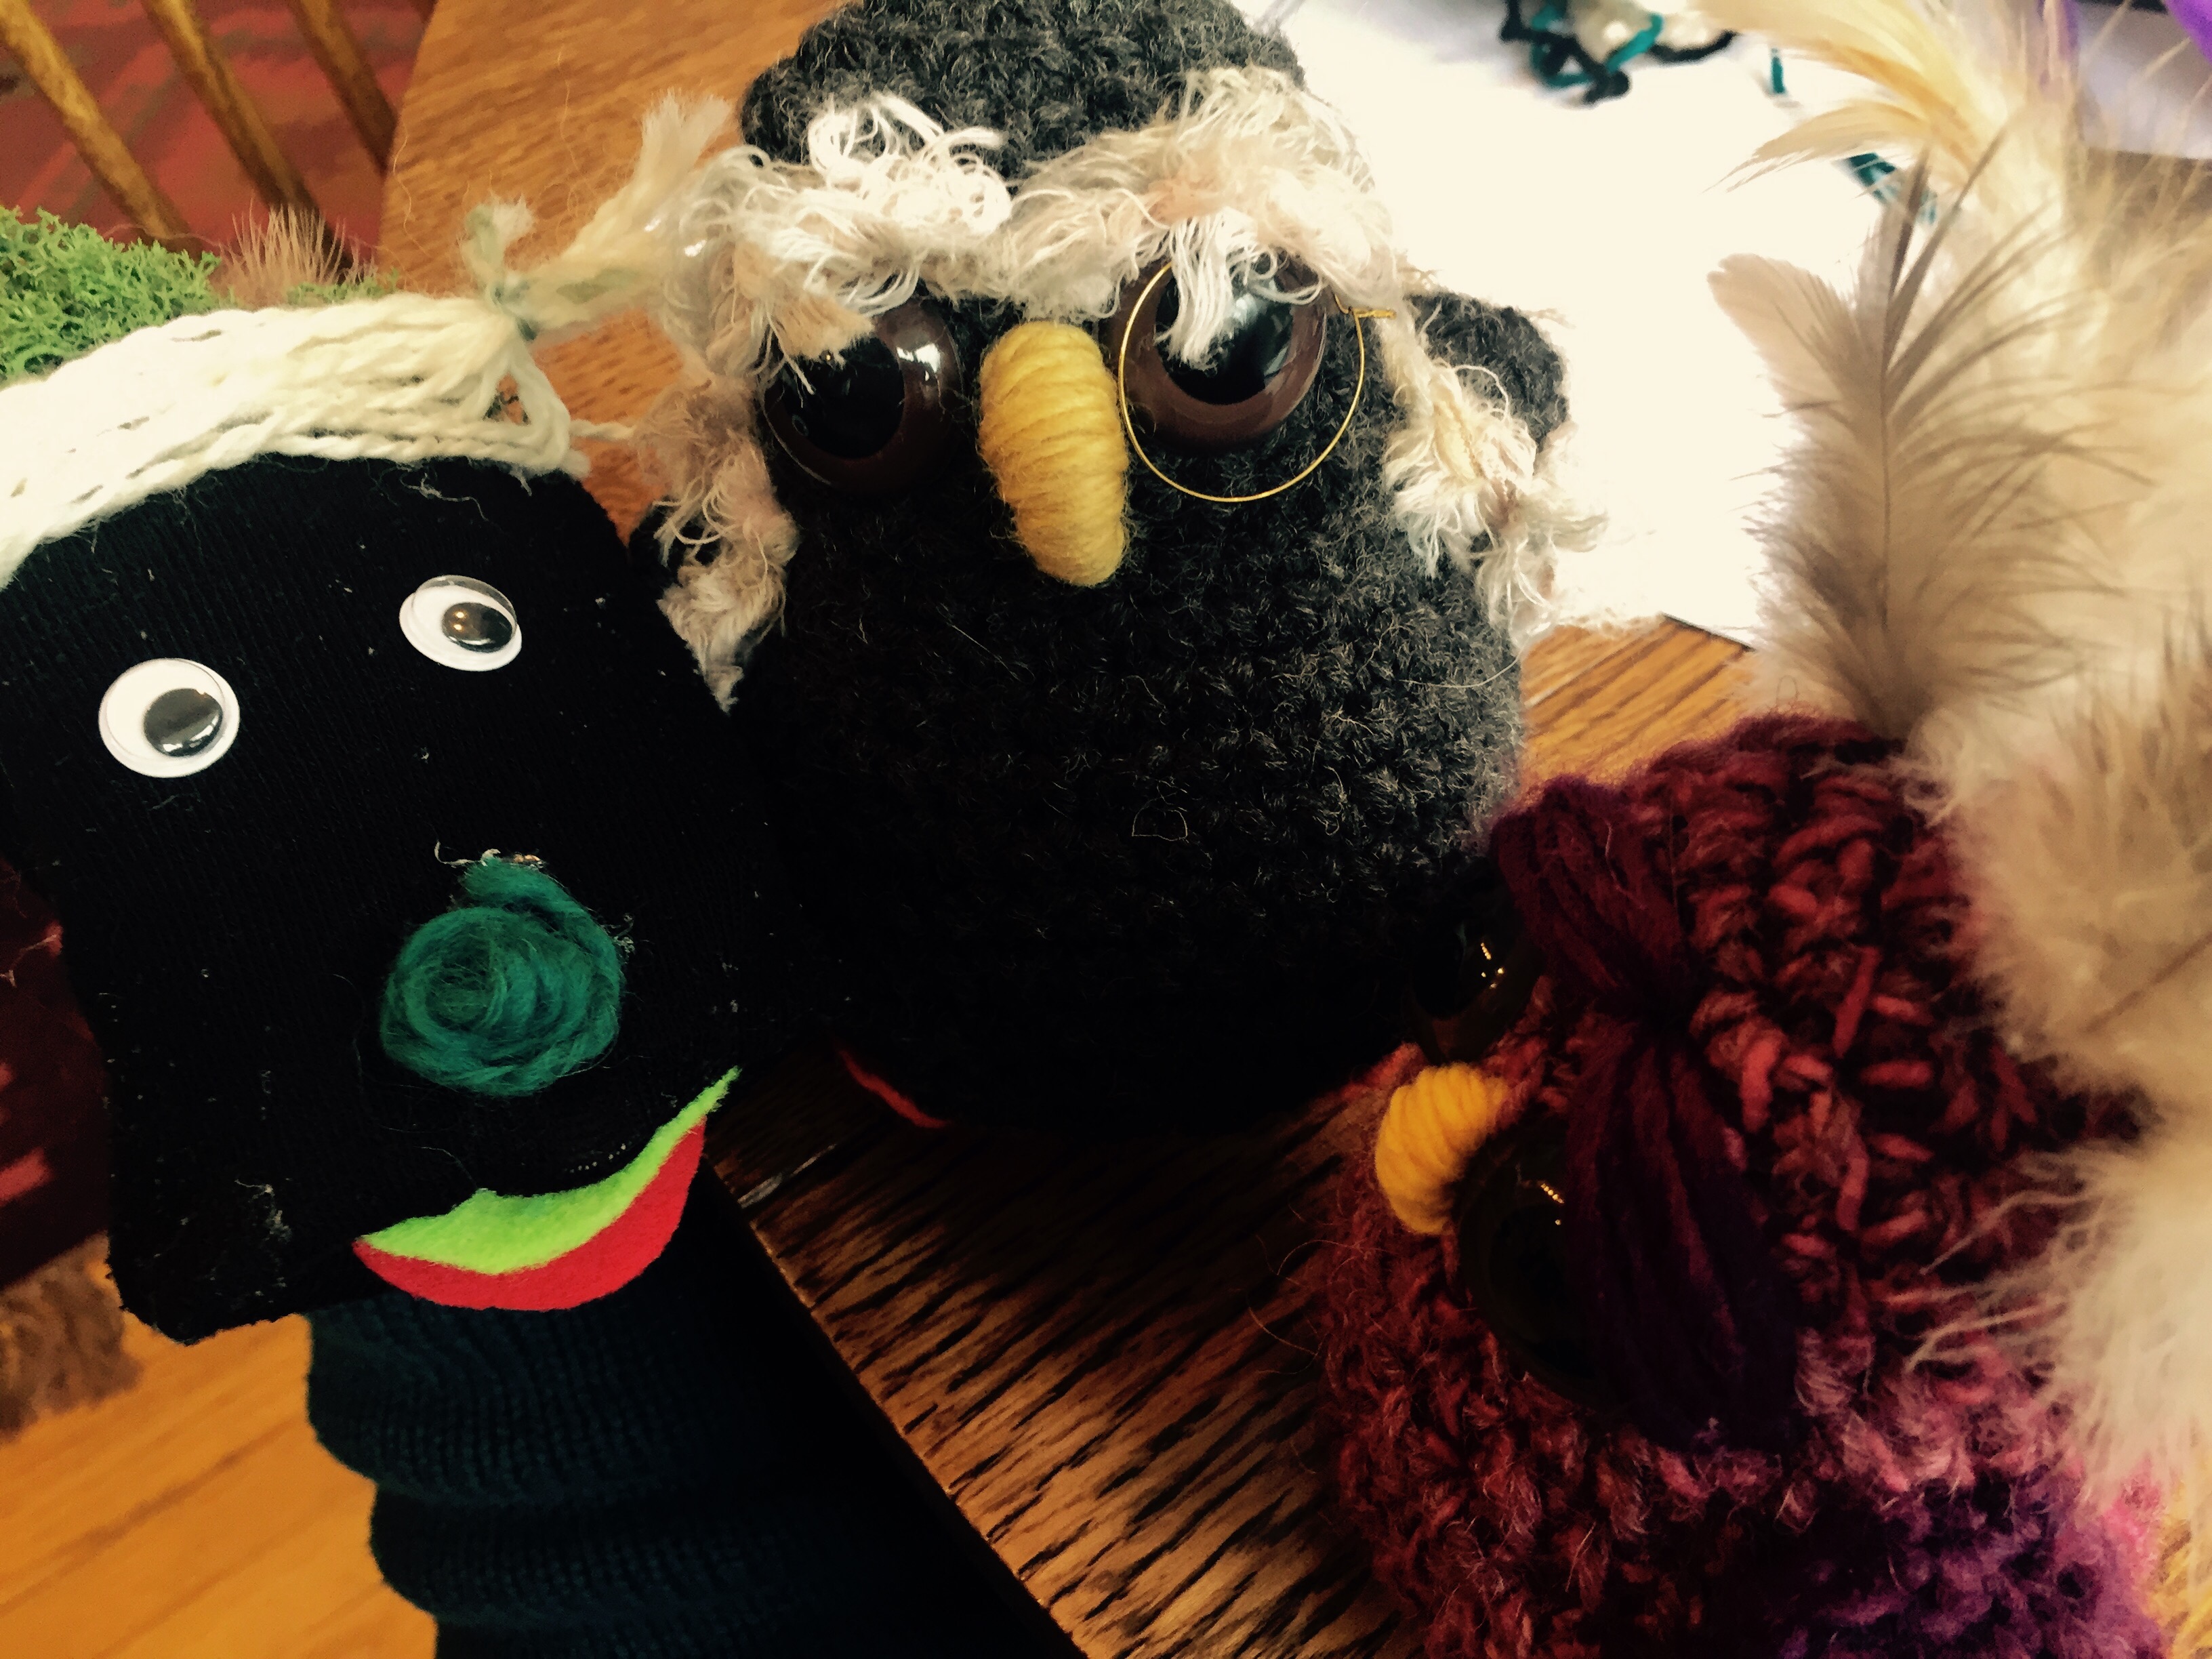
#7: And Voila! You can introduce yourself to your new friend!
Here’s another one I made with a tube sock.
Ugh, do I need to use bleach?
Nah…
Shiny red yarn for a lovely lip expression. This took a little patience as the yarn needed ample time to dry in order to withstand this character’s rather loud voice.
I can’t share pics of other people’s kids, but I can tell you, we had so much fun that day! These characters come out of nowhere and invite story telling, play acting, and frivolity! Here’s some other perks:
👉 They are inexpensive to make.
👉 They require only as much detail as you feel like giving them. A sock with a mouth on its own is fun. Each thing you add gives it more flavor.
👉 Patience is needed, and flexibility in expectations ~ both good things to practice! Sometimes we gotta wait for glue to dry. Sometimes we don’t know how to make top hats.
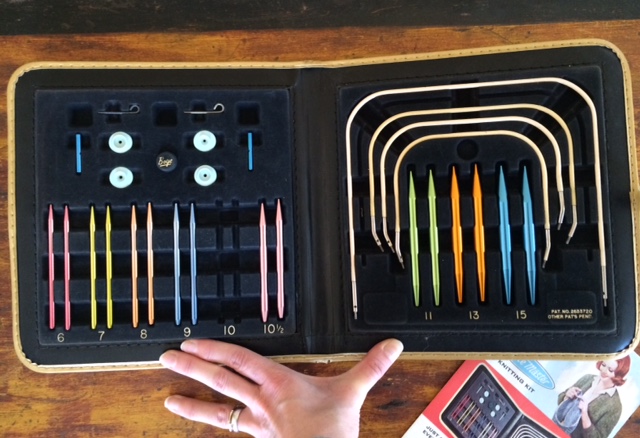
Last week, I received a box from my mom and grandmother. I call my grandmother Mema. Others in my family call her Meme, or is it Meemee? I don’t know. I have to call her Mema, because it’s what I have called her my whole life. Anyway, this box that they sent me contained some yarn that Mema is no longer needing, and some sweet treasures meant for my kids’ dollhouse. There was also a book, or binder, or container of some sort. I had no idea what it was when I first saw it, but when I opened it, I lost my breath.
It was a vintage Boye Needlemaster Knitting Kit. I’d never seen anything like this before! The place holders, the circular needles that you could change out for different sizing. All kinds of cool stuff! I was truly overwhelmed when I saw it. Ironically, that very day I was struggling with knitting. I really want to up my skills and was having a hard time figuring out a pattern, or really, the stitches that were called for in the pattern. I had to put it down for a while and was lamenting my weak frustration tolerance. And then this came. Way to raise the bar, Mema!
Mema is a master knitter. She has some serious skills. It’s funny because I cannot recall a time actually seeing her knit when I was little, but I have seen the things she has made, and I remember hearing my grandfather speak with pride about how she worked on certain sweaters. Now that I’m older, I think I understand that he wanted to make sure we kids understood how much work and love went into the things she made, and that she was really talented.
When I was in high school, Mema gave me this sweater.
I loved it then, but I definitely did not have a good appreciation for how complicated it was to make this. If you’ve read others of my posts, you may have read about my growing edge with reading patterns and understanding measurements and all of the technical stuff. This sweater is technical, and I can remember Mema telling me that she had to really concentrate when knitting it, counting and marking, and doing over… I love this sweater more now than I can even describe. To me, it means love, and commitment, and patience. It is soft and delicate, and very beautiful. And, now I have the knitting needles that were part of her arsenal of tools used to make such beautiful things. I feel so lucky.
I love how Mema made her own tag and wrote, “Made By Mee Ma”.
Mema in 1975
Mema with Pop Pop. They were so proud of each other.
Recently, I was having a conversation with someone I consider a mentor and a guide in my life. He said, “you can’t carry history with you.” We were talking about the kind of history that hurts, that isn’t yours to carry. Then I told him about the knitting needle kit Mema sent me. That is the kind of history I want to carry with me. Things that my grandmother touched and took such good care of, and used to make things with love, while sitting at night with my grandfather. Thank you so much, Mema.