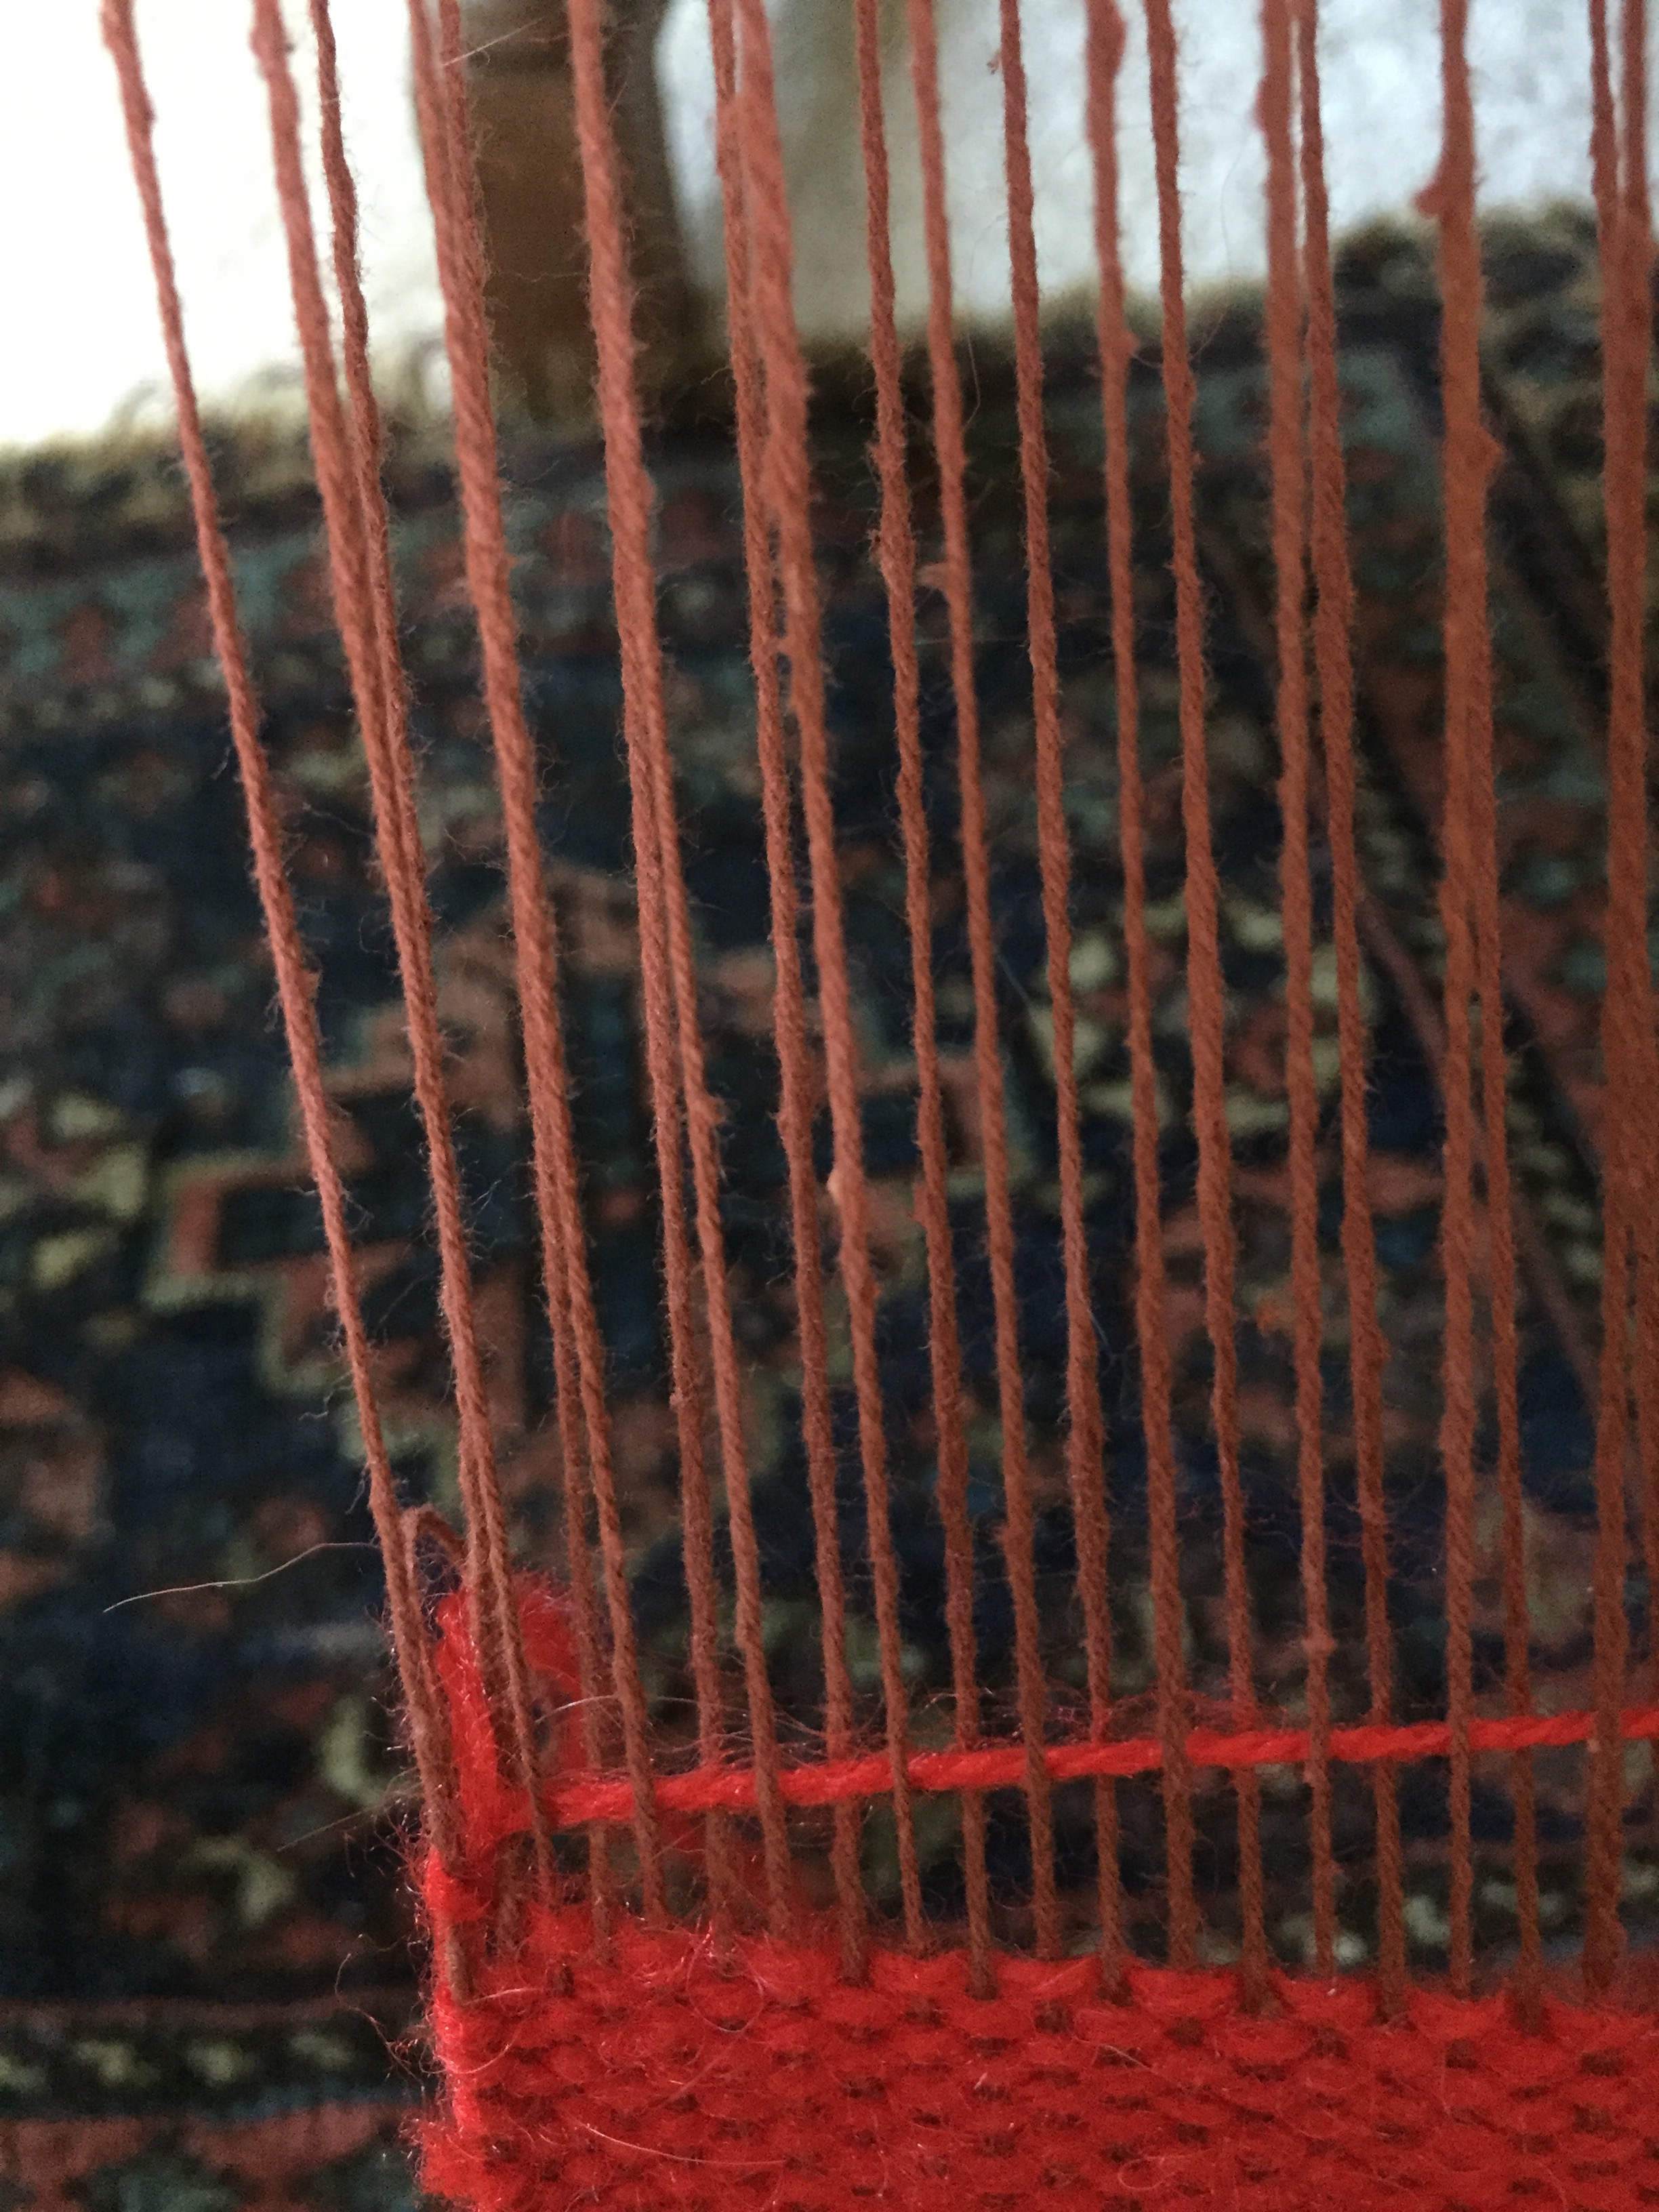
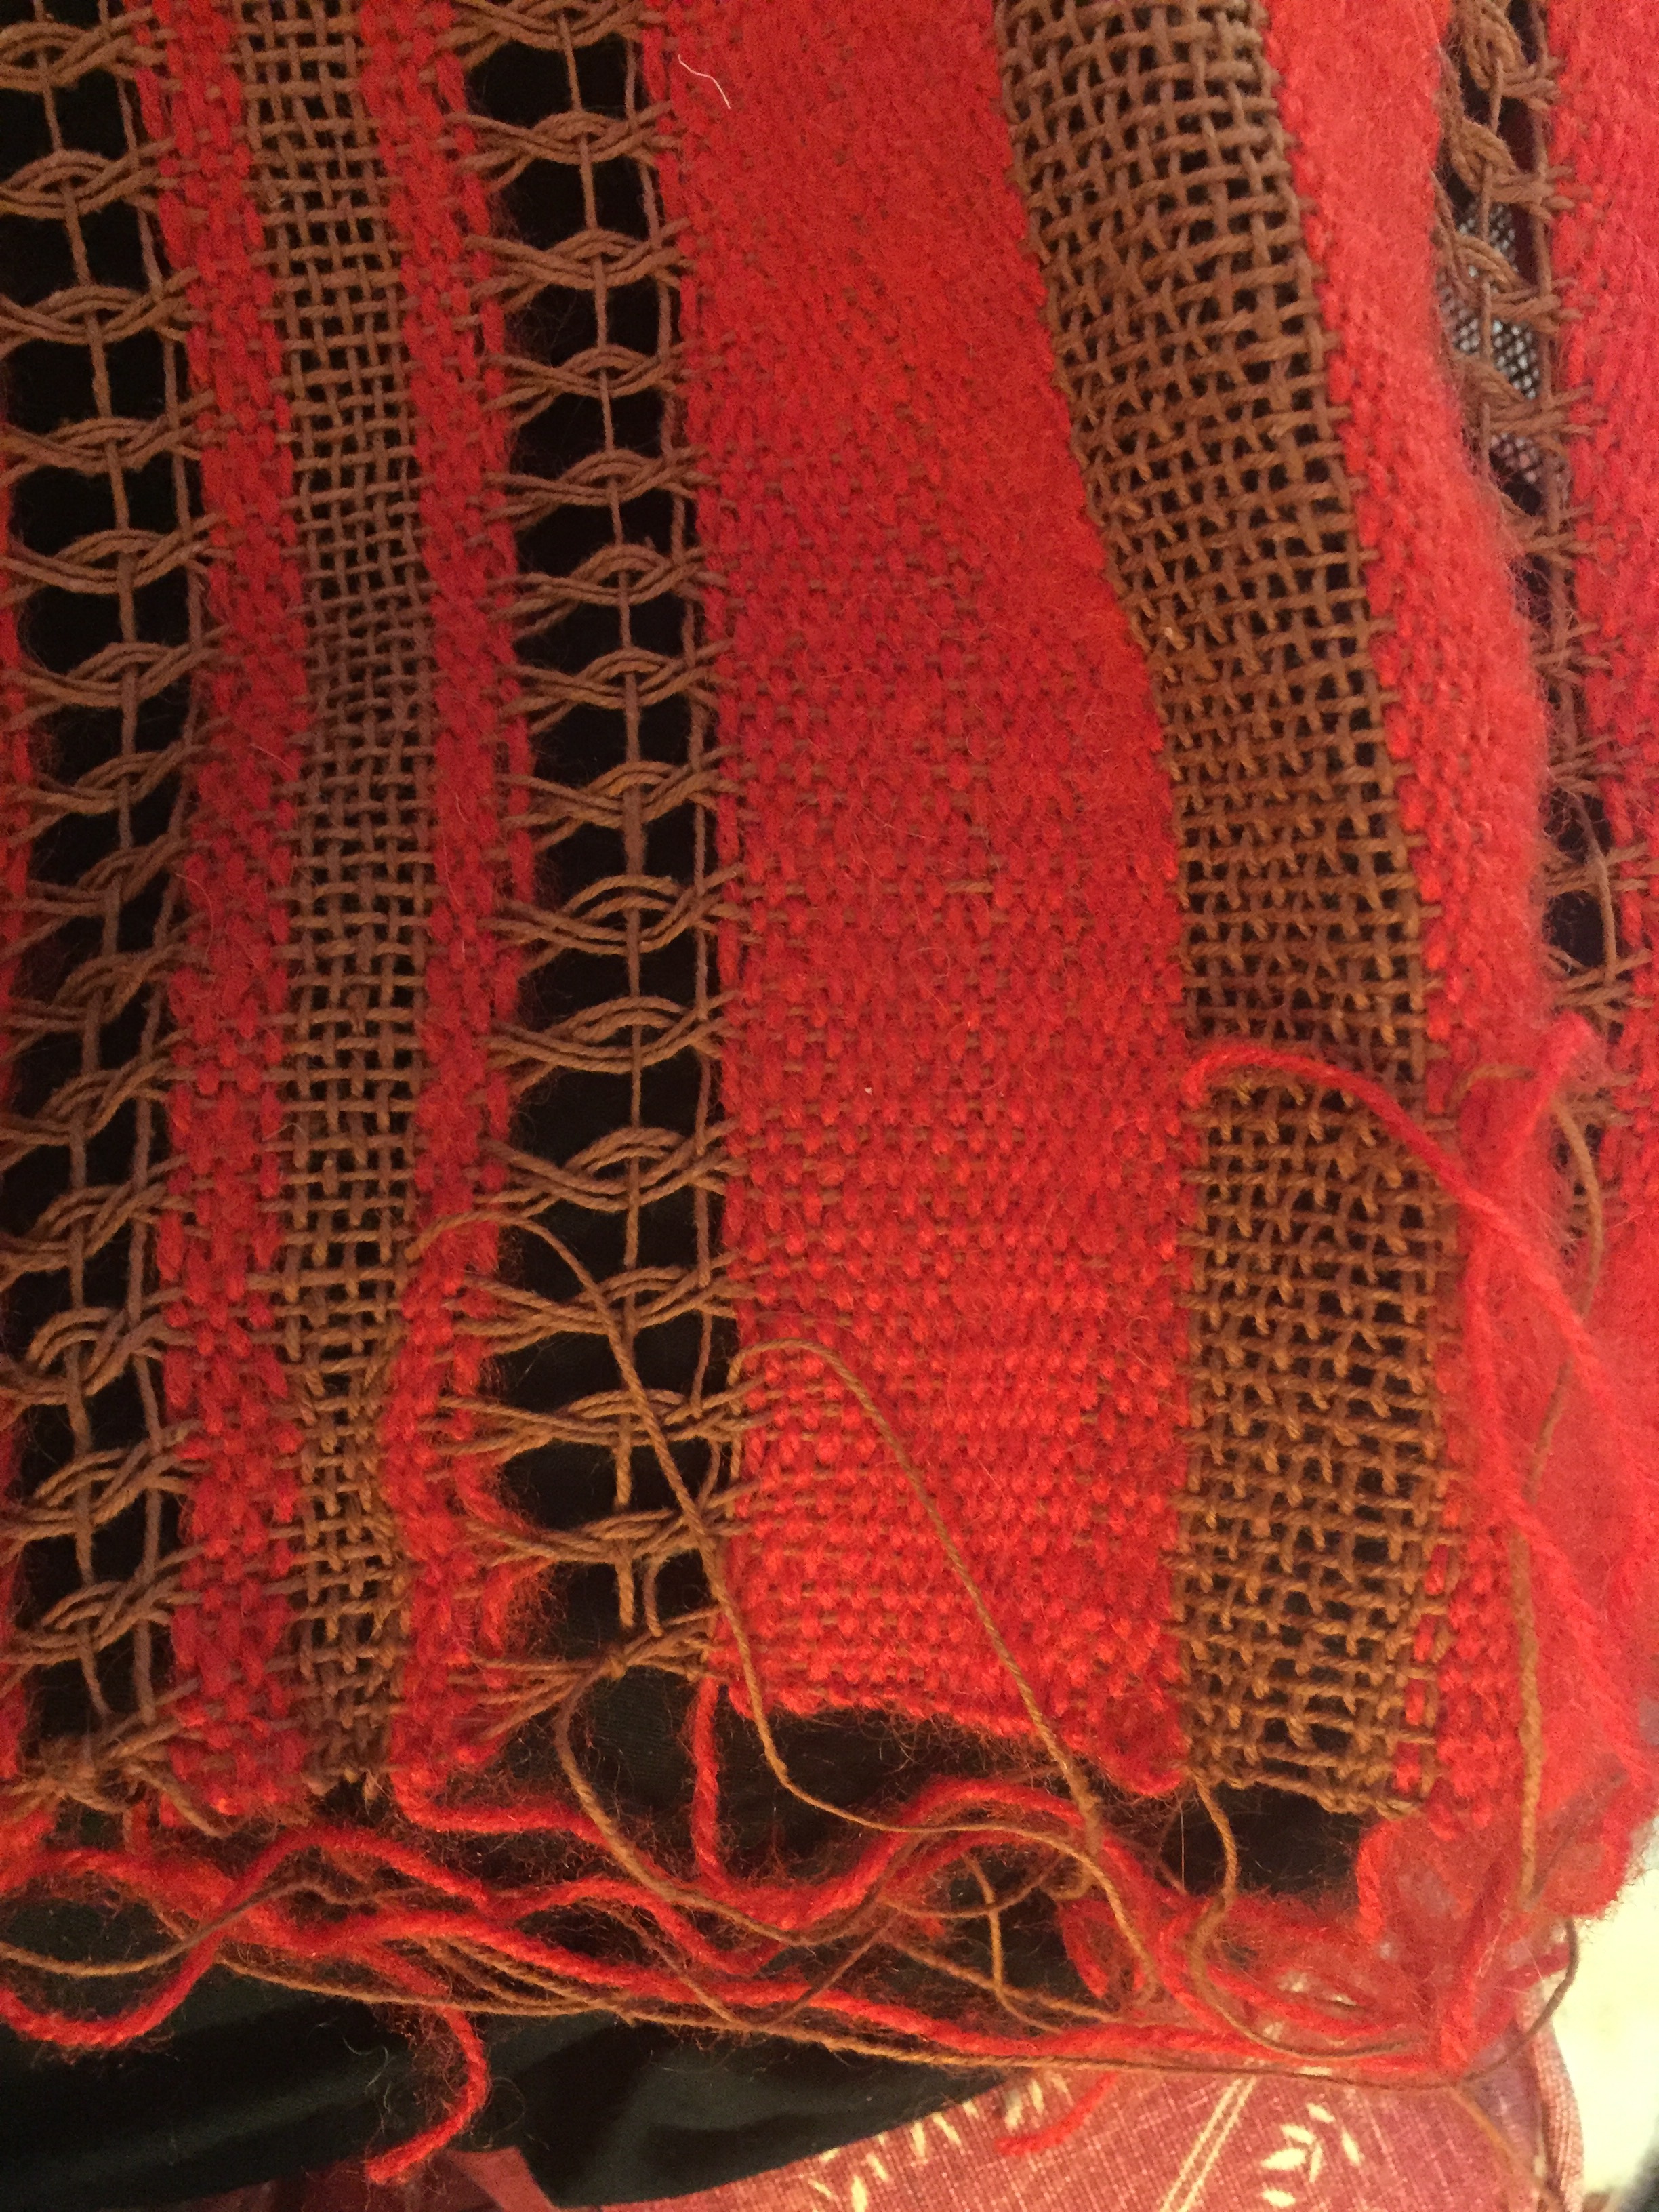
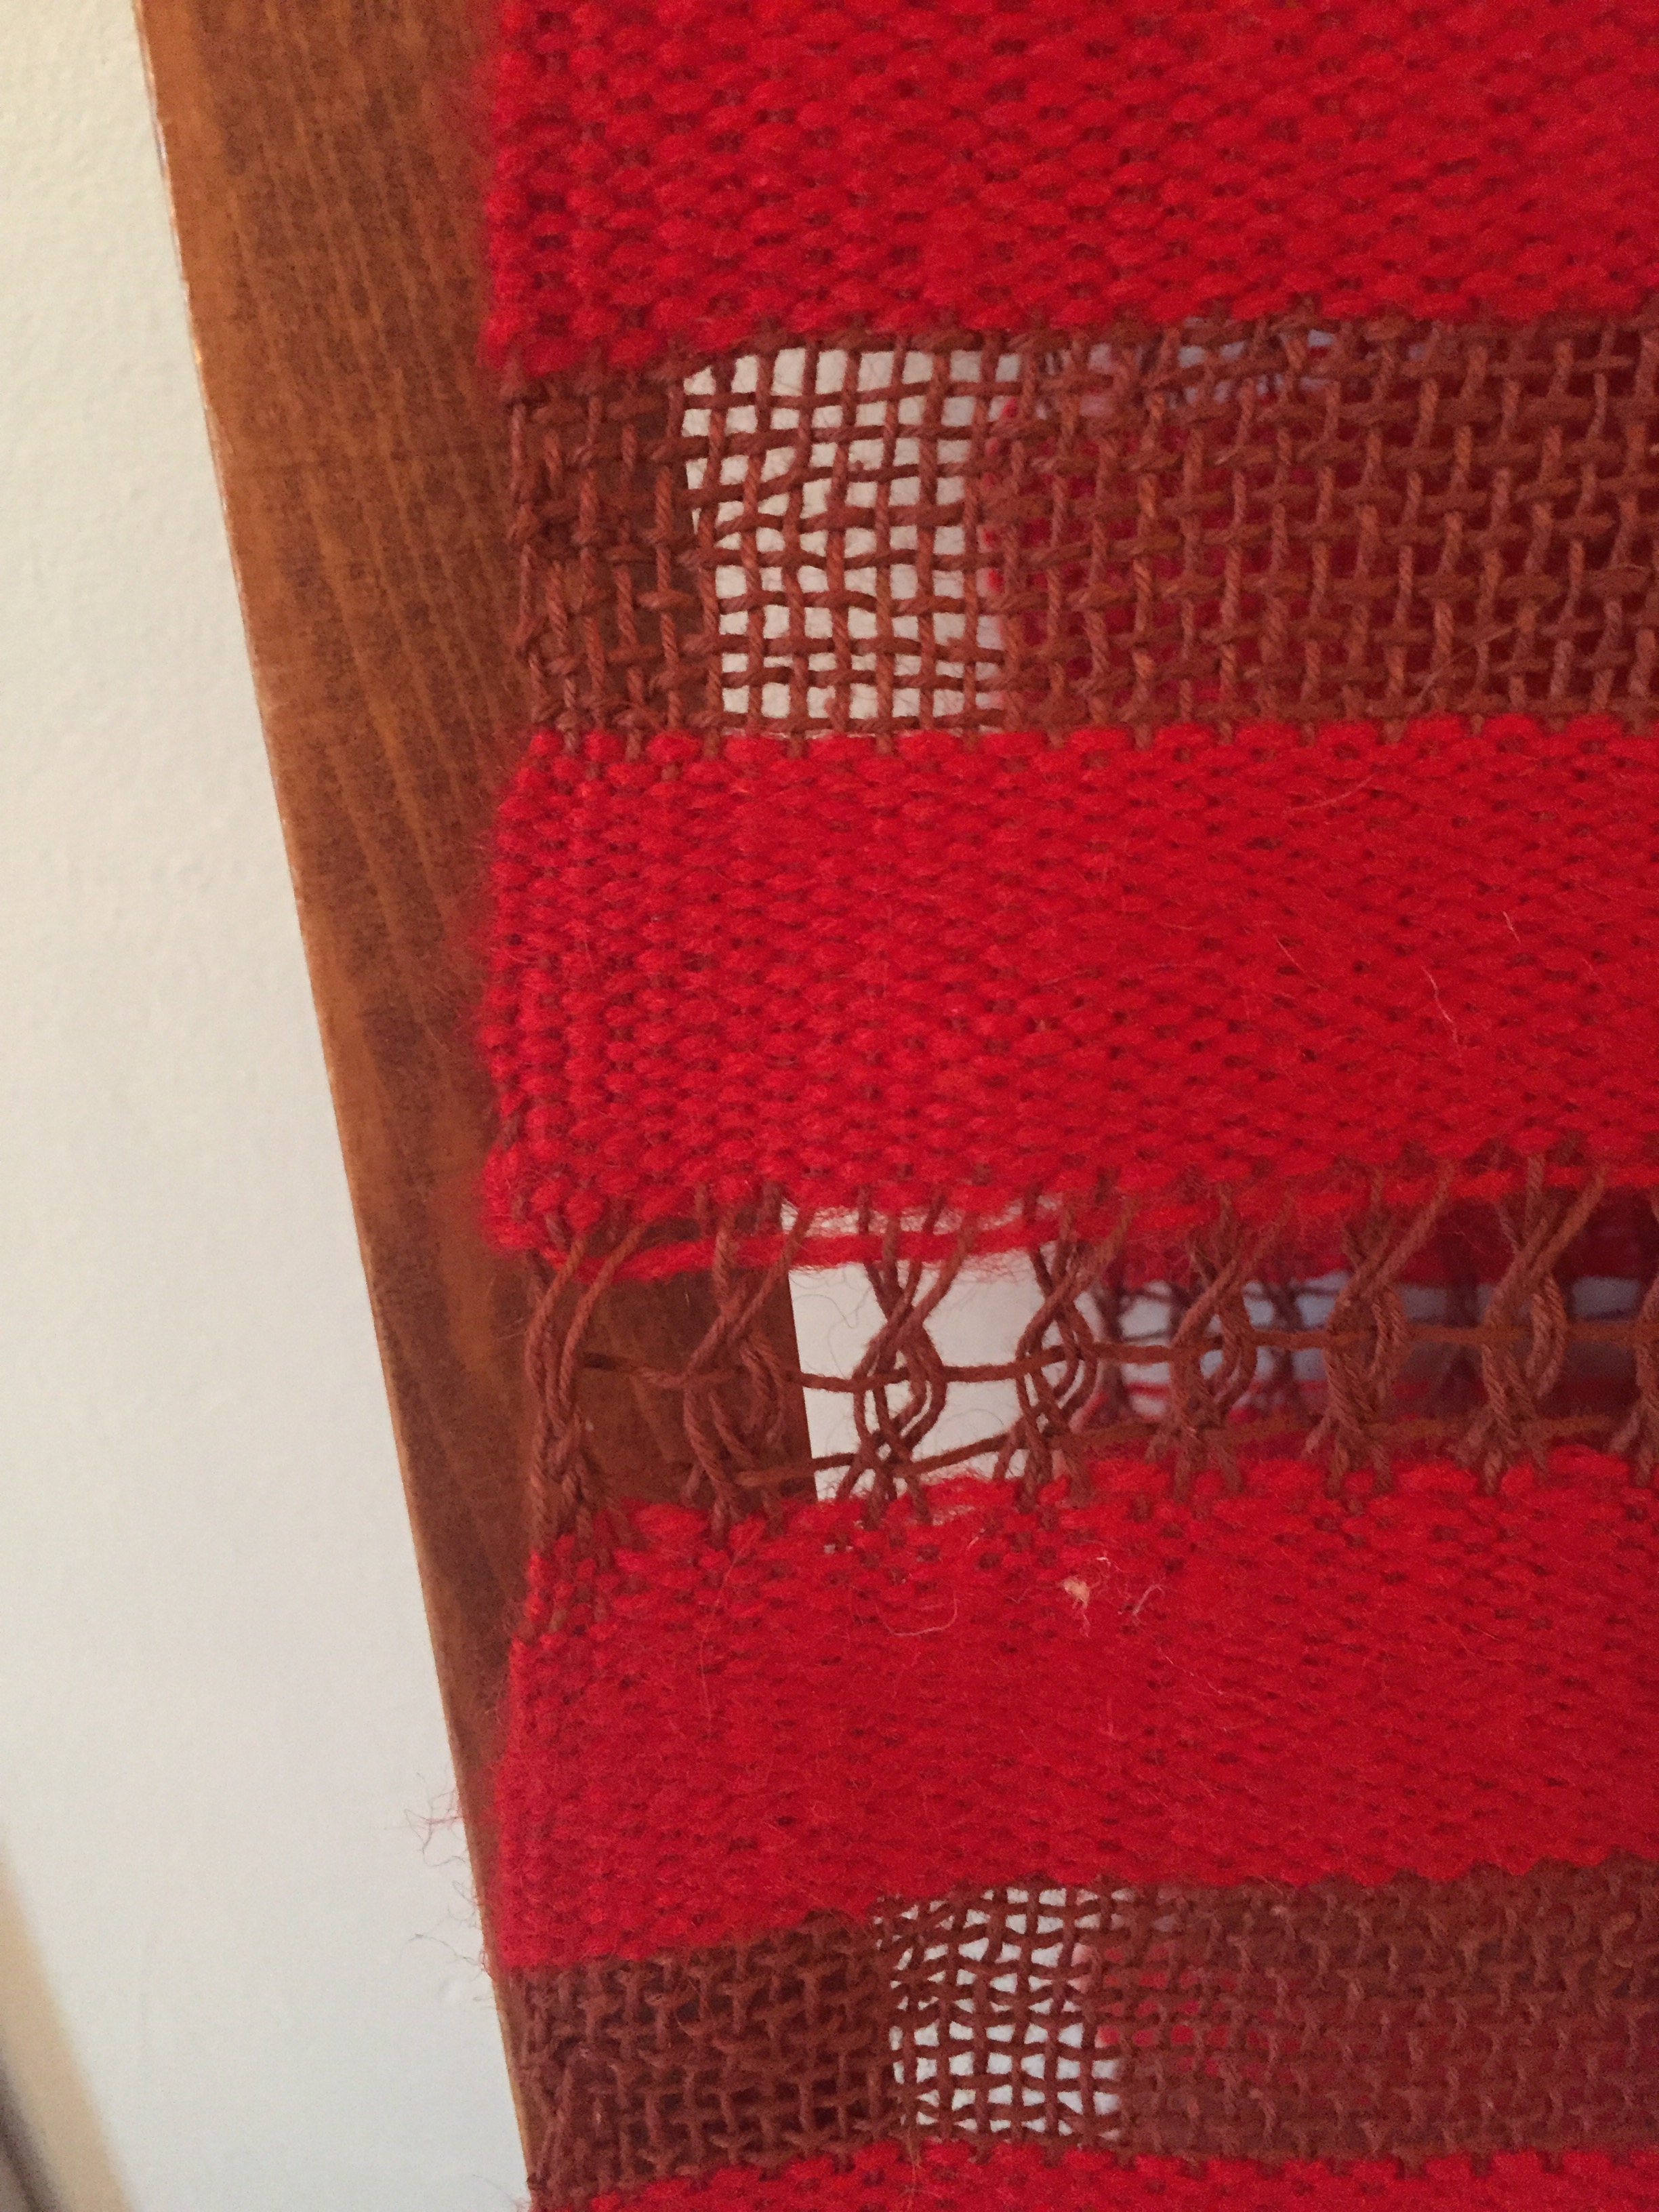
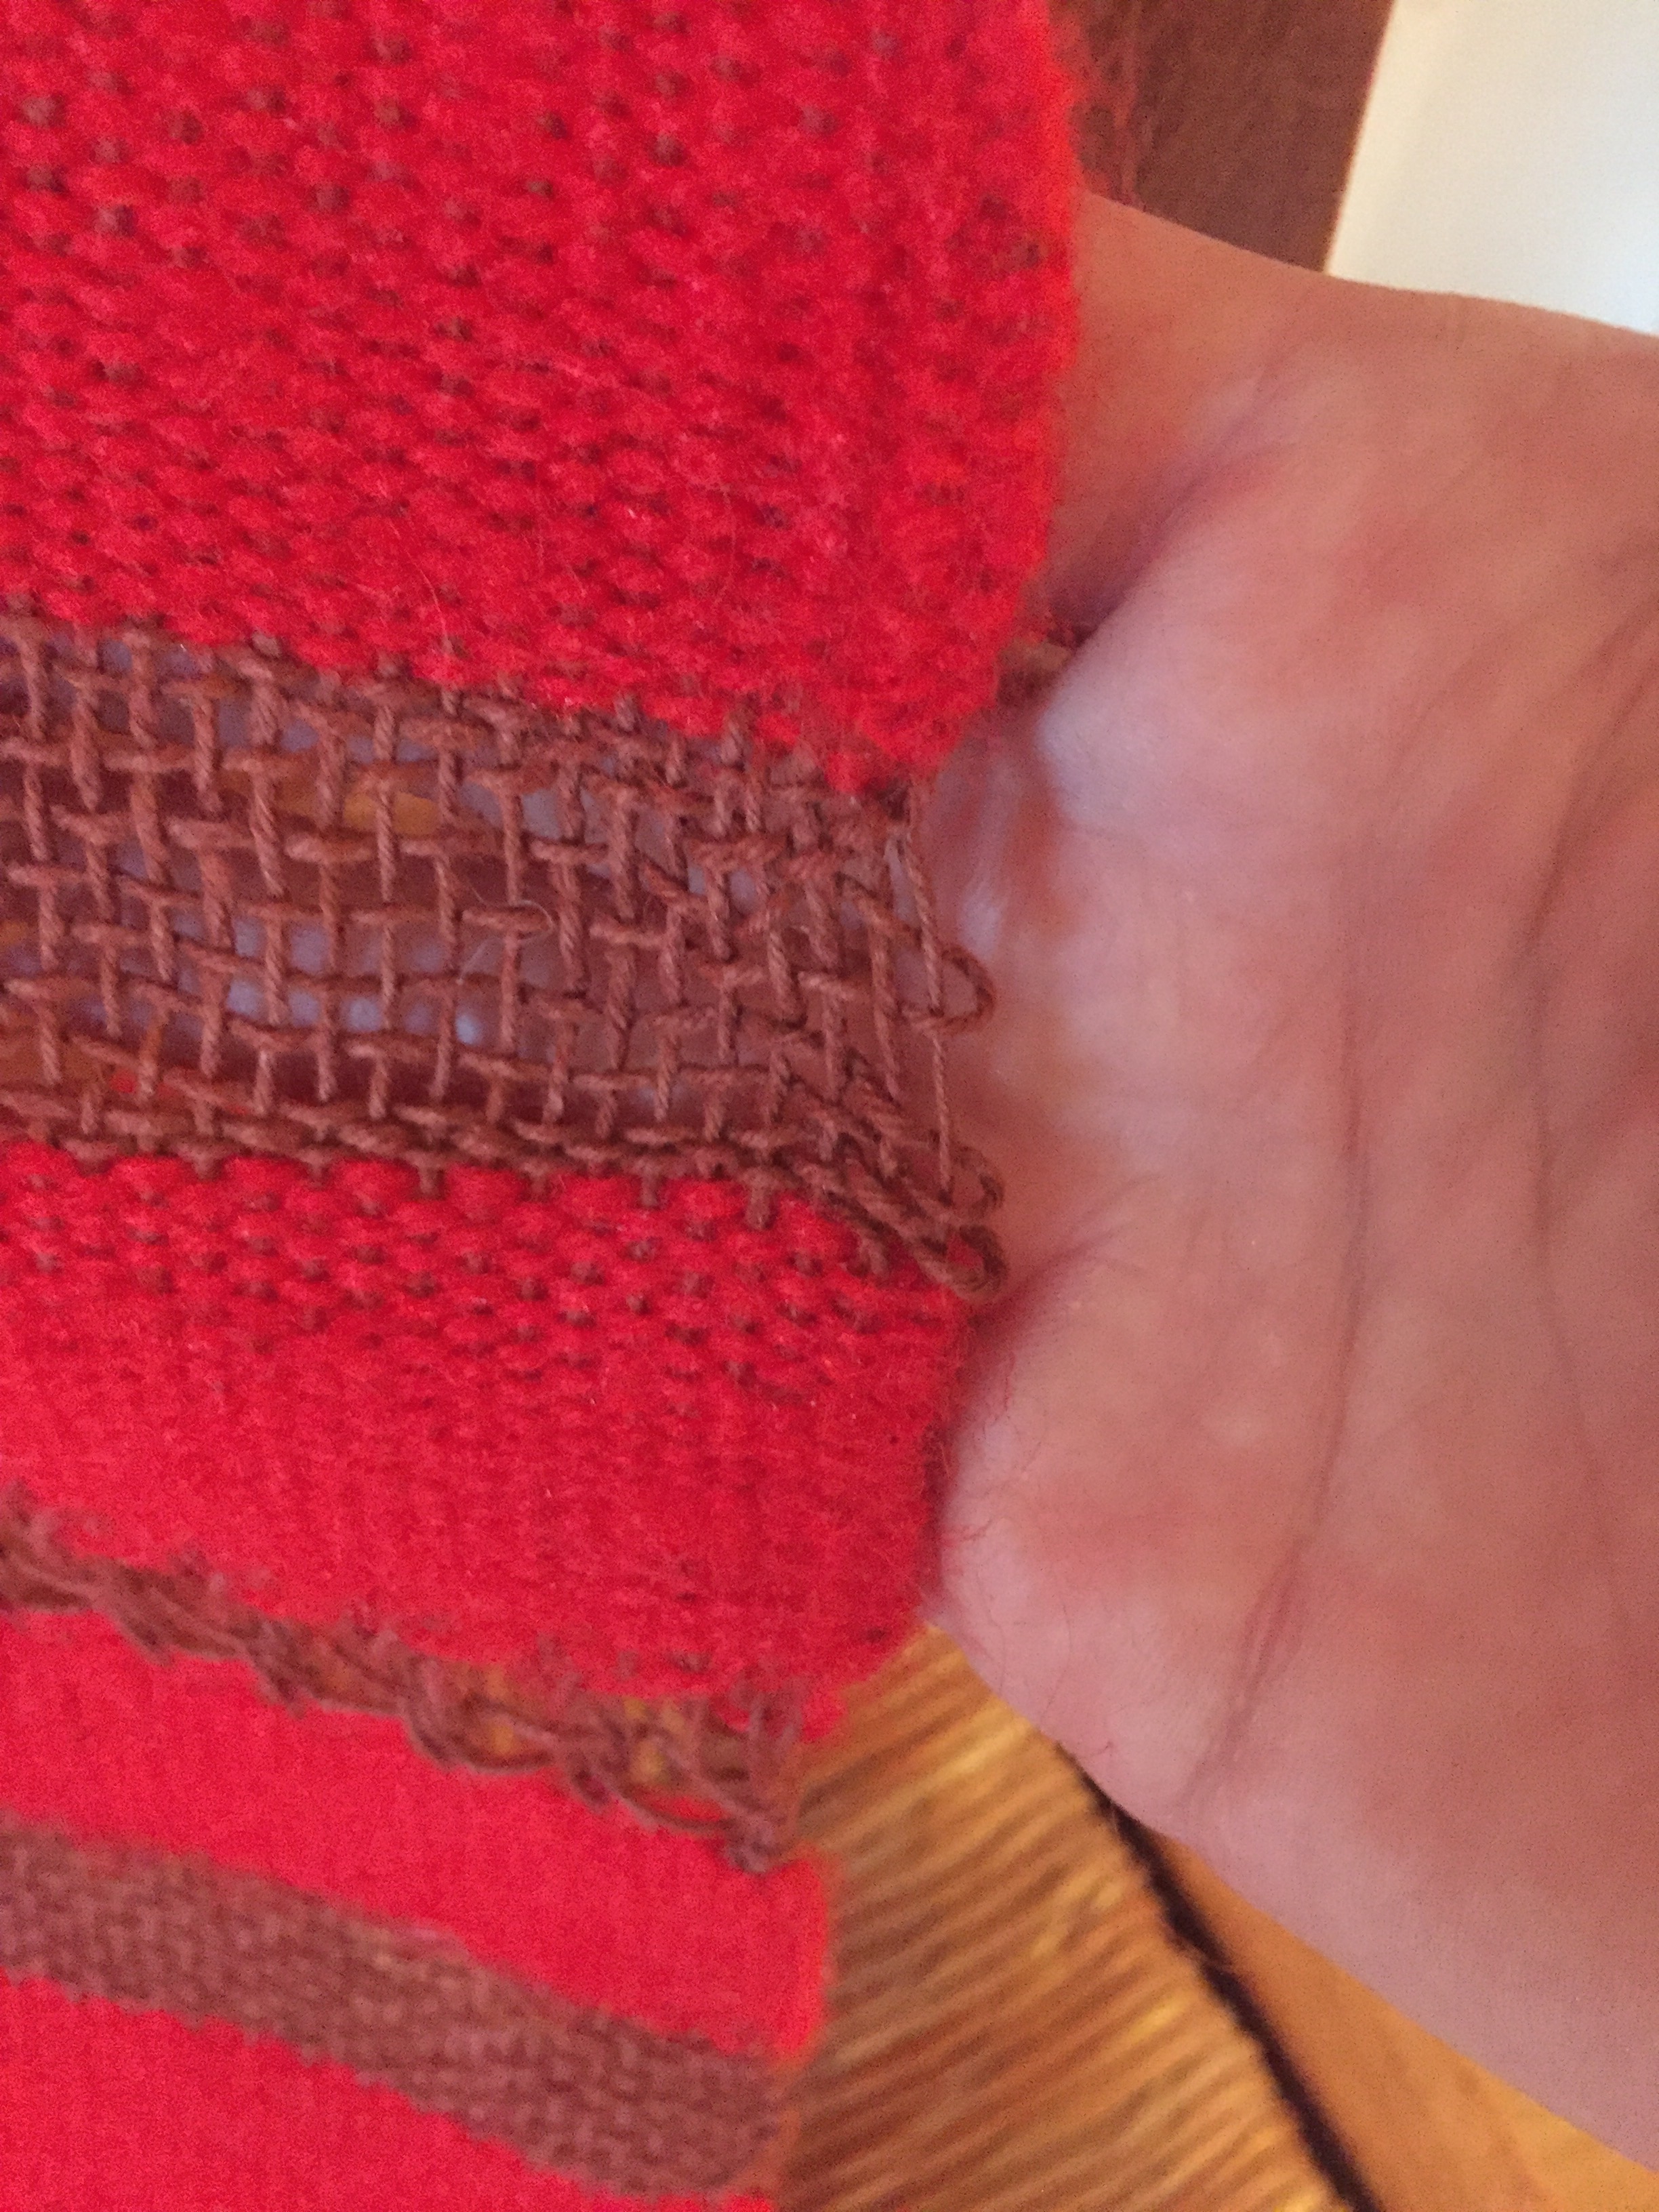
It’s a rainy Friday – rain in January? In Vermont?
It’s been too long since I’ve recorded here my progress and process in weaving, and there’s so many reasons for that of late. Let’s just say 2023 went out with an epic attitude problem and 2024 picked up the baton and leveled some more painful life experiences.
I’d like to acknowledge here that the person who taught me to knit, my step-grandmother who has been in my life since I was 9, passed away on January 7. Her name is Marion Bogdanski (née Trio). I remember vividly when Nanny started teaching me to knit. She was so patient and encouraging, always urging me to relax my hands and loosen my stitches so I wouldn’t have to force the knitting needle into the fabric for every new stitch. Nanny’s mother, Nana, lived with her for time. Nana was from Sicily, and I remember thinking she was amazing- little and delicate and lovely. She would sit and knit, too, me at her feet. I’d hear behind me the click, click, click of the knitting needles going so fast. I remember thinking that one day I’ll be able to knit like that. Still hasn’t happened, but those memories of learning from Nanny and Nana are precious to me and I suspect have a lot to do with how I ended up loving fiber art and craft so much. Also, I must mention that Nanny made the best pancakes ever and I will make homemade pizza and fried dough every New Year’s Eve in her memory. Doing that with Nanny on NYE are some of my favorite memories with her, as well as watching old movies, listening to her stories, playing cards, and getting cooking tips. So many times when I’d need to make something good, I’d call Nanny and ask, how do you do this or that, and she’d take the time and explain every step to me and tell me exactly what to get at the store. That’s so generous. I hope she is dancing and singing with her wonderful Henry and all of her family and friends who left before her. Isn’t she so beautiful?
Another event that has happened in this new year that is especially relevant to the point of this blog is to do with arthritis, believe it or not. This is a topic that I hope to pick up in some depth in the coming months or years. Arthritis doesn’t go away, after all, but more is something to tend to, know about, live in accordance with, and adapt to. In short, I have osteoarthritis which often invites statements like, “well, you’re getting older, and aches and pains are part of it” or “that’s just normal aging”, even from doctors. I have to say I’ve found this entirely unsatisfying. I’ve noticed over the last few years a significant shift in how osteoarthritis in my fingers and hands is affecting my ability to do things that are important to me, namely weaving and teaching weaving.
The way arthritis has been affecting me for the last couple of years is in pain, bending of fingers, and the development of cysts that are doing their best to respond to the impacts of bone spurs that are doing their best to deal with the fact that there’s nothing in between certain of my finger joints. These cysts can often be ignored but one of mine went rogue and became an ongoing issue in September, resulting in the need to have them surgically removed. I had this minor surgery just over two weeks ago and am continuing to heal. Today I was able to tie my shoes using my healing fingers, which felt like a big deal.
What’s the point of sharing all this? Well, I know there are a lot of artists and crafters out there who have arthritis. And I am learning very deeply what it is like to have a physical condition that affects what you can do, how you feel about yourself and your future, and that simply hurts sometimes. As I climb out of feeling really bogged down by the discomfort of post-surgical healing, I realize that I want to move into this space of learning more deeply. I want to know how to better care for myself so that I can keep doing things that I love. I also want to learn more about how to help others do the same, no matter what condition they are dealing with.
I didn’t realize how much I loved weaving until I couldn’t weave. I didn’t realize how much I loved teaching until I thought I might not be able to. I didn’t realize how many people were out there, wanting to make, create, express, and share their light with the world who for one reason or another can’t or don’t know how to modify things in a way that allows them to keep at it. To put it simply, going through all this has cracked my heart open even more. Just like grief has.
Soon I’ll write about some projects I was able to finish before the surgery and talk about some other things I’m working on and thinking about. Until then, I’d love to hear from you if you are managing a condition that has affected or affects how you create and express yourself. Who knows- maybe a larger conversation can start where others can find support and new ideas when they are struggling.
p.s. I found this website about arthritis really helpful.
I heard a wonderful program on NPR this morning and just had to share it with you. I found myself nodding and smiling and feeling this wonderful sense of “Yes, Exactly”! as I listened. The segment is called: Feeling alone? 5 tips to create connection and combat loneliness and was on Morning Edition. It features Dr. Jeremy Nobel, who founded the Foundation for Art and Healing decades ago and wrote the book entitled Project UnLonely. I’d never heard of it and am so grateful to know about it now. Here’s the link to the episode. I hope you enjoy it as much as I did!
I’ll share with you, right out of the gate, some positions I hold that are unshakeable:
It is my deepest belief that every person has creative energy within them.
Something wants to be expressed and realized in every human.
One does not need to go to art school to find and express their artistry.
We have a choice about how this creative energy is harnessed- generatively or destructively?
Where I live in the northeastern United States, summer brings a surge of energy that, whether felt by people or not, is always part of the environmental experience. We emerge out of cold winter. We make it through spring, which in Vermont is a weird conglomeration of less cold air, more moisture, thawing ground, a lot of mud, then a freeze, then another thaw, more mud, some warm days, then some cold days again. Finally, we make it to the time when it stays warm. The greens explode, flowers bloom, birds sing, farmer’s markets bustle, frogs fill the night sky with their croaky songs.
For me, this is typically when there is a powerful surge in my own creative energy, and in the last fifteen years or so, I’ve learned to harness it in an effort to create. What I didn’t really know before fifteen years ago, was that this is a distinct energy that needs tending to, not just when there is a surge of it, but throughout one’s life and throughout any given year, no matter the season. One doesn’t need to be an Artist with a capital A to do this. Many people know this already and live in accordance with their flow of expression. You might see it when you walk into someone’s home and they’ve decorated in a way that delights the senses. Or maybe you’ve known people who can prepare food that would make Julia Childs exclaim. Have you ever walked through a home garden where someone has lovingly tended to each of their plants and has bits of ornamentation here and there that makes you smile? In all of these ways, individuals express themselves and share what they love with the rest of us.
Of course there’s also painting, drawing, writing, weaving, knitting and crochet, sculpture, carving, repurposing, hand-stitching and sewing, dancing, metal work, singing, making music, playing… the list goes on and on.
Life for the majority of adults involves a whole lot of work, and these days, an astronomical amount of distraction from what’s right in front of us. Most heart crushingly, the thing that is severely neglected in this overstimulating culture is our relationship with ourselves.
We are someone we can get to know and have a relationship with.
This is incredibly important to understand. We can hang out with ourselves and get to know ourselves in ways that are very similar to how we hang out with other people and get to know them. How? We give ourselves time to follow our noses and let our creative energy lead the way for a bit. Julia Cameron talks about this at length in The Artist’s Way, and she specifically urges her readers to take themselves on dates. These can be outings that really don’t take a lot of time but that are just for you and you are just with yourself. This is crucial. Your date with yourself should not be time to catch up with phone calls or coffee dates. This is your time you give yourself in order to be with … you! The more you go on these dates with yourself, the more they become second nature and an important part of your life.
So, why is this important enough that I write a blog post about it? Here’s some reasons:
~ Creative energy is energy. When it is stuck, suppressed or unrecognized, it can shape-shift in ways that are not generative. Think abusive use of substances, depression, agitation, disconnection via distraction, sadness or grief for reasons that are hard to identify, living through other people and their creativity, and simply living life by going through the motions.
~ When we notice the creative energy in ourselves and tend to it, we allow for others to do the same, in whatever ways bring them joy and meaning. We learn about ourselves and others.
~ We slow down enough to engage in the moment that is right in front of us. For example, when I’m weaving, I’m only weaving. I’m not texting, doom scrolling, making dinner, talking on the phone… I’m doing this one thing that requires my full attention and I focus. Sometimes I can only do this for 20-minutes, but 20-minutes is better than 0 minutes, so I’ll take it.
~ We develop relationship with our selves. Sorry, as a therapist I’ll never not think this is important!
~ We allow the energy within us to flow up and out. I think about what one of my mentors said all the time when he was teaching. He talked about seeds and how a sunflower seed can only become a sunflower. It will never be something else, and when it is fully realized, it is wholly itself. It will never be a marigold, or a daisy or a tomato. This is how it is for people. Yet for us, many things get in the way of our original seed growing into what it is in its truest nature. Allowing for time to connect with our creativity is one way to clear the path for our true nature to grow up and into the light.
How Do I Tap Into My Creative Energy?
As promised in the title of this piece, I want to give you my go-to ideas for how to cultivate, reignite or tend to your creative life. This is not an exhaustive list and many books have been written on this. My favorite so far is The Artist’s Way, and if this topic is of interest to you, I highly recommend it.
But for now…
~ Accept the idea that you are a creative person with energy inside of you that is unique to you and is valuable to this world.
~ Accept that expressing your creativity is not selfish, meaningless or a waste of time. My teacher Susan Barrett Merrill said to me once that in fact, we do good for the world when we allow the gifts that we have to flow through us and out, and that when we take time to be with ourselves and create and make, we add that energy to our environment. She said that to me because I struggled with this one myself.
~ Make things easier for yourself. Here’s an example: If you like to paint or want to paint but think that the only way to paint is to buy all the expensive tools and materials you’ll need, and create a space in your home that is only for painting, and that you have to take a class before you start painting, and that you have to carve out a few hours every day to paint or it’s not worth it… guess what? You won’t paint. If you’re a busy person with a bustling life and lots of responsibilities that might be hard to stretch at first, start small. Twenty-five years ago, an artist friend of mine gave me these kinds of paints and this kind of paper so that I could delve into making things. He told me back then, “you are an artist”. I said, “no, I’m not at all an artist. You are an artist and I’ll leave that to you talented people out there.” Well, guess what? I still use those paints (a different set now because I used the set up!) and while I’ll not be exhibiting my watercolor paintings in any galleries, I love them and they inspire me to make other things.
~ Minimize distractions, but be realistic. One of the things that really gets in the way is the idea that “If I can’t dedicate hours to what what I want to do, then it’s not worth it.” This is a lie. There are ways to build in moments to connect with self via the creative path. Maybe there’s a day in a busy person’s life where settling in for some extended sewing isn’t possible, but a smaller handwork project is if you have a little basket with your bag of notions and some fabric. So is looking at books or magazines that inspire or teach. So is sitting on a front stoop or by a window and looking out at the world and gathering inspiration for a future project.
I wove this piece in 15 to 20 minute increments over the course of a month. It’s random and was an attempt to learn and play with color, as well as to make sure I wove “every *%$@ day”, to quote Tommye McClure Scanlin
~ Have at the ready small ways you can do the things you love. I’m taking this tapestry class right now with Rebecca Mezoff, and it’s wonderful. I now have a little bag with all the essentials to easily bust out a drawing, a note, or even a small weaving if I find myself in a place where I can create.
~ Make dates with yourself to do the larger things. And honor them. These are as important as anything else. (I think this is incredibly hard for many people.)
~ Don’t compare yourself to others. This is top-shelf creativity energy kryptonite. Don’t do this. If you do find yourself struggling with these crushing thoughts, let your inner judge know, “It’s okay. I won’t (you fill in the blank with whatever your judge is saying). We are just playing and we are safe.” Sometimes our inner judge thinks it’s helping to protect us from something, so it needs to know that you are going to try to enjoy your creativity more and nothing bad will happen.
~ Visit local antique stores, art galleries, museums, flea markets, book stores, parks, outdoor art installations, open studio days, farmer’s markets… most of these are free and give you the opportunity to look around see what you’re drawn to.
Hopefully, if you’re still reading, I’ve made my case that it’s worth it and important to engage with your creative energy, and it doesn’t have to be expensive or unrealistically time consuming. You are a unique expression of life and within you are ways to engage with this expression so you and others can know it better. Why not go for it? Time passes whether we engage with ourselves or not, so in my view, we may as well make the most of it and see what we can create.
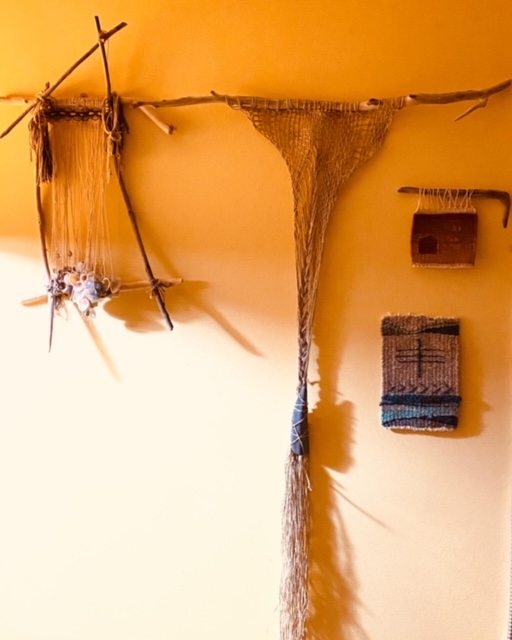
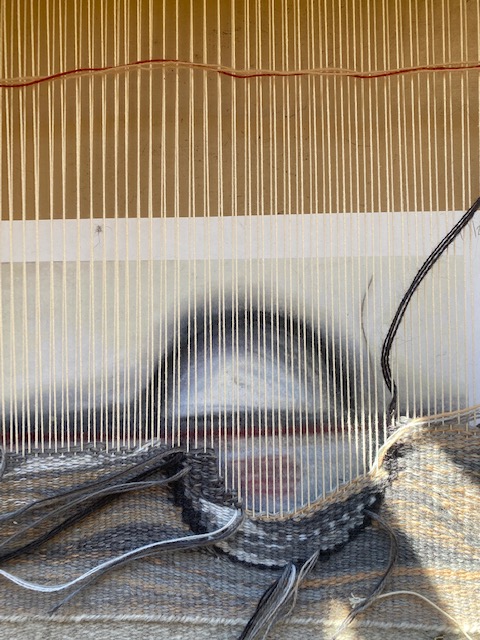
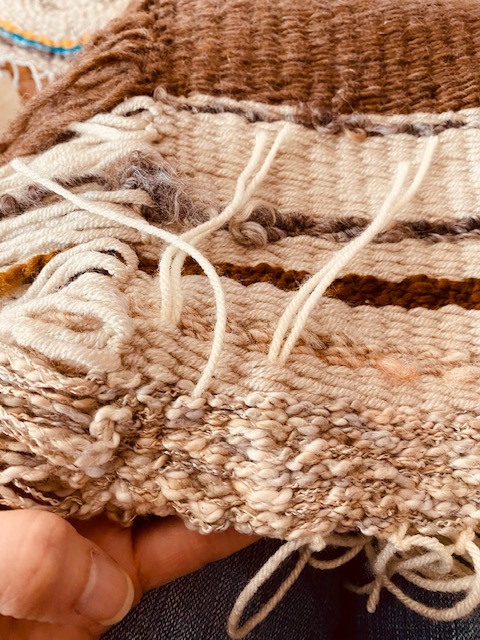
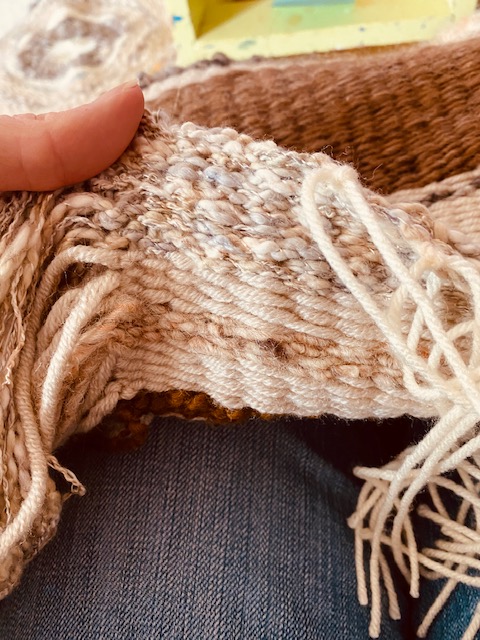
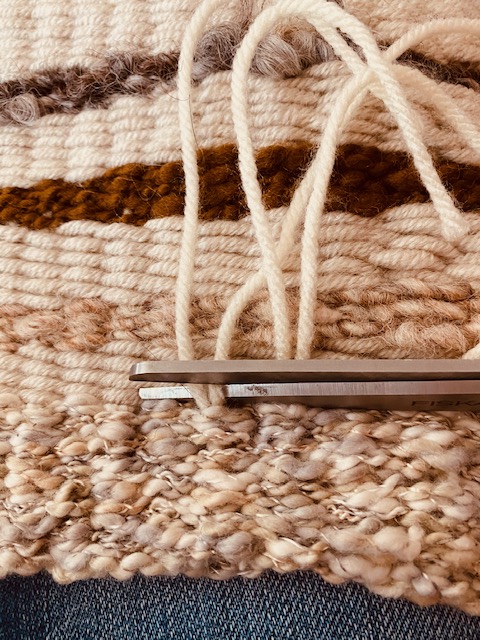
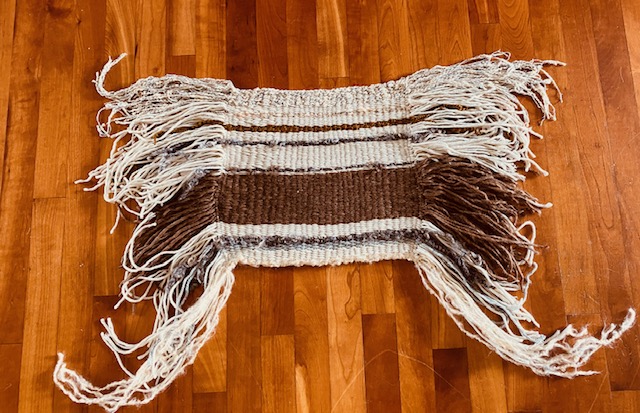
It’s been a minute. And not for lack of lots and lots of activity and making. Sometimes it’s hard to link together in a whole picture little bits of weaving here, some experiments there, and some growth elsewhere. One of the things I love about small format tapestry weaving, as well as weaving on unconventional looms, is that you can move them around, carry them with you, and finish them as you are able. That is the reality of my life these days. If not for moveable weaving, there’d be no weaving at all for me.
braided crone
I wove this little tapestry on a Handywoman small tapestry loom that I love so much. I take it with me most places and love it when I pull out that little number instead of my phone. It helps, to weave. Seriously.
house halved with a ghost house and a split house
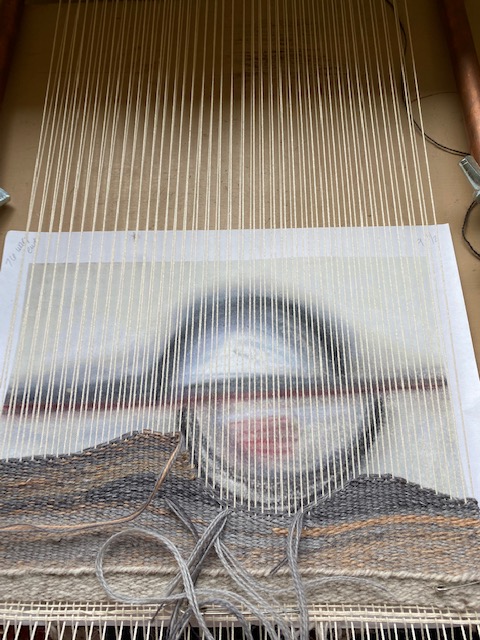
I’ve had this piece going for a while. It’s part of what I hope to be a series of tapestries flowing from drawings I’ve done when sitting with the idea of moments that distinctly create a before and after. More on that at some point.
buildingbuilding some morestill building… more to come
I was on a drive recently with my daughter, soaking up beautiful Vermont autumn colors. I loved how not at all straight these grain rows are- I mean, isn’t that so reassuring? So beautiful and true?
inspiration
We always have a moment, even if it’s brief, to decide.
Having several different projects going at a time is a habit I’ve gotten accustomed to over the years. I don’t have a schedule that allows me go to weave at my loom for entire days. Instead, I have bits of time here and there that I try to make good use of when I can. I used to judge this part of my nature, the part that flits from this to that. I wondered if I had a discipline problem, or some issue with commitment. Always the therapist, I’m often unpacking who I am and how I operate, and examining how my traits and tendencies impact my day-to-day life.
Well, in this case, I’ve learned that I really enjoy making things, at home, at work, on my loom, with kids, with adults, and by myself. I feel frustrated when the only thing I’m working on is not with me, leaving my hands idle and my mind clanking a bit. When I allow myself to indulge in the many-projects-at-once rhythm, I get to eventually enjoy what I refer to now as my creative crescendo; so often many things are finished around the same time and I have this wonderful experience of seeing multiple ideas and efforts come to fruition at once.
Right now, I’ve got this vibe going in full-force. There’s a curtain (hopefully) on my counterbalance loom, towels on my rigid heddle, a tapestry on my copper pipe loom, another tapestry on a small frame loom, and oh… that second mitten I’ve been wanting to finish knitting for months.
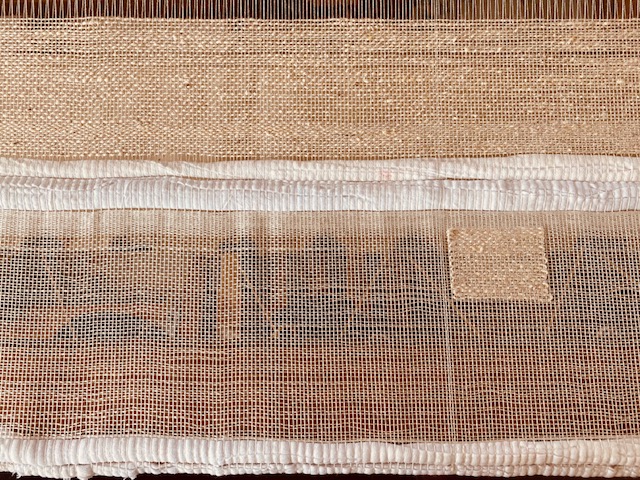
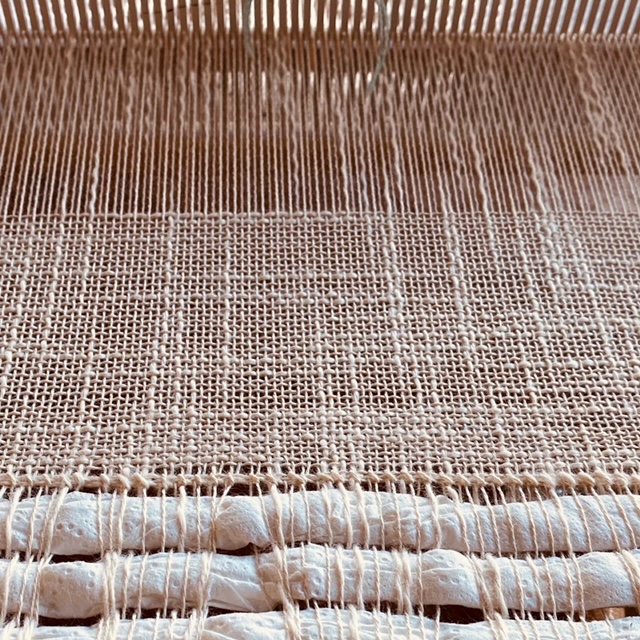
What I’m noticing about a few of my projects is that they are going after a feeling or sense experience that I can best describe as airy. I want my curtain to be as flowing and loose as I can manage weaving it, with bits of structure and form throughout. This is an experiment as I try my hand at weaving with 20/2 cotton as the warp and using inlay throughout. I’m not using a pattern or following any directions. I’ve already learned something. I have my 20/2 warp sett at 12 epi, and I originally hoped to use the same yarn for the plain weave weft; the inlay was going to be a thicker cotton slub yarn that has a yummy texture. Well, what I learned was that the fabric was just too loose. I was beating it lightly to maintain an openness and transparency. I basically wanted a curtain that blended in with air. But what I found was that if I even looked at the fabric funny, the weave drooped and flopped, making it look injured and offended. When I started considering finding a spray adhesive and shellacking the whole thing once it was done, I realized I’d maybe made a mistake, chalked it up to my steep learning curve, and switched gears. I am going to try to use the experiment to cover some beautiful handmade paper I have, so all is not lost.
Now, I’m weaving the curtain with the same warp, but with the thicker cotton slub yarn as weft, beat loosely (still finding the right beat and trying to keep it consistently). I can’t do the same inlay design I was doing because I’m using that yarn for the plain weave. I decided instead on this twine, jute-like string/rope/yarn I have and opted to just lay it in, leaving both ends exposed. This is a departure from the inlay techniques I was planning on practicing with this curtain, but that’s okay. I’ll get to them. I love the twine because you can unravel it and it becomes this wild grass-like stuff. It smells good, too. I’m hoping my curtain will still feel airy, but I suspect it will hang with a little more purpose and won’t be so vulnerable to the passing breeze or occasional handling as my original design would have been.
On my rigid heddle, I’ve got an actual pattern that I’m following. It’s another slub cotton project, this time towels. I love weaving with this yarn! It’s soft, gentle, light. Clasped weft is the main weaving technique utilized in this pattern, and it’s very satisfying to watch it build up. Getting the beat right on this project takes some doing. You can see on the bottom right that I’m beating too hard in the clasped weft section that is newly begun, but I’m working that out. I’m definitely turning into a person that uses a tape measure as a necklace! Ha! I’ll share pics of these towels when they’re done.
I’ll get to the tapestry work in another post, but for now, I hope that whatever you’re doing, there’s some room for creativity and texture, even if it’s just here and there. All those moments add up and make something, eventually.
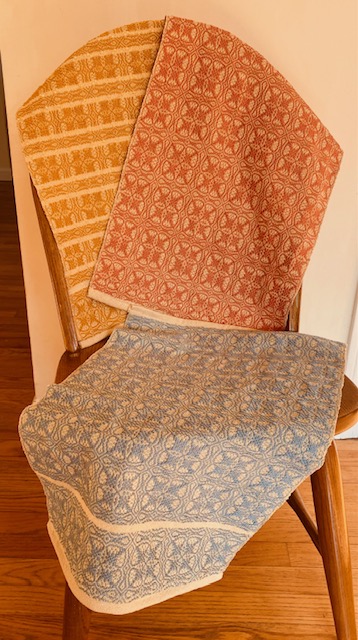
I’m a member of the Vermont Weaver’s Guild and I participated in this year’s weaving challenge. It was to make a pillow using three of the four elements randomly assigned to each weaver who entered. I got overshot, cotton, stripes and black and white. I chose the first three elements because nowhere in my house is there a spot to receive a black and white anything, so that part was simple. One pillow is to be donated to the guild so it can be part of a sale that we have to raise money.
I’ve not been weaving for terribly long, and every time I learn a new thing, it feels like I have to relearn a bunch of old things, although I can say I’m noticing a growing ease with preparing a warp, getting it on the loom, setting the loom up and threading, so that is a good thing. I will share a story in another post about a fight I got into with my counterbalance loom with the absolute simplest warp/threading/tie up you can imagine just this week, but I’ll save that for later. For this pillow project, I opted to utilize the weaving class I was taking at Shelburne Craft School with Lausanne Allen to get help and support as I tackled the most complicated pattern and weaving structure I’ve done to date. The class was for weavers who have experience but are still actively learning and benefit from the guidance of a skilled and patient teacher.
I felt rather overwhelmed immediately with the overshot part of things, and how to add stripes to it, because I don’t know how to create my own patterns yet. I referenced Madelyn van der Hoogt and of course, Bertha Gray Hayes, and saw so many drafts I’d love to weave, but somehow, translating those into a pattern made me feel like I was swimming in too deep water- maybe it was resistance? Or confusion? Or just the simple fact that I need to dig in and study what size yarns go with what epi goes with what draft, etc., etc., and then color choice- oh man! It’s a lot to sort out! So… I kept getting stuck. Enter Lausanne, who showed me a wonderful pattern called Bertha’s Towels from Handwoven. I was like, boom… Cotton, check. Overshot, check-check. Stripes, bingo. I knew I could modify the pattern for the pillows I needed, and get a few towels out of the bargain as well, if I lengthened the warp. And from there I went.
What I loved about the process once I got out from under the stress of making a bunch of decisions about a weave structure I didn’t really understand yet was the toggling between community and self, community and self. During class and open studios, I shared close space with fellow students who I now consider friends. One was weaving a beautiful Krokbragd pattern on a rug warp; the other was approaching our school’s antique barn loom that was having new life breathed into it with all of the attention paid to her; that weaver has her own incredible story to tell about her experience, and she wove an absolutely gorgeous table runner using an overshot pattern. In the back weaving room, there were other wonderful weavers and friends working out their warps and weaving. The sounds of a working weaving studio are amazing- clanking, knocking, the occasional sigh, swear, muttering to self, the walking around and looking at others’ work when you’re so tweaked by threading, sleying and realizing a mistake. I’d have a moment where I’d meet myself and my own growth edge, exclaim some thing, get support and dive back in to my own mind and project.
It took a long time for me to weave three towels and two pillow covers (one side- I used a lovely muslin-esque type fabric for the back). The flow of overshot and the pattern itself requires complete attention, pretty much the whole time. I think I finally internalized the pattern by the middle of the second to last towel I wove and it started to make sense to me, how it all worked. And wow, as the fabric became reality, I couldn’t believe what I was making. It was so much fun to problem solve selvedges and beats, fixing mistakes and troubleshooting loom peculiarities with Lausanne and my weaving partners. And it was heartening to meet, yet again in this weaving passion I’ve found myself in, my own growth edges and how I deal with them- it’s not pretty all the time, that’s for sure, but I know that I can move forward now towards pattern design- not with ease, but maybe with less trepidation? I mean, I’m in no rush… we’ll see.
The pillow for my houseThe gold towel actually follows the pattern; the salmon and blue, I wove the pattern without doing the plain weave stripes or changing colors. The pillow for the guild
Finally… a project is on my floor loom. Well, not entirely. Threading is still in the queue, but with the help of Lausanne, I got the close to four and half yard warp wound on without too much trouble. There was one moment when it seemed the whole thing might become a bit more cumbersome when the rod attached to the back beam was found to be uneven, but with some tinkering, it was straightened out. I also think I finally came to understand the relationship between the pattern width, the width of the raddle sections, and the numbers of threads in each bout of the warp. For some reason, the relationship between these things has never fully clicked. I was making my warp bout size more about the total number of ends and the way to split it up as evenly as possible without the bouts being too big. I never even considered the raddle. I remember when I had to take statistics in college… I was in the second semester of it, which meant that presumably, I understood all the stuff I learned in the first class. This one day, I just could not at all, in any way, grasp what the professor was saying. To this day, I remember more his glorious, curly hair that the Florida humidity had fun with, rather than the stats itself. Doing some homework after class, I slammed into a wall of confusion and had to get some space from the claustrophobia of my own limits. I sat on a bench outside of the library, that building in which I spent most of my time, other than my own apartment. I just let my mind drift and then the concept I was struggling with came to me, like a fresh breeze on a stifling hot day. I got it! I remember I jumped a little and wanted to yell to someone… anyone, “Did you see what just happened in my head!” I didn’t. I just went upstairs and completed my homework with ease, enjoying my newfound insight. I feel like that’s what happened yesterday, thanks to Lausanne (again!).
All those ends, waiting to be threaded.
I love the smell of wooly yarn. Just seeing it laid out properly like this is comforting to me. It’s sticky, for sure, and needed a bit of coaxing to stay opened up around the lease sticks, but it all worked out.
The pattern is called Lillebror Slitrya and is from the Handwoven Nov/Dec 2020 issue. I’m very excited about it. I’ll keep you posted on progress as I make my way towards actual weaving. With the extra warp, I’ll play, play and see what happens!
Hello All~ I sure do hope you are doing okay, wherever you are. I have so much I’d like to say and share about what this COVID-19 pandemic is teaching me. I may have to do that in another post. But here and now, I will share with you a project I made up for wonderful kids I get to spend time with, even though we are all doing some wicked epic social distancing. I have spent large bits of the last seven years teaching fiber art in my kids’ classes (and in some others, too!) and I can tell you, the kids inspire in me so much longing to keep making, keep creating and keep sharing. Now that our Fiber Friday classes are happening on Saturdays via Zoom, I’m trying to figure out lots of yarn-y things to teach using materials we might have kicking around at home. The thing with weaving is, you can make a loom out of so many things! “Homework” for this week is to look around the house and yard to see if we might find weird, unexpected, unique or random “looms” that could be woven on. These could be sticks, frames, chairs, trees… whatever! I hope I see some good ideas next week!
This project is aptly called the Cookie Sheet Weaving Project. As you can see, I’ve used a cookie sheet, yarn, and tape to make this loom. I’ll give step-by-step instructions and maybe you can give it a go!
Materials:
cookie sheet, any size
yarn
scissors
tape
Optional Materials
fabric
large eyed tapestry needle
lots of variety of yarn- this is a great project for using up small bits of yarn stash
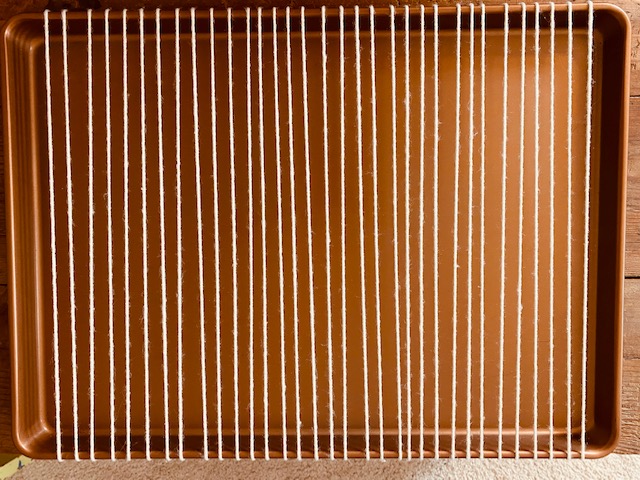
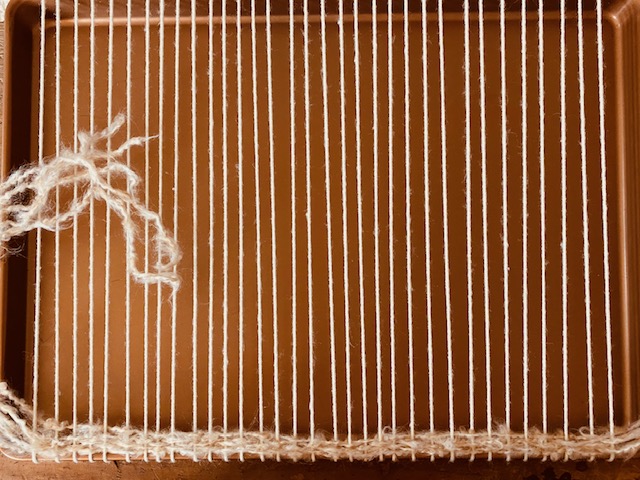
This is what your loom will look like once it is set up. I’ve chosen to warp my tray the long way, making my weaving piece wide. You can do it the other way, too. You can also choose to warp only a portion of the tray.
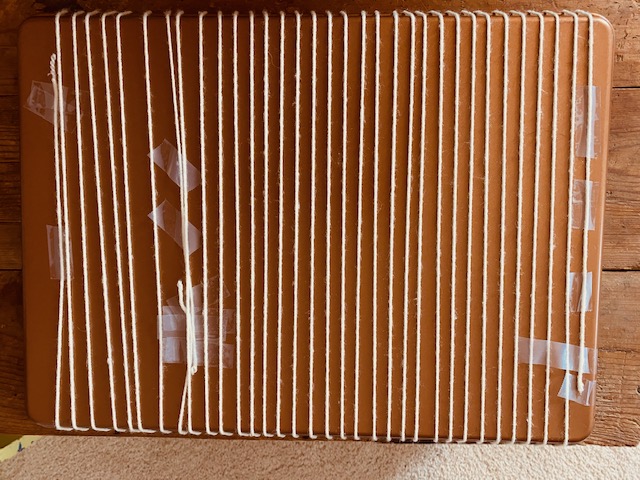
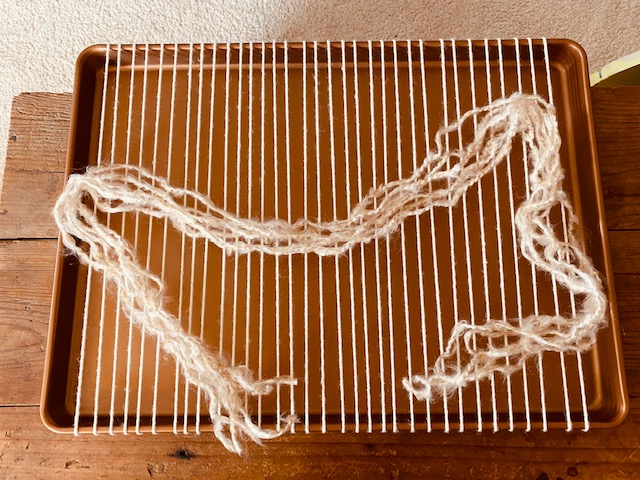
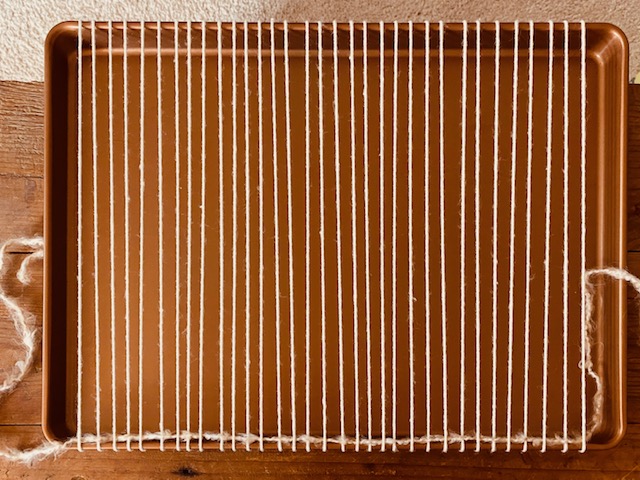
To secure the warp, tape the end of skein of yarn to one side of the bottom of the tray, and then start wrapping the yarn around the tray, with about a 1/4 inch to a 1/3 inch between each wrapped thread. You can see, the underside of the loom isn’t gorgeous, with tape everywhere, securing the warp. Don’t worry about that. It’s most important that your warp is securely fastened onto the tray. Since my tape wasn’t turbo sticky, I used a lot of it.
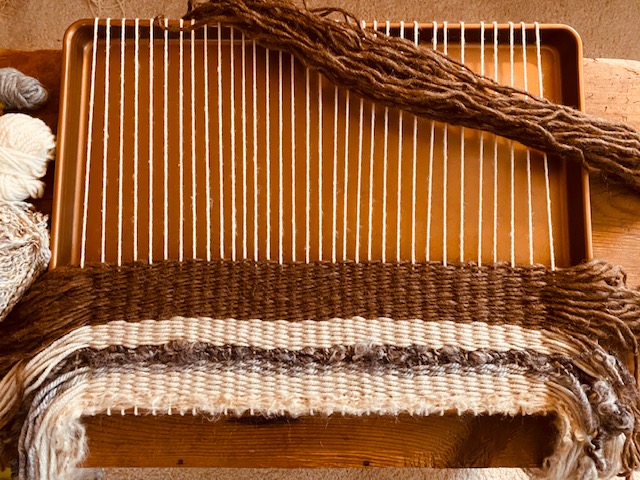
I opted for making a very fringy piece. Rather than moving back and forth and back and forth with the yarn, leaving no fringe on the edge, I chose to cut lengths of yarn that were several inches longer than the width of the cookie sheet. I wove each thread individually and then made sure that the remaining yarn was about equal on each side. If you don’t want fringe, just keep weaving back and forth with a long length of yarn, being sure not to pull too hard on the warp threads as you come back the other way.
Row 1: I started by taking one end of a cut length of yarn and going under the first warp thread, over the next, under the next, and so on.
Row 2: With the next cut length of yarn, I went over the first warp thread, under the next, over the next, under the next and so on. In this way of weaving, I noticed that I liked weaving from right to left, over and over again. This is different than when you weave with a very long length, moving back and forth from right to left, and then left to right as you head back again.
Because I have a LOT of small balls of yarn, I chose colors and textures that go well together and I cut a bunch of lengths at a time so I could just get into the flow of weaving. This is a very portable project, so I had it all over the house depending on what I was doing.
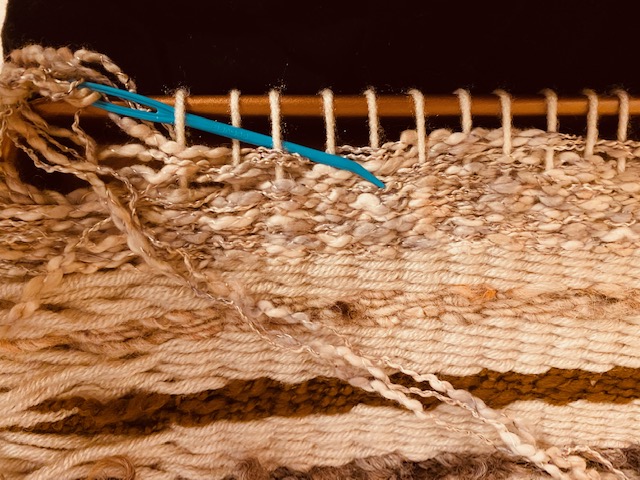
And I wove, and wove… and wove… Once you get to the top, you’ll notice that there’s not much room for your fingers to move the yarn around the warp threads.
If you have a tapestry needle, this is a good time to get it. Threading it with the yarn you are weaving with (the weft), you can really get up to the edge of the tray.
Before I thought about taking the project off the loom, I tied off the fringe on each side. You just take one weft thread, and the next one, and tie it in a double knot. Make sure that the two edges you tie are on opposite sides of the warp thread. This will ensure that the warp is secure and your piece won’t become loose and/or unravel.
When your fringe is all tied up, flip the tray over and remove the pieces of tape that are securing the edges of the warp. Then, cut across the middle of the warp threads, freeing the piece from the tray.
You have a choice to make here. For both choices you should tie off the warp threads in the same way you did the fringe, tying one thread next to its neighbor. If you have an extra one at the end, just include it with the two next to it.
Then, the choice… Do you leave the warp as fringe, too? Or do you sew it into your weaving? There is no right answer except for doing what you think is best for your piece. If I had used a thicker, more interesting or robust yarn for my warp, I think I would have left it as fringe, but the yarn I chose is kind of tame compared to my fringy side, so I opted to sew it in.
Here’s the warp threads tied off.
I chose to sew the two tied threads at a time, because they are already tied together as one.
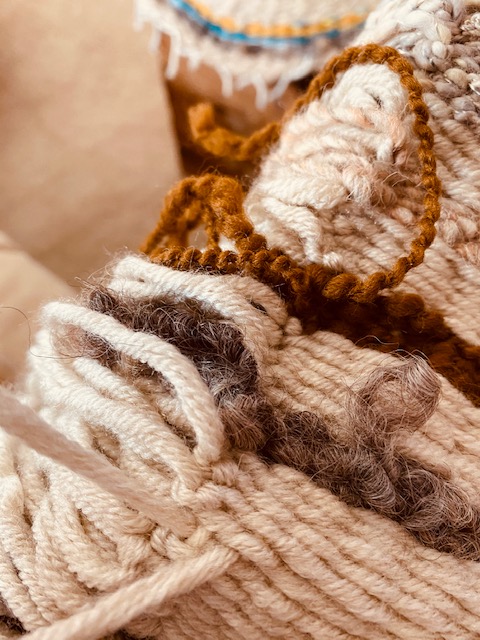
Using your tapestry needle, bring the warp threads back through the weaving, drawing the needle through the column of the woven piece that is right under it. Don’t pull too tight here as you’ll pucker your cloth.
Flip your piece over to make sure the warp threads are really hidden in the column of weaving. Sometimes they peep through too much and you have to do it again.
Once you’ve gone through a couple of inches, you can snip the remainder off.
Here you see my piece with the wild fringe and sewn in warp threads. This thing definitely needs a little fringe-cut.
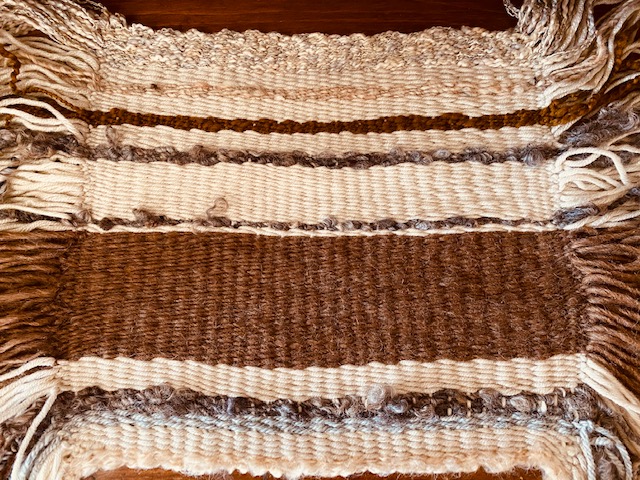
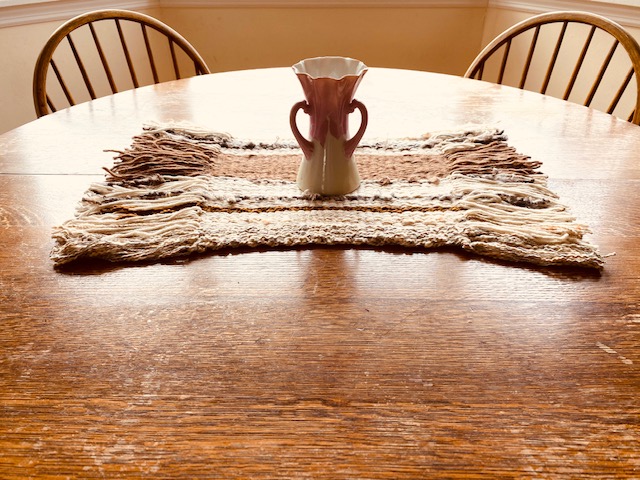
And there we have it! Who knew I needed a new woven table decor piece?!
Stay tuned for some more fiber art ideas. These will always be great for kids to do, but for sure, these are also fun for folks of all ages. It’s the truth that handcrafting is good for us. It quiets the mind, especially once we get into a good flow. It helps ground us when things feel wild or unpredictable. And, it can give us the chance to see that we can make some really beautiful things.
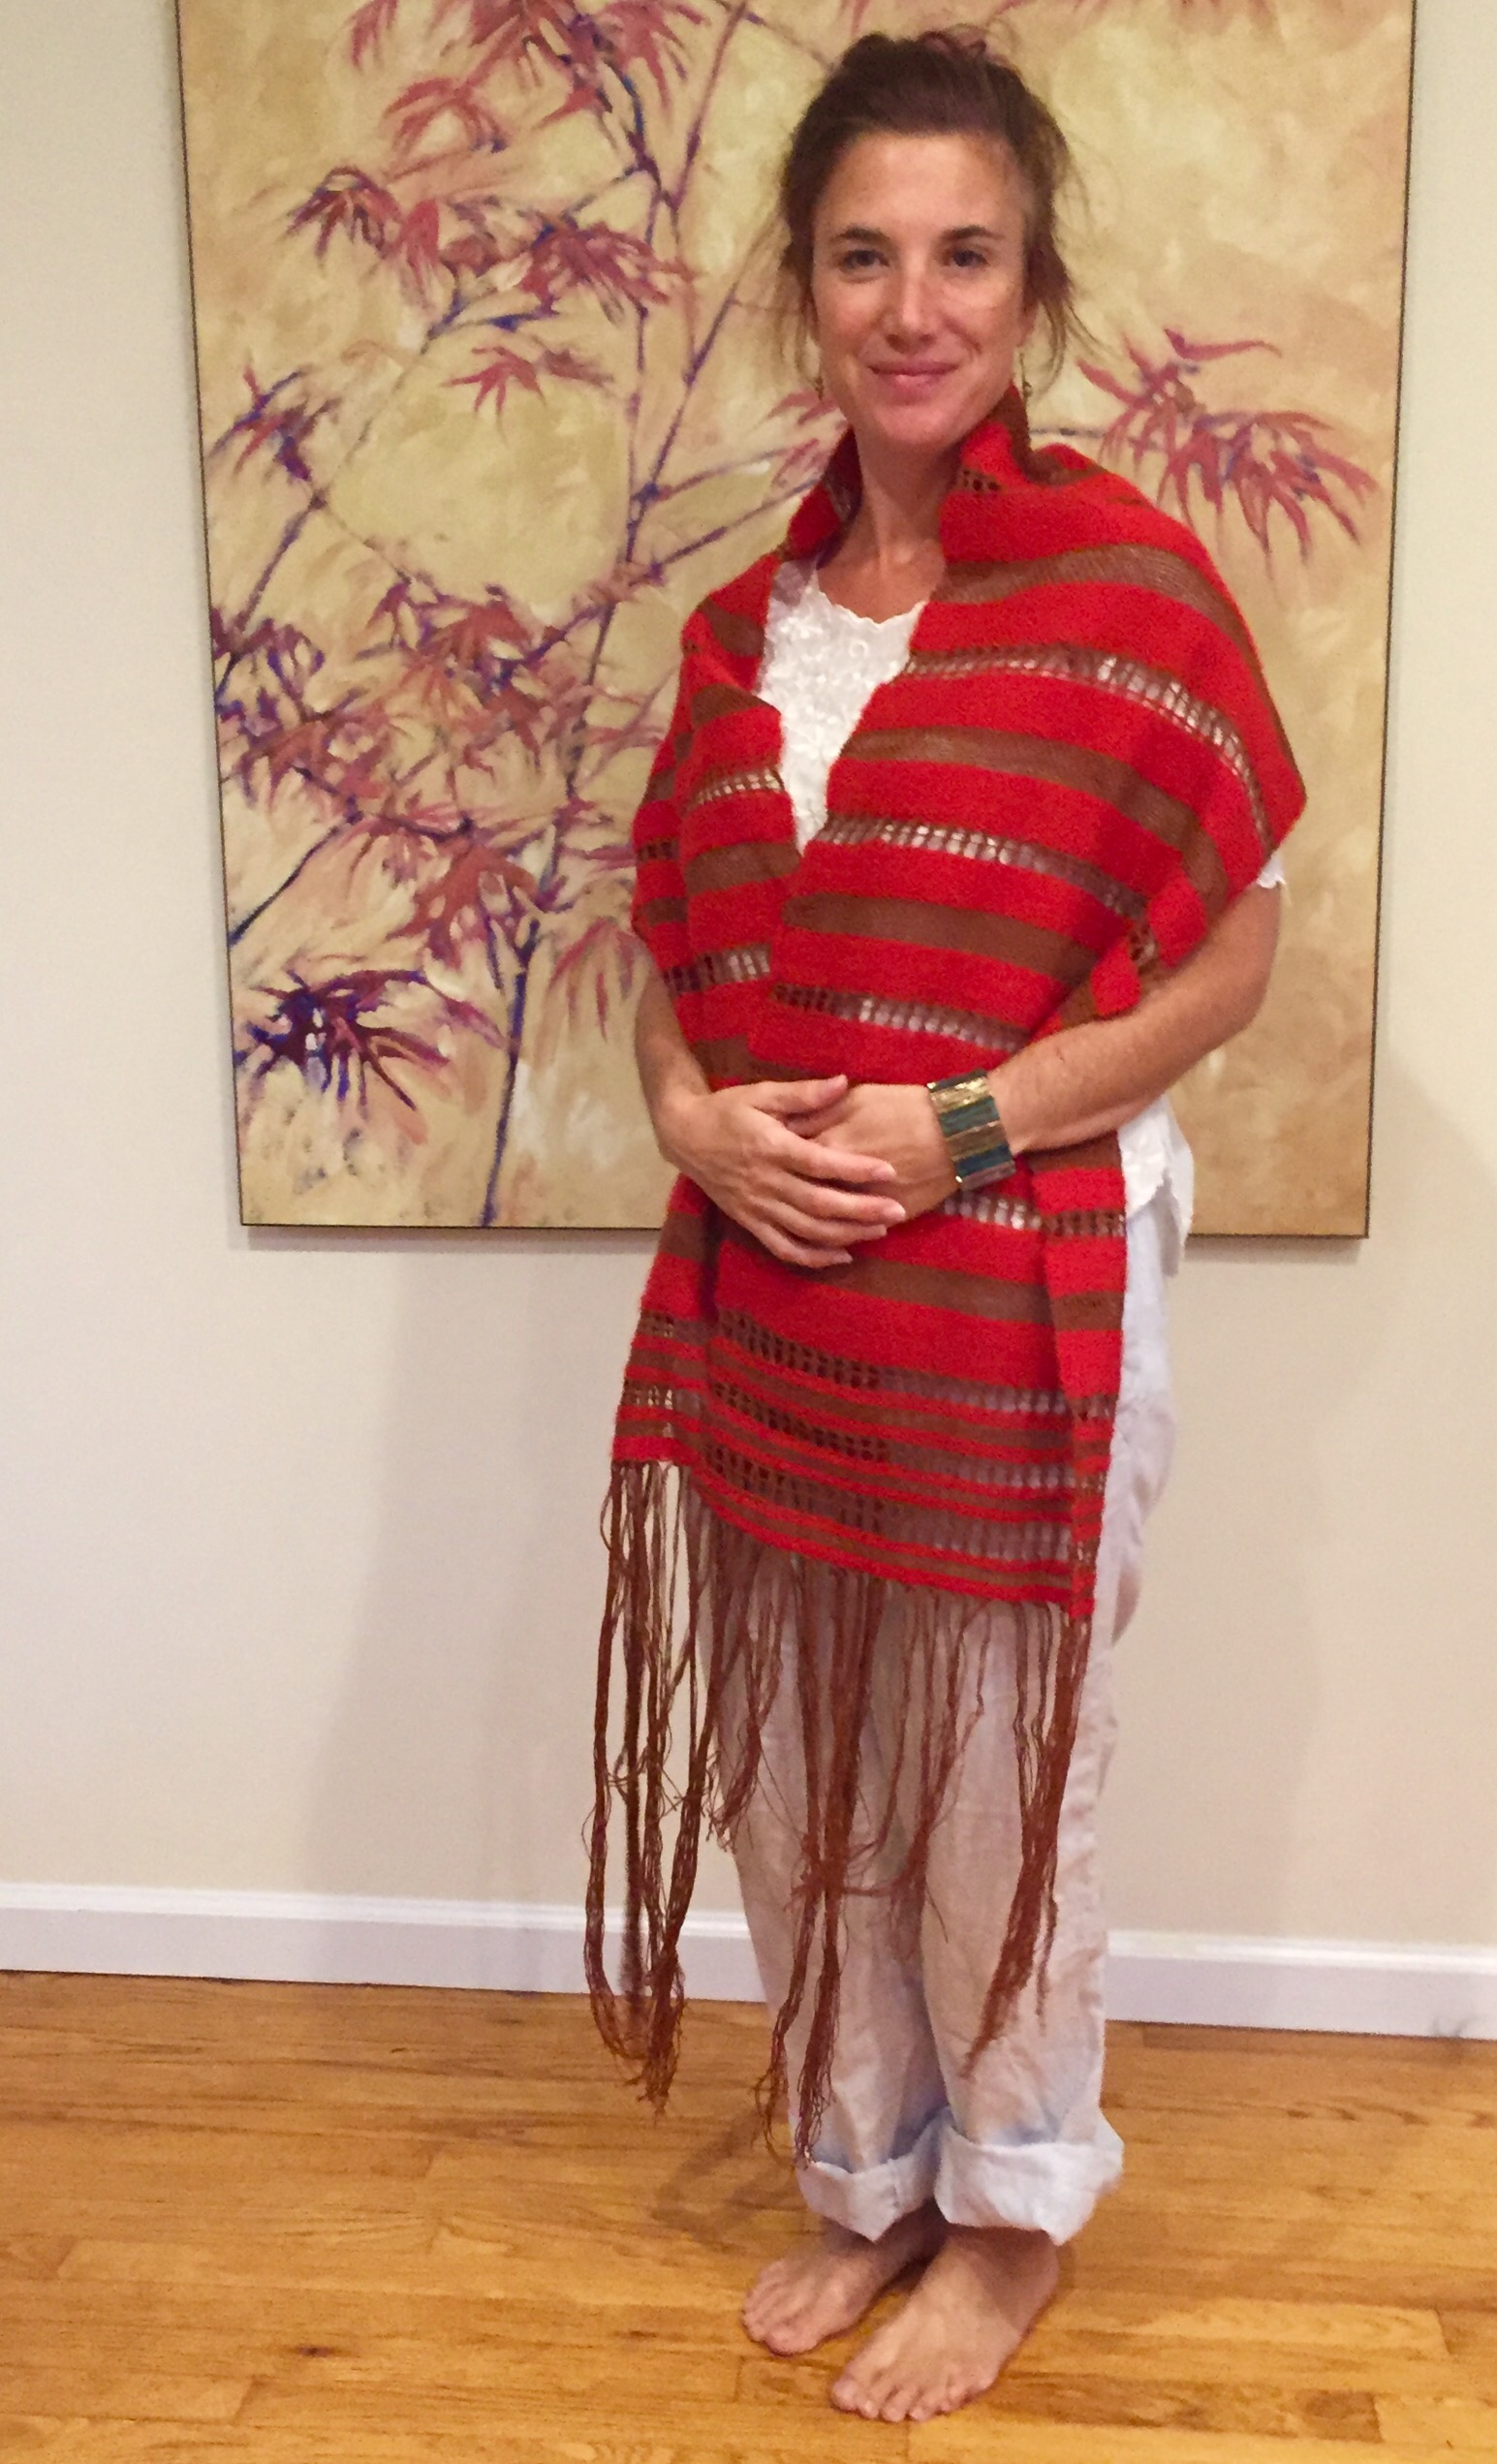
Yesterday evening I took a piece off my rigid heddle loom I’d started weeks ago. September 1st, I think.
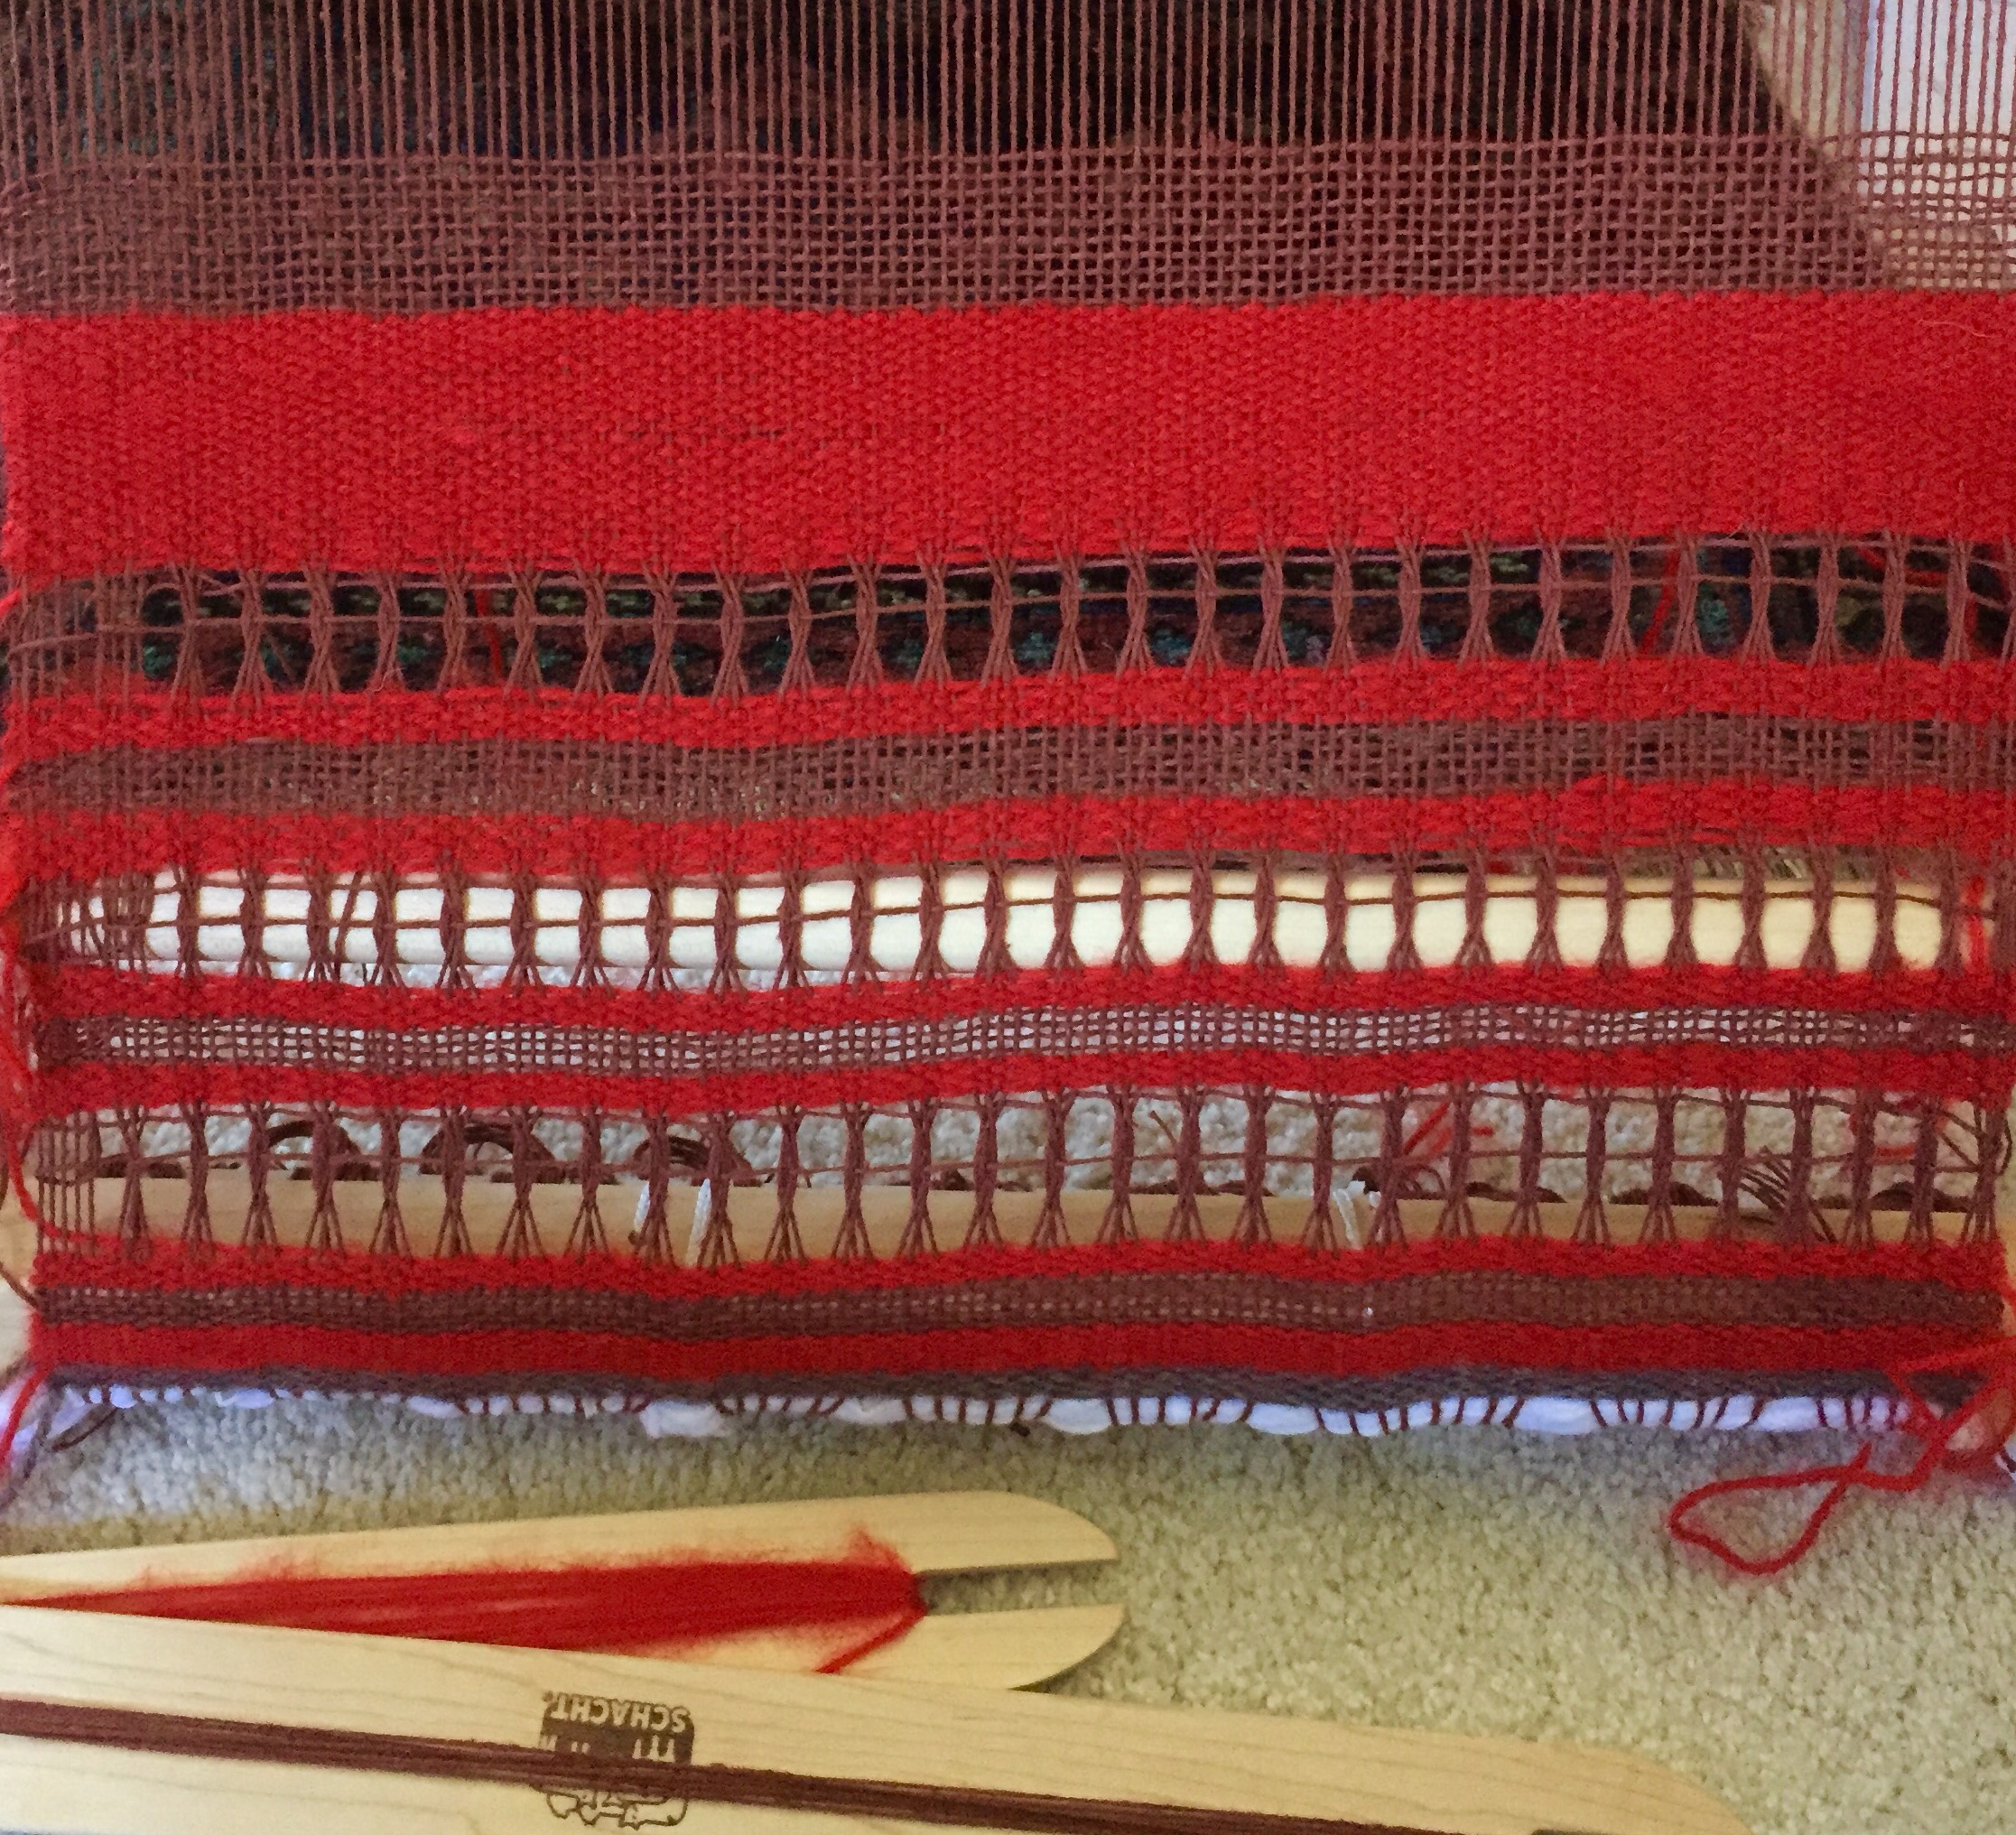
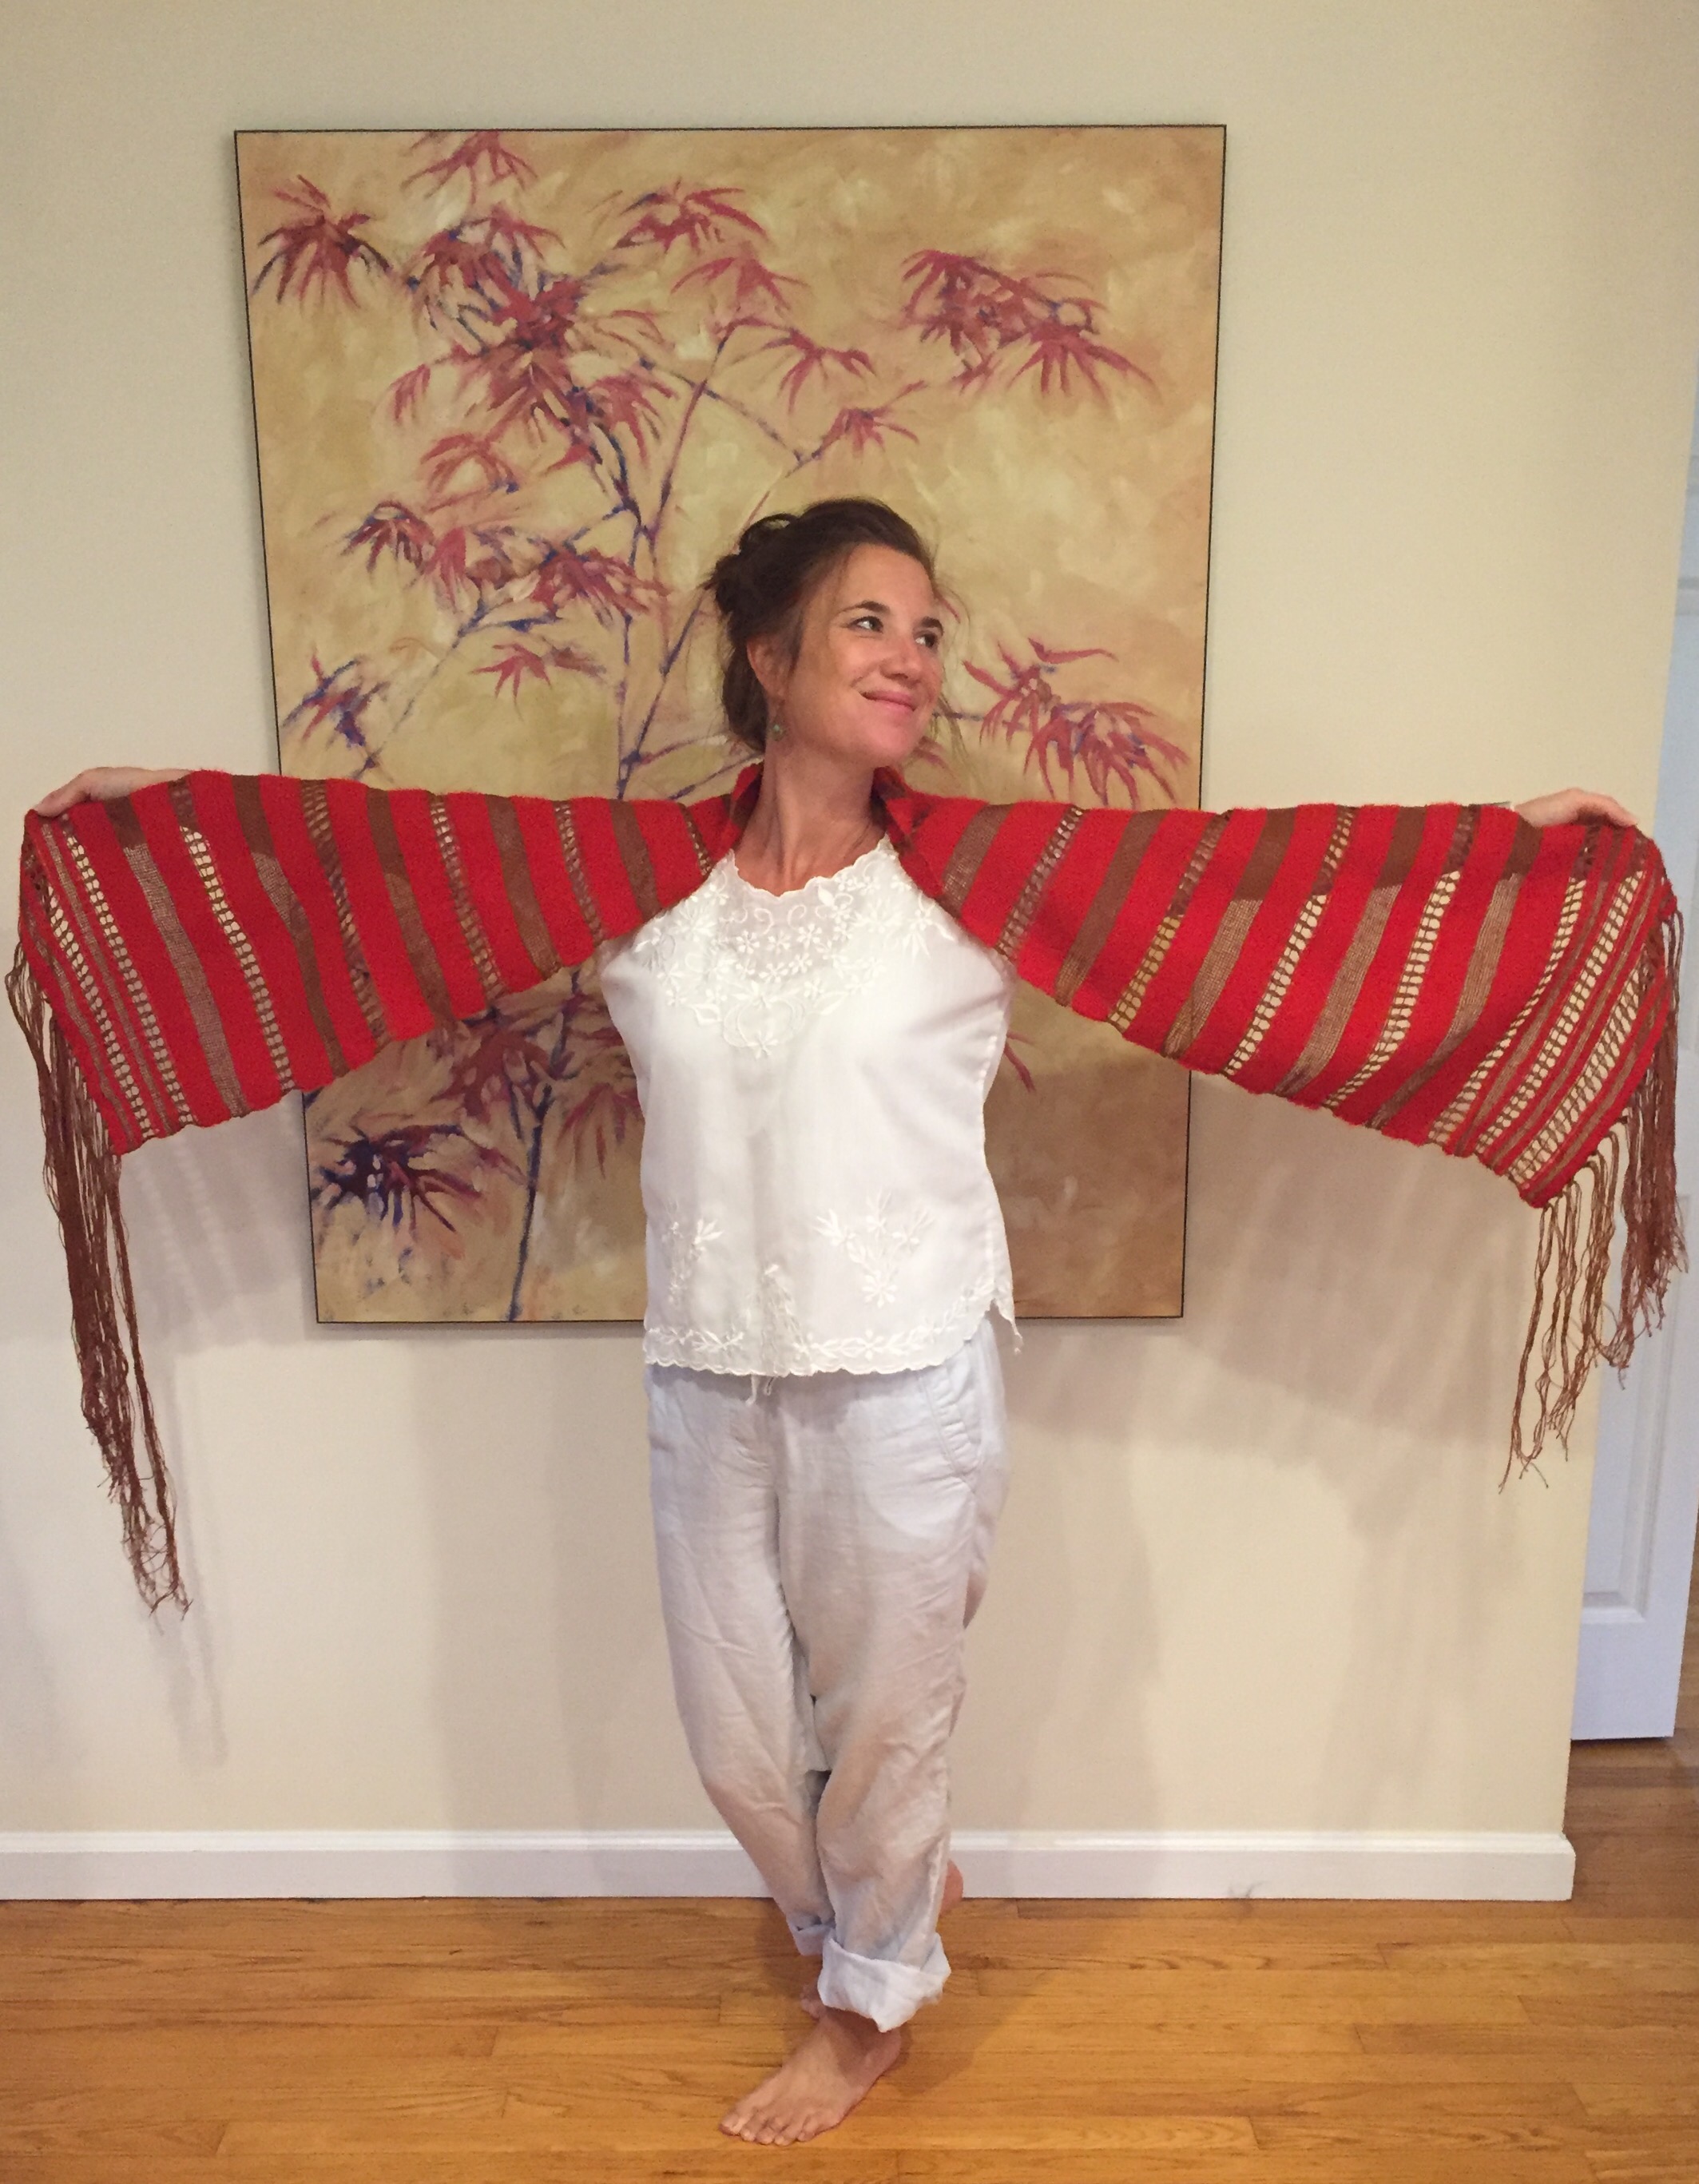
I used a yummy mohair yarn and what I’m fairly certain is a kind of thick cotton thread. I love autumn-esque colors. I was going for a shawl that both looks warm and delicate, airy and solid. I also wanted to practice a weaving technique called Leno as described in the book, Inventive Weaving on a Little Loom, by Syne Mitchell.
The cotton thread behaved so much differently than the wool yarn. It is much less forgiving and had almost no elasticity. Sometimes the selveges were a catastrophe. I thought about bailing on the project about halfway through because I was worried it was just a hot mess and I should start over. Then I got stubborn and opted to carry on ~ best case scenario, I reasoned, was that I’d love the shawl and want to show it to the world, imperfections and all. Worst case? That once off the loom I’d lament wasting hours of my life weaving cloth not fit for mouse bedding.
I tried out some things in an effort to minimize loose ends. Oh loose ends! They are part of things, aren’t they?
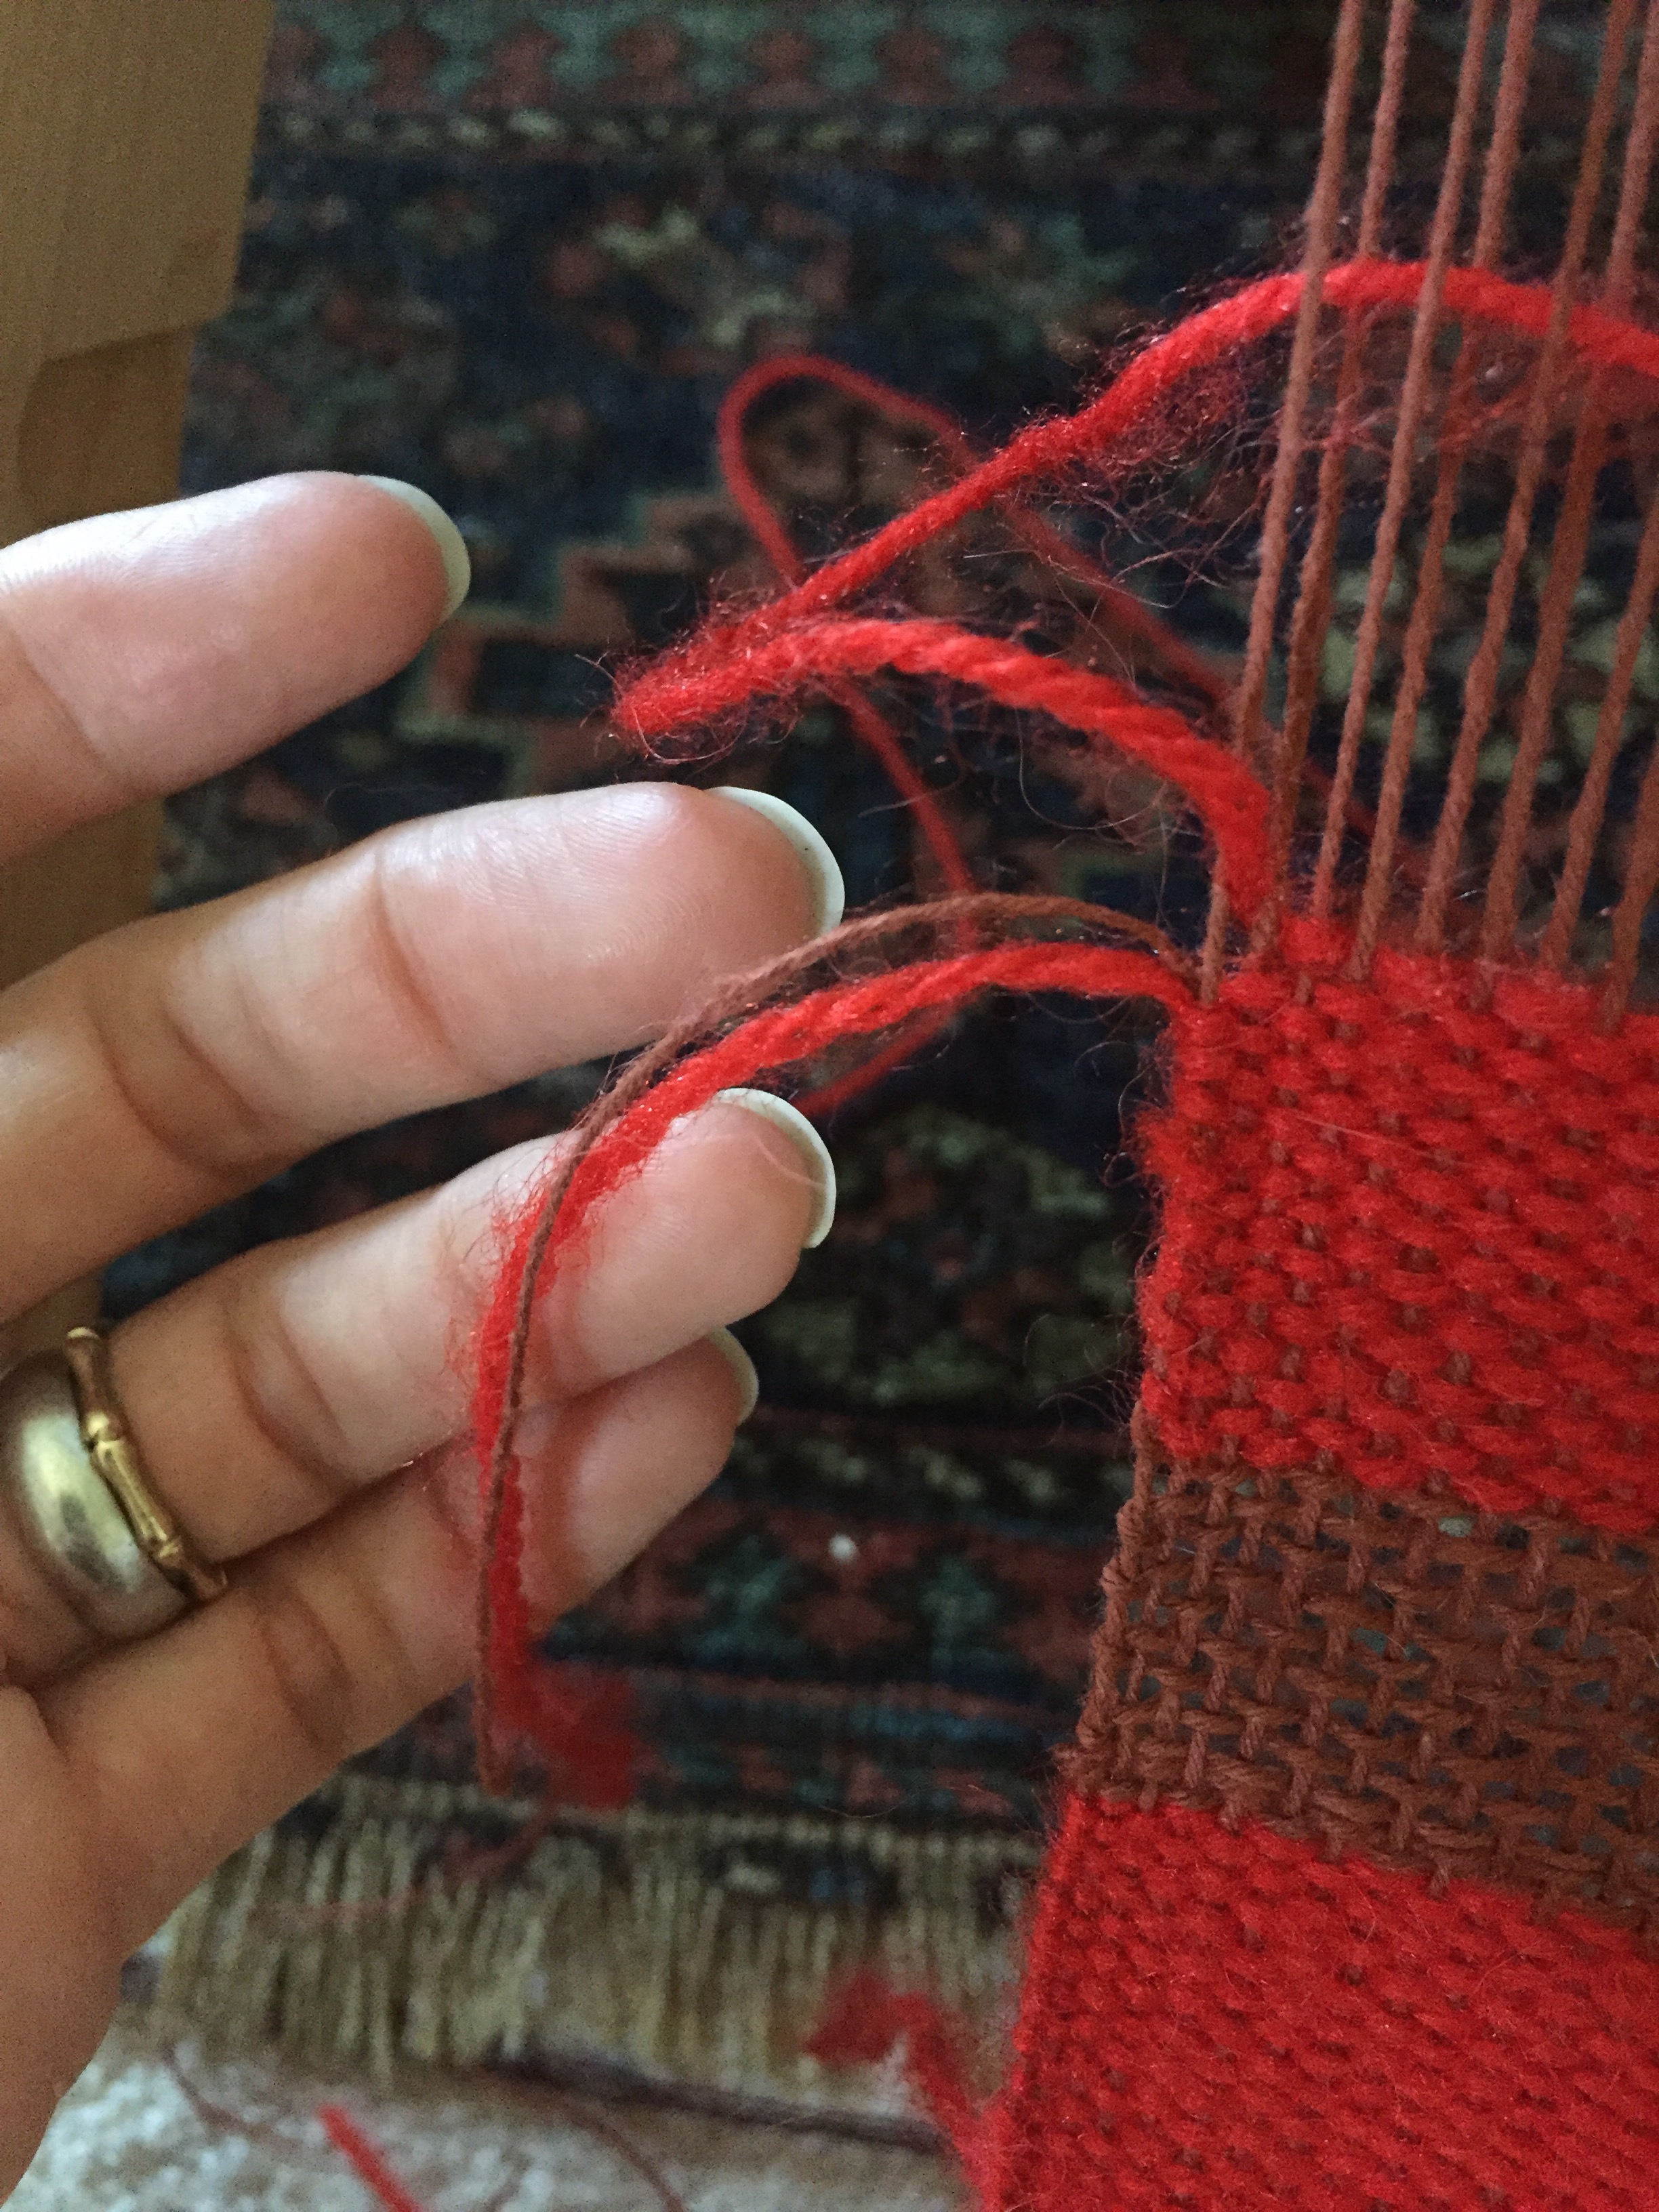
When I had to switch colors (according to my own pattern; I’d arrange the color changes much differently if I were to make this again) I tried securing the loose threads in the loop of the weft as it was going back through the warp. That worked out pretty well. Wish I’d have figured that out sooner!
Taking the shawl off the loom was nerve wracking! Not sure why. It feels both sturdy and fragile at the same time, and all of the loose ends made me wonder how the hell I’d get them all sewn in without ruining the fabric.
There it is all laid out.
I stayed up until the wee hours last night sewing all the strands in, those that couldn’t be trimmed as they were. It was so worth it.
The shawl isn’t blocked yet but here it is. I’m so happy I kept at it. I learned so much about how different threads behave, selveges, the utter importance of a proper tension in all warp threads (obvious I know, but I thought I’d done that and still there were problems throughout. I think I need to make smaller groups of weft threads in the beginning stages).
Here’s an up-close view of the general pattern.
Here’s some unfortunate selvege proof.
And there’s me, still proud as hell of this piece!