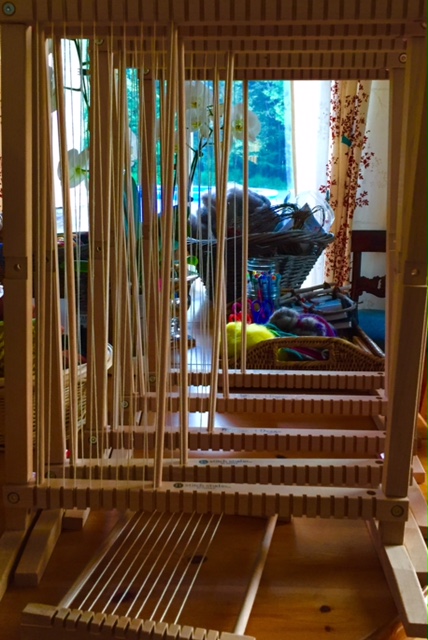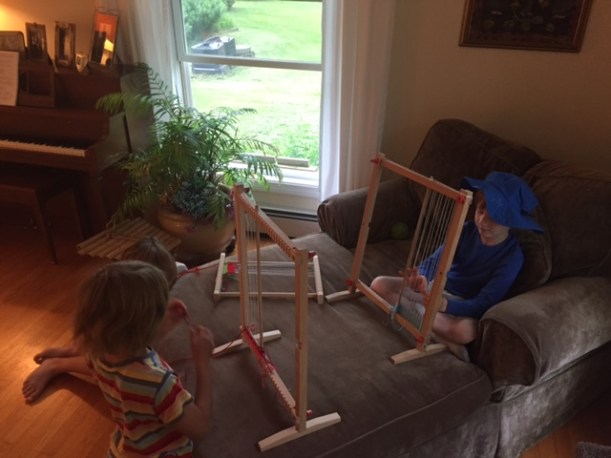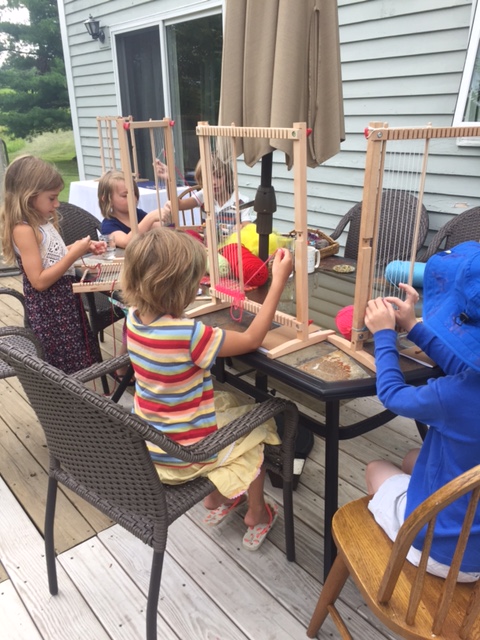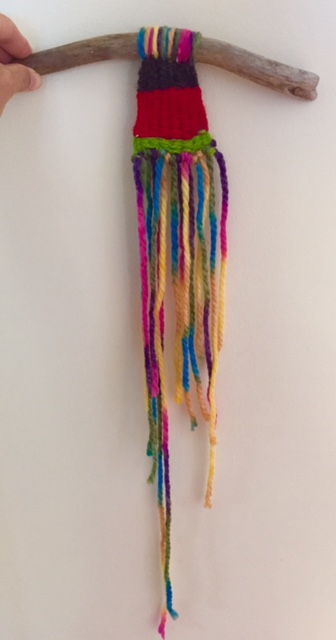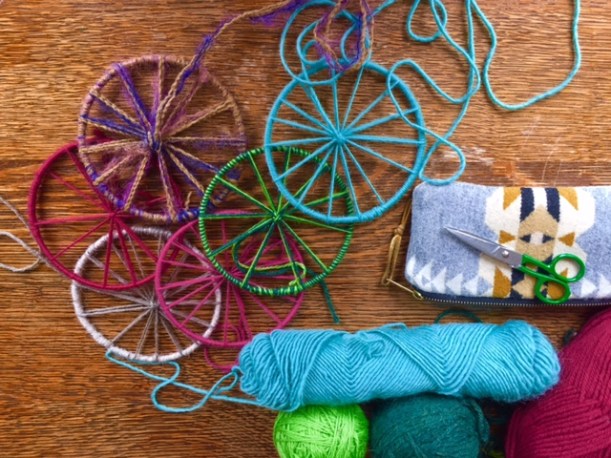
This summer was a time of taking a few risks, including putting my fiber art teaching love out into the universe in a different way. I’ve shared already the camp I offered to do with weaving. You can read about that here. The second camp I offered was all about making a book from scratch. It’s important to me for kids to know and be frequently reminded that they can make stuff, really cool stuff, with found items, recycling and a little ingenuity. Art supplies are expensive, as are art classes, but if you know how to get your hands on materials that are free or inexpensive, you have at your fingertips myriad ways to make art, to be an artists, to add your own beauty to the world. So… I was messing around one day after daydreaming about making a book for collage. My first book was the one pictured below. It’s made with handmade paper, wool that I wet-felted for the cover, a piece of driftwood and cotton thread for stitching together. I’ll show you the camp process, mostly in pictures with a little text, because I think the images speak for themselves. This is the project that inspired the camp.


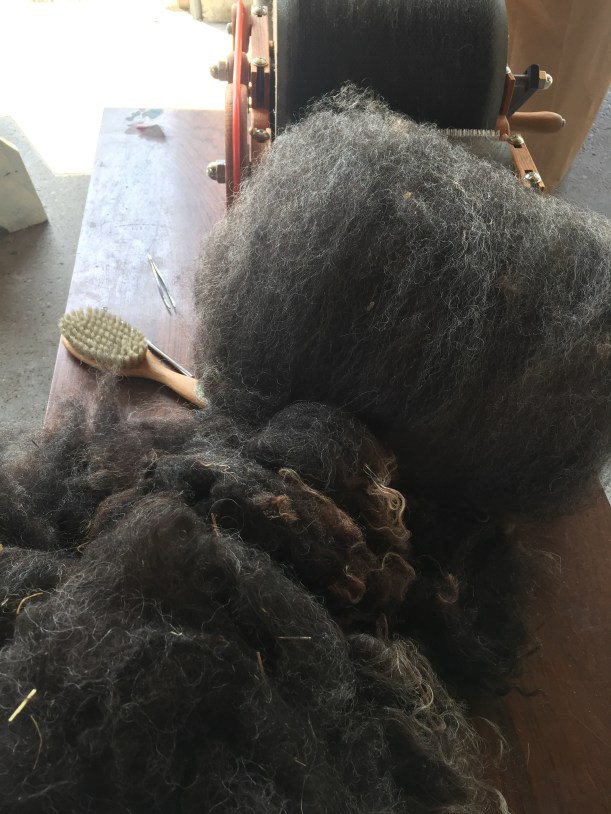
I spent a good deal of time before camp began prepping some materials. Carding Shetland wool…
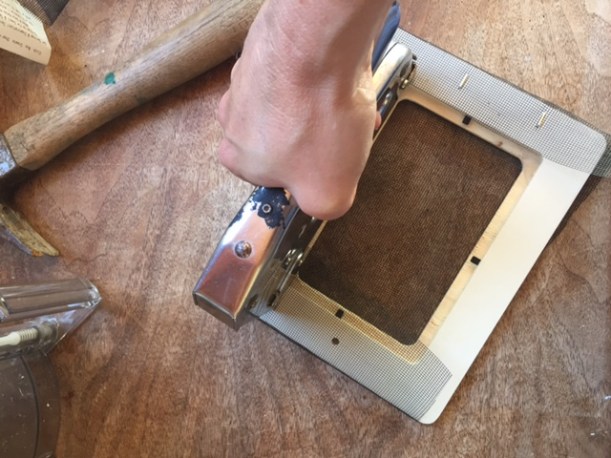
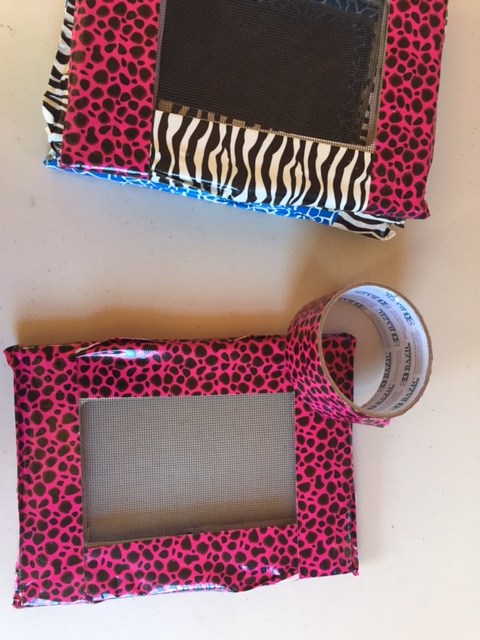
Making frames… a word on that: I found wooden frames at Michael’s craft store for $1 each. These saved the day. I had a number of frames on hand that I found at garage sales but I figured that kids are sometimes interested in making sure everything is even and balanced and fair, so, I decided to ensure that each child had the same size frame.
Also, I’ve been trying to find on line the tip I came across for outlining the frames with duct tape. I want to give credit to the blogger that shared that brilliant idea! Doing this makes for much easier removal of the paper once you flip it onto the drying surface. I will always do this now, and if I come across the blogger’s site, I will for sure share it here.

Here’s me stapling the screen onto the frame. I used my mom’s staple gun, which made me think of her. I feel close to her when I’m crafting or creating. You can read about why this is relevant here.
While things go better with kids when things are fair, they go even better than better when kids know which thing is theirs. It’s lucky I had this flashy duct tape on hand. No guess work needed!
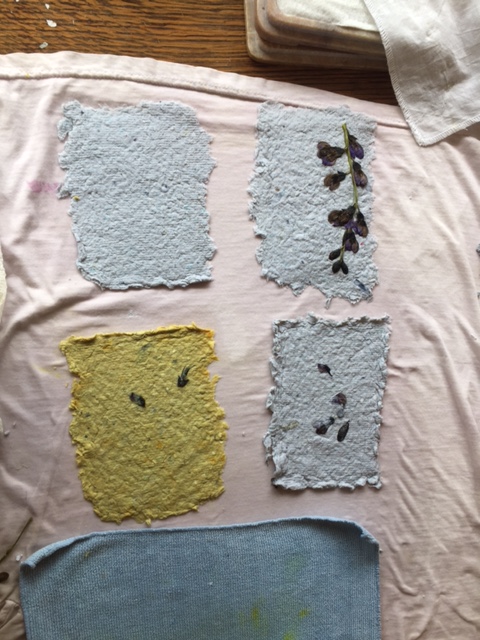
Here’s the thing about paper pulp (made in a cuisinart with recycled paper and water; the paper I put through the shredder first)~ not all kids love touching gooey, smushy, splootchy wet stuff. It’s handy knowing this ahead of time so you can have at your finger tips ideas of what steps kids might enjoy doing in the process, like soaking up the water from the underside of the frame/screen with a sponge, stirring the pulpy concoction, adding flower bits, etc., in the even that full-on hand immersion in paper pulp is out of the question.

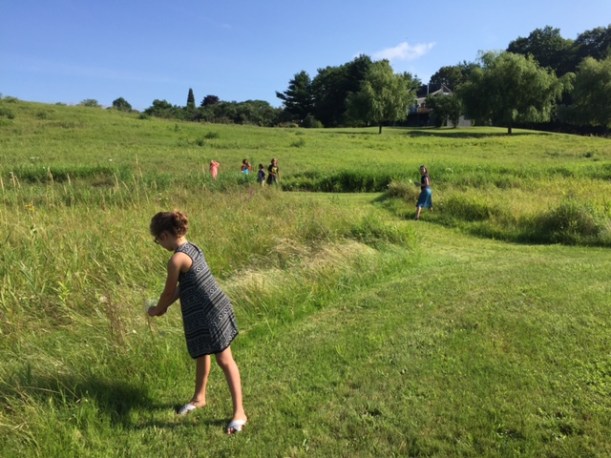
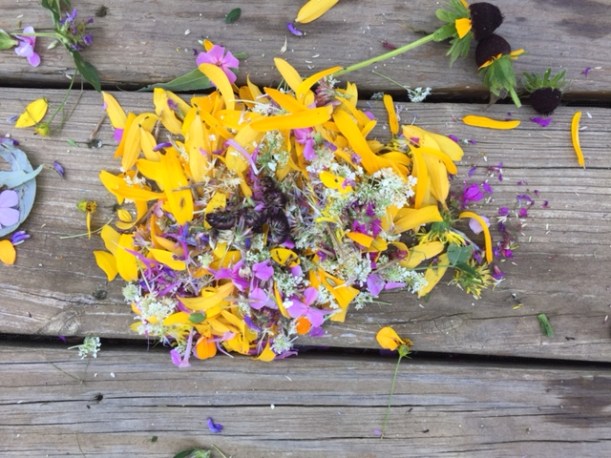
Here’s the kids looking for flowery colorful bits to throw in to our pulp.
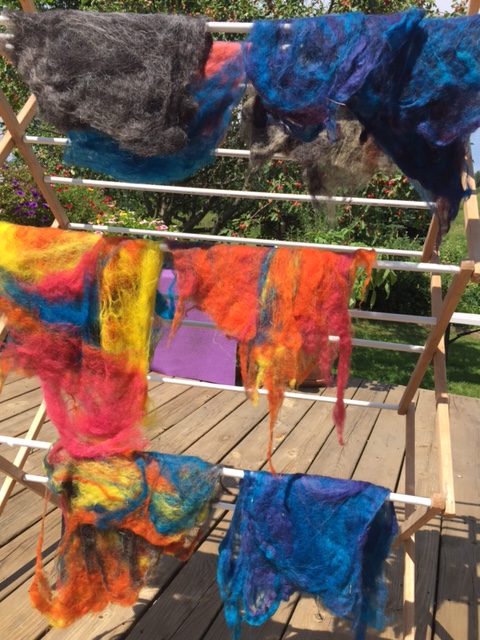
If those colors aren’t inspiring, I don’t know what is.
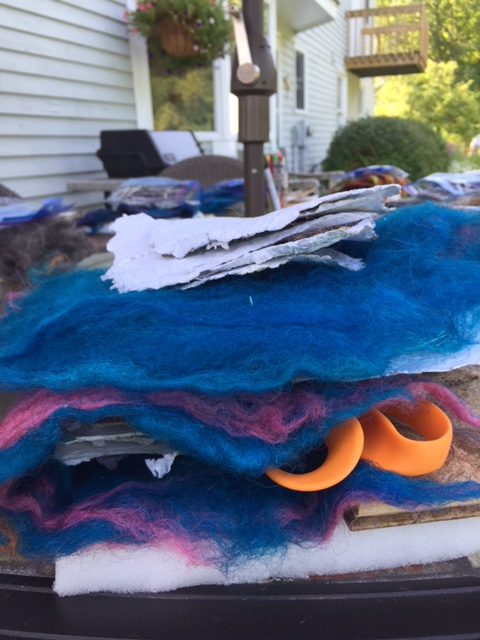
I spent a good amount of time experimenting before camp started…
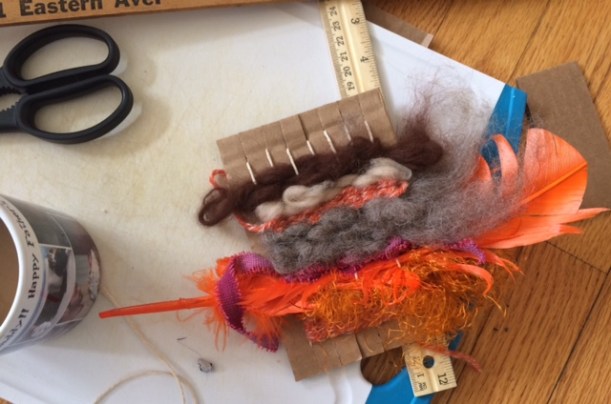
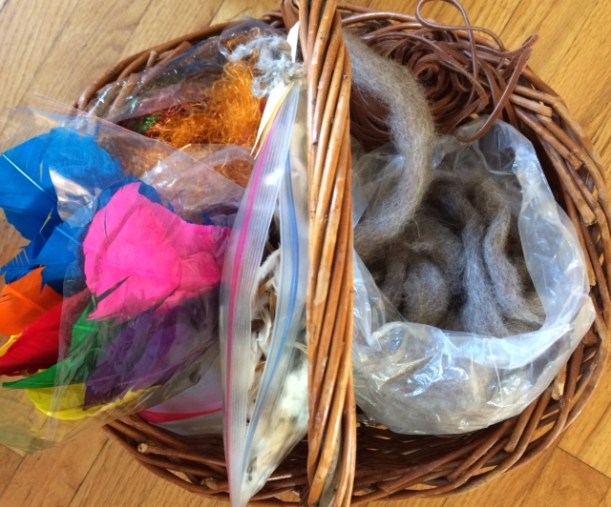
And dyeing wool…

Here’s some kids using a drum carder to prepare wool for felting. This camp included chances to do as many jobs as possible in the time we had. I had the kids pick a lot of the grassy bits out of the wool, fluff it open to prepare for carding, and then card it. There were varying opinions on this. I could sit and pick at wool all day and be fine. I love looking at those tasks as a chance to just chill the heck out and be with my thoughts. Not all kids love that, of course, so some felting was a wee bit chunkier than others, and that’s okay!

For the wet-felting part, I had the kids arrange the layers of wool they were using to make their book over on a plastic table on top of a sheet of freezer paper. Then, we covered the wool in warm, soapy water, and covered it all again with freezer paper. The paper stayed strong while the kids pressed and rubbed their hands over their wool. Once it was showing signs of felting, they could take off the top layer and use their hands to felt directly. Again, some kids love that textural messy feeling and others don’t. Leaving the freezer paper on for a while longer helped those who preferred keeping their hands free from that specific wet-wool feeling.
Then, once dried, the kids arranged their books as they wanted them, and had a chance to needle felt a design on to their covers. The night before the last day of camp, I sewed the books together. Originally, I’d hoped the campers would do that part, but we ran out of time.
I think these books are all so beautiful. Interspersed between their handmade paper, I included sheets of handmade paper from India that is more amenable to writing. I will keep working on my own paper making skills to see if I can get closer to that quality.

And listen, it’s not right to ignore the behind-the-scenes stars of the show… the sheep! Something I love about being a part of the fiber handcrafting and fiber art community is that I get to meet so many wonderful people. This is the second year that I’ve gotten wool from a wonderful man named Peter Moore, who lovingly cares for his four Shetland sheep. I met Peter because he posted online that he had wool available, and I jumped at the chance. I can say that I would call Peter a friend, now, and I truly don’t know how we would have ever met if not for our mutual love of sheep! Let me introduce his lovely wooly friends:
Meet Dolly…
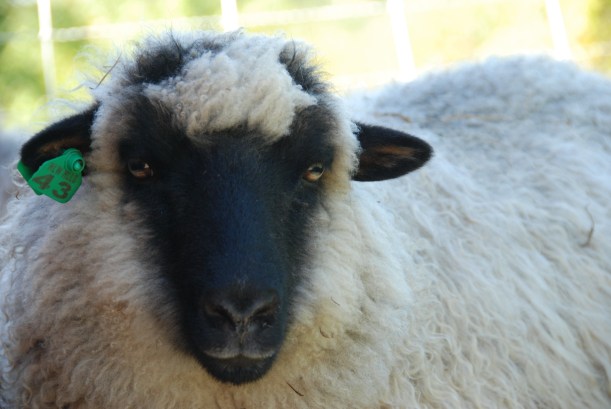
And Violet,
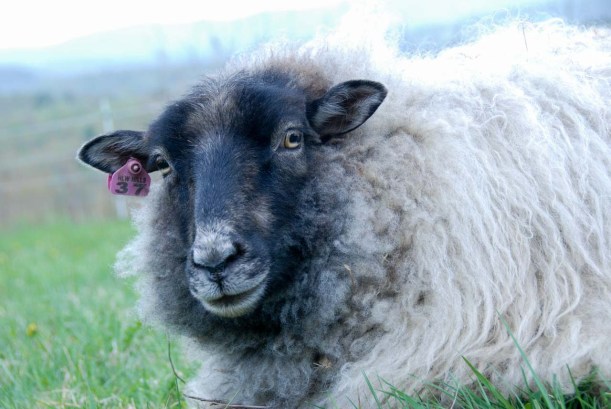
Phoebe,
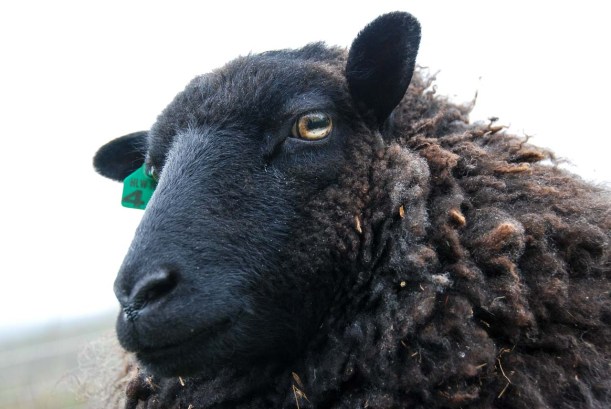
And Daisy!
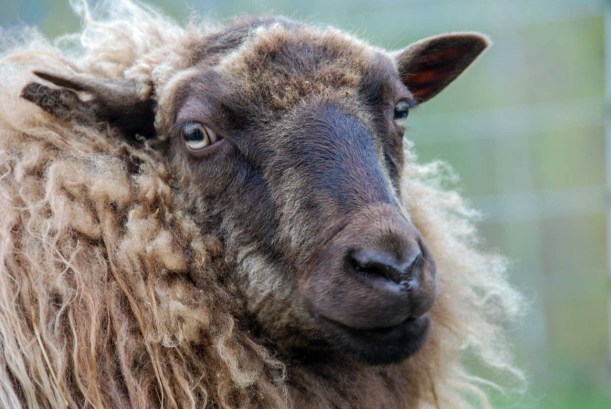
They are all half-sisters and are four years old. Their wool was the centerpiece of this camp (in my opinion), and the kids were champs, learning new skills every day and hopefully leaving with something they were proud of.

I’m sitting at my desk now, listening to the wind blow around the house. The temperatures are cooling and the birds are busy at the feeder. I am looking forward to the cooling down, the bundling up, the quieting of winter. Summer can be a full-on explosion of activity, work and play. It’s the extroverted season. These camps were a beautiful expression of all of that. I wonder what new things I’ll imagine up as I sit in the dark introverted winter. I guess we’ll see next year!