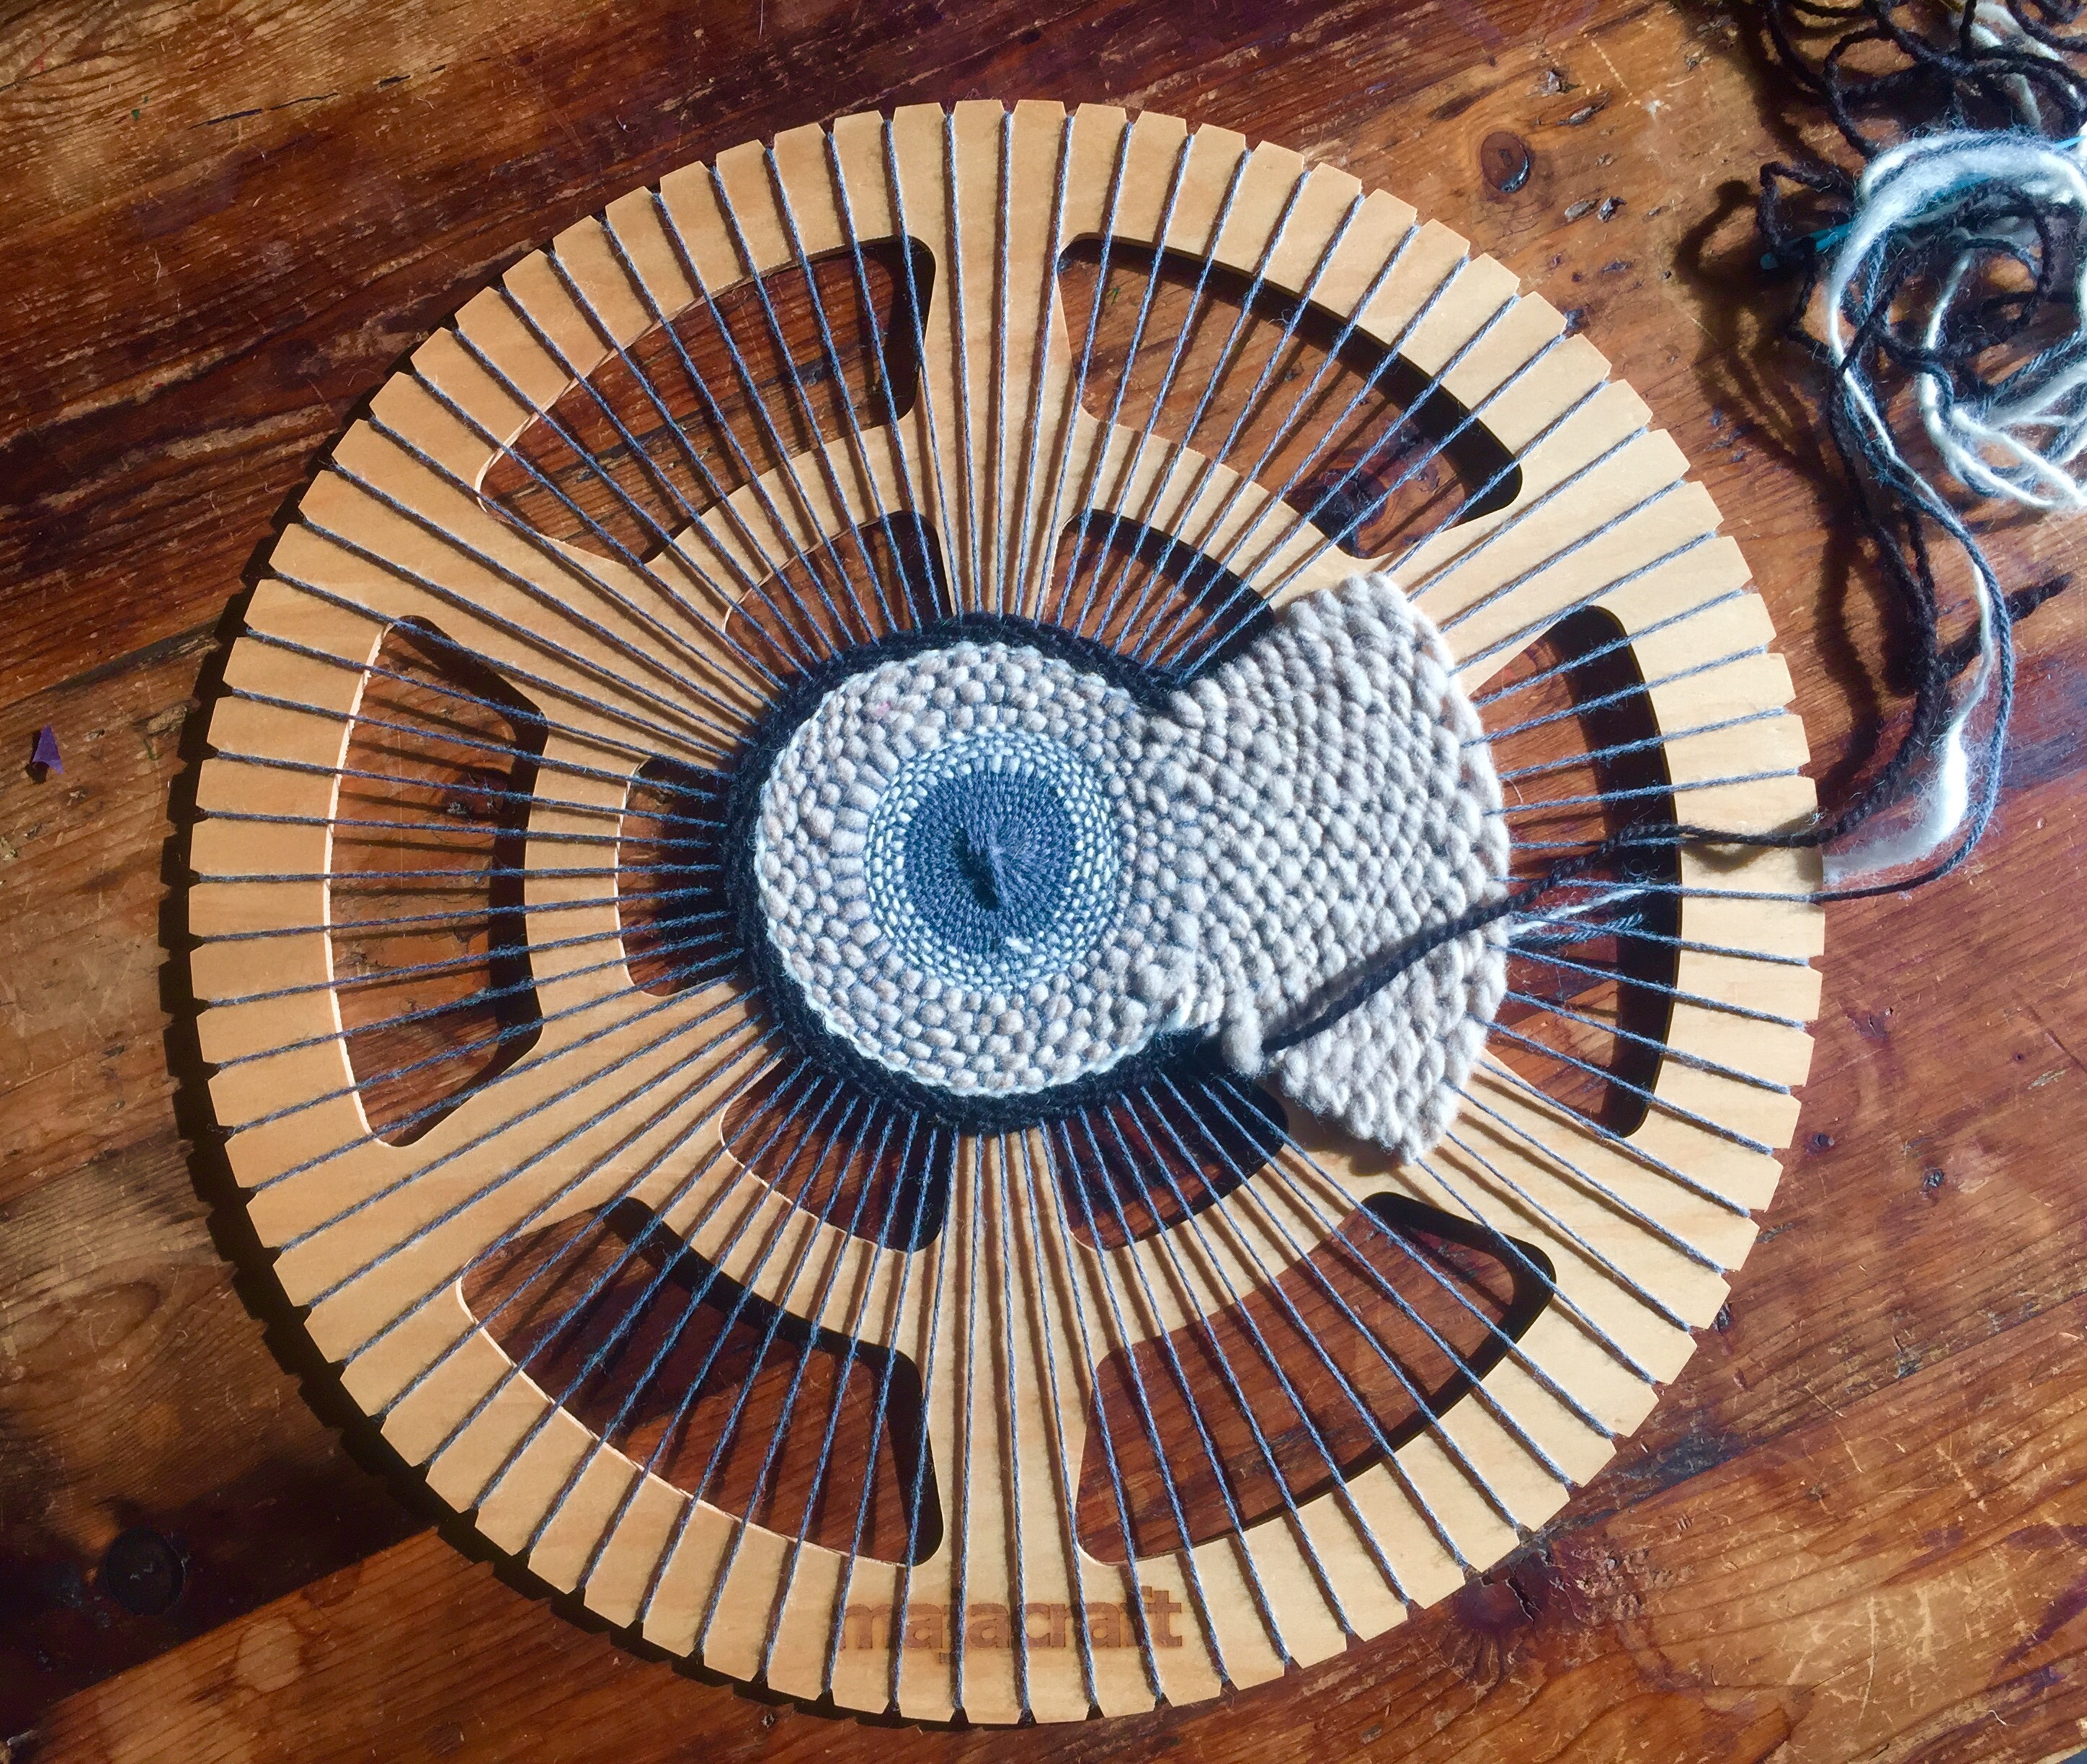
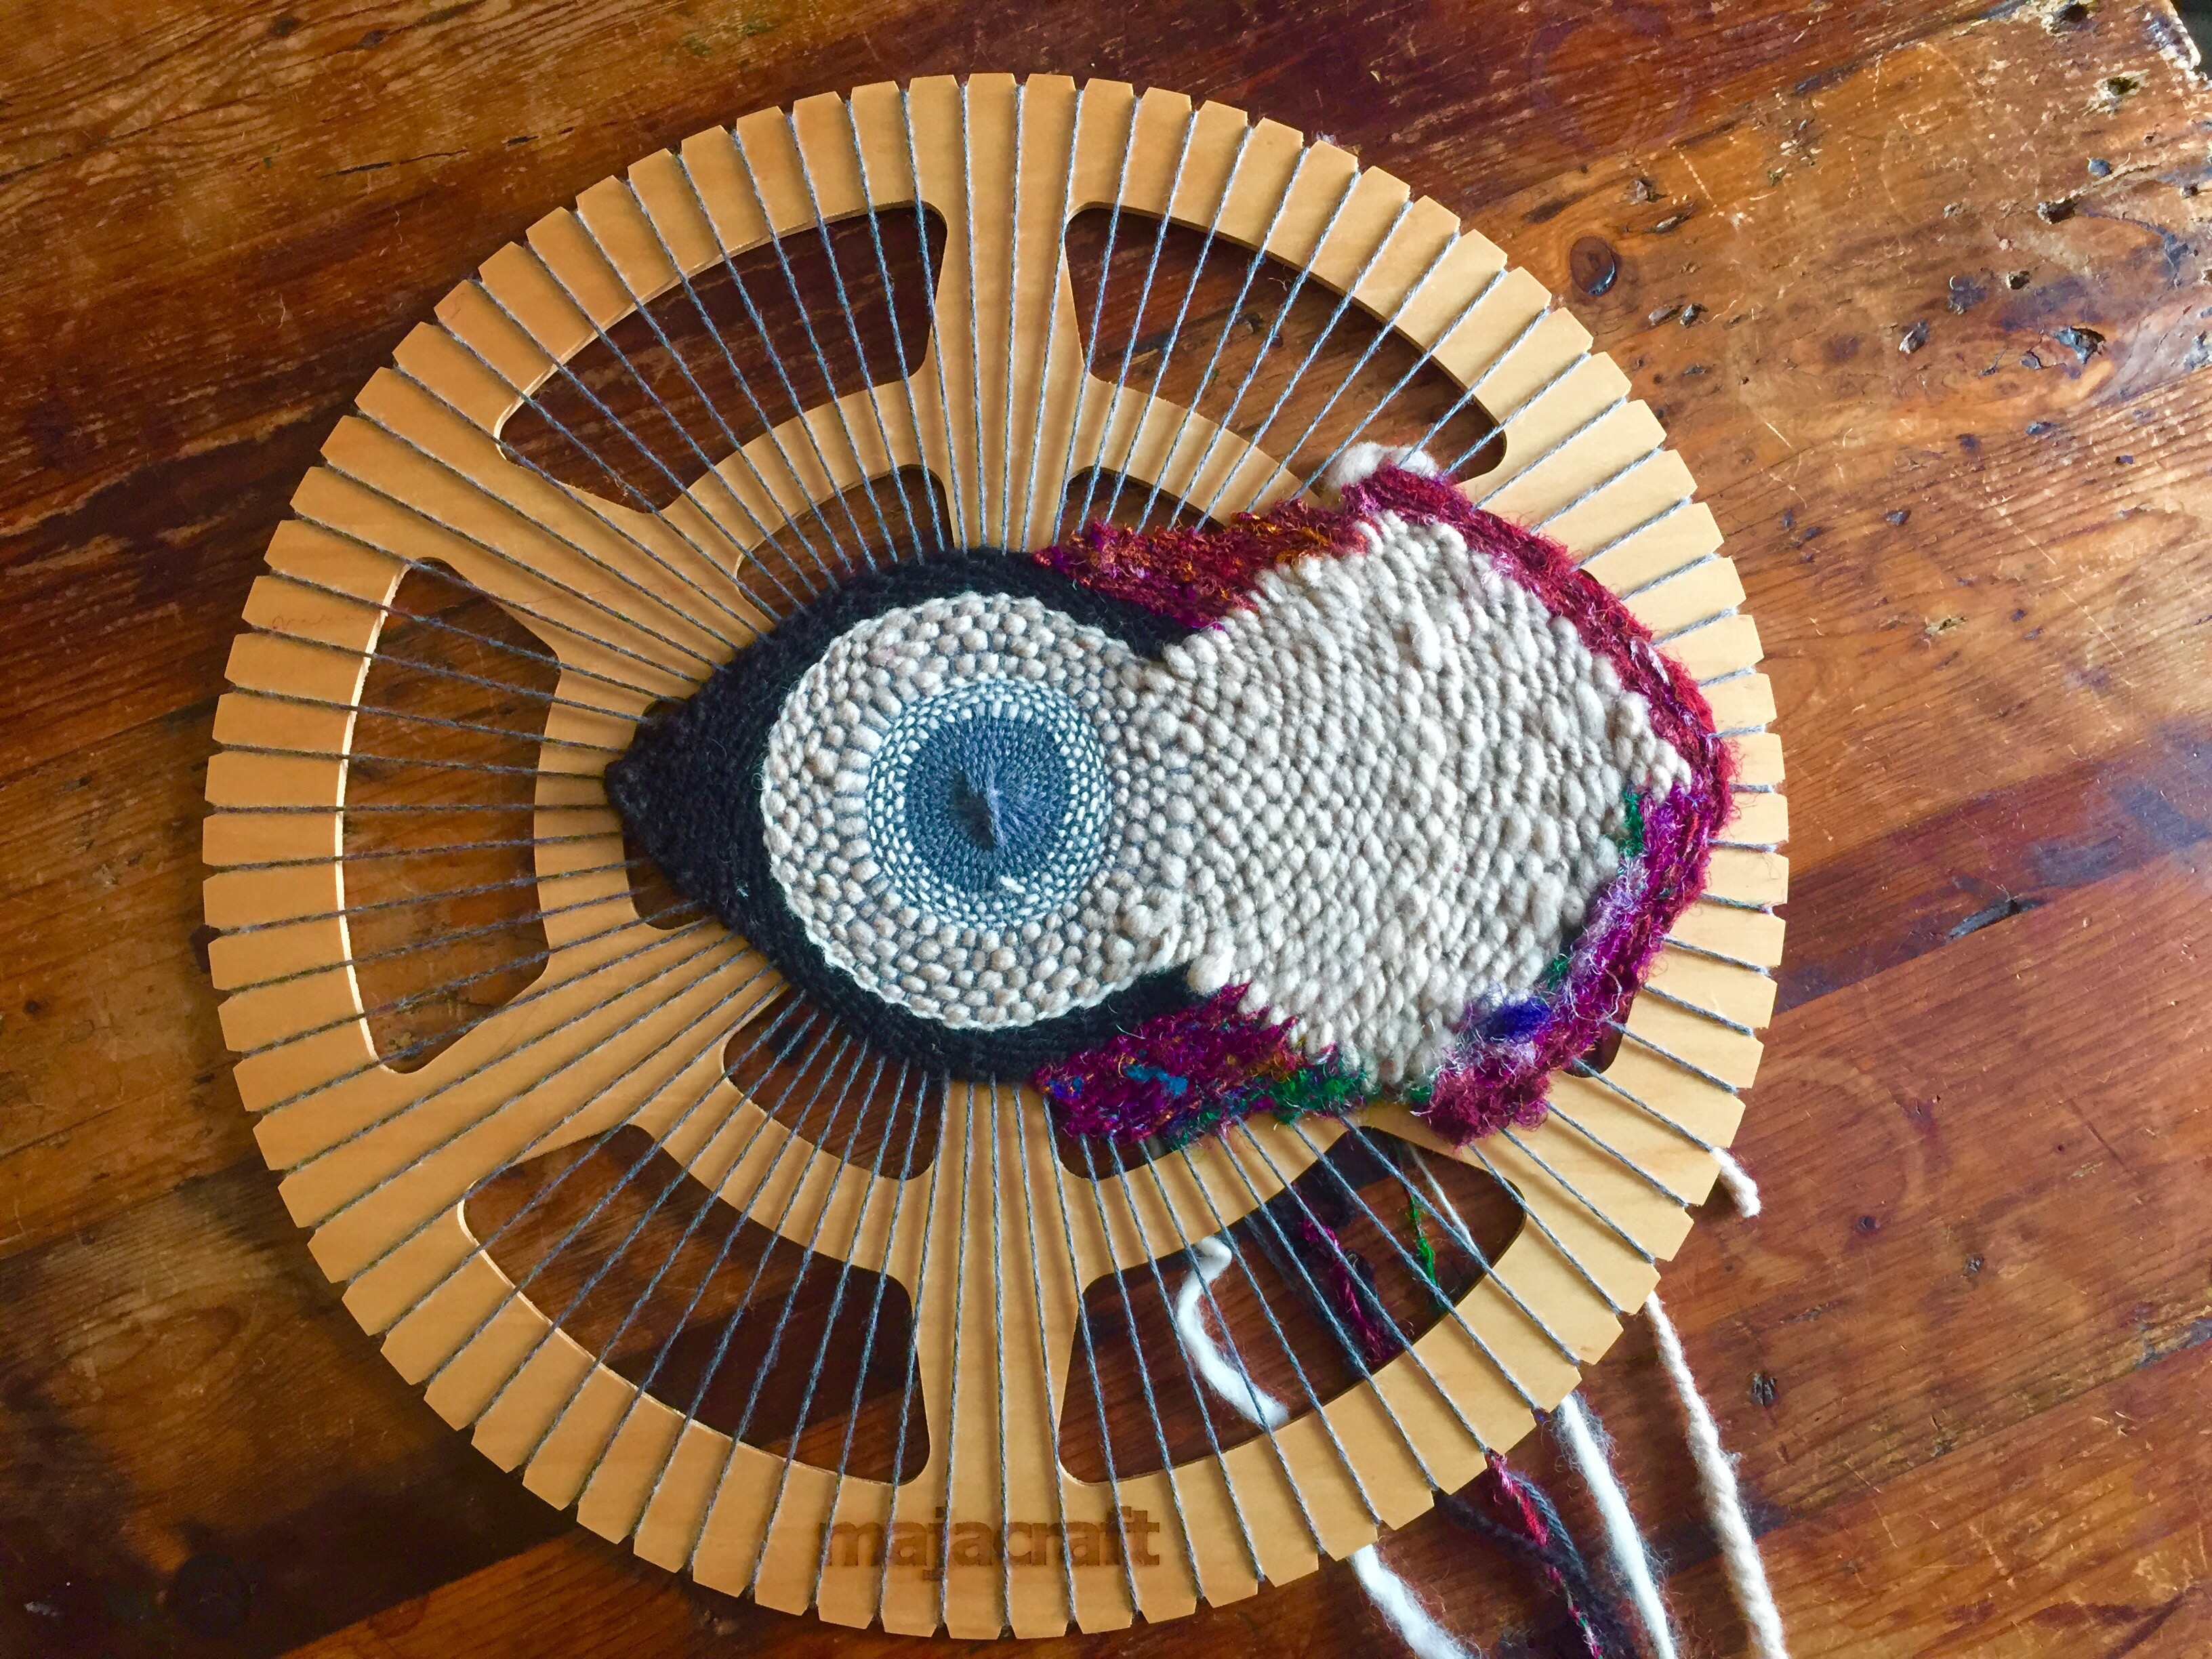
Circular weaving is a wonderful way to play with yarn, experiment, and make beautiful things, with or without a plan. I recently warped my Majacraft circular loom; it is no longer made but sometimes you can find them for sale through other vendors. If you can get your hands on one, don’t hesitate- these looms are by far my favorite circular looms to date. I set it up in a way that keeps the center open/unwoven. When you weave this way, you can make home decor and sculpture, as well as shawls and necklaces, depending on how big the space is in the middle and how big your loom is.
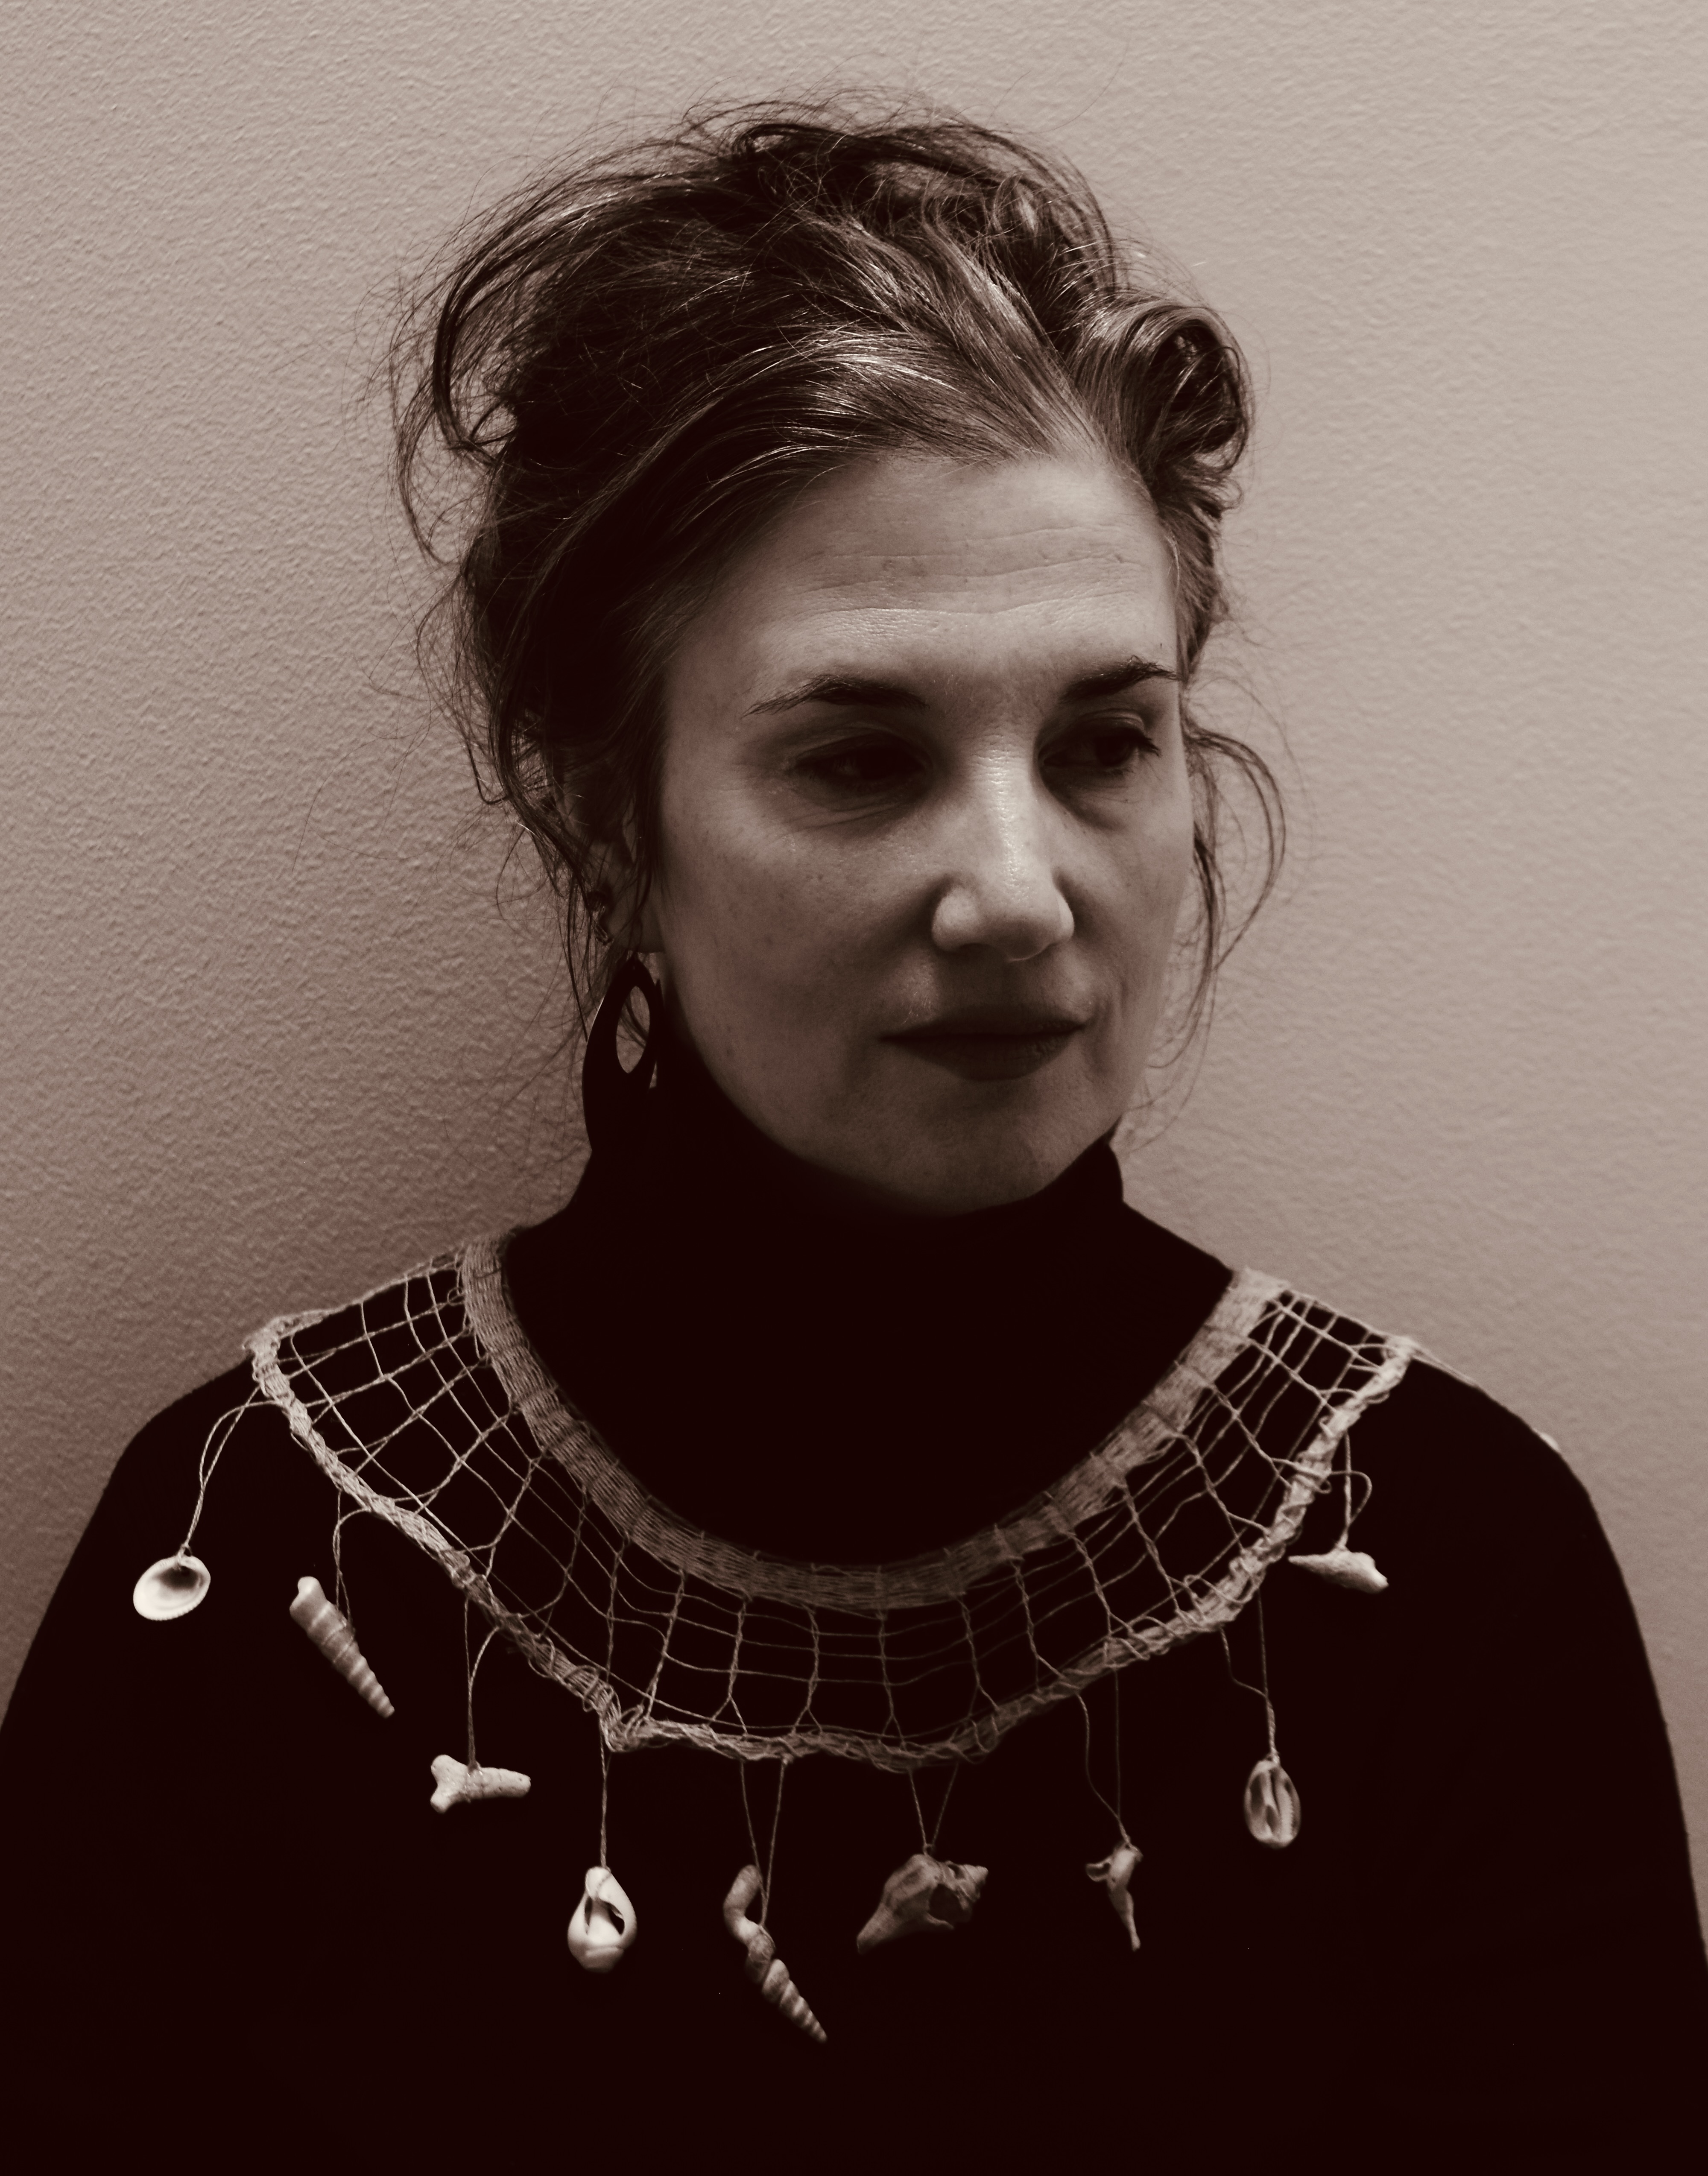
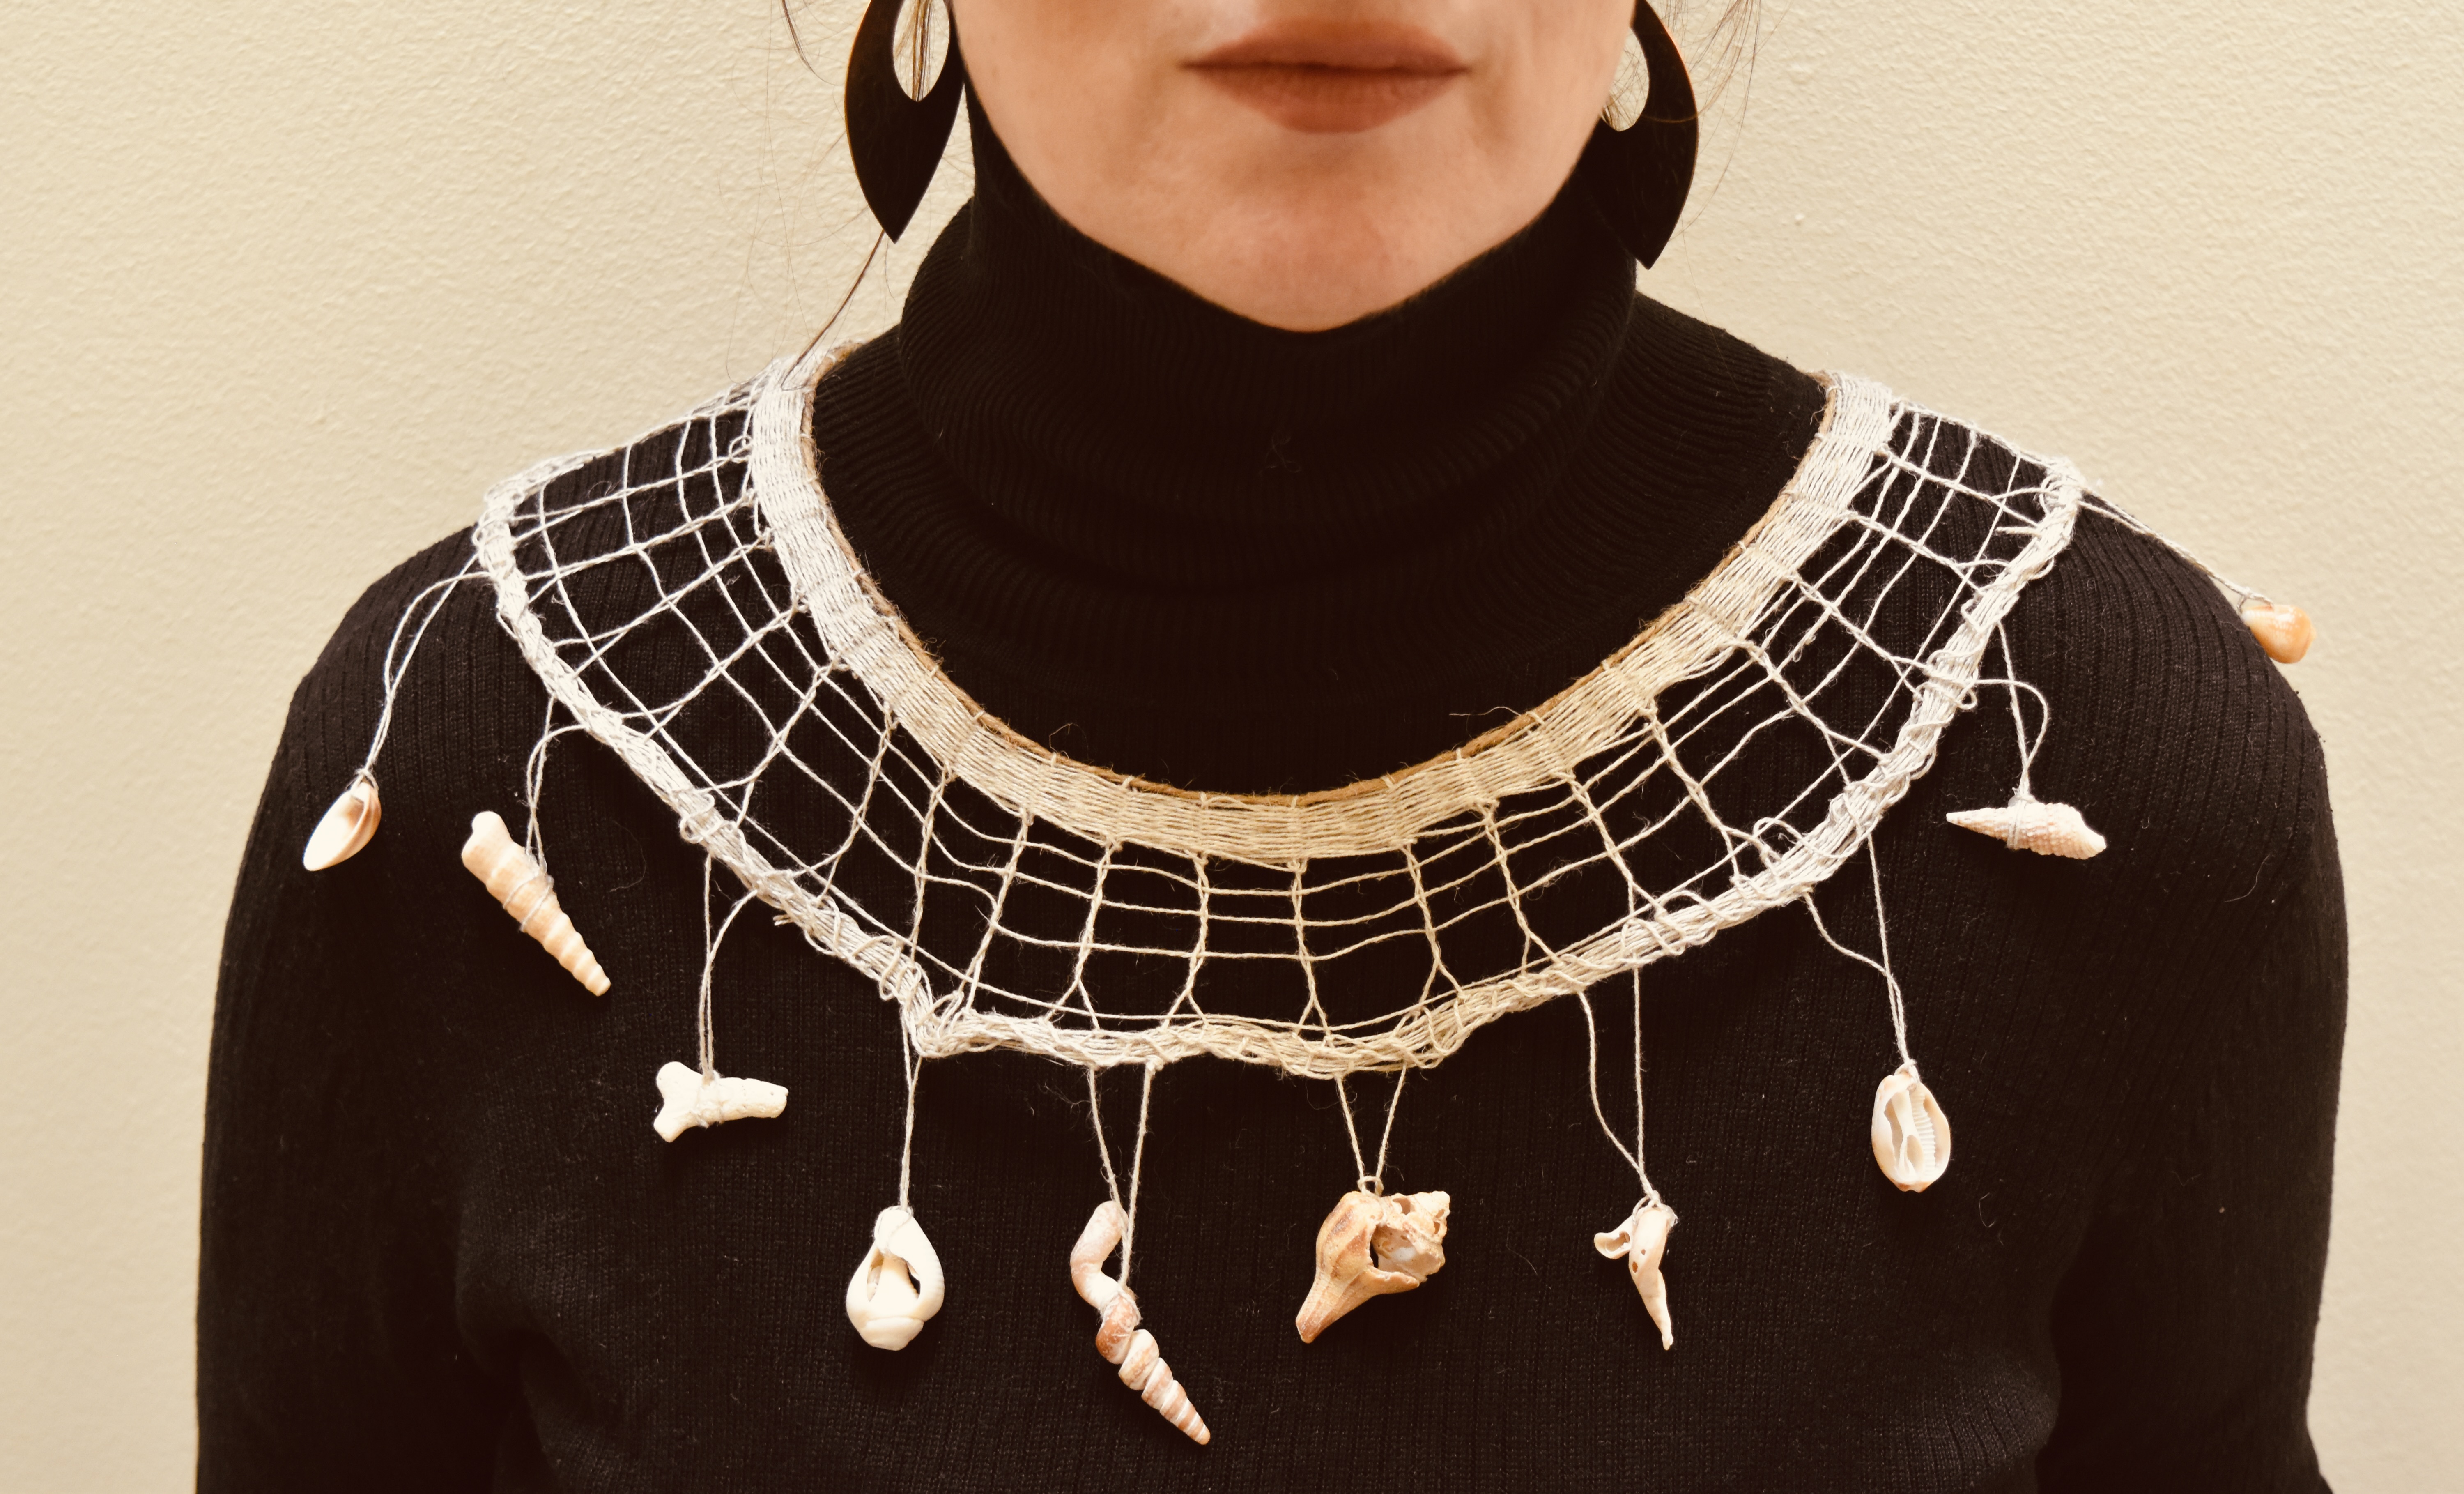
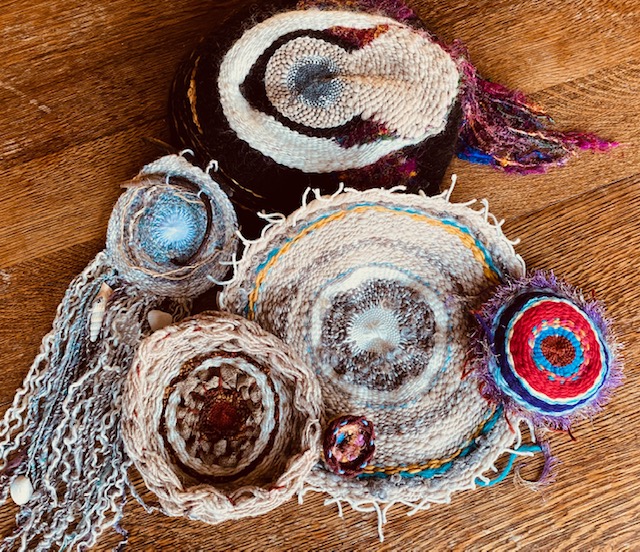
I’ve wanted to weave a necklace for a long time and I finally decided to play and make one that is dedicated to Thalassa, primordial goddess of the ocean, who I’ve become very attached to. This first piece is woven with linen, very thin and strong, like netting and sea grass. I included sea shells from Sanibel Island, a place where I used to live that takes up a lot of space in my psyche. The necklace rests gently on my shoulders and the shells move but don’t clank or tangle. It lays in such a way that I want to stand straight and move with intention when I’m wearing it.
I knew ahead of time how the shells would be attached to the weaving, but the weaving itself came organically and peacefully. I wanted it open, airy, loose. The sea interacts with air and netting with water and its inhabitants.
I am delighted with this first outcome! And you know… I’ve got another project ready to go! This one will be woven down to the end of the warp and will have a totally different vibe… stay tuned!
Thalassa, daughter of Aether and Hemera, mother of Aigaion, the Telkhines, Halia, Aprhodite, and the fishes. Thalassa is the sea.
Greetings, fellow crafters. In my Fiber Saturday class yesterday, I demo’d how to make a circular loom out of cardboard. Here, I am offering more detailed instructions and a project idea. Many of the kids I have gotten to craft with LOVE circular weaving. In a way, it’s easier than weaving on a rectangular loom because you just go around and around, rather than back and forth (coming back the other way on a loom can be super perplexing to some. What do you do with that end warp thread!) Getting into the flow is easy and you end up with something beautiful at the end.
Quick Disclaimer: I’ve woven many things on circular looms at this point. I’ve often had the experience where I wanted my circular weaving to lay flat, but it curls up instead, or I’ve wanted the piece to be a bowl, but it’s lays more flat than I wished. So much affects the way this project turns out. The yarn or fabric variability really changes things, how tightly the yarn is pulled as it is taken around the loom certainly affects how taut it becomes… Things I always stress with this project are: have fun, the goal is not to adhere to a rigid idea of what you want but rather to play with colors and textures and see what you get! No matter what, it will be beautiful. For elementary kids, the book Beautiful Oops, by Barney Saltzberg, is a great companion to this project. I also love the book Ish, by Peter H. Reynolds.
To make a bowl on these looms, you do want to pull a little firmly on the yarn, especially as you reach the edges of the loom.
One more thing! This is a great project for kids, but elementary age kids will likely need adult or older kid help with the construction of the loom and the step-up.
Materials:
cardboard- the flaps of cardboard boxes are plenty strong enough
yarn for warp
yarn, fabric, ribbon, string, jute… whatever you want… for the weaving
marker
strong scissors
tape
round things that can be used for tracing a good circle- must fit on the cardboard
tapestry needle (or a sewing needle with the very large eye, or, you can even use a paperclip- just find the smallest one you have and tie the end of the yarn to end of it)
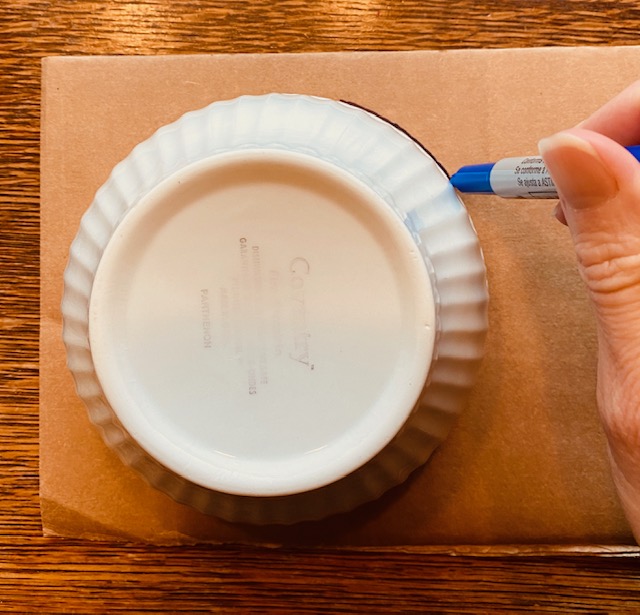
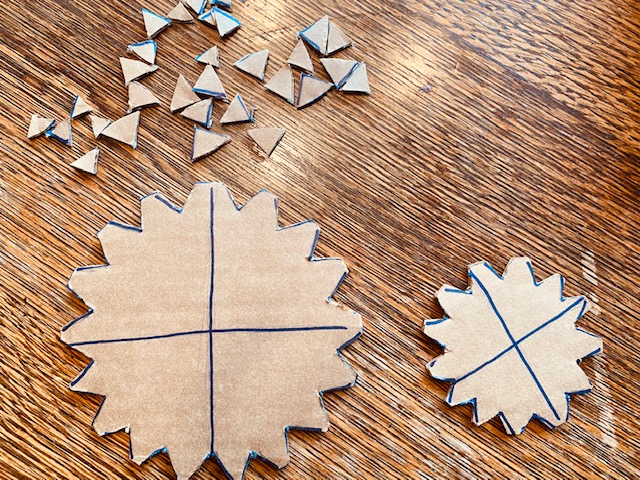
Step 1: Trace your circle. This will be the approximate size of your circular loom.
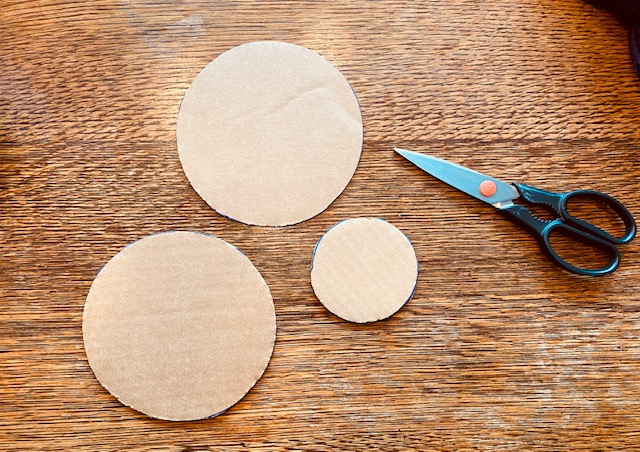
Step 2: Cut out the circles as neatly as you can.
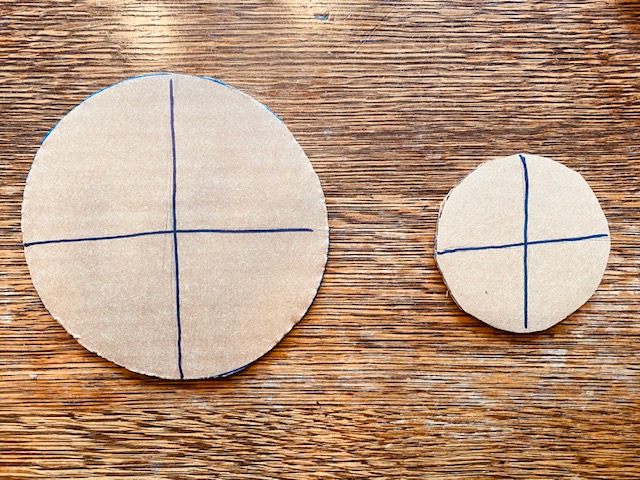
Step 3: Some folks who are really good at being precise might balk at my lack of straight or perfectly measured grid-work here. I get that. BUT, the point is to demonstrate that this does not have to be incredibly perfect. In fact, I think it’s a relief to many to not have to stress about that. You generally want to split your circle into four kinda even sections.
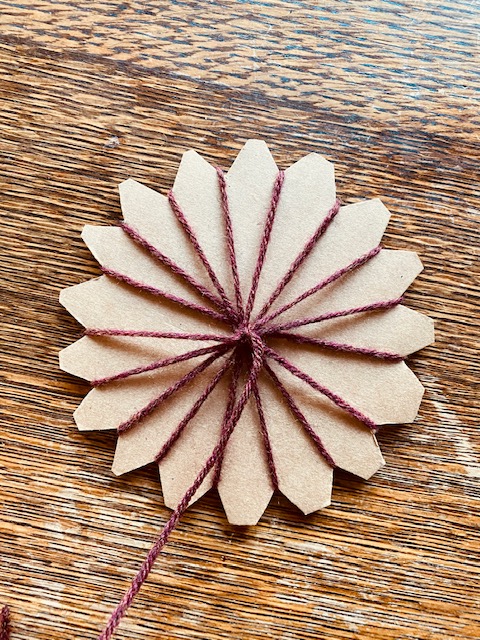
Step 4: Around the edge of each section, you will start to make triangles. These will be cut out and serve as notches for your warp thread to hold on to (the warp is what you weave around). You want the same number of triangles in each section EXCEPT ONE! You can see that in each of my looms below, I added one that straddles a segment line. This is because you need an odd number of notches so that you have an odd number of warp threads. Otherwise, each time you go around the loom, you’ll have the yarn always going under the same warp thread and over the same warp thread. You don’t want that.
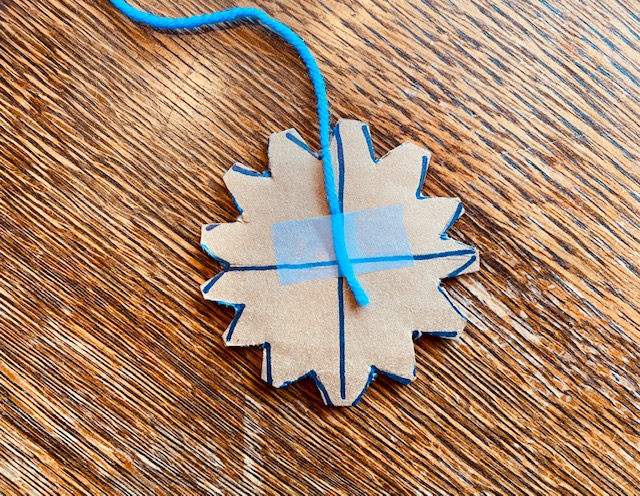
Step 5: tape one side of a piece of yarn to the back of your loom.
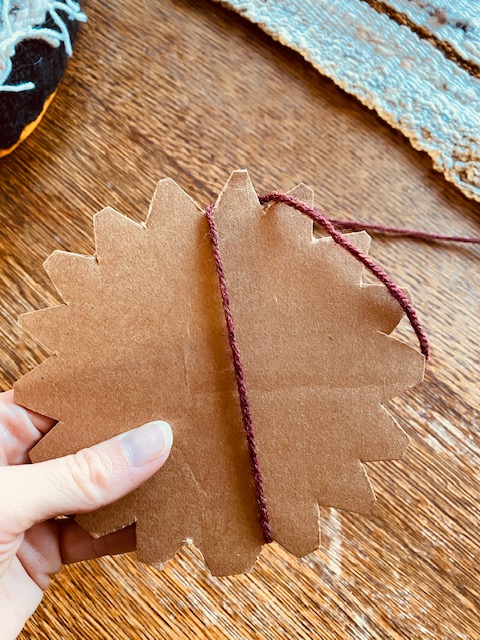
Step 6 (warping the loom):
turn the loom over so you are looking at the front (the front for me is the side with no marker.
pull the yarn over, crossing the loom to the other side. you have an odd number of notches in your loom… so when you pull your yarn across, it won’t land right in the center, right? So you want an even number of notches on one side and an odd on the other, of the yarn just pulled across, having one more notch on one side.
hold yarn snuggly and wrap it around the notch, moving from right to left and then turn the loom so it is “up” again, with the notch you just wrapped on the upside
bring yarn down, crossing in the middle, going to the left of the notch with the yarn in it.
wrap the yarn around that next notch, again, moving from right to left
repeat this step until you’ve brought the yarn around every notch
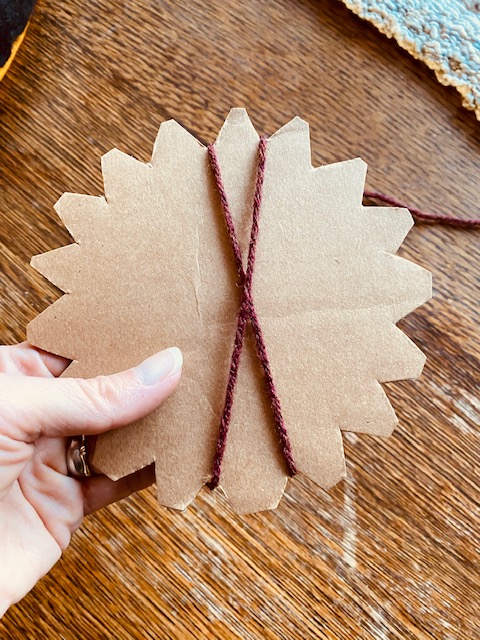
cut the yarn from the yarn ball, leaving several inches to work with and use that yarn end to tie around the center of the warp threads, making it neat and organized in the middle.
Warping the loom:
Tying the center of the warp:
Step 8: Then start weaving! I generally weave from right to left, but it doesn’t matter which way you go as long as that is the only way you go as you weave. No doubling back! The same weaving principles apply with circular looms as do with other looms. Bring the yarn over one warp thread, under the next, over the next, under the next, and so on… The first few rounds might not look right, but as you go around, it will become more and more organized and clear whether you are to go over or under.
Step 9: Optional- You can add new colors and textures whenever you want. I usually just tie on the the thread and begin weaving. When the loose ends come up against the weaving as the new yarn starts getting woven with, I gently tuck them under the already woven part. DON’T SNIP THEM! You want them longer so you can sew them in once you are finished and the piece is off the loom.
As I make my way towards the upper part of the loom, I like to use a tapestry needle to weave. It keeps one from pulling on the warp too much and allows for weaving right up to the top.
Step 10: Once you feel you cannot weave anymore, it’s time to take your piece off the loom! Gently pull off the tape, and the warp that is wrapped around the notches. You will notice how it is naturally shaped- will it be a bowl, or a coaster/placemat/wallhanging? Does it curl up or lay flat? Assess and gently shape it as you wish.
Step 11: Time to sew in those loose ends with the tapestry needle. I usually sew them into the bottom/underside of the piece. Just gently bring the loose end down through the column of weaving right below and it and carefully snip the remaining bit. It will be completely hidden in your piece.
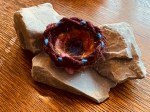
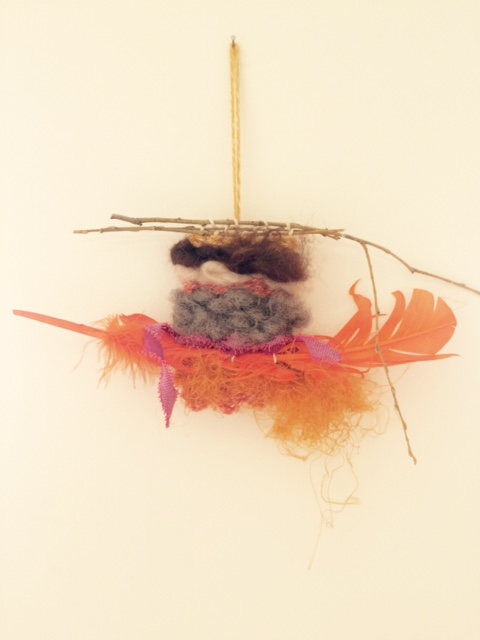
Step 12: Admire your handiwork! I love my little bowl! I can imagine making several of these and having nesting bowls all over. Or sewing them together in a way to make something that looks like coral, or finding a little stuffed bunny or chick and making this a little nest…
Have fun with this. I’ve done circular weaving with kids as young as 6. And I intend on weaving this way for as long as my fingers let me. It is so relaxing and so satisfying, and you likely have all you need already in your home.
I cannot explain it, but this experiment on my circular loom has become rather powerful for me. I’m chipping away at it, round by round, section by section. Easy to do since the rain hasn’t stopped, and I’m obsessed. I’ll post the completed piece soon.
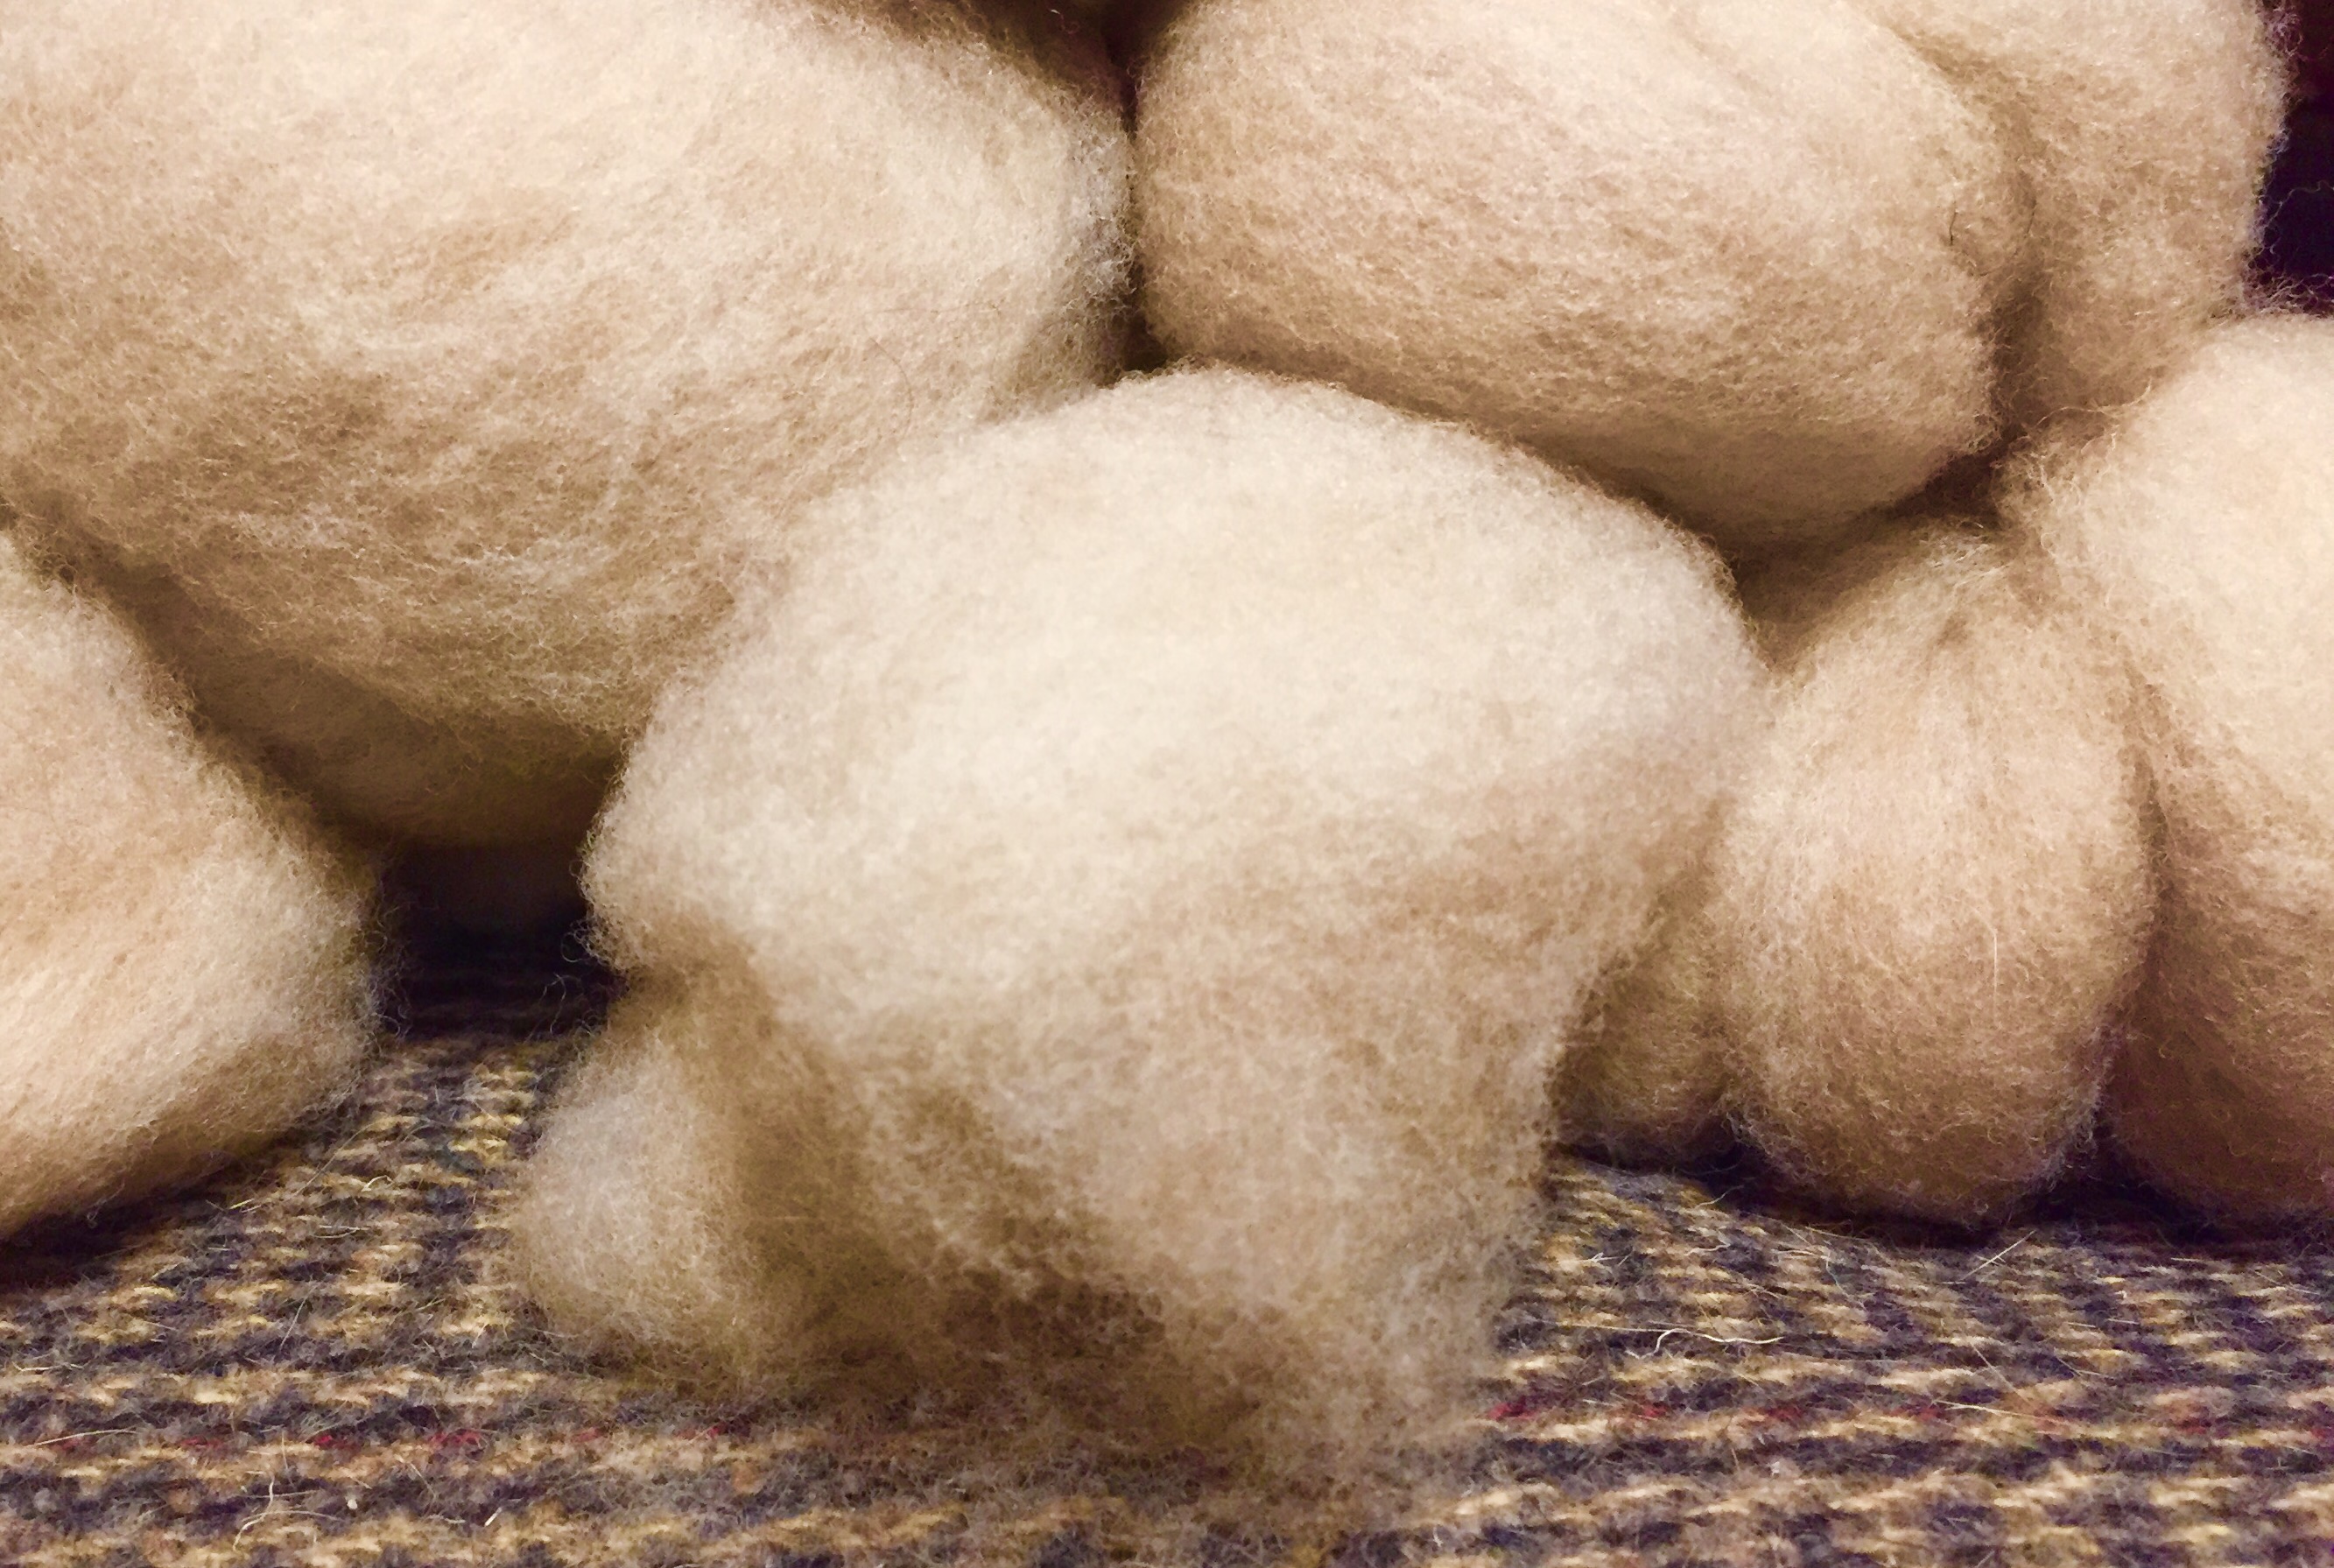
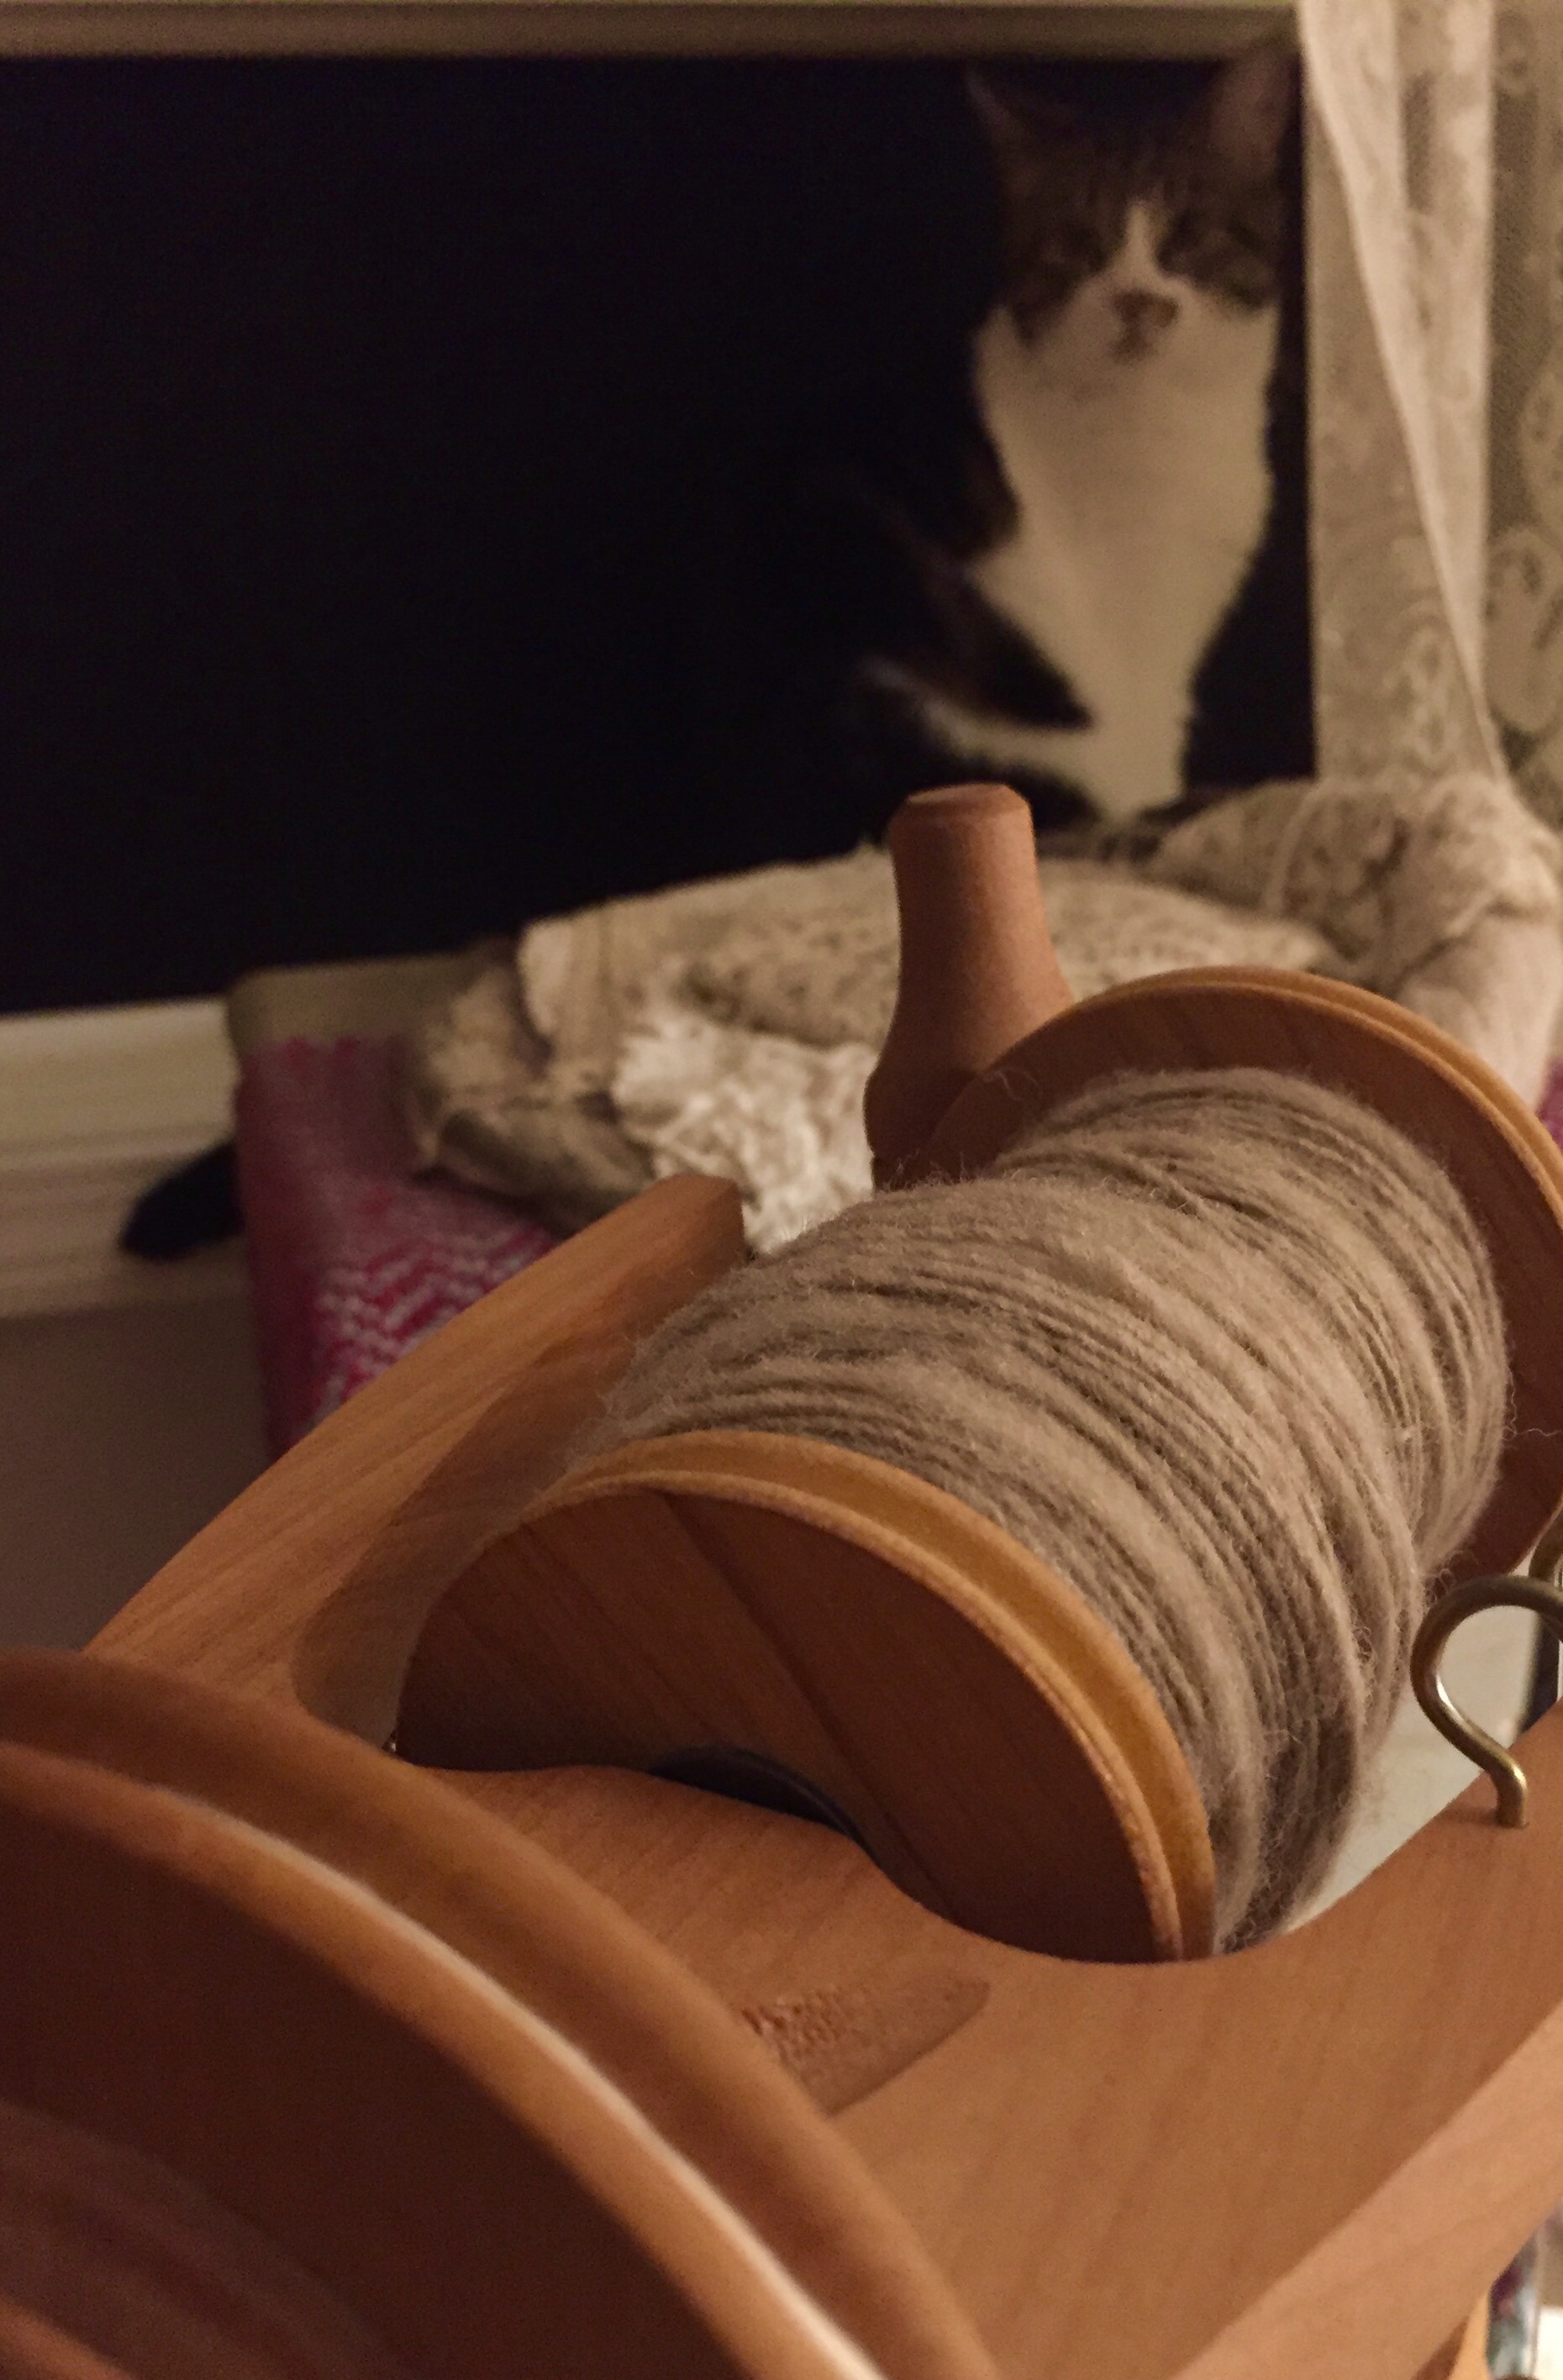
And Day #1 of the Tour de Fleece is under my belt. Merino, fluffy and spongy, met my wheel for close to an hour while I listened to a wonderful podcast of On Being with Krista Tippet interviewing John O’Donohue. Not a bad way to be while spinning beautiful fiber. In fact, the podcast was on Beauty. It was lovely.
Tomorrow I hope to finish this bobbin and then start plying with lovely colorful wool locks in various pinks and purples.
Are you spinning as part of the TdF? How’d it go today?
It’s been a while since I’ve written. The thing that’s hard about a blog is, it’s not a diary (at least not for me), it’s not for writing about everything because really, I must honor the privacy of loved ones, and in this case, it’s somewhat specific in terms of topic. Let me just say this: if you like this blog and noticed I’ve not been keeping up, I’m sorry and it’s been a regrettable reality of my life these days. Things got a little heavy, a little stressful, a little complicated and a lot lifey, and I need to work on still writing through those times.
A recent event has reignited my fuel center, and reminded me of what the heck I’m trying to convey through this blog. I had the opportunity to bring a weaving project to my son’s second grade class, and wow, was it amazing. Let me just jump in and explain.
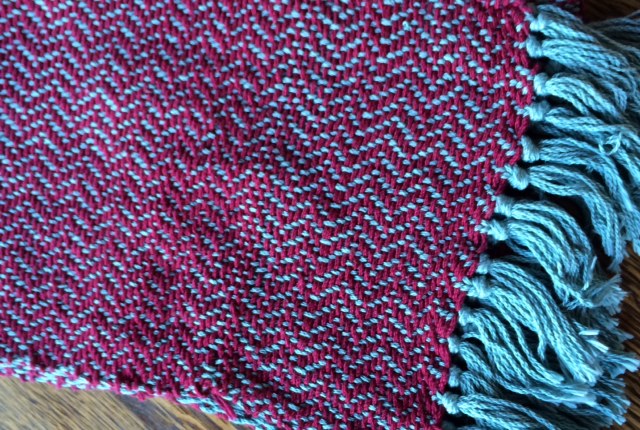
First know this: I am not an expert weaver. I took one weaving class years ago where I learned how to use a big loom, and by learn, I mean was guided every step of the way, multiple times. The apparatus that is attached to a wall that you wind yarn around to get it prepared to warp the loom (I think), almost made me lose my mind. All of it. In a burning inferno of frustration. No matter what I did, I could not keep my yarn from tangling and turning into a wild Medusa hair-like mess. Omg. I shudder to remember it. I did make this though, and I’ll always be proud of it.
I know I’ll take another class on using a big loom now that I’m more mature and have practiced a bit of mindfulness.
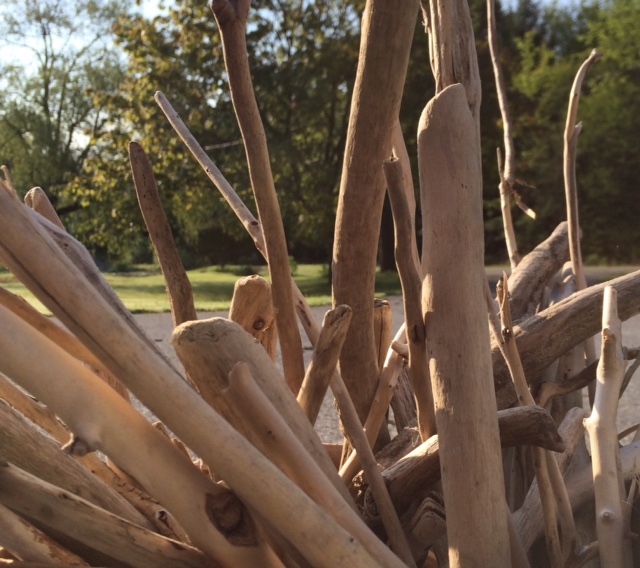
Anyway, I love hand weaving on simple looms, circular looms or looms made out of random things like wire, branches, busted out doors. I love how intuitive it can be, how much freedom there is to throw any such thing into a piece because it feels good, and you don’t have to worry too much about a complicated machine. I love how accessible it is, and how it’s possible to make a downright beautiful piece of art simply by understanding some basic concepts, and appreciating how different materials respond to the process of moving around warp thread. I wanted to share this with children because again, it is accessible art, and going into summer, I wanted to encourage them to use their found treasures in art projects and just experiment. I also find this medium to be extremely satisfying, grounding and soothing. I often find when I’m talking to people about it, I place my hand on my stomach when describing how it makes me feel… it’s like it makes me feel comfortable in a part of my body that holds a lot of tension, and I think sometimes a lot of grief.
Here is a little picture montage of my process:
I used this book by Sarah Swett (check out her blog/website. you won’t be sorry) to gather some ideas. The loom I made was a bit different, but based on one described here. It’s a wonderful book and one I will refer to often in future projects with kids. And, my husband made me a standing loom from this book that I hope to write about soon!
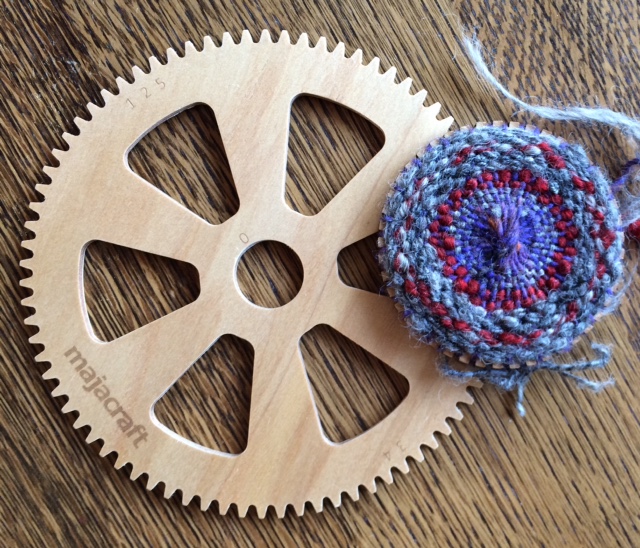
Figuring out the appropriate loom size and number of warp threads took some doing.
I went with the 4×6 cardboard size, but chose to use only seven warp threads. I found that the loom stayed stronger and more in tact with less threads, which I was interested in because my plan for the kids was to have all sorts of materials available to them to weave with. They also were going to only be using their fingers to weave, not needles, so I needed the loom to be able to withstand the pulling that would inevitably happen.
I wanted kids to understand that they can weave with all kinds of things.
My weave in progress…
Cardboard looms and another example piece using less wild materials.
Example of a weaving done on the simple cardboard loom.
Not gonna lie: I love my piece.
So, on the day of class, we did a little show and tell bit first. I showed the kids a napkin made from cloth that my mother-in-law’s mother, Else Jacob Eberitsch wove herself. We have a set of these napkins, and a matching table cloth. I am forever blown away by the beauty of them. My son was so proud to show it to his classmates.
I also showed them circular looms of different sorts, as well as one of those rectangular kid’s looms that can be found in most craft stores, reminding them that many might have some of these things kicking around their homes.
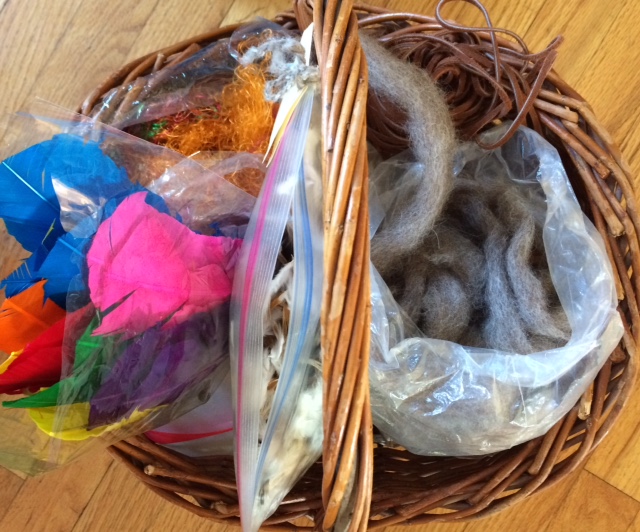
And then, when the wiggles got going and after answering some wonderful questions, I unveiled their materials and worked out with their teacher how to go about the rhythm of the acquisition of supplies.
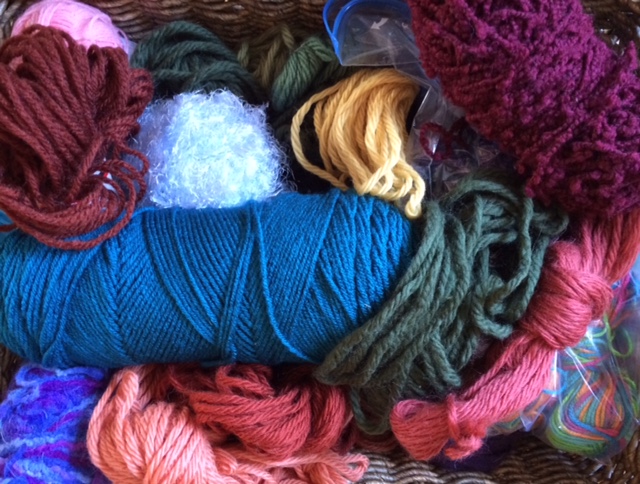
tons of yarn of all different colors, thicknesses, textures… hitting up garage sales and second hand shops is the way to go when gathering supplies for big projects like these.
And guess what happened? The kids were pumped. Truly. All of them, every single one, was into it. It was by far the most fluid and flowy project I’ve done with kids to date. Some got right into the weaving using worsted weight yarn and hit the flow. Others got into using minimal and the most wild materials~ I called theirs delicate porcelain-like pieces. I offered each child a strip of material that they could write a special message on, to be kept private or to show the world to commemorate the approaching end of their school year and some jumped on that. Some got real creative with making space between the individual woven stitches and needed some help understanding the concept behind the strength of the material they were making. Their teacher got into it, too! Her finished piece is gorgeous! Wish I had a picture of it.
Weaving is in us. It’s in our DNA somewhere. It must be. We’ve been doing it for as long as we’ve been covering ourselves, making baskets, mats, shelters (more to come on that topic, too).
If I had to do it over again, (which I will because I was invited back to do another round before school ends!!!), I would:
spend more time highlighting the importance of “beating in” or pushing the new row of woven material down against the previous row
for those whose pieces are very fragile, I would have encouraged them to keep their piece on their loom and decorate their loom to make the whole thing an art piece
I’d leave out the popsicle sticks~ those buggers are slippery
bring more ribbon
write their names on their looms BEFORE they start weaving
I actually can’t wait to go back and do it again. Seeing the children so engaged and so calm in their bodies while they worked kind of blew my mind, and I’ve spent a good deal of time in classrooms. Not to belabor the point, but I think weaving speaks to a part of our souls that is so organic, so without words and so true, that it simply must be something kids can do whenever they want. That’s why I love this. It’s inexpensive, it does not require special training, and anyone can do it. It just requires some stuff, some space, and some freedom to experiment.